Hi guys,
my homemade wintershelterhalftent has left me with a lot of scraps and I got an idea to make my own breadbag/foragingbag from them.
No additional parts were used, just the scraps!
What the foto's do not show is the 4cm wide sidewall I sewed in...
It is large enough to carry a bulky A4-folder in it in either direction.
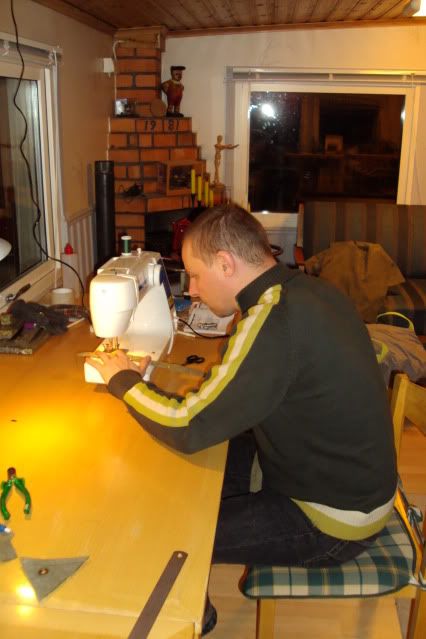
I got a bit carried away with it, so it is finished earlier than the actual tent itself.... Was a good exercise to get to know the "new" sewingmachine.
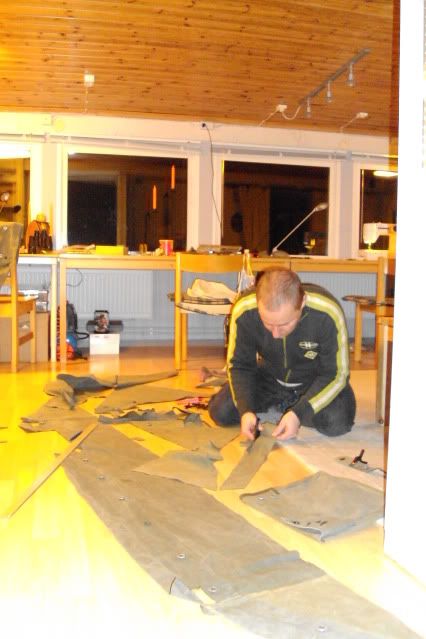
Measuring, cutting..... I never work with a drawing or written plan. It's all in my head and I work/adjust as I go along...
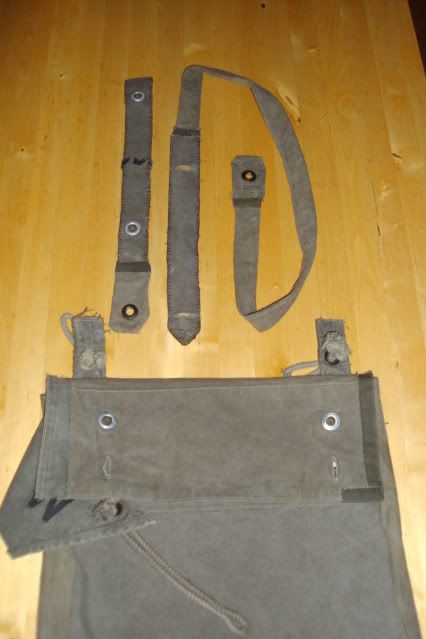
Here we go!! Making the carryingstrap;
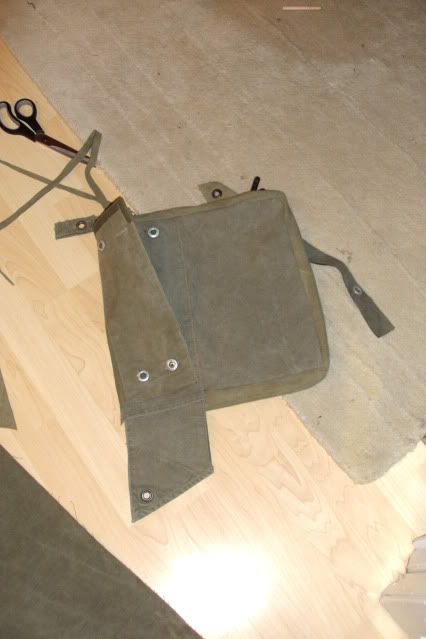
Taking shape;
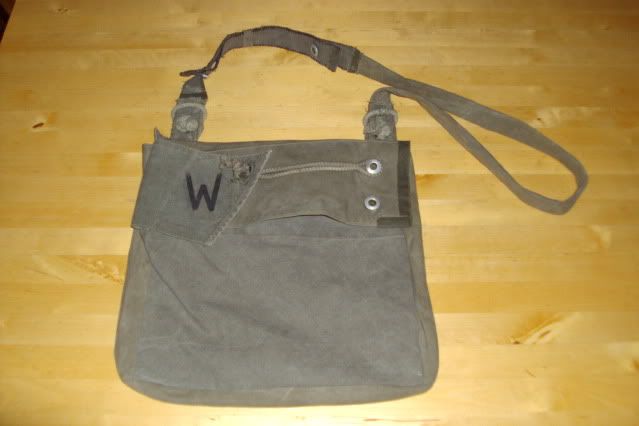
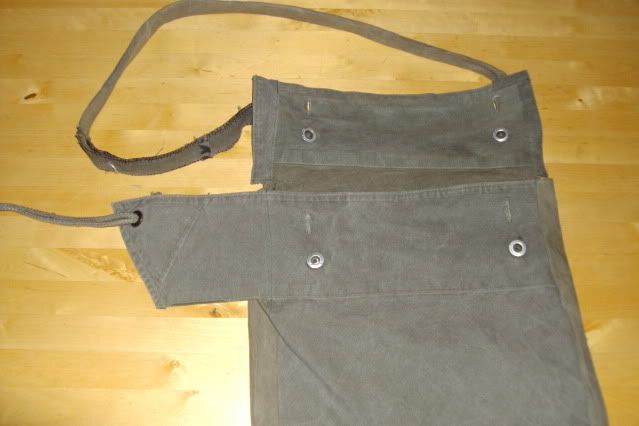
The finished item. The patchy look is done intentionally...
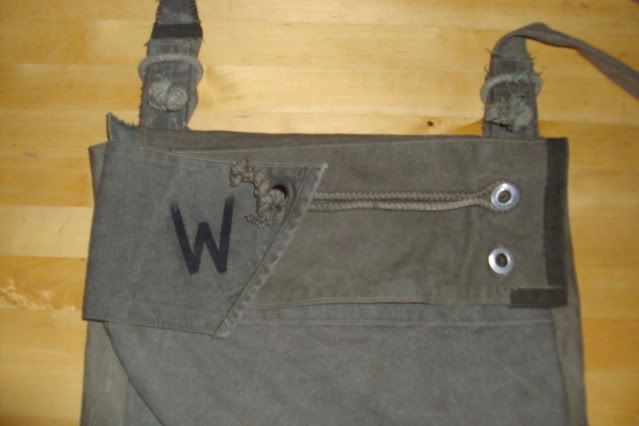
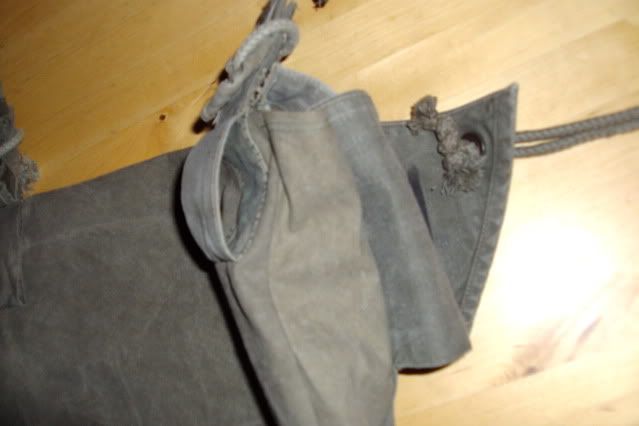
Some detailshots of the closing flaps.
I used the button and holesection of the actual tent to close it. The flap with the "W" and rope is an eyecatching extra. The "W" is the manufacturers mark and happens to be the first letter of my last name. The tip, eyelet and rope show the heritage of the bag quite nice, I think.
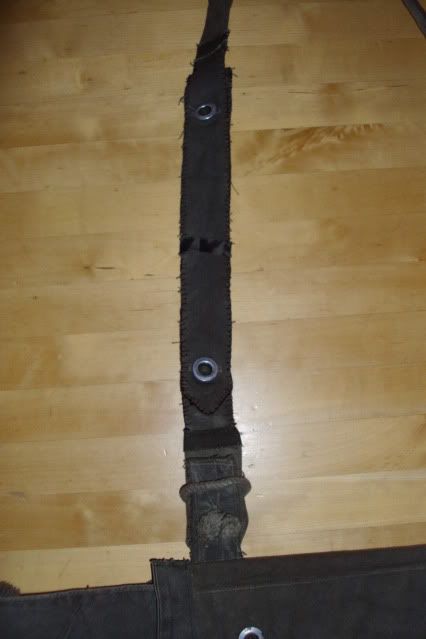
Carryingstrapdetail;
I can adjust the length of the strap by using various buttonsetups. The edges were fastened with a blanketstich.
I used the groundpegloops to fasten the bag to the strap and I can take off or alter the strap quickly when I want to.
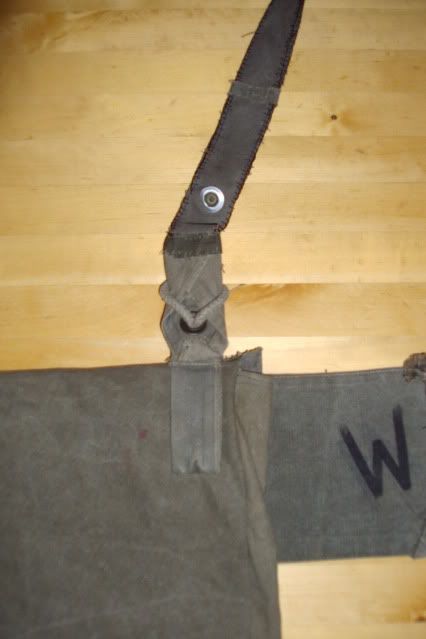
I even have beltloops, when needed. For this I used the loops, where the guylines are attached to the shelter.
my homemade wintershelterhalftent has left me with a lot of scraps and I got an idea to make my own breadbag/foragingbag from them.
No additional parts were used, just the scraps!
What the foto's do not show is the 4cm wide sidewall I sewed in...
It is large enough to carry a bulky A4-folder in it in either direction.
I got a bit carried away with it, so it is finished earlier than the actual tent itself.... Was a good exercise to get to know the "new" sewingmachine.
Measuring, cutting..... I never work with a drawing or written plan. It's all in my head and I work/adjust as I go along...
Here we go!! Making the carryingstrap;
Taking shape;
The finished item. The patchy look is done intentionally...
Some detailshots of the closing flaps.
I used the button and holesection of the actual tent to close it. The flap with the "W" and rope is an eyecatching extra. The "W" is the manufacturers mark and happens to be the first letter of my last name. The tip, eyelet and rope show the heritage of the bag quite nice, I think.
Carryingstrapdetail;
I can adjust the length of the strap by using various buttonsetups. The edges were fastened with a blanketstich.
I used the groundpegloops to fasten the bag to the strap and I can take off or alter the strap quickly when I want to.
I even have beltloops, when needed. For this I used the loops, where the guylines are attached to the shelter.
 ..I like the patched / repaired /recycled look of things .........much like the Brazilian THE REAL DEAL products....
 Edit, just remembered I have a canvas bag in the basement that's not a milion miles from that. Just needs a shoulder strap and some adapting I reckons.. so I withdraw my dibs. Still a lovely bit of kit Ron.