Easy enough with just a bit of hazel and a SAK too
Well, I received a couple of requests for an improvised saw I decided today to try to make one. It is cheap and it means carrying the minimum of materials. Here’s what I started with

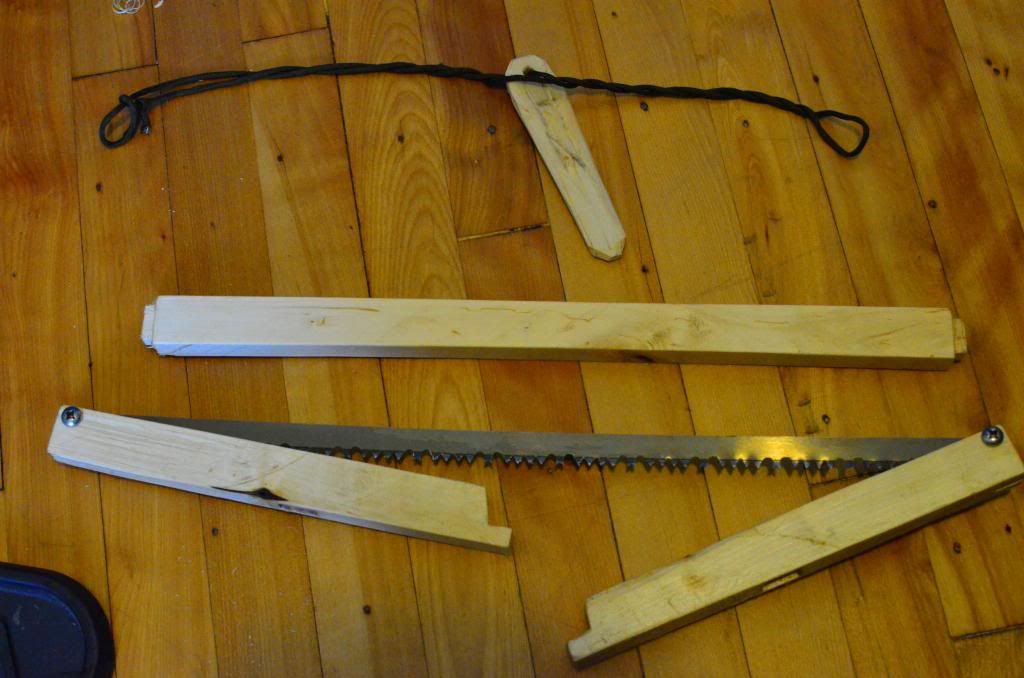
1 SAK (with saw), a hank of field line, two key rings and a 24” saw blade. The plan in future will be to slide the saw blade into the pocket of my Bergan where the frame sits – so no space overhead and a minimal weight implication

Well the first step was to get some wood for the frame. Out came the SAK saw blade (I could do all this with a belt knife but it would take a little longer). A couple of bits of hazel were quickly harvested. They were 1 ½” thick (and overdue for coppicing anyway).

Next step is to measure the saw blade against the thinnest piece. This piece will form the cross member. Its worth remembering that the saw blade will have a keyring through the holes and project beyond each upright. Measure it like that and assume the crosspiece needs to be 2” shorter than distance between the holes

Next I sawed a ring about ¼ of the way through the cross member. This ring is about ½” from the end of the cross member and all the way around it.

Then I used the main SAK blade to cut straight down through the limb to the saw cut.

Four of these cuts result in a square “peg” at the end of the cross member. I repeated this at the other end.

Next job was to make a socket for the peg to sit in. I decided to locate the socket about a quarter way down the uprights. I sawed about 1/3 of the way through the upright and then used the knife blade to carve out a square socket

The next job was to make slots for the saw blade to sit in. I sawed these but they could be sliced just as easily. Sawing them does avoid the tendency for the split to run however

The last step in making the three main pieces was to carve two notches to hold the tensioning cord

Lastly I need a bar to twist the tensioning cord. I split an off cut of hazel and drilled a hole using the awl on the SAK

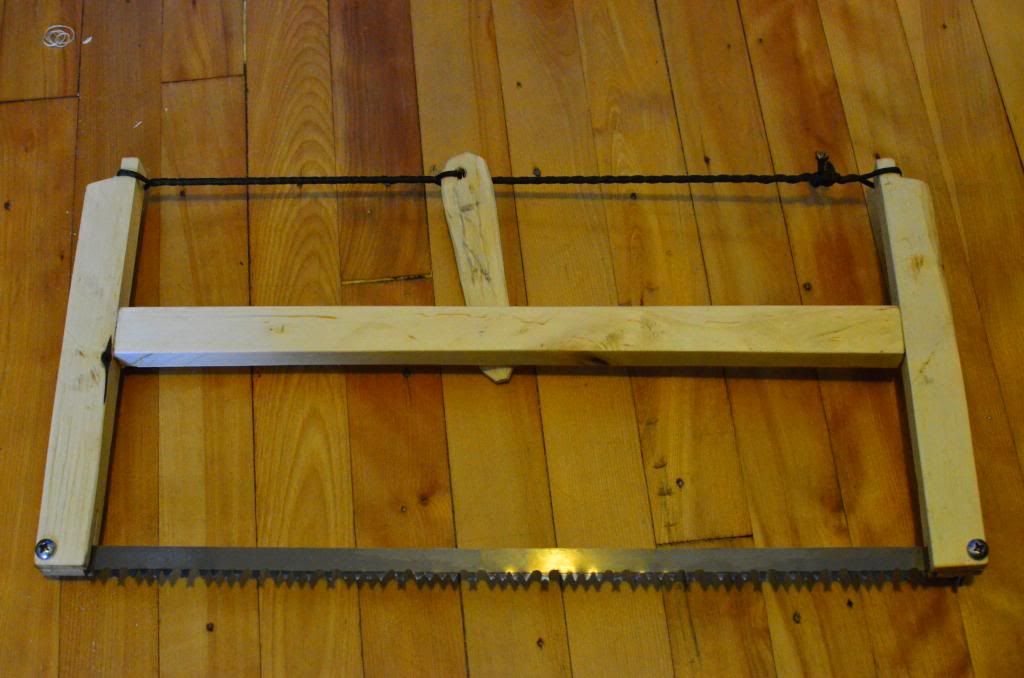
Next step is to assemble the saw – it went together fairly well (although I needed to trim the pegs to get a good fit)

A few final pictures of the saw assembled may help to explain what I did
The peg and socket joint

The tension cord notch

The tension bar

Its really not tricky to do, although it is hard to make one as tight as a “workshop made” take down saw. As in all things – my next one will be quicker and better!
Red