Given that my bacon thread seemed well received I thought I'd do a similar one on biltong.
Biltong is very easy to make and I think would lend itself well to bushcrafting as it keeps very well and can be carried without any special containers or care.
Biltong (from the Dutch Bil=buttocks Tong=strip) can be made from any lean meat. It is usually done with beef in the UK but you can do it with lamb, poultry or fish (although I've never tried).
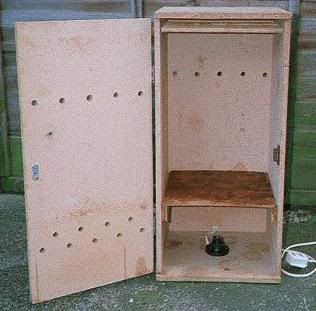
The only 'specialist' equipment you need is a way of keeping a flow of warm air around the meat. There are a number of home made designs for biltong boxes but they all work around the same principle.
You need:
1) A heat source at the base.
2) Some way of preventing the meat dripping onto the heat source.
3) Some air holes to ensure cold air comes in from the bottom, is heated and rises and exits through the top of the box.
A typical home made solution uses a box and a 60w light bulb such as this:
1) The meat.
I usually use topside or silverside from the butchers. It is worth buying the meat from a good butcher as supermarket meat is often loaded with extra water to increase the weight. As we are trying to dry the meat out this cheap meat is undesirable.
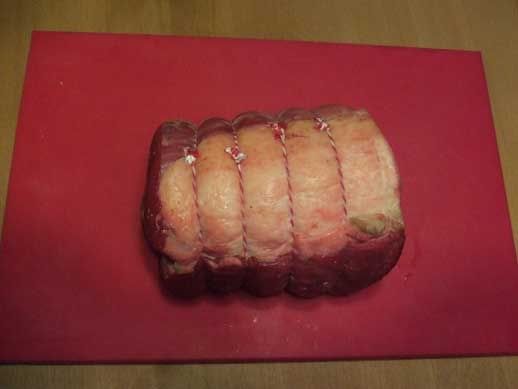
2) Trim the fat off. Be ruthless as the fat will turn rancid and spoil the meat. Don't worry about trimming some meat off with the fat (we'll get back to that)
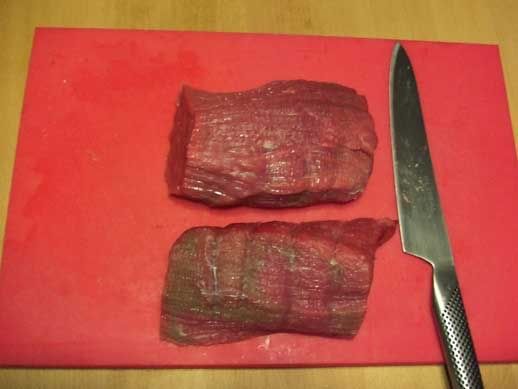
3) Cut into strips. The first photo illustrates the direction of the cut - with the grain of the meat. These need to be at least 1 cm thick (remember it will reduce as it dries)
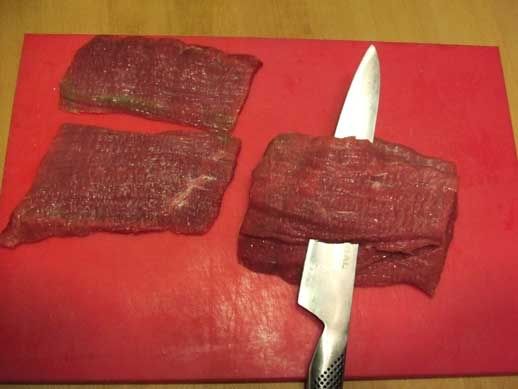
the trimmed strips
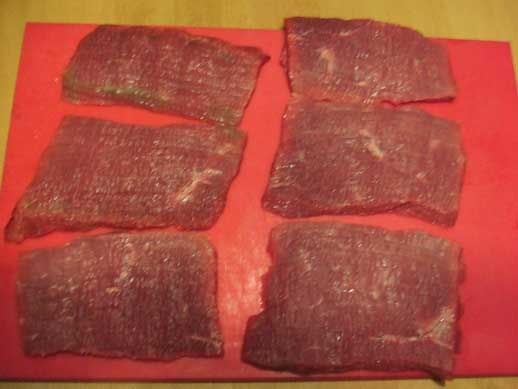
these are actually a little on the thin side, but it's not a problem
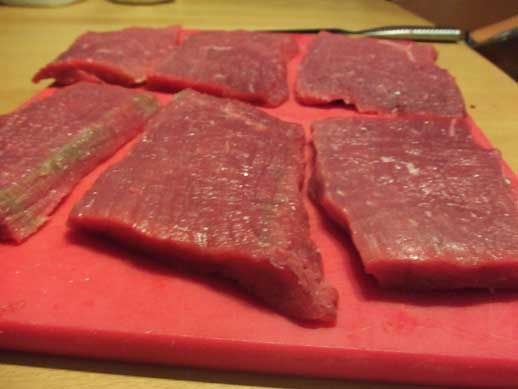
4) put some coarse salt into a non-metallic container. (Metal reacts with the salt and taints the flavour)
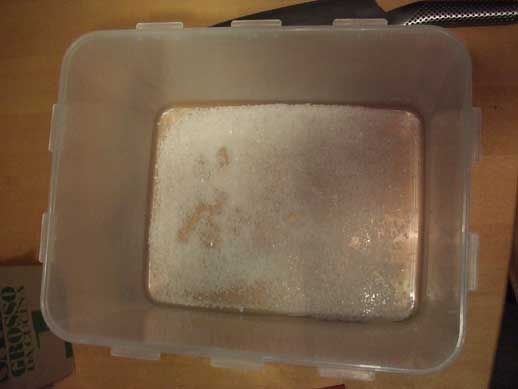
add the meat
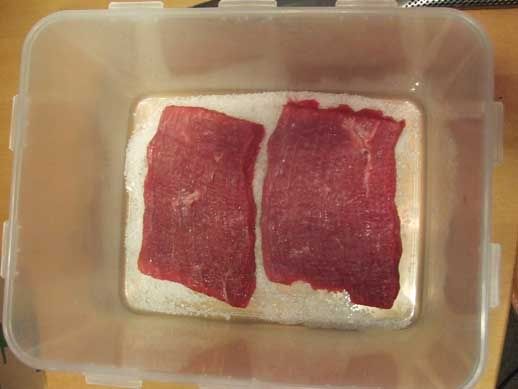
and cover with a layer of salt
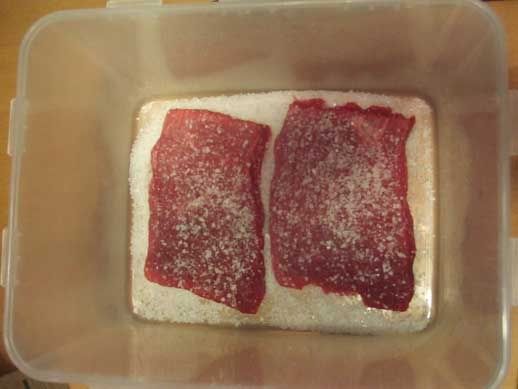
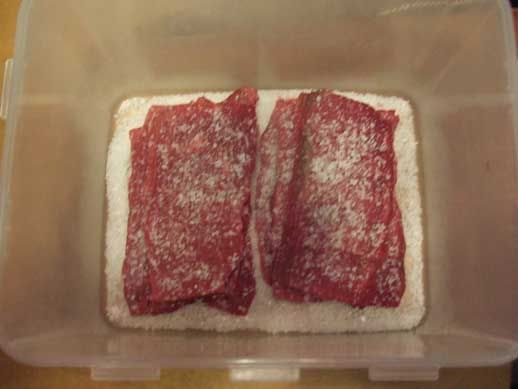
add another layer of meat, cover with salt and repeat until all the meat is stacked and covered in salt. Cover the container and leave the meat for an hour.
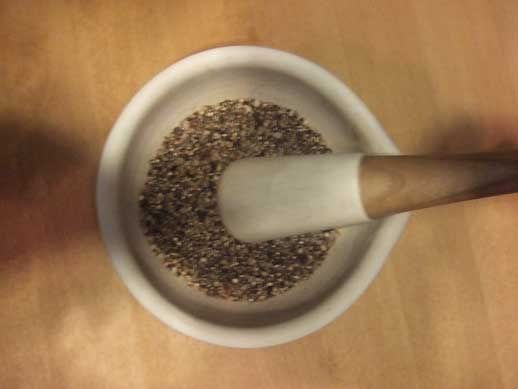
5) While you are waiting for the meat you can prepare your flavouring spice. There are lots of variations of flavourings including garlic salt and chilli flakes. I personally really like cracked black pepper and coriander seeds (illustrated)
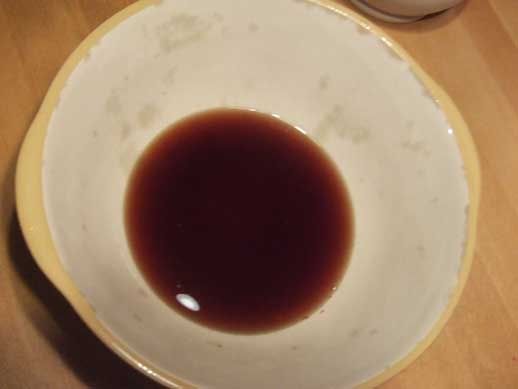
6) Prepare a bowl of cider or wine vinegar. I've used red wine vinegar as it's red meat but cider vinegar would be better for poultry or fish as it won't affect the colour of the meat. (did I really need to show you a photo of what a bowl of vinegar looks like? )
)
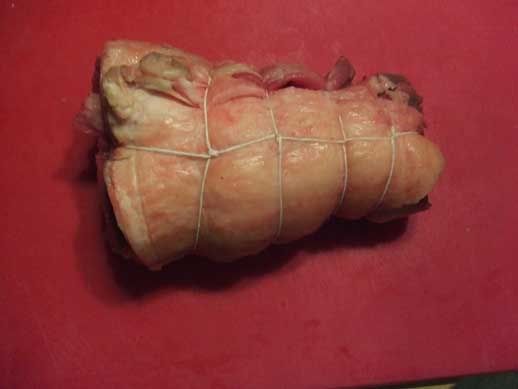
* oh yes I said I'd get back to the extra meat and selected fat trimmings...
roll em up (add some stuffing if you like - mine's just got garlic and rosemary in the middle) sting it all tightly together and roast
my dinner:
7) After an hour your meat is ready, you can see the water drawn out by the salt.
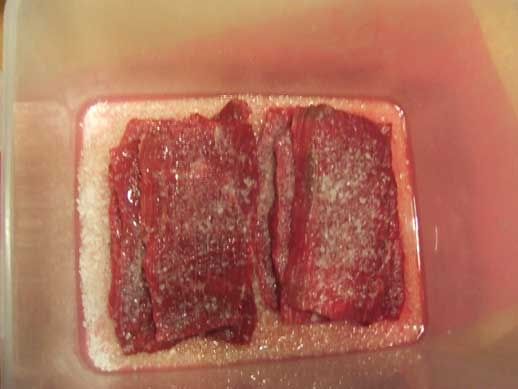
Take the strips of meat and scrape the salt off with the back of a knife or similar. DO NOT rinse under water as the whole point is to remove moisture - not add it.
8) Dip your meat in the vinegar for a second or two and then coat all sides in your flavouring spice. I put meat hooks in to hang the meat, but you can thread some loops of cooking string through with a needle or just thread the strips along a thing piece of wood or whatever...
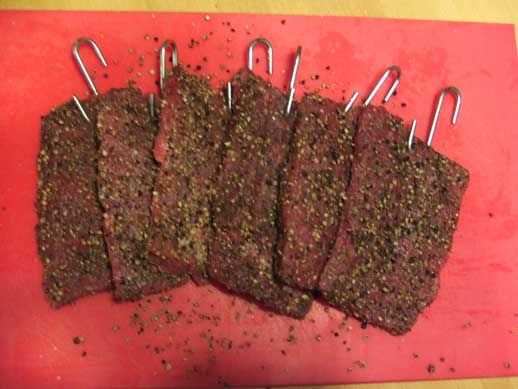
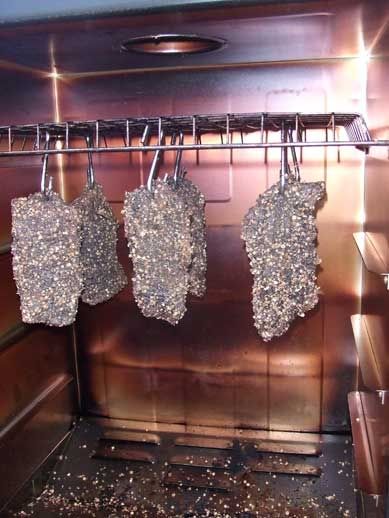
9) Hang your meat in your biltong box (mine is actually a Bradley Smoker which serves the purpose very well) making sure there is plenty of room for air to circulate between the strips.
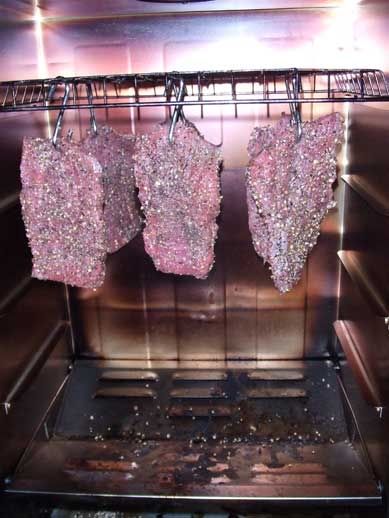
Switch on your heat source and leave for around 3 days. Your biltong should now look something like this:
I apologise to those who know the food industry colour coding for chopping boards and I know that white is for bread and not cooked meat but it was clean and to hand...
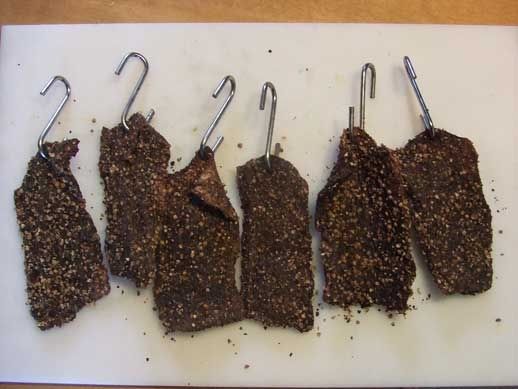
and it doesn't stop the biltong tasting fantastic.
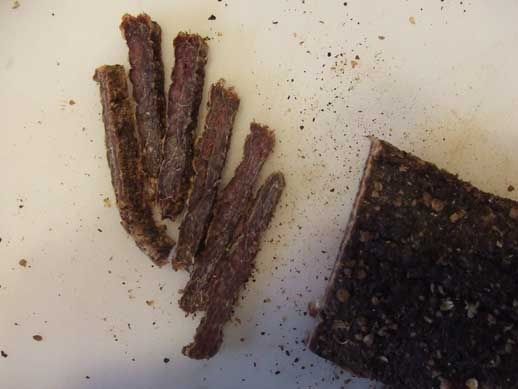
The meat will keep for several months without the need to refrigerate, although it becomes drier and harder to cut as time passes. I tend to carry it in strips and cut it into slices as and when I want some, although others slice it as soon as it is ready and vacuum pack it in 'portions' (around 100g). This keeps the biltong from drying so it keeps longer but adds costly specialist equipment and single use plastic bags.
I hope I have managed to convey how easy and enjoyable it is to produce what is a fairly expensive product to buy and that I may inspire some of you to try it for yourselves.
Biltong is very easy to make and I think would lend itself well to bushcrafting as it keeps very well and can be carried without any special containers or care.
Biltong (from the Dutch Bil=buttocks Tong=strip) can be made from any lean meat. It is usually done with beef in the UK but you can do it with lamb, poultry or fish (although I've never tried).
The only 'specialist' equipment you need is a way of keeping a flow of warm air around the meat. There are a number of home made designs for biltong boxes but they all work around the same principle.
You need:
1) A heat source at the base.
2) Some way of preventing the meat dripping onto the heat source.
3) Some air holes to ensure cold air comes in from the bottom, is heated and rises and exits through the top of the box.
A typical home made solution uses a box and a 60w light bulb such as this:

1) The meat.
I usually use topside or silverside from the butchers. It is worth buying the meat from a good butcher as supermarket meat is often loaded with extra water to increase the weight. As we are trying to dry the meat out this cheap meat is undesirable.

2) Trim the fat off. Be ruthless as the fat will turn rancid and spoil the meat. Don't worry about trimming some meat off with the fat (we'll get back to that)

3) Cut into strips. The first photo illustrates the direction of the cut - with the grain of the meat. These need to be at least 1 cm thick (remember it will reduce as it dries)

the trimmed strips

these are actually a little on the thin side, but it's not a problem

4) put some coarse salt into a non-metallic container. (Metal reacts with the salt and taints the flavour)

add the meat

and cover with a layer of salt

add another layer of meat, cover with salt and repeat until all the meat is stacked and covered in salt. Cover the container and leave the meat for an hour.

5) While you are waiting for the meat you can prepare your flavouring spice. There are lots of variations of flavourings including garlic salt and chilli flakes. I personally really like cracked black pepper and coriander seeds (illustrated)

6) Prepare a bowl of cider or wine vinegar. I've used red wine vinegar as it's red meat but cider vinegar would be better for poultry or fish as it won't affect the colour of the meat. (did I really need to show you a photo of what a bowl of vinegar looks like?

* oh yes I said I'd get back to the extra meat and selected fat trimmings...
roll em up (add some stuffing if you like - mine's just got garlic and rosemary in the middle) sting it all tightly together and roast
my dinner:

7) After an hour your meat is ready, you can see the water drawn out by the salt.

Take the strips of meat and scrape the salt off with the back of a knife or similar. DO NOT rinse under water as the whole point is to remove moisture - not add it.
8) Dip your meat in the vinegar for a second or two and then coat all sides in your flavouring spice. I put meat hooks in to hang the meat, but you can thread some loops of cooking string through with a needle or just thread the strips along a thing piece of wood or whatever...

9) Hang your meat in your biltong box (mine is actually a Bradley Smoker which serves the purpose very well) making sure there is plenty of room for air to circulate between the strips.

Switch on your heat source and leave for around 3 days. Your biltong should now look something like this:

I apologise to those who know the food industry colour coding for chopping boards and I know that white is for bread and not cooked meat but it was clean and to hand...

and it doesn't stop the biltong tasting fantastic.

The meat will keep for several months without the need to refrigerate, although it becomes drier and harder to cut as time passes. I tend to carry it in strips and cut it into slices as and when I want some, although others slice it as soon as it is ready and vacuum pack it in 'portions' (around 100g). This keeps the biltong from drying so it keeps longer but adds costly specialist equipment and single use plastic bags.
I hope I have managed to convey how easy and enjoyable it is to produce what is a fairly expensive product to buy and that I may inspire some of you to try it for yourselves.
