First thing. I am no master of this. Secondly this info is probably old hat and some parts might be wrong. Finally there is more than one way to skin a cat. Ok, with those disclaimers and obvious facts about cats out of the way here are a few tips and tricks which have helped even a goober like myself pull this rabbit out of a hat.
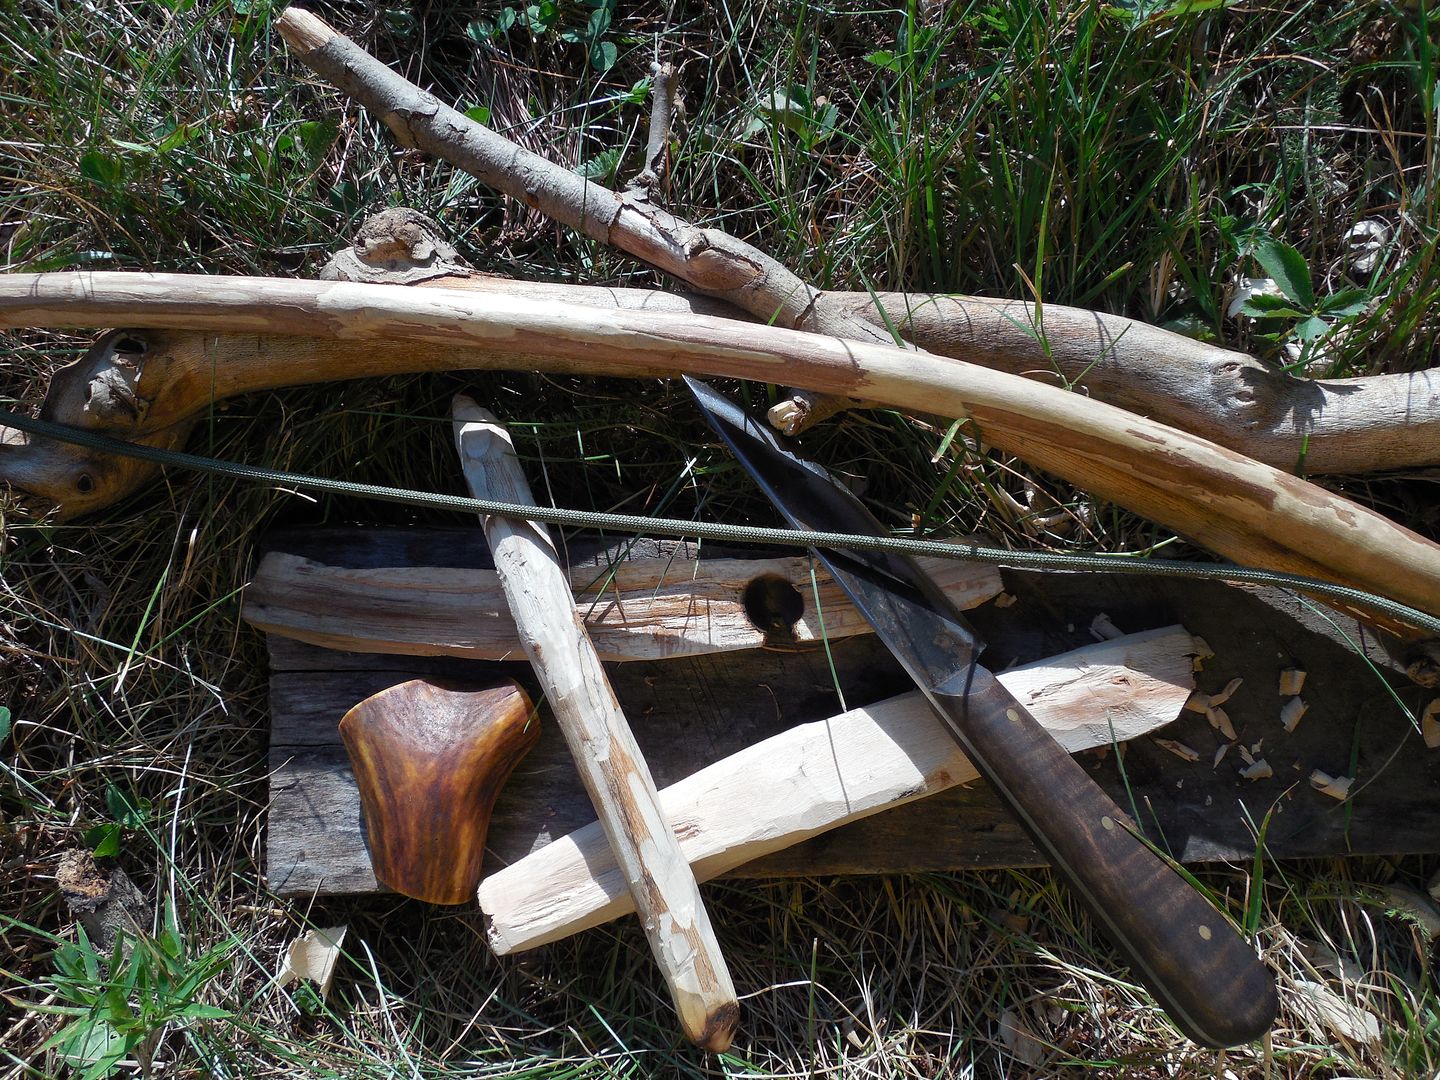
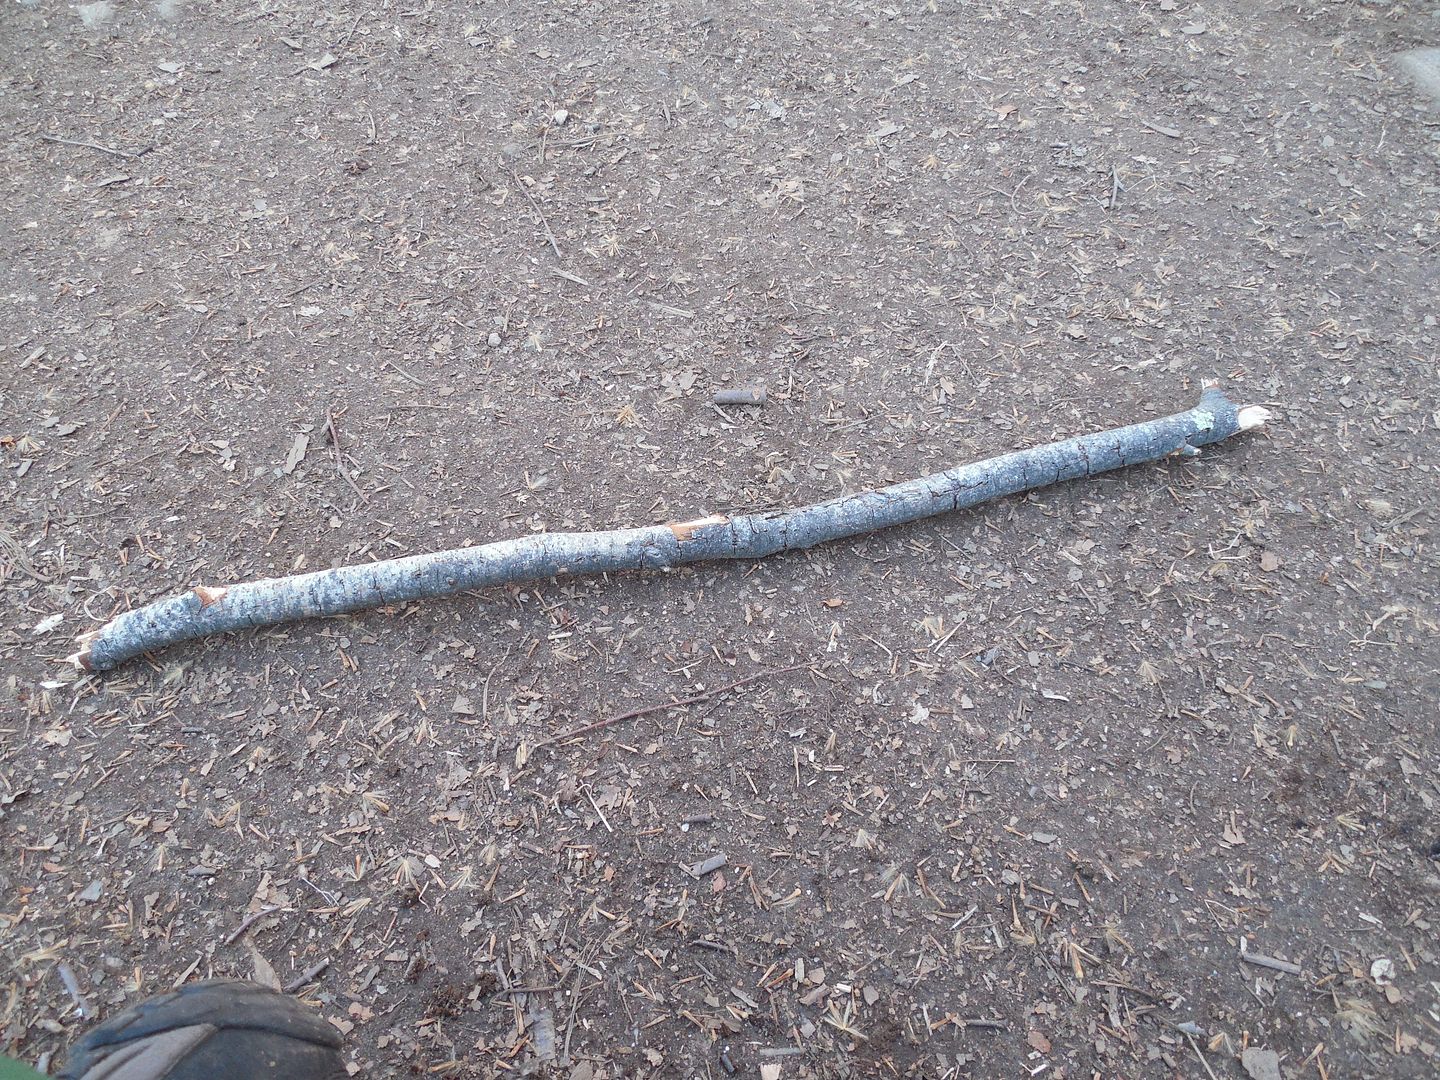
Sycamore I gathered during nocturnal creeping a few days back. Notice I already spun a coal so know it's a good proven set. You don't have to make a new set each time to "learn the true method" or whatever. I think this is a product of survival TV shows. Anyone think our ancestors really made a new set just before they needed a fire? Some how I think they had a proven set in their fire kits searching out materials for a new one before required. That said I will make a new set every now and then when out for a hike as it's something to do. Also if you want to make a new set each time then have at it. To each their own.
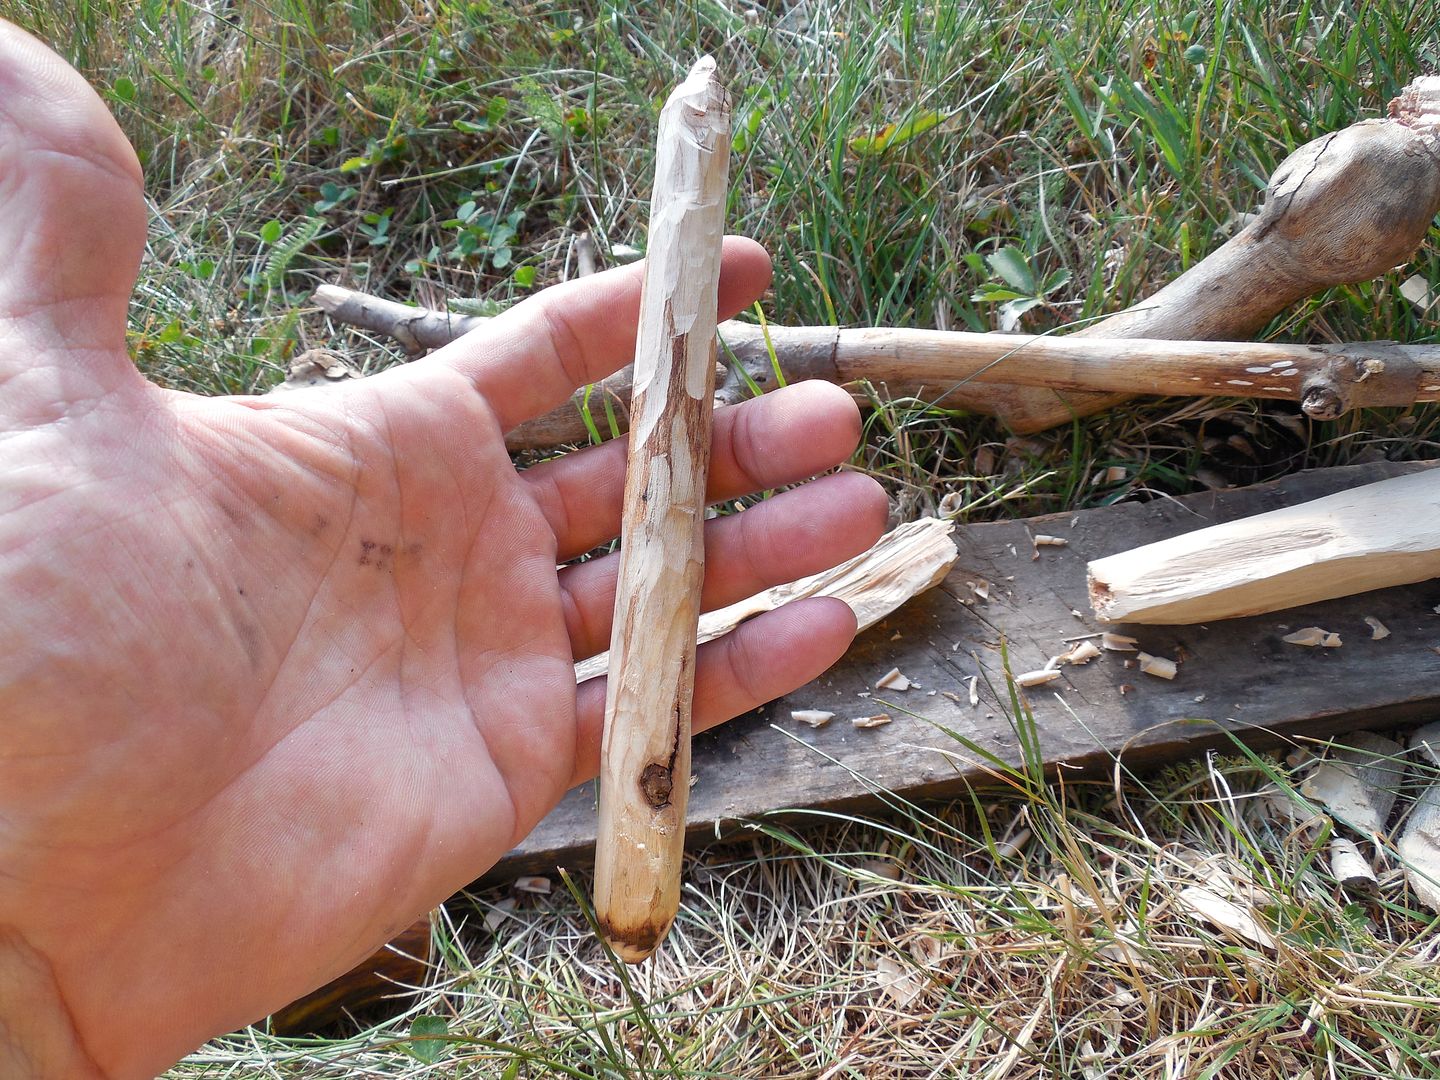
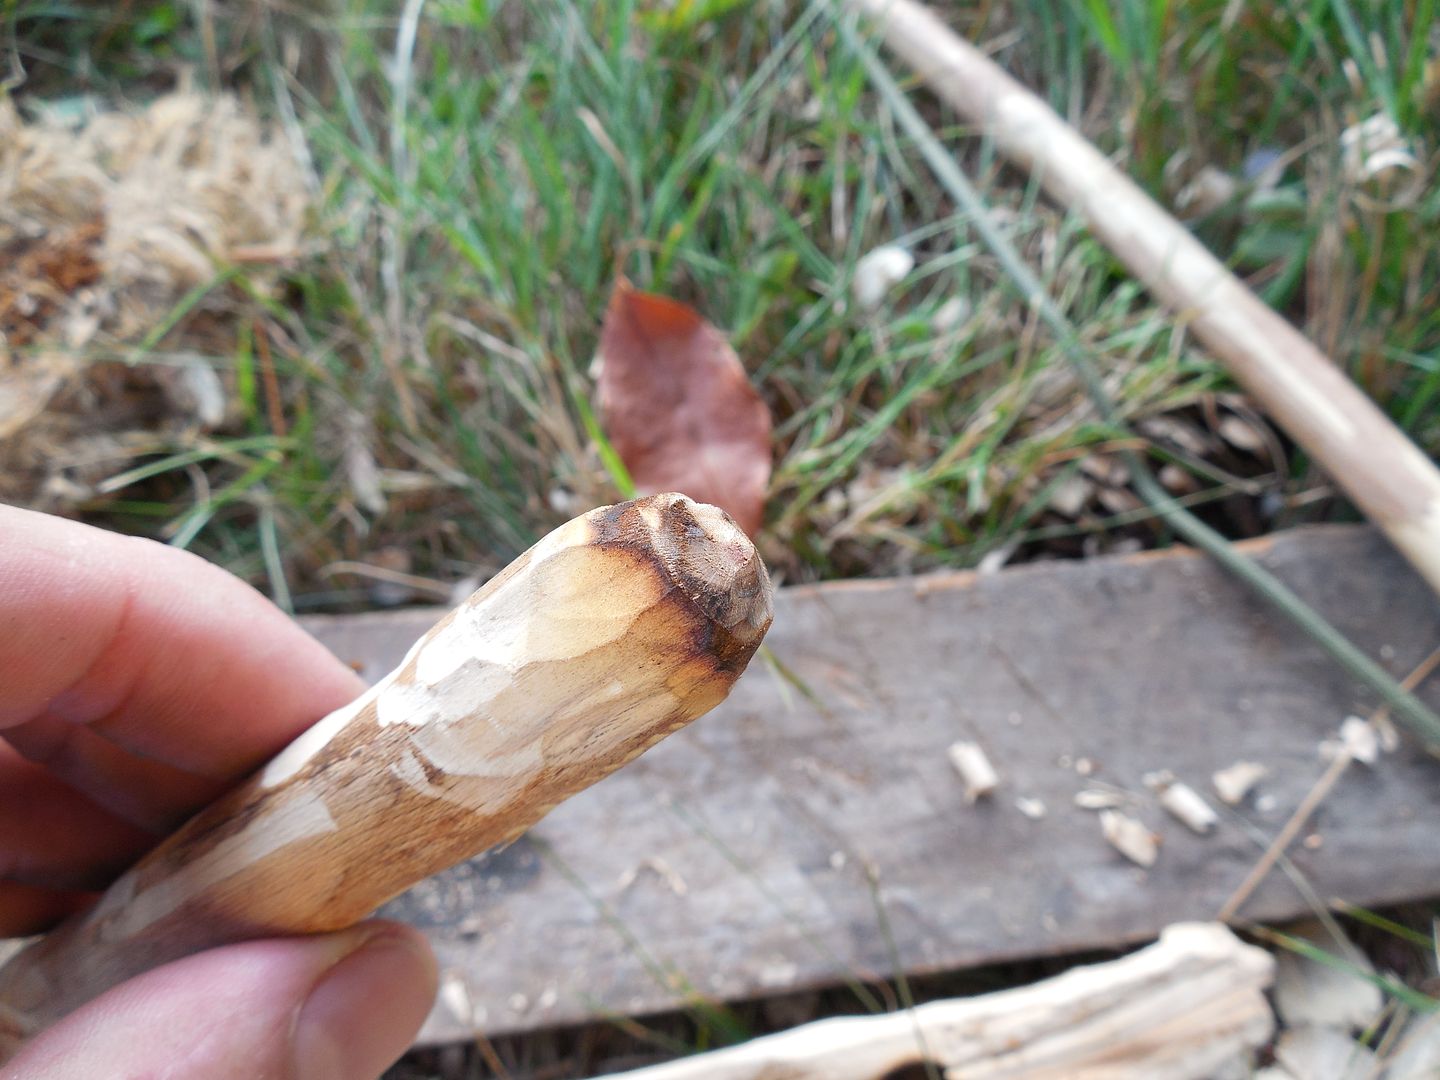
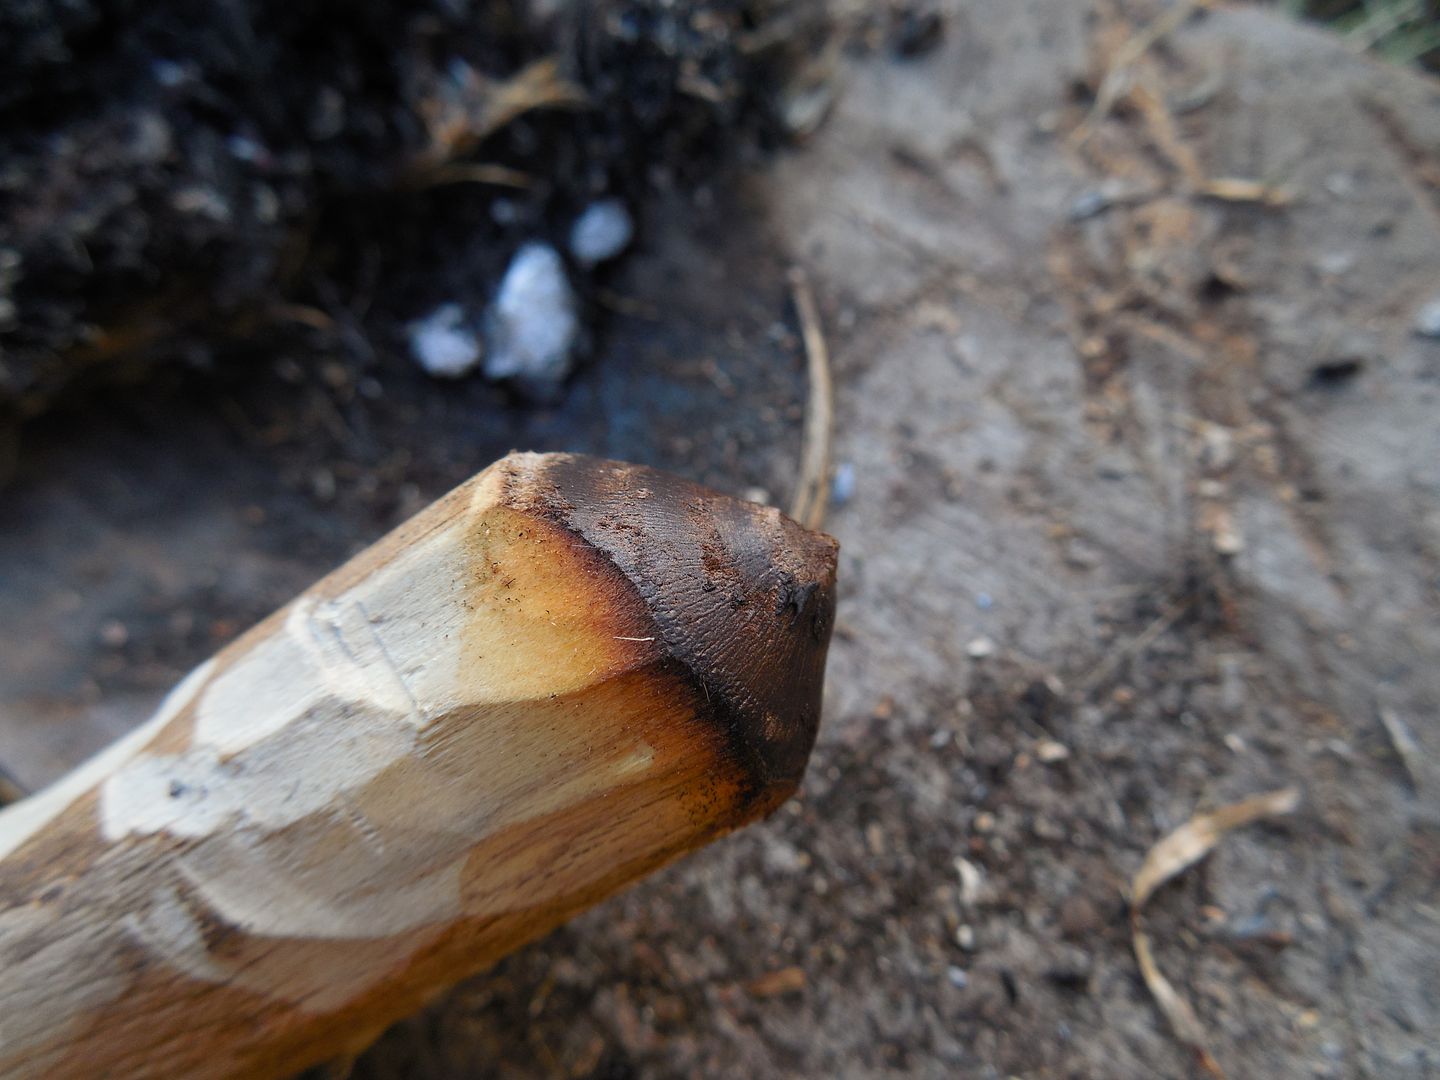
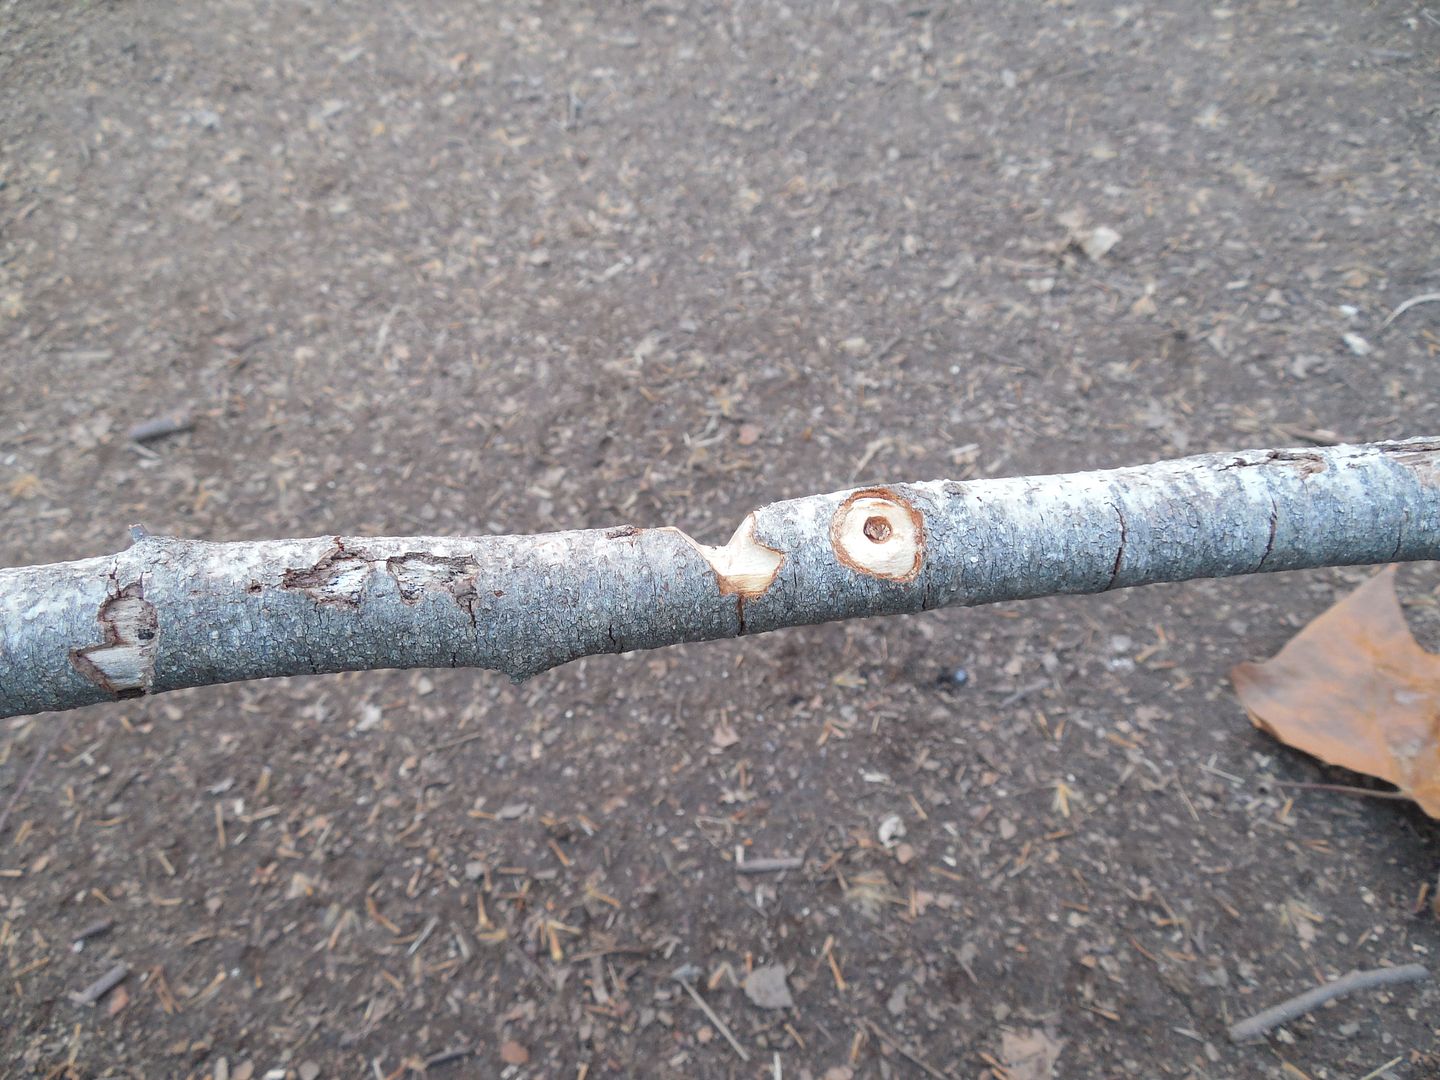
How long should the spindle be? How thick? The answer is you're asking the wrong person. Your personal preference and materials dictates what's going to happen. Sycamore has knotty kinked branches so by necessity this spindle is a bit shorter than I like. But it is what it is. The end drilling into the fireboard is bunter than the end facing the bearing block. I want more friction on the fireboard, less on the bearing block.
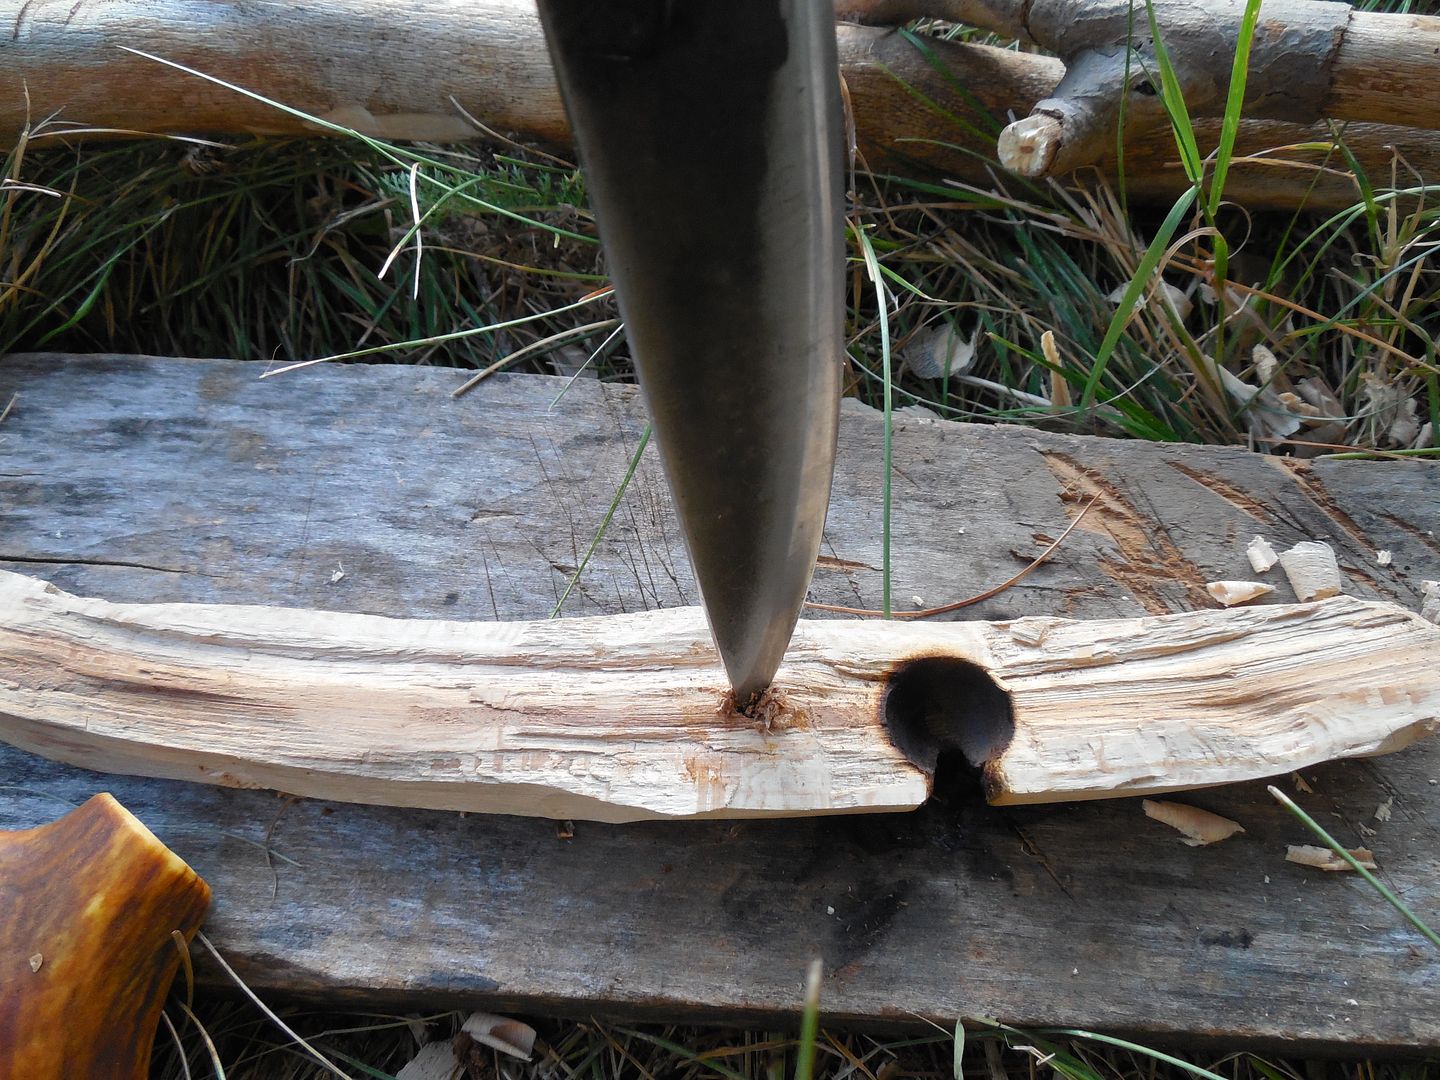
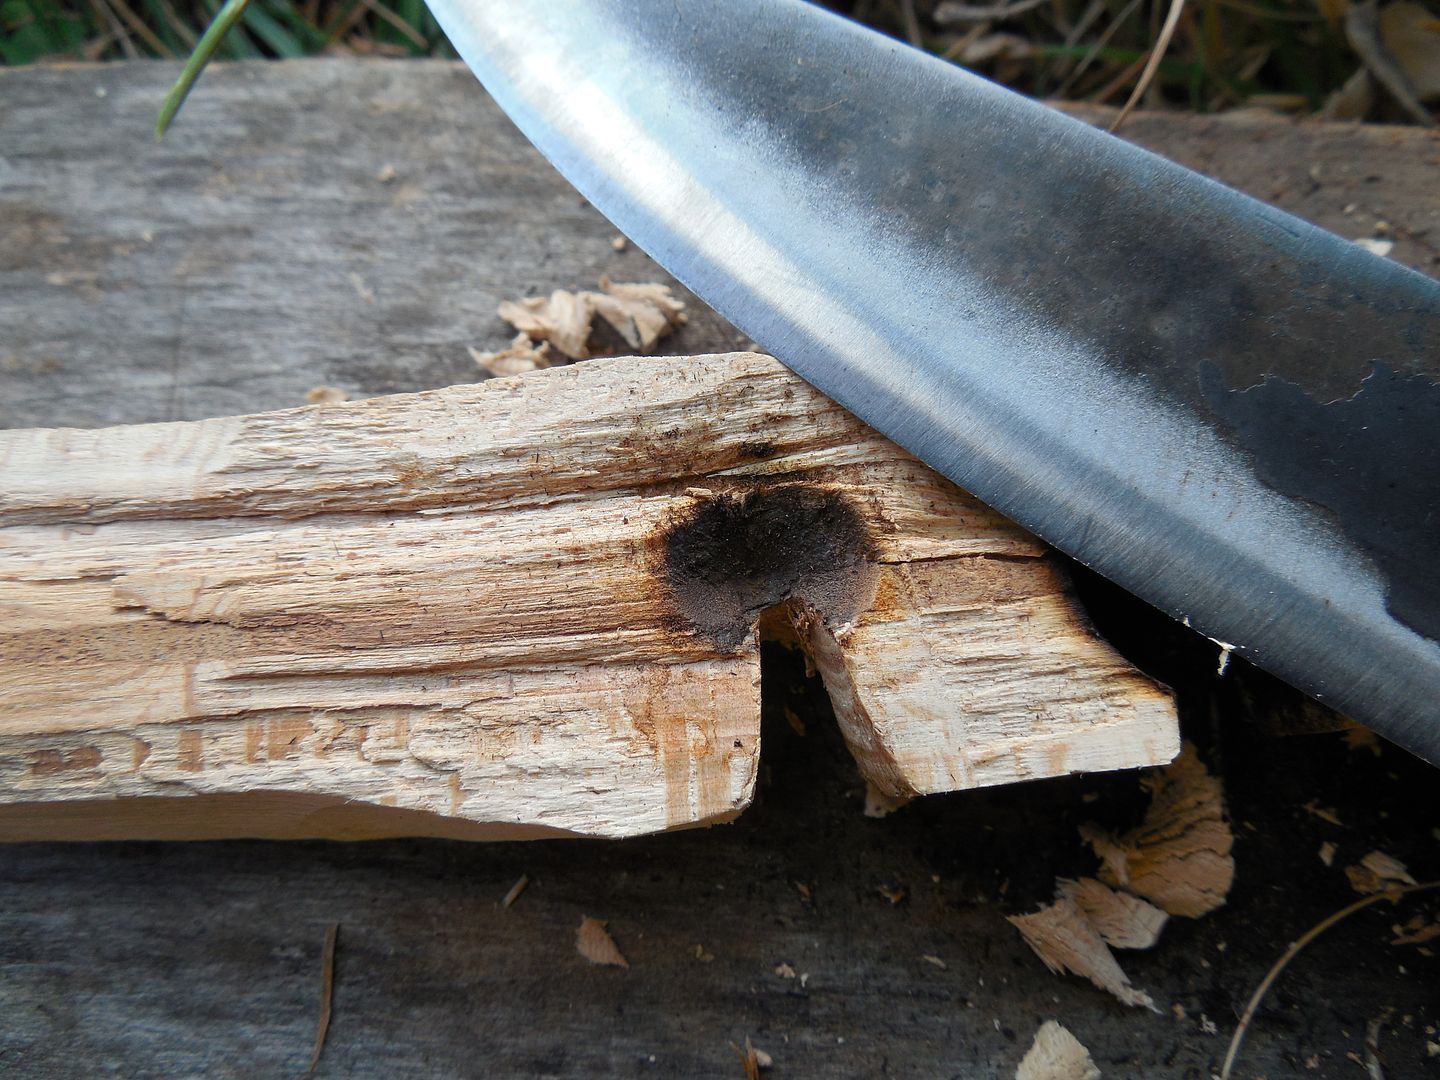
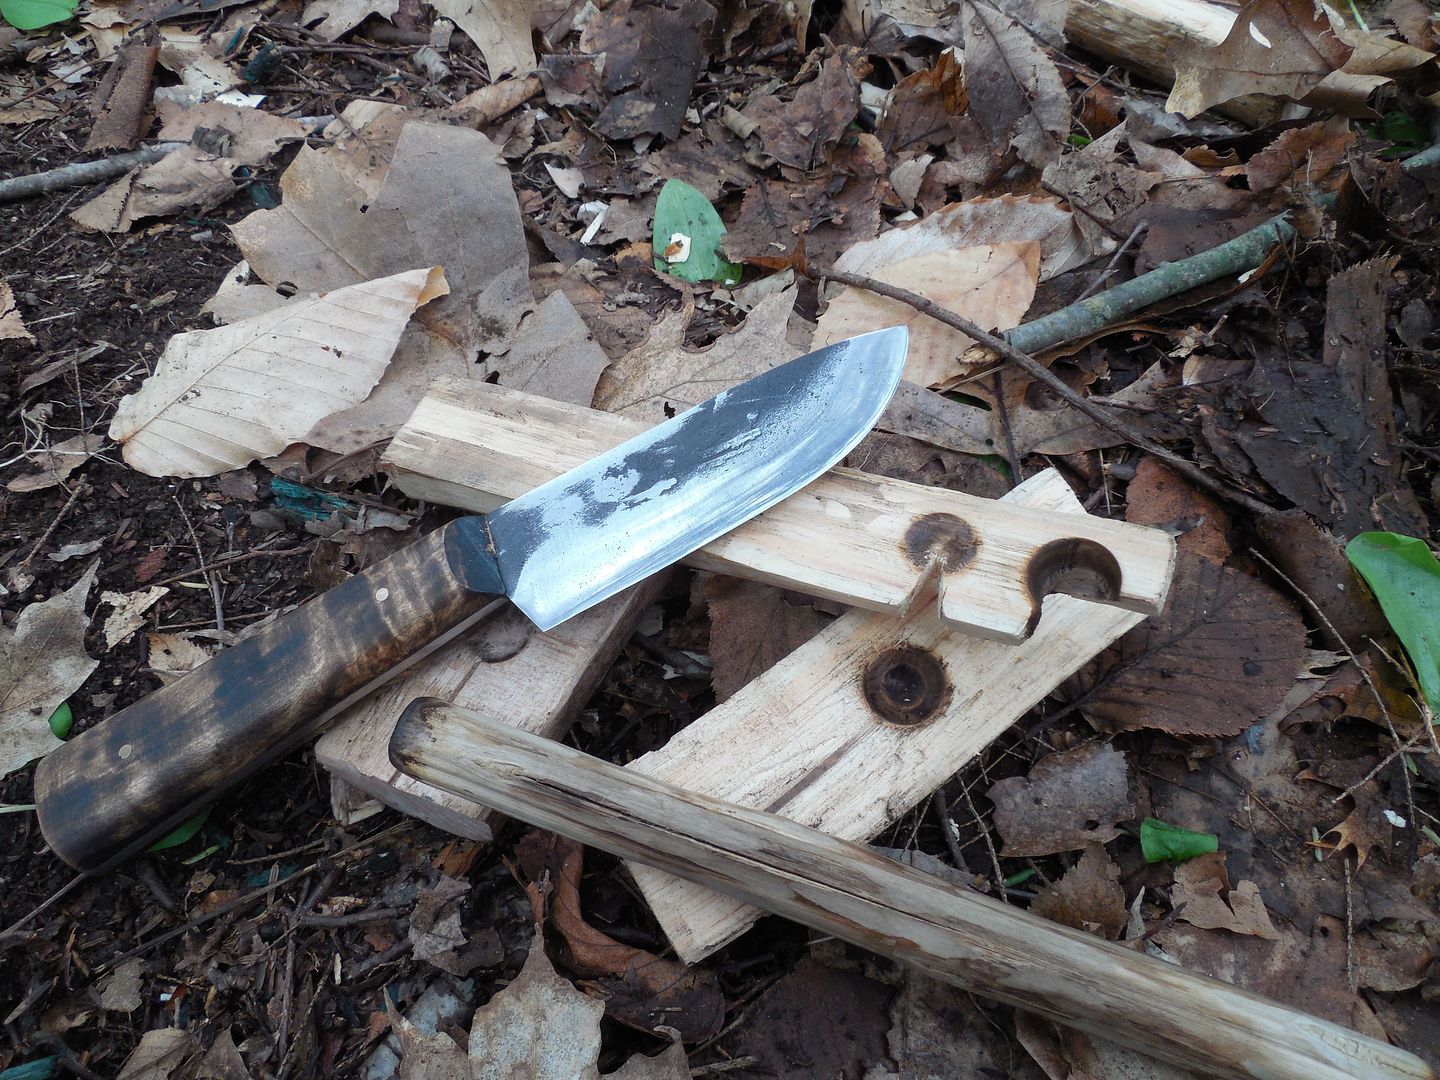
Using my knife to created a small notch in the fireboard for the burn-in. Despite some knives being a little easier to drill with if your knife is made of metal and has a point odds are it will drill into wood just fine. What are the ideal dimensions of a fireboard? The answer seems to be whatever works given what's available. If too thin and narrow the spindle could drill through or fly out.
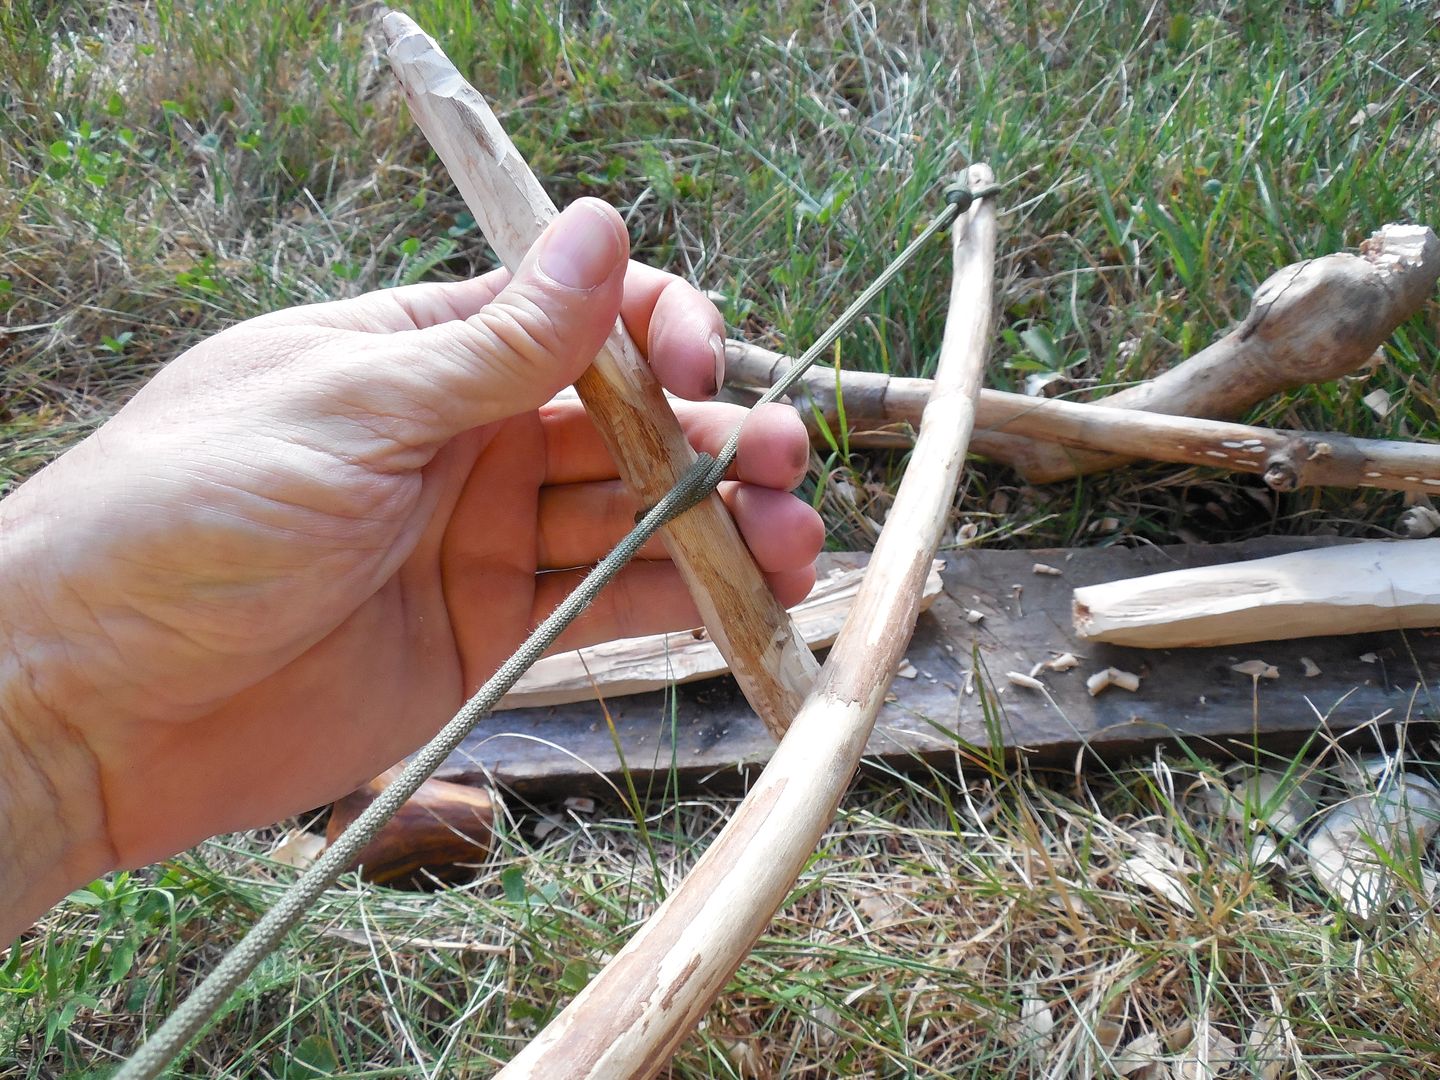
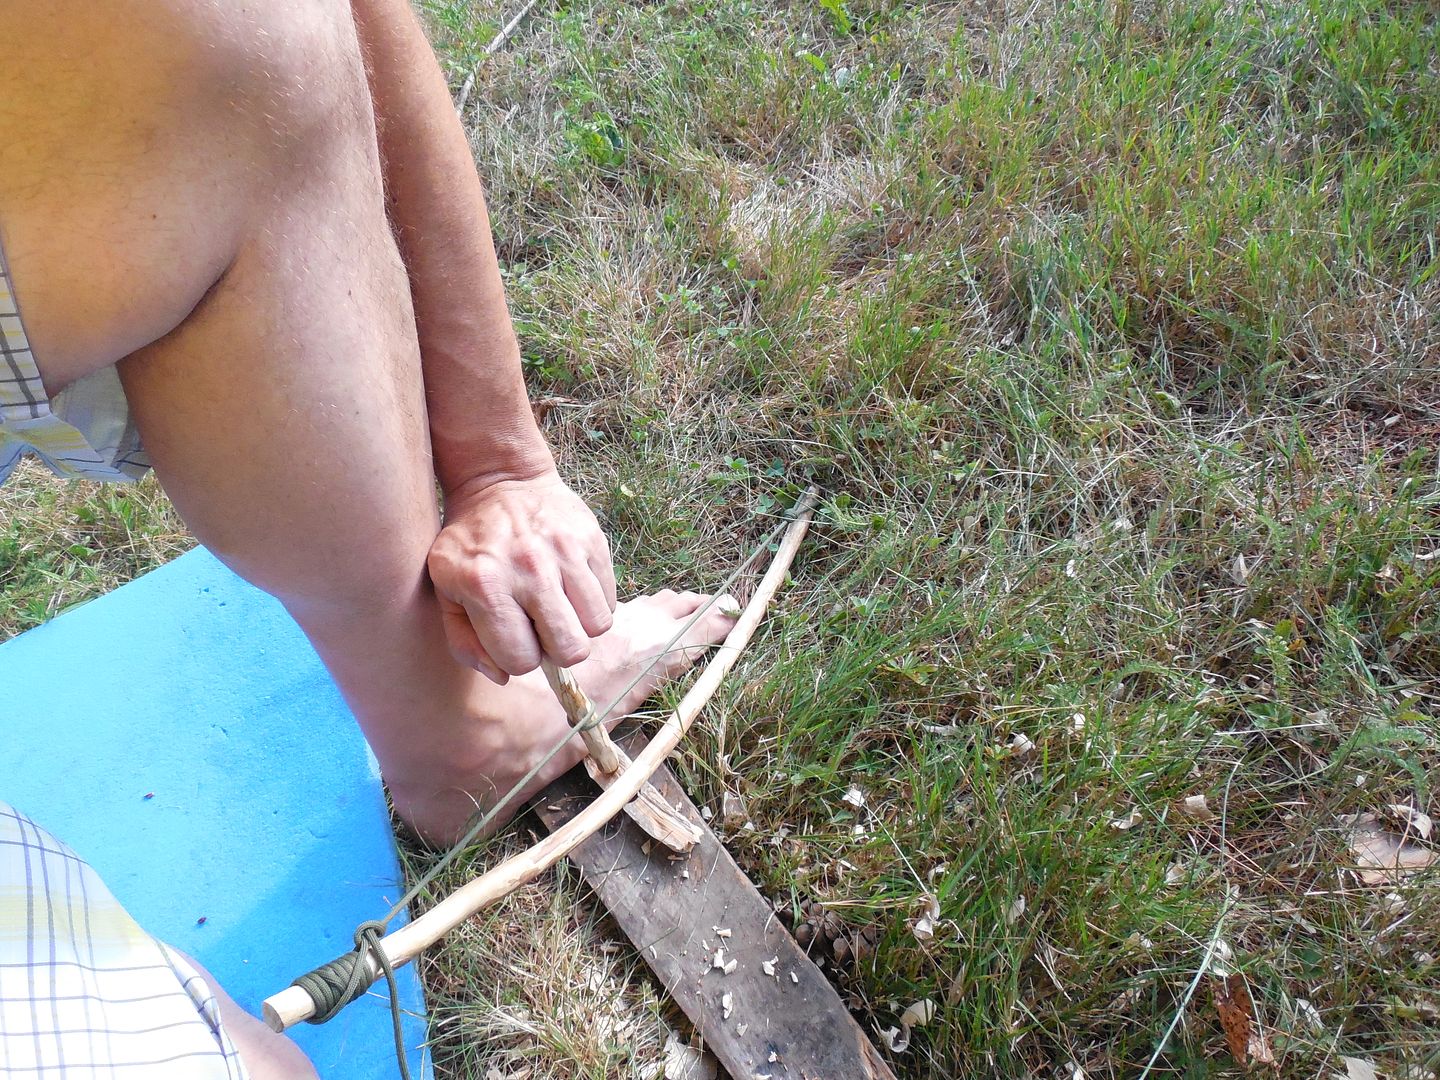
You don't want the cord too near the fireboard or bearing block. What's really important is to keep the bow level during drilling. This way the cord won't wander up and down the spindle.
Ok IMHO this is probably the most important part. Use your leg to support and steady the hand holding the bearing block.

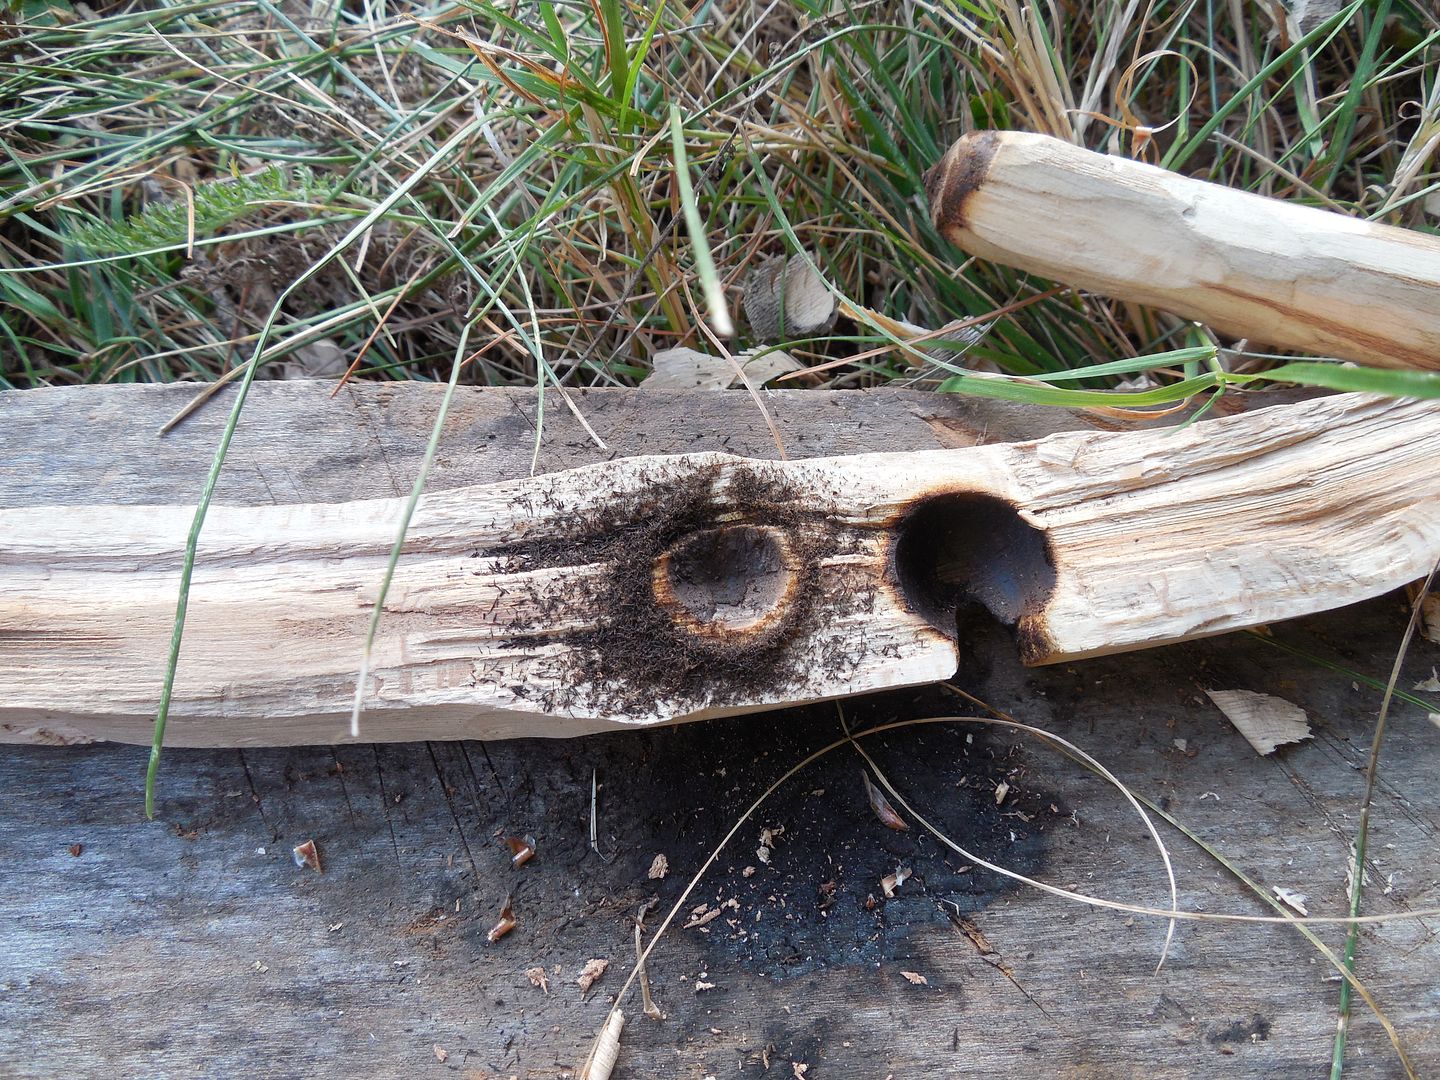
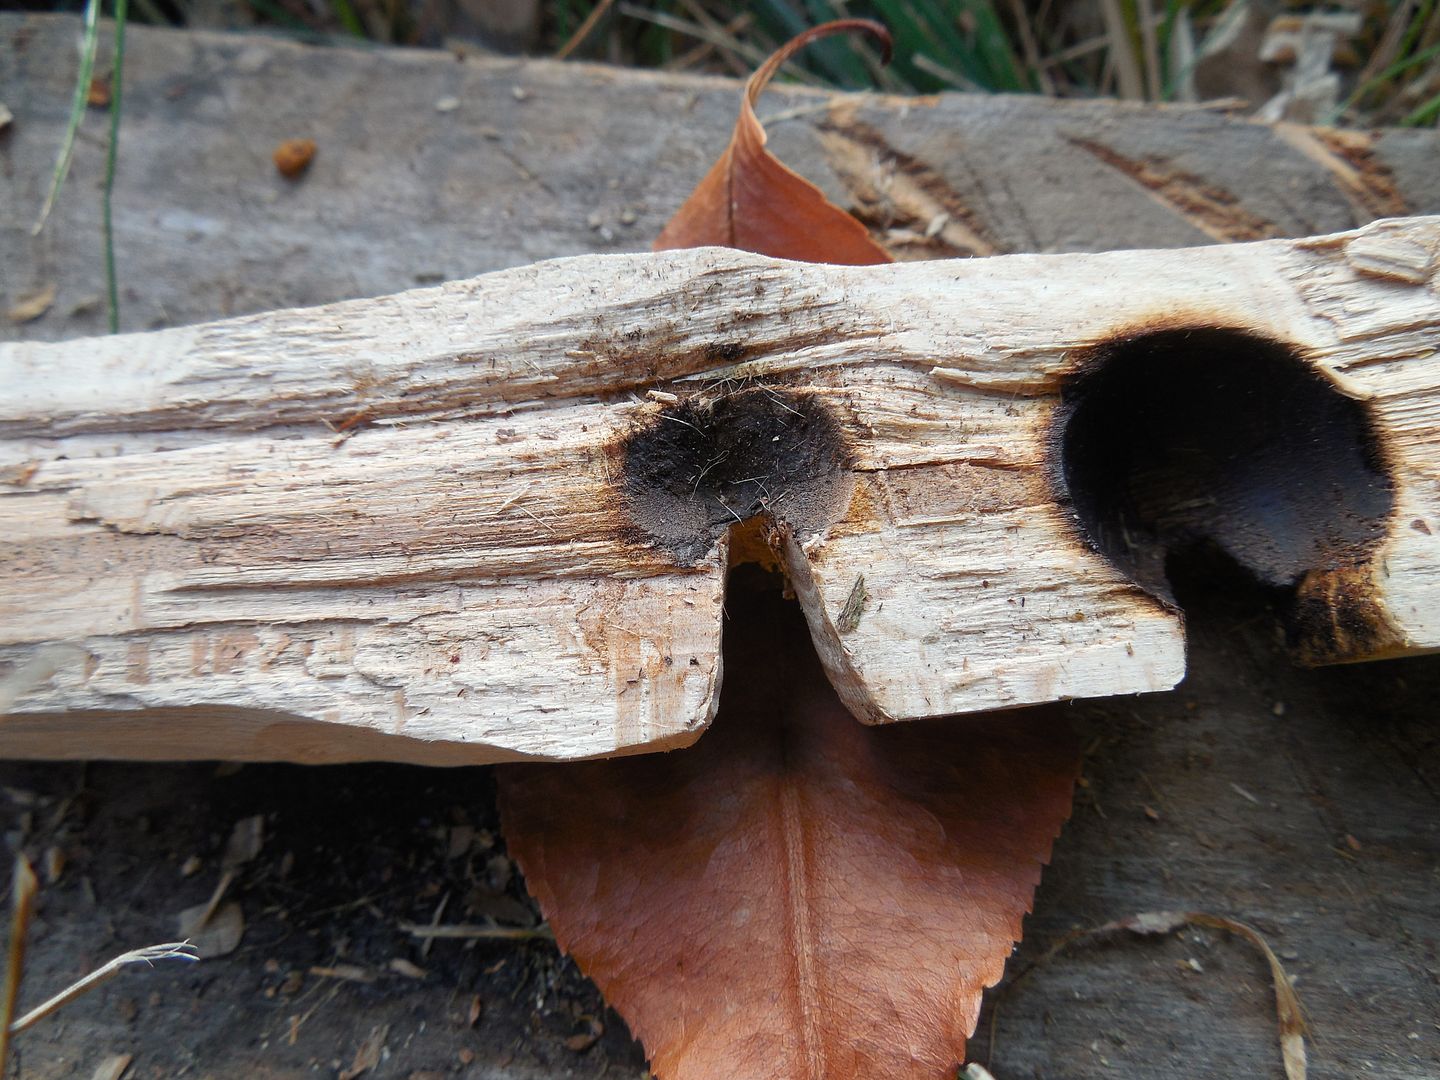
The burn-in. Don't expend too much energy on this. You're just looking to mate the spindle with fireboard. Often this step can give clues as to how the final attempt will go. If the hole is too near the edge the spindle will be more prone to flying out. Rogue spindles are responsible for the majority of cursing and incoherent mumbling when things aren't going our way. Too far back extra work is needed to cut the V-groove.
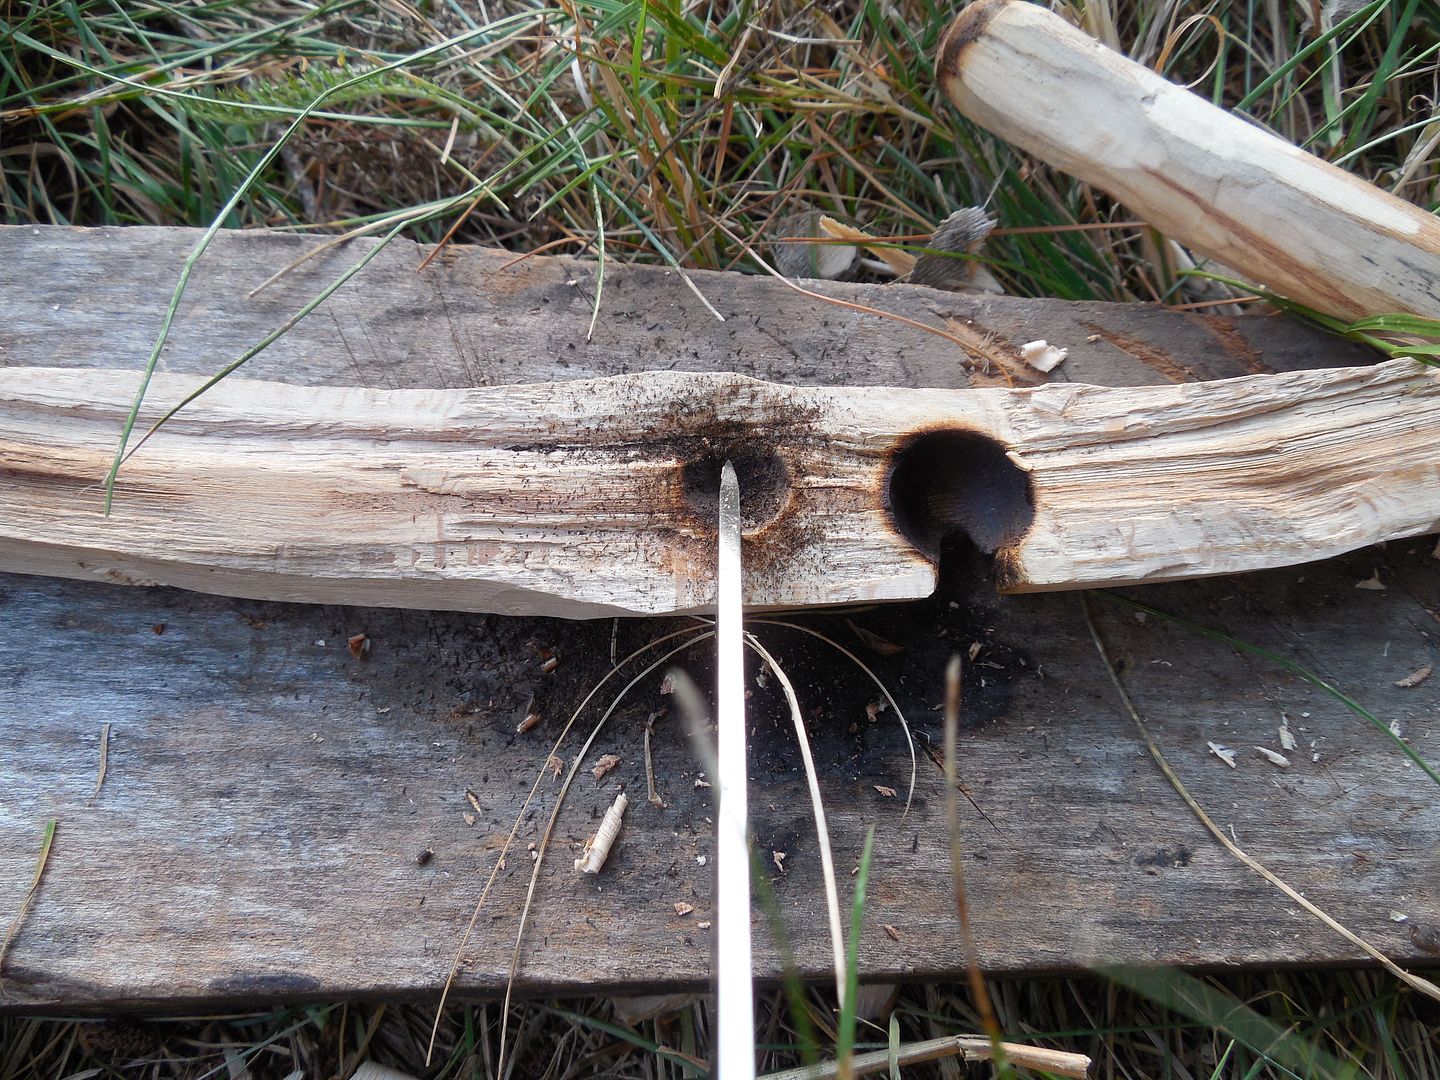
I like to use the knife to mark the center of the burn-in. This way I can cut the V-groove reasonably within the center of the circle. Does it need to be perfectly centered? I guess that depends how OCD you are.
Now I will just remove material from both sides of the mark.
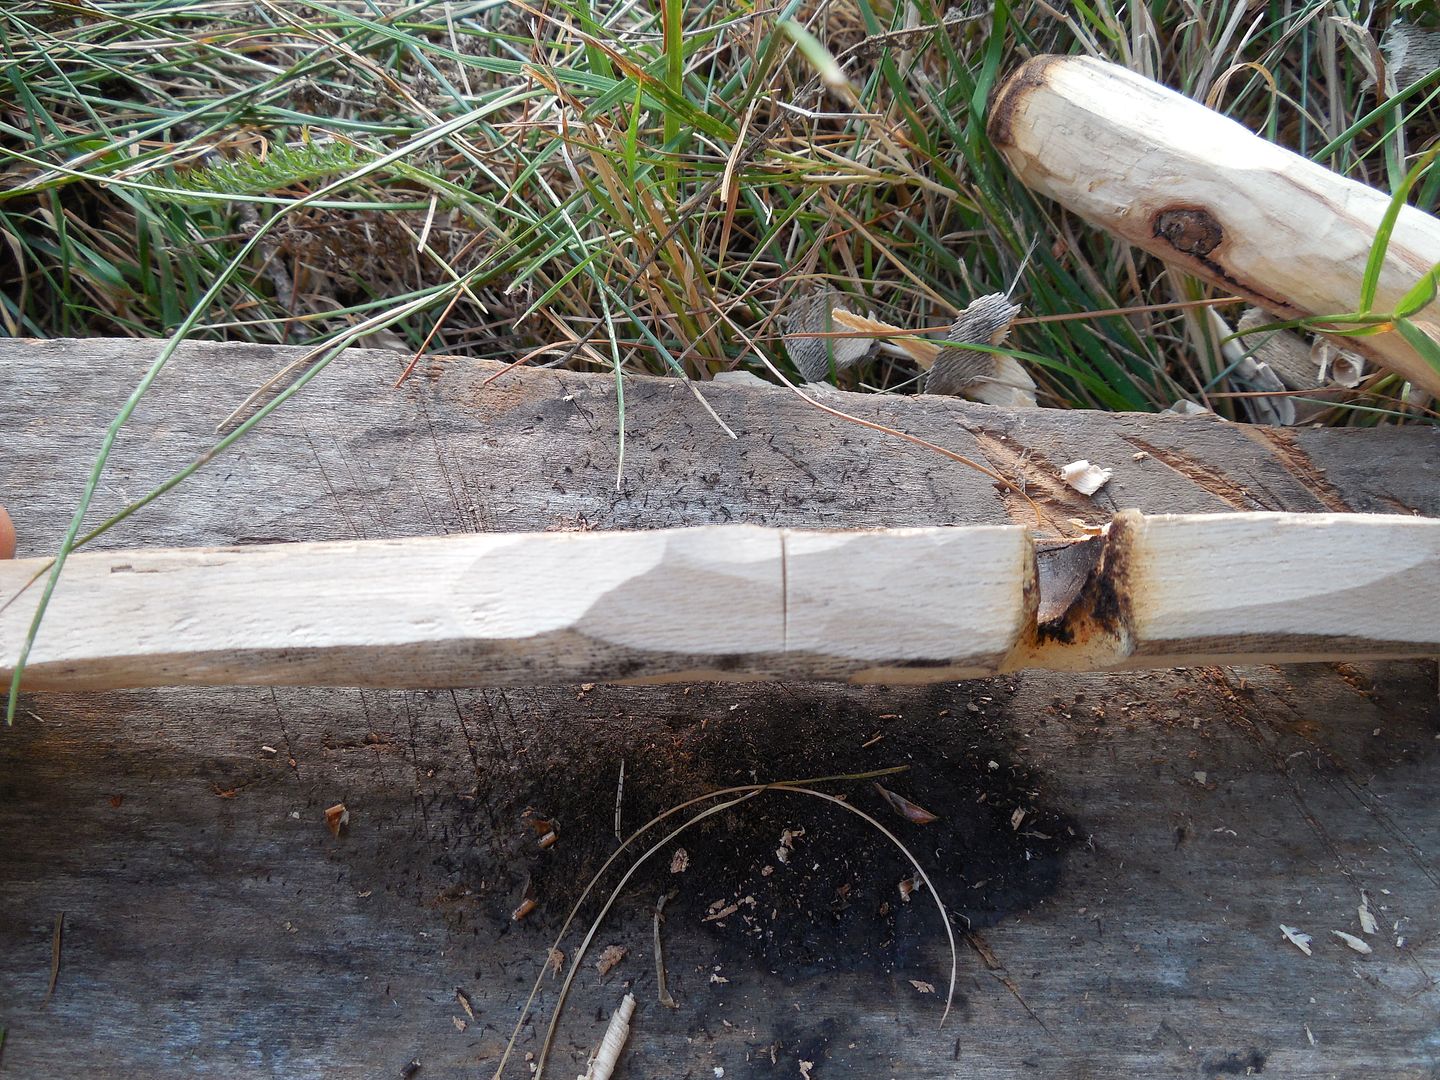
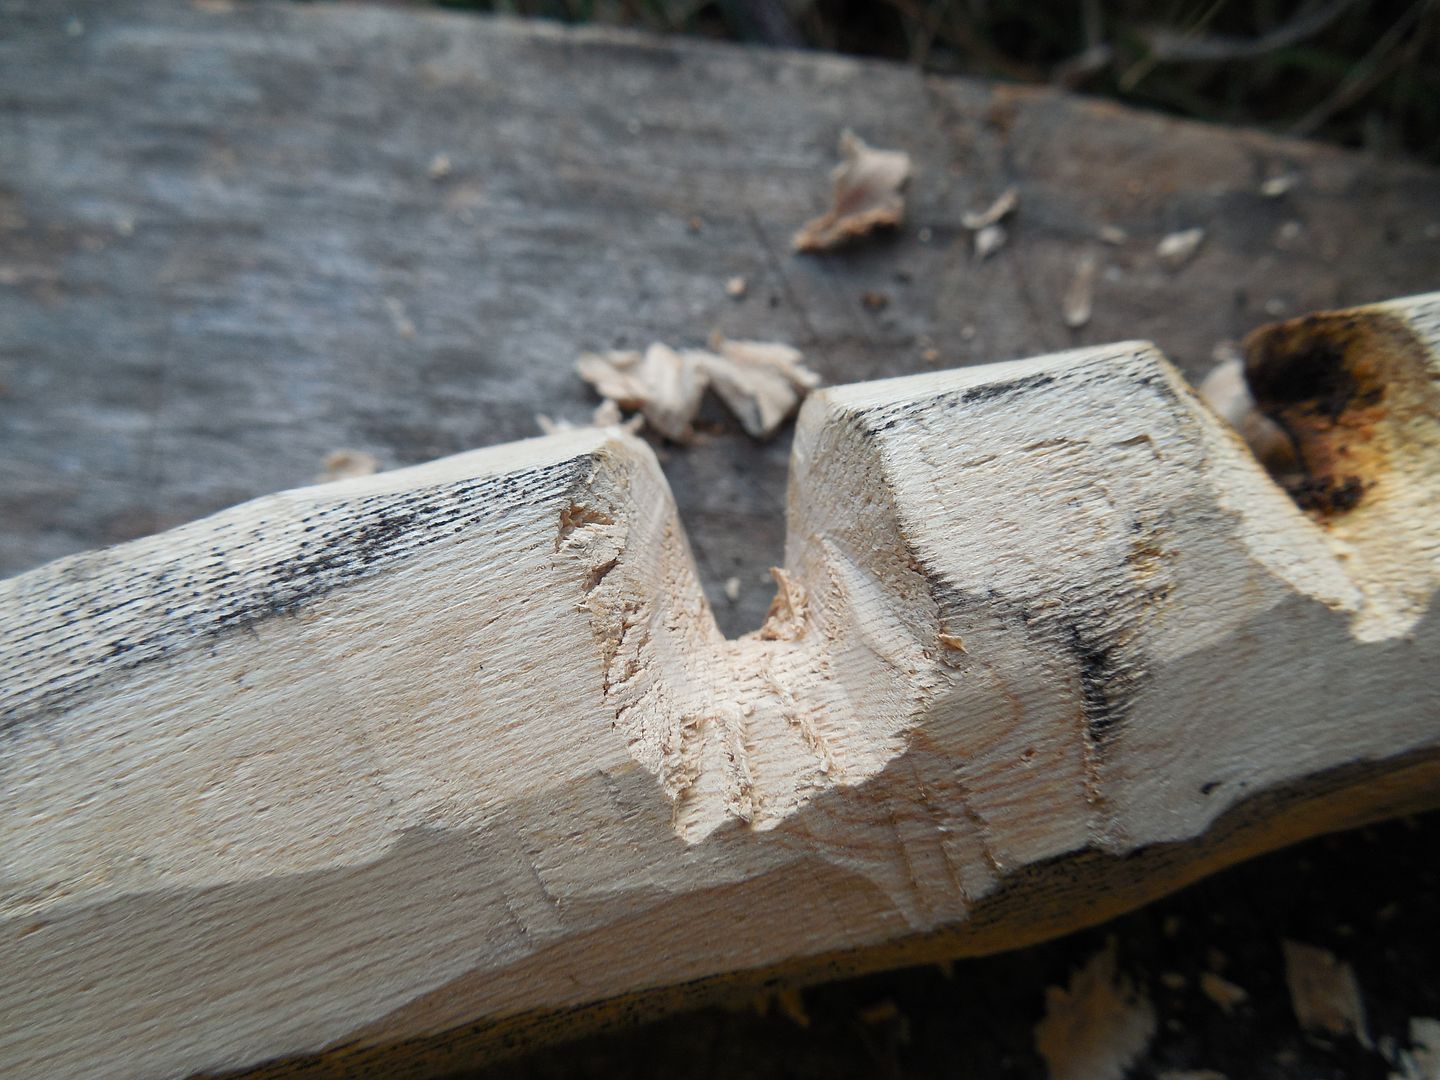
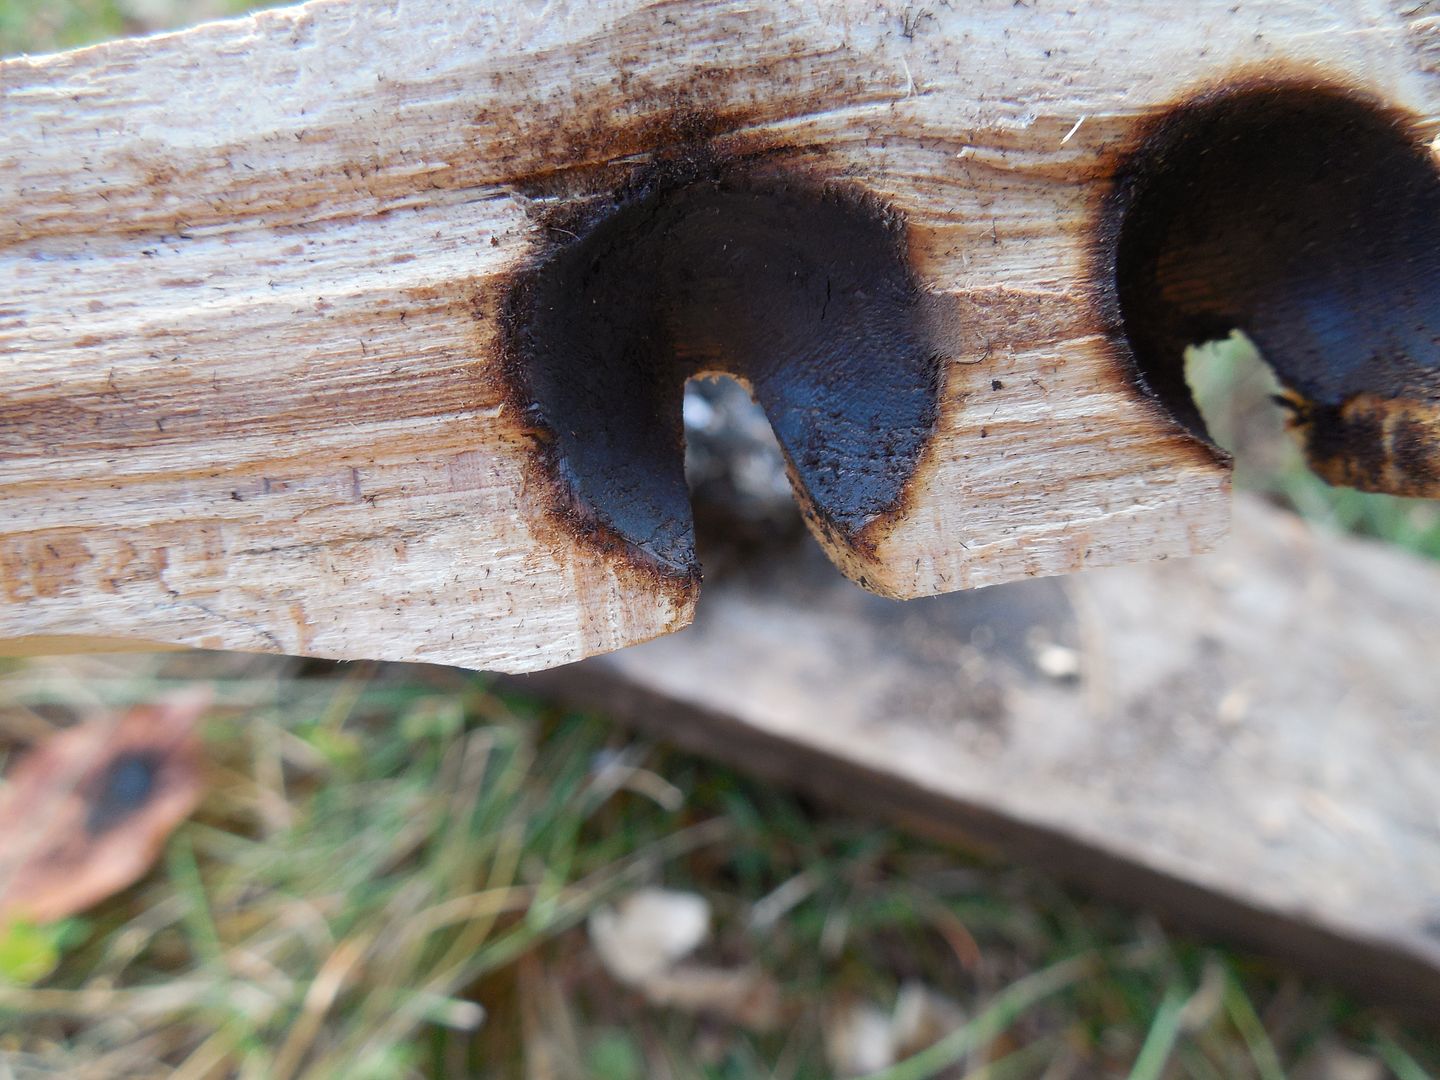
What is the best size for the V-groove? I read it should be something like 8% of the circle but just eye it. I prefer the cut go to the center of the burn-in. Meh.... Good enough.
I like to cut material out of the bottom of the V-groove/fireboard as well. I think this allows more air for the ember and a larger dust pile but then again maybe not. Well in anycase I do it.
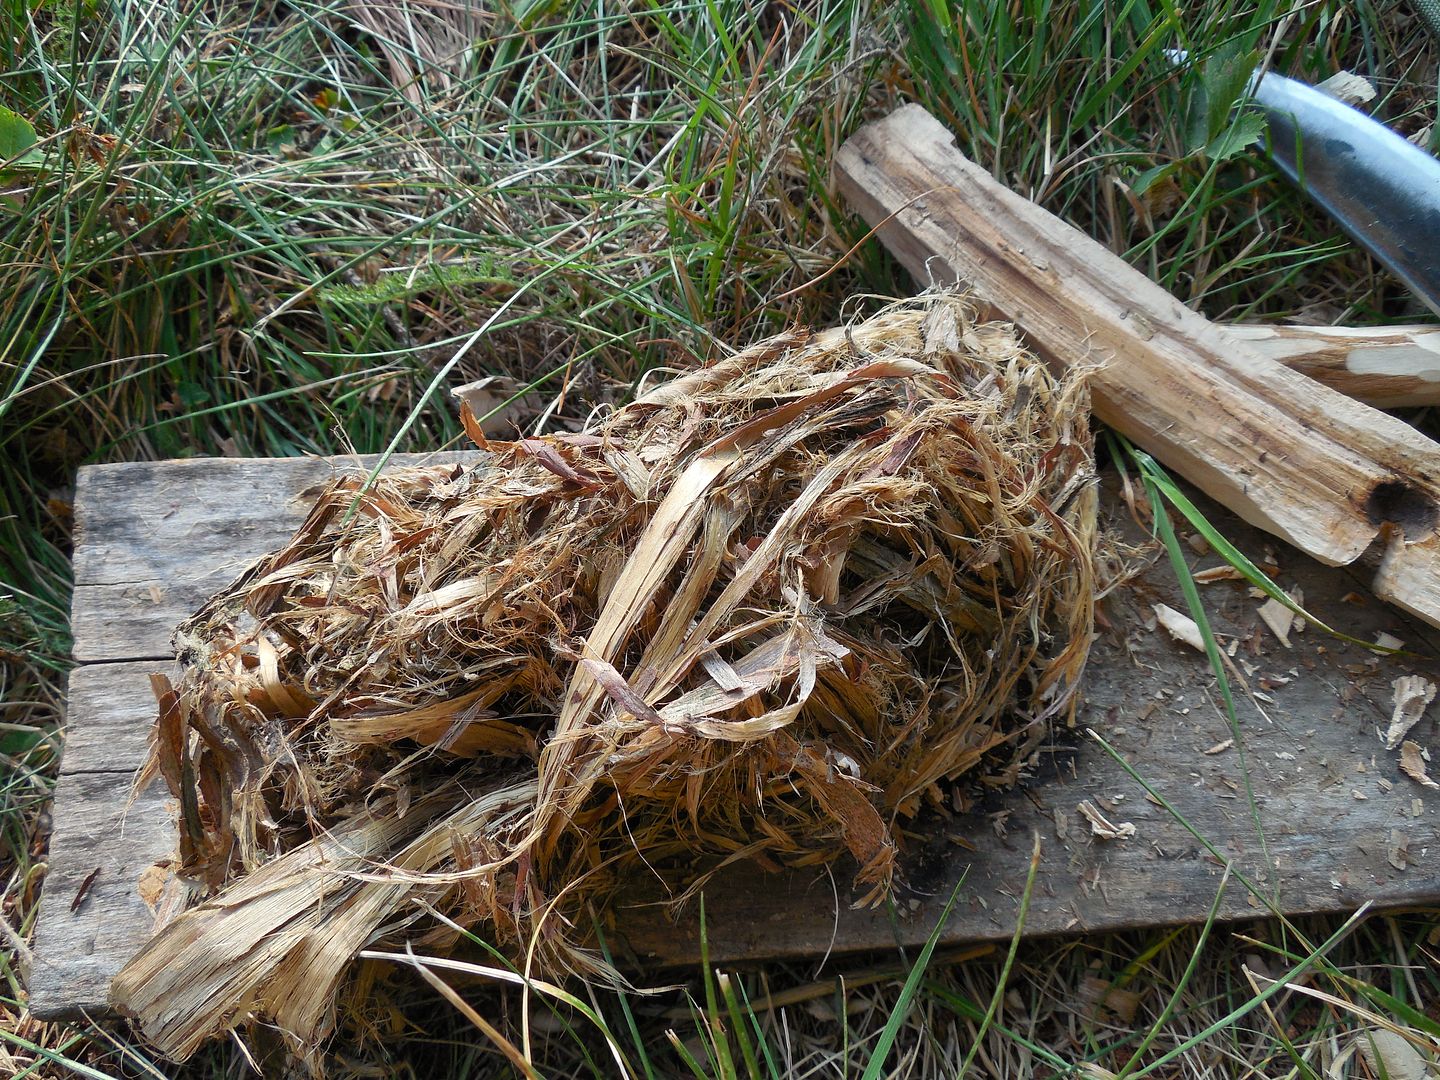
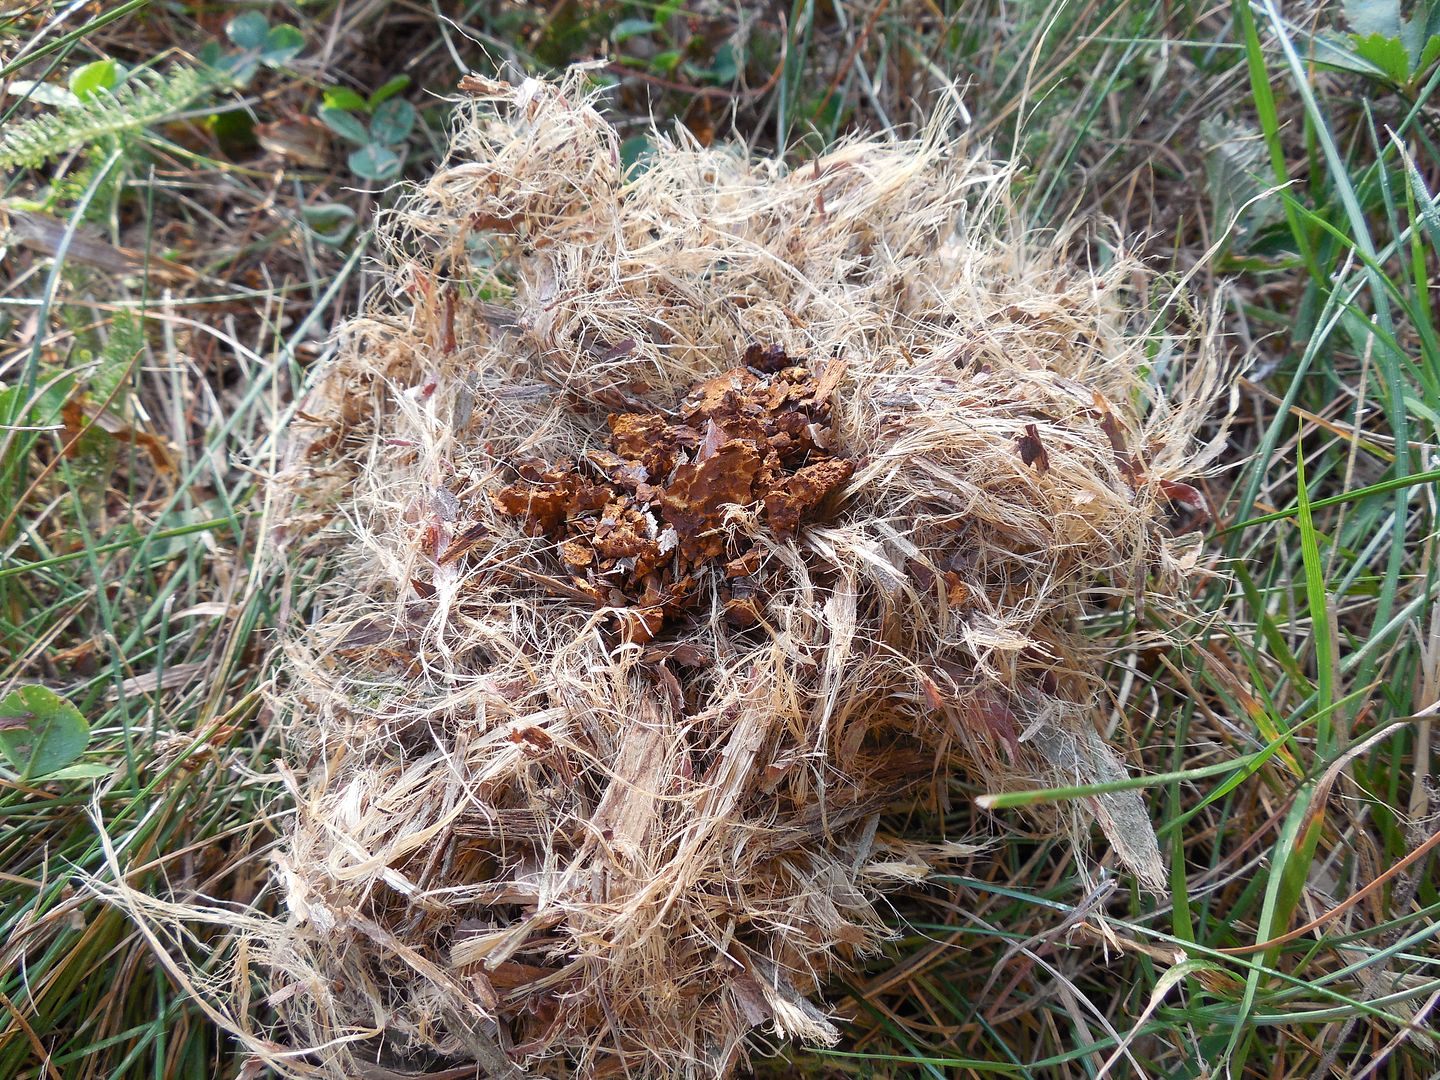
The tinder bundle. I am using cedar bark.
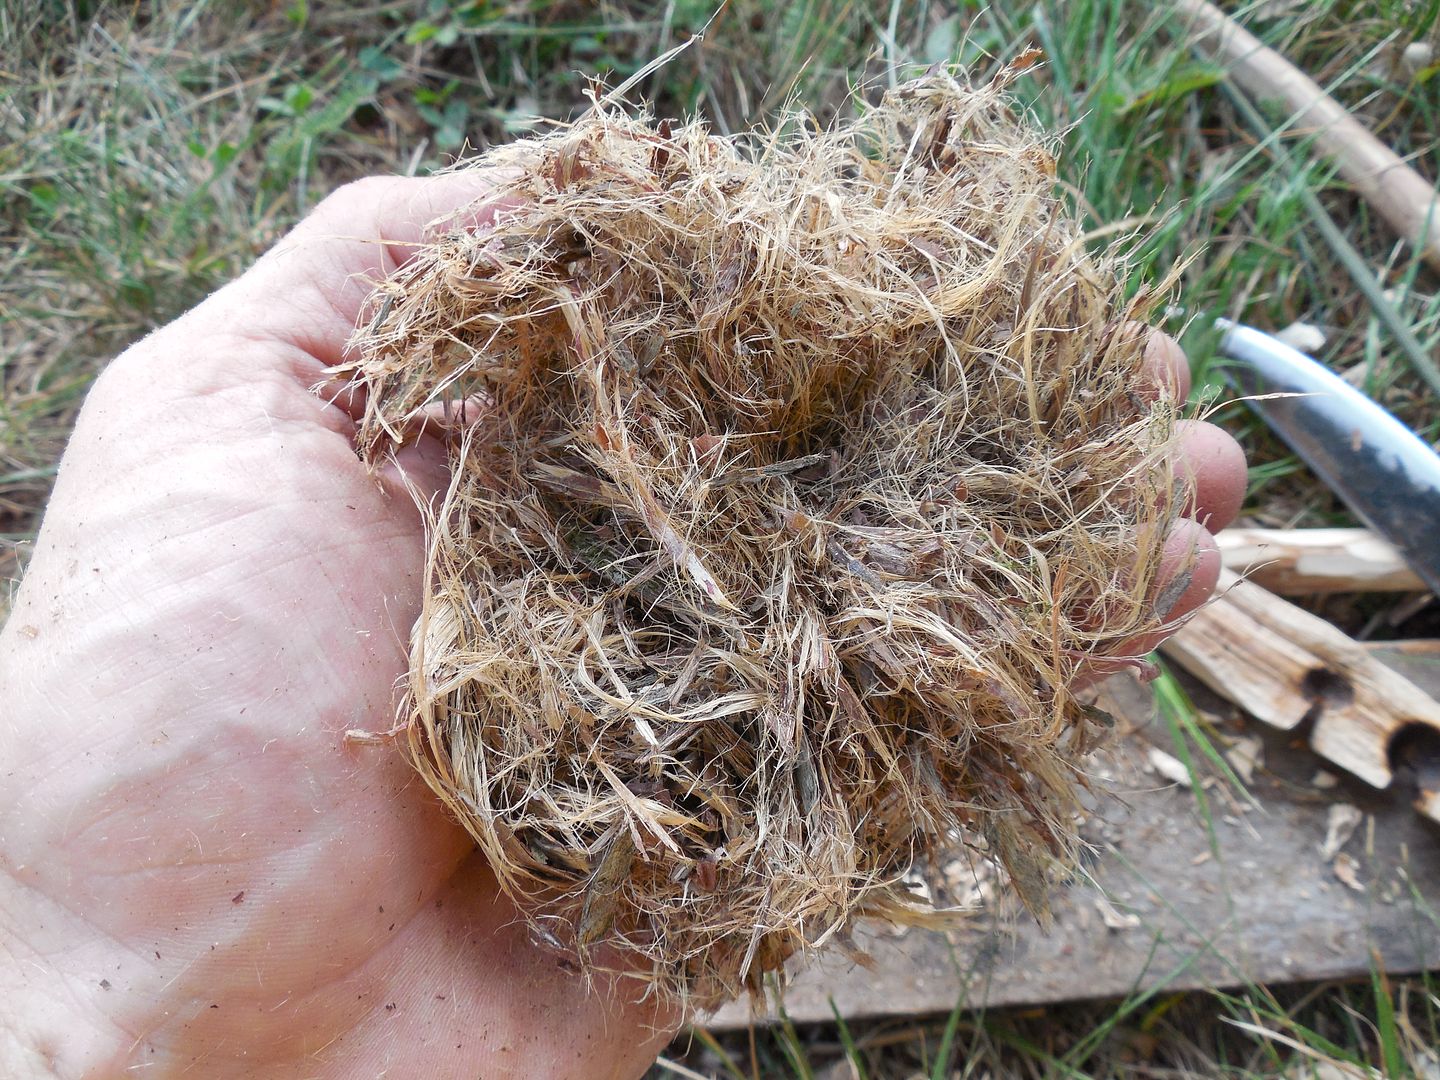
Fluffed up materials tend to catch fire easier and easy is exactly what we want. So fluff away.
Optional addition. A coal extender allows for the small friction fire coal to expand increasing the duration and overall heat of the ember. Even if for some reason the tinder bundle smolders without igniting coal extenders can allow for a second chance without spinning a new coal. I am using chaga but punkwood also works just time.
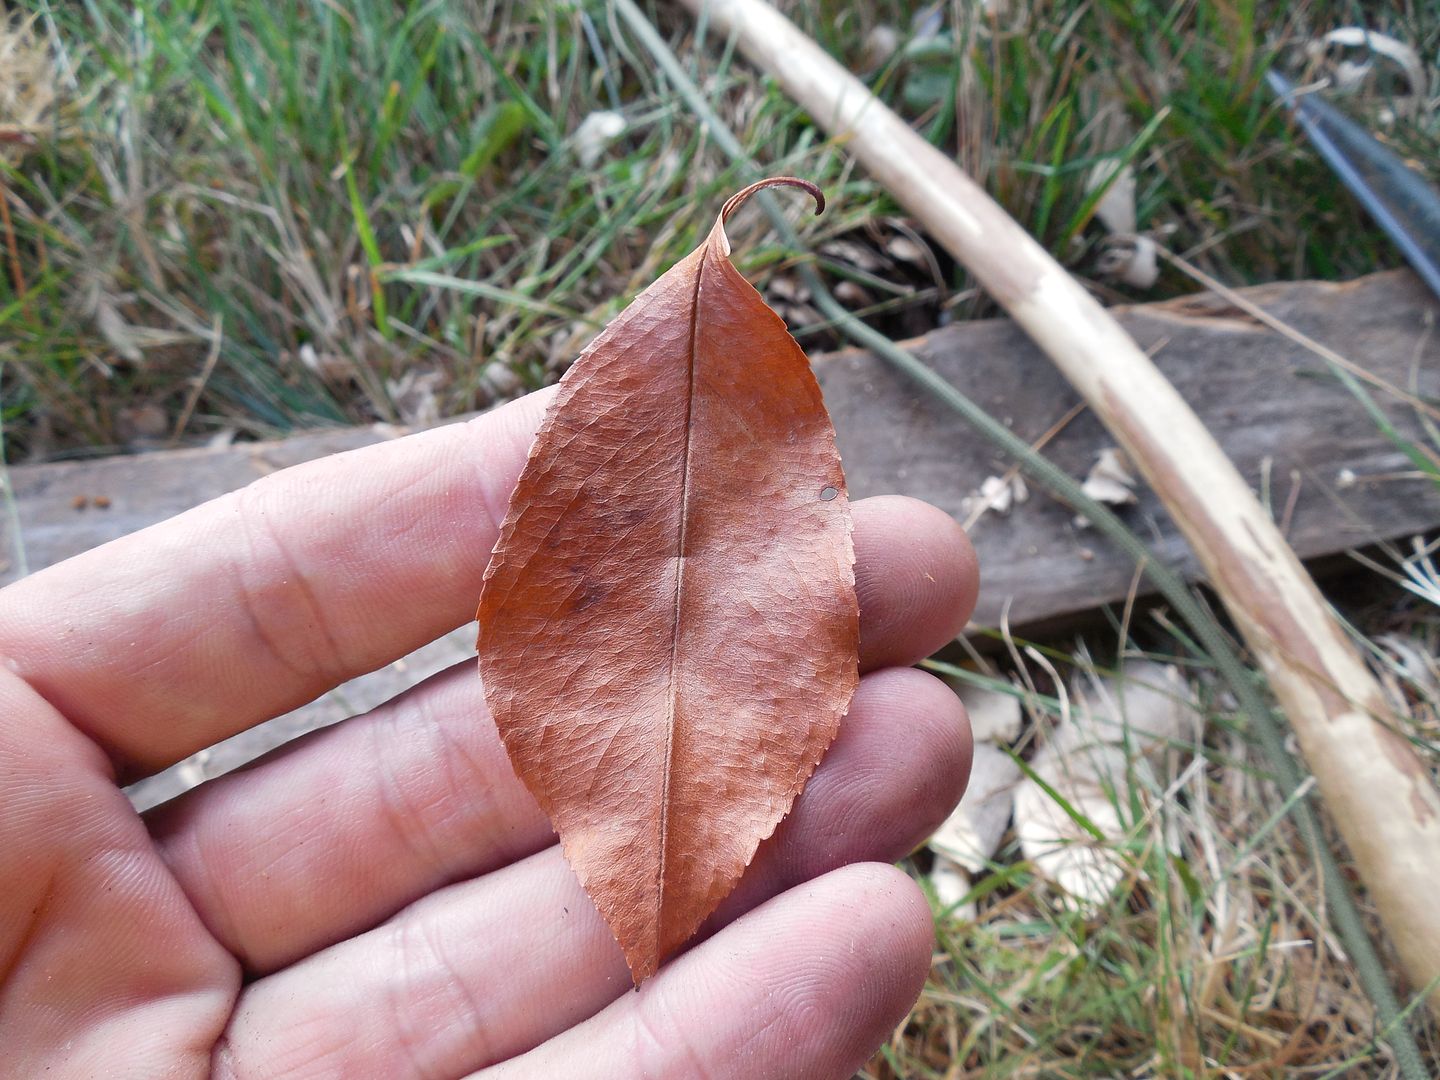
Speaking of coals being an optimist I found this leaf a few feet away.
There we go.
During the burn-in I glazed over the spindle. This will reduce the friction on the fireboard which isn't ideal. I like to shave the glaze off each attempt.
GO! When bowing there is no need work hard at first. Let the dust fill the V-groove as heat builds into the system. Then right near the end put the hammer down speeding things up. This shouldn't be overly tiring. Different sets will dictate how much pressure to apply. Again there are no absolutes.
At this point time is on our side. It's best to sit back, catch your breath if needed and relax. Allow the coal to firm up. Remember we are dealing with a pile of smoldering dust which can burn for some time. When it's ready bring the tinder bundle to the coal, not the coal to the bundle. Notice the ash, a sign the coal is well developed.
If you have coal extenders the odds of success increase greatly if the tinder bundle is marginal.
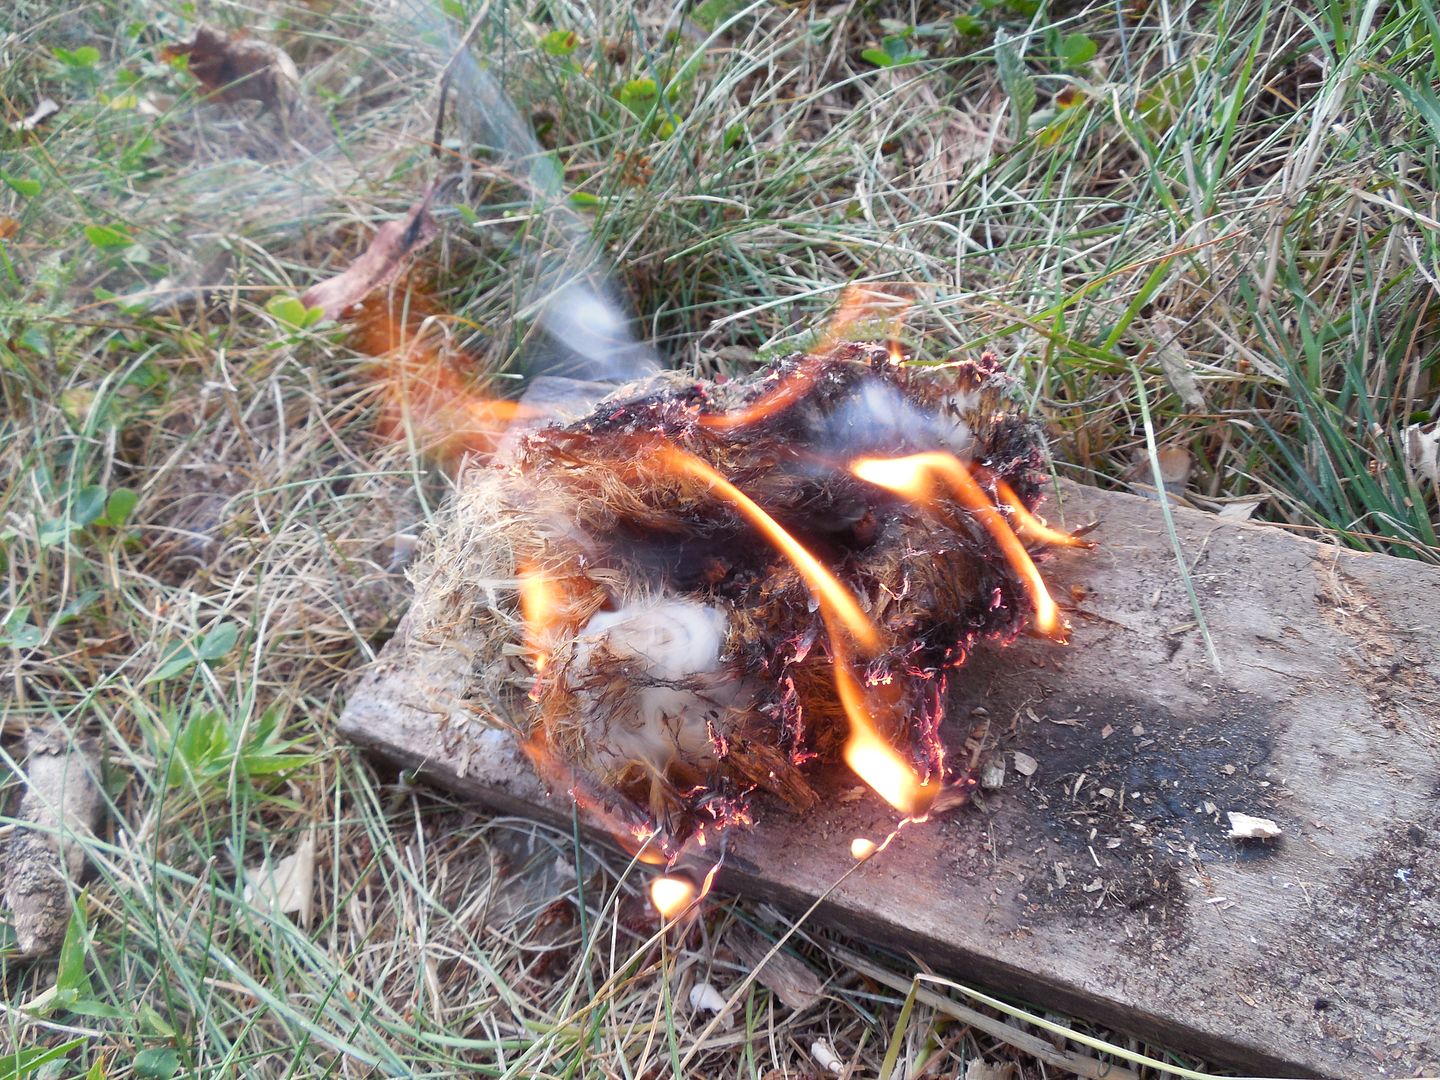
Given the size of the coal, prime materials and processing of the tinder bundle it easily ignited.
Notice how the spindle and hole are charred/glazed over. Before another attempt I would shave the spindle. Some take additional steps but that's all I do.
Extra tips. The bow.
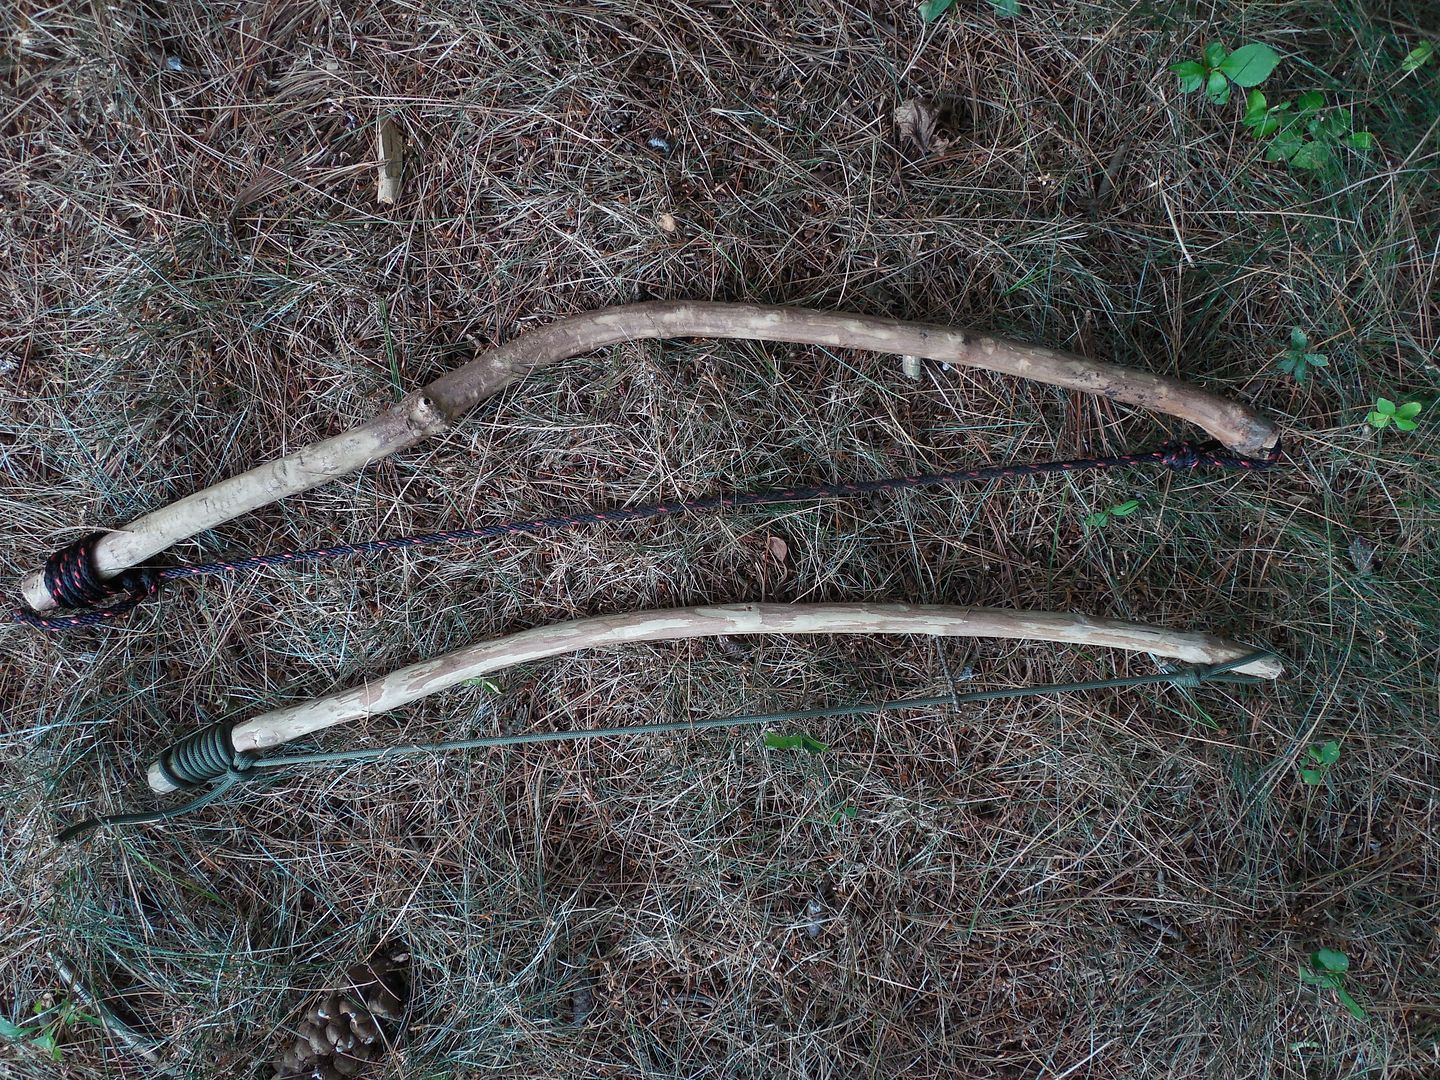
I don't consider the bow a big deal, guessing others agree as it tends to be ignored. That said here is how I make them.
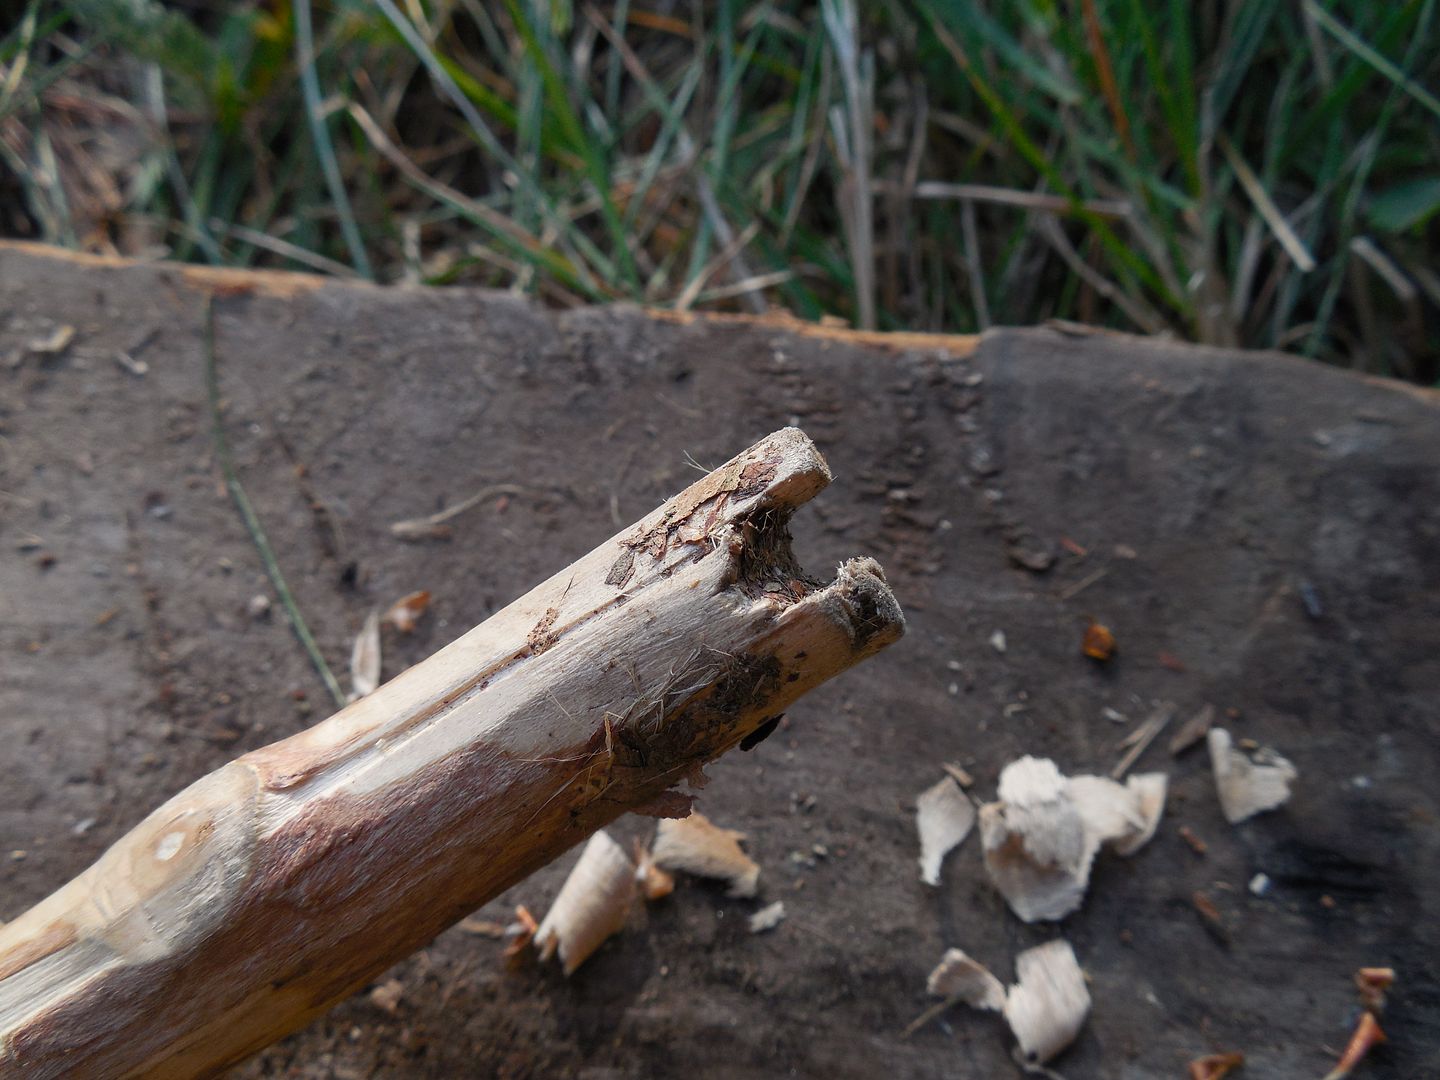
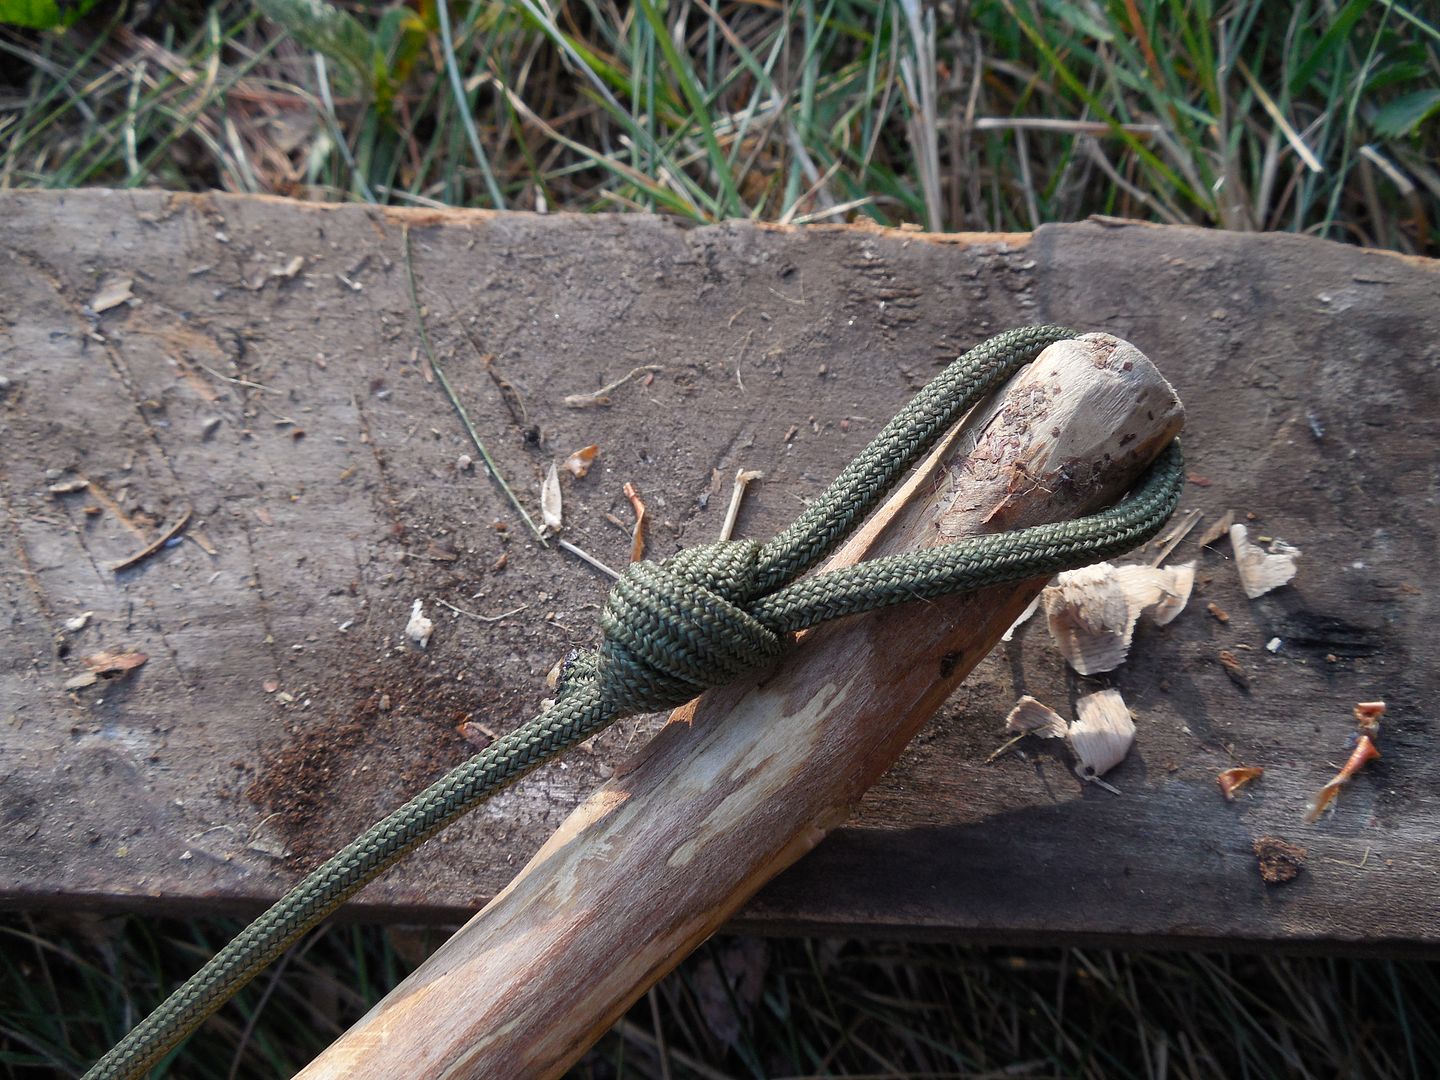
The tip.
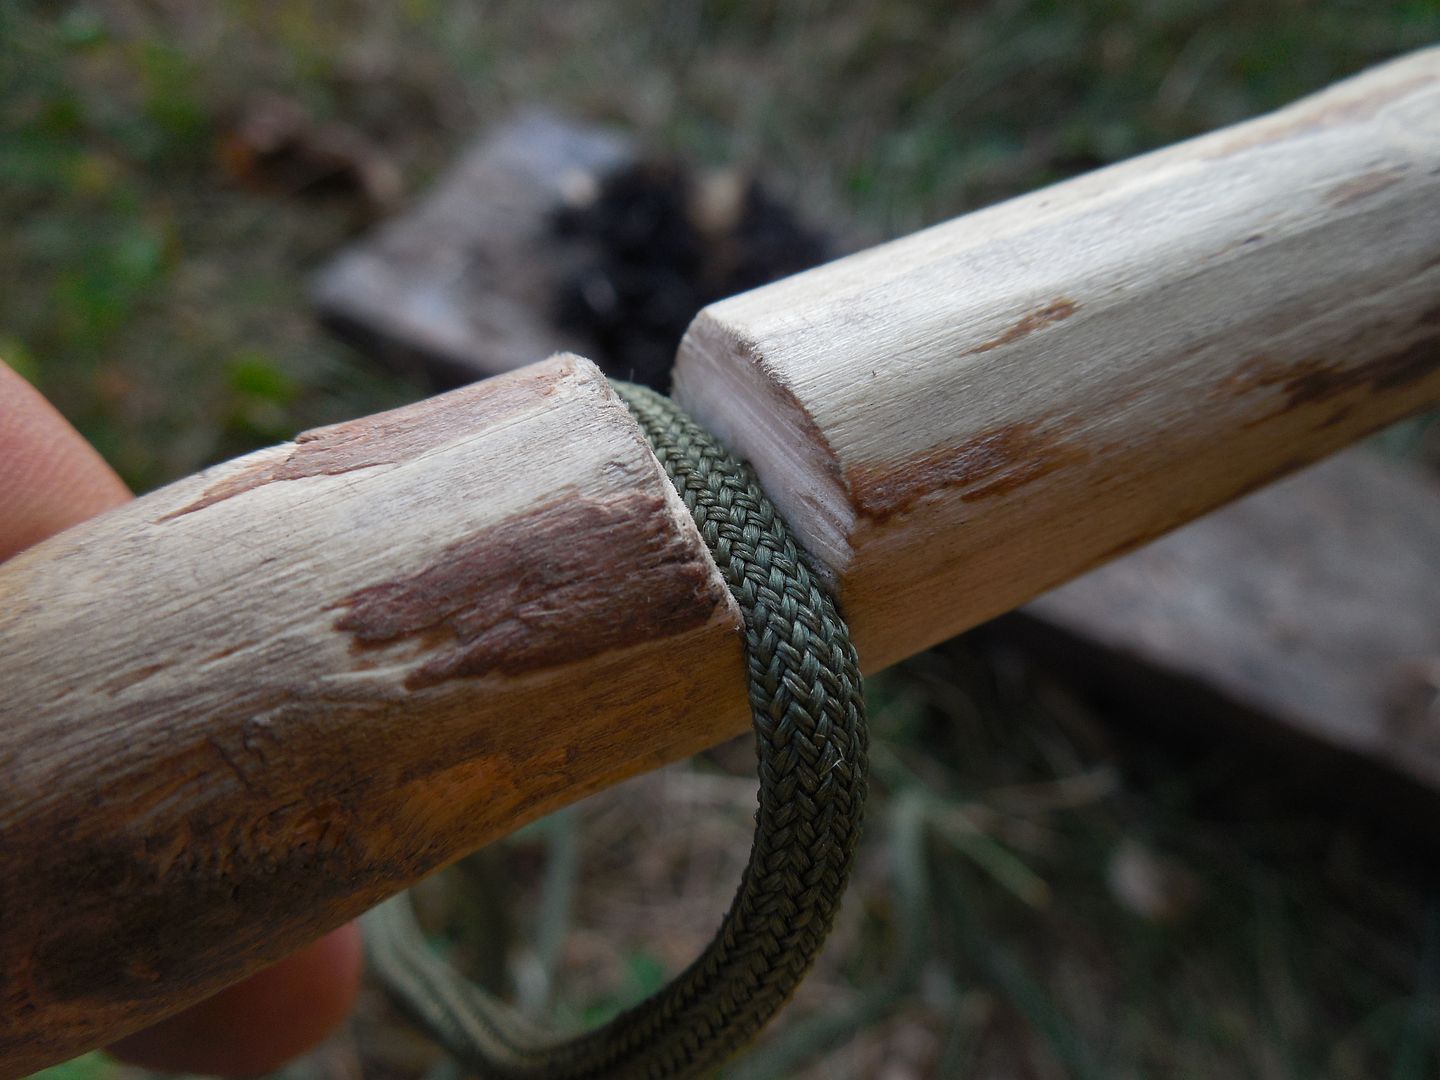
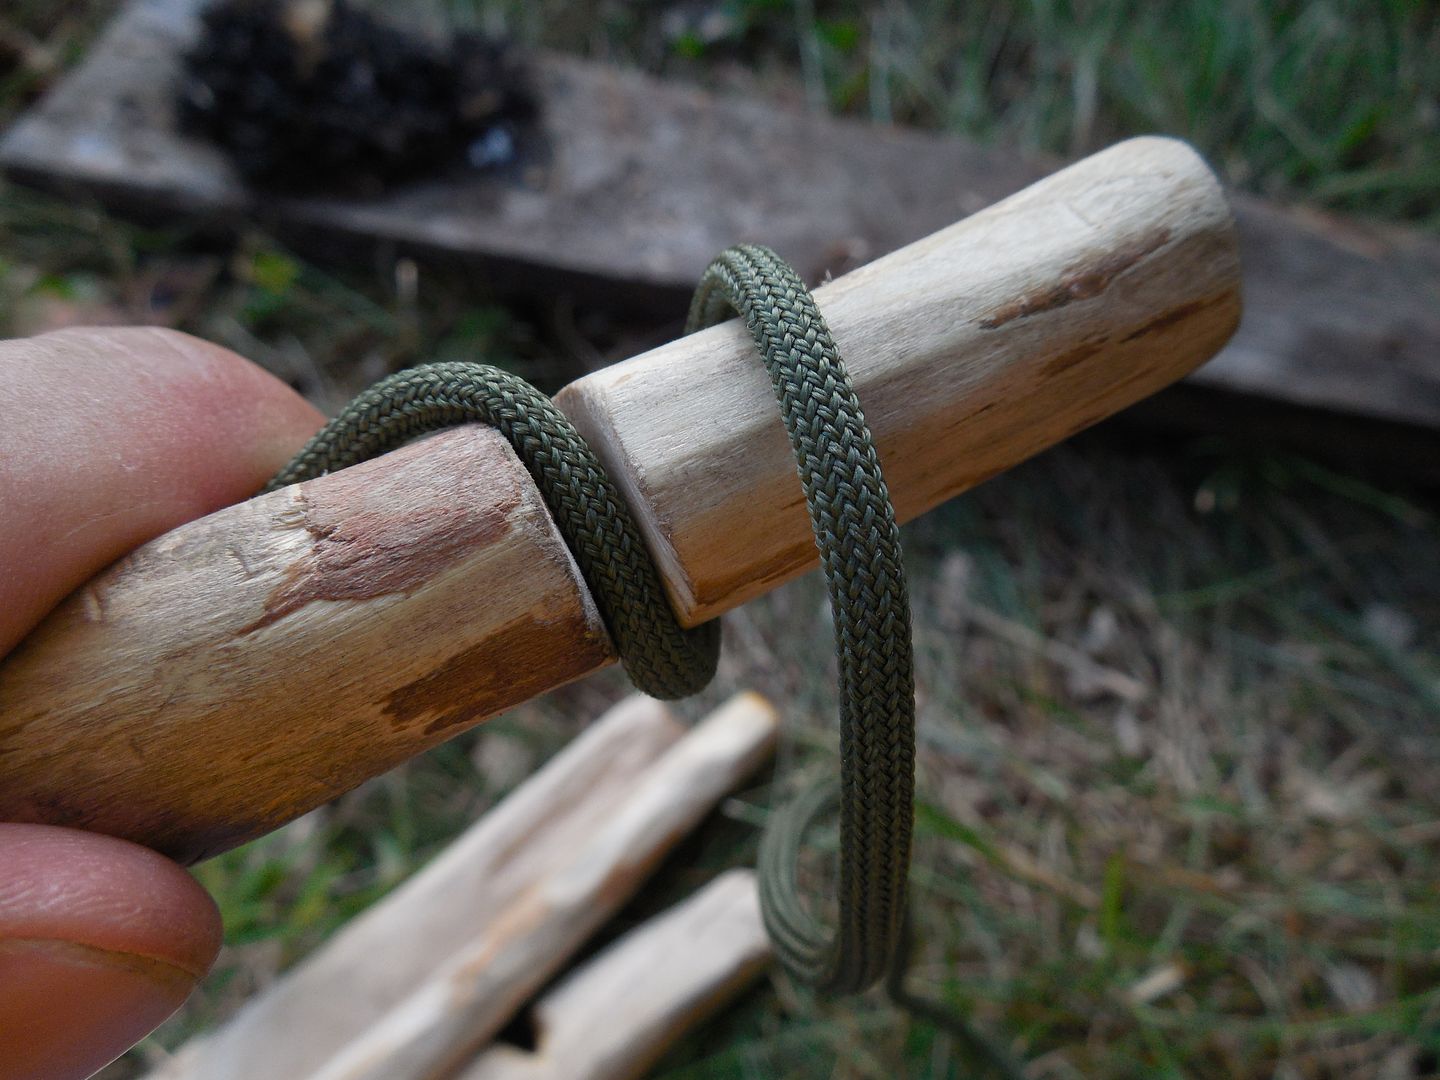
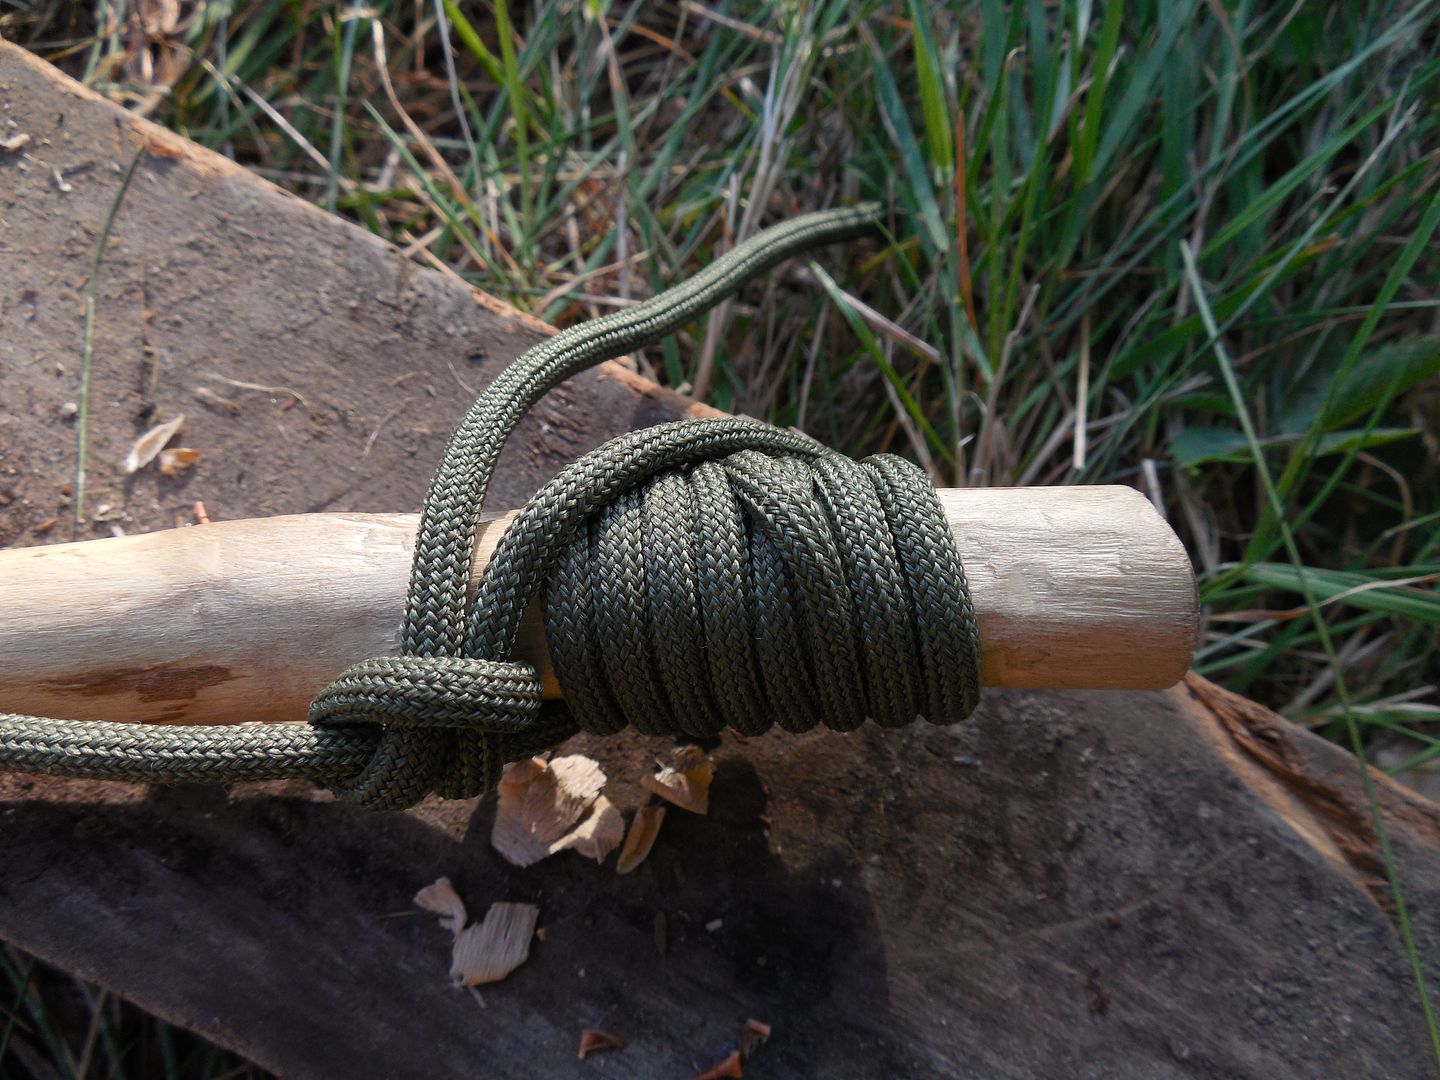
The handle end.
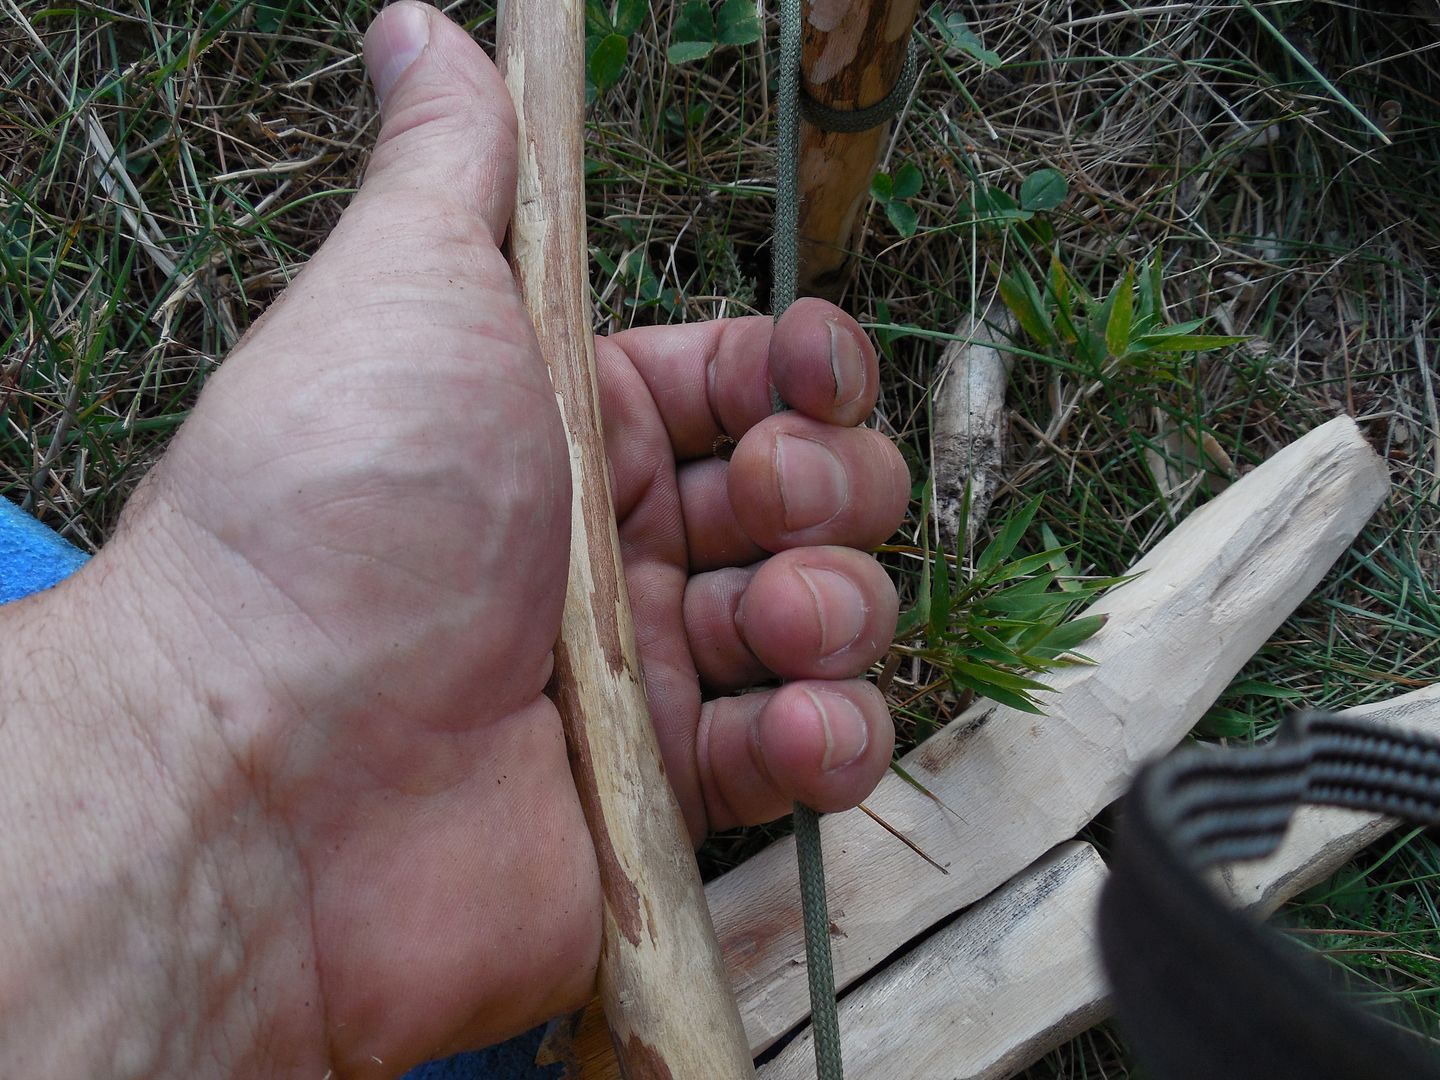
This next bit is the hardest part. Leave enough slack to wrap around the spindle with just the right degree of tautness. Mosquitoes often take professional offense at this and will attack during your fiddling with the adjustment ensuring the cord is either too tight or loose.

I like bow shaped firebows because extra tension can be applied during bowing if the cord slips some. Yes there are ways to accomplish this with a straight bow but that is my preference.
What is the best size for the bow? Just experiment and find out for yourself. Very often materials and personal preference dictates what's best for you.
Or just ignore what I said and break a stick off a tree because we are talking about sticks after all.

The Bearing block.
Probably the most problematic part of the set. It must have lowest possible friction compared to the fireboard.
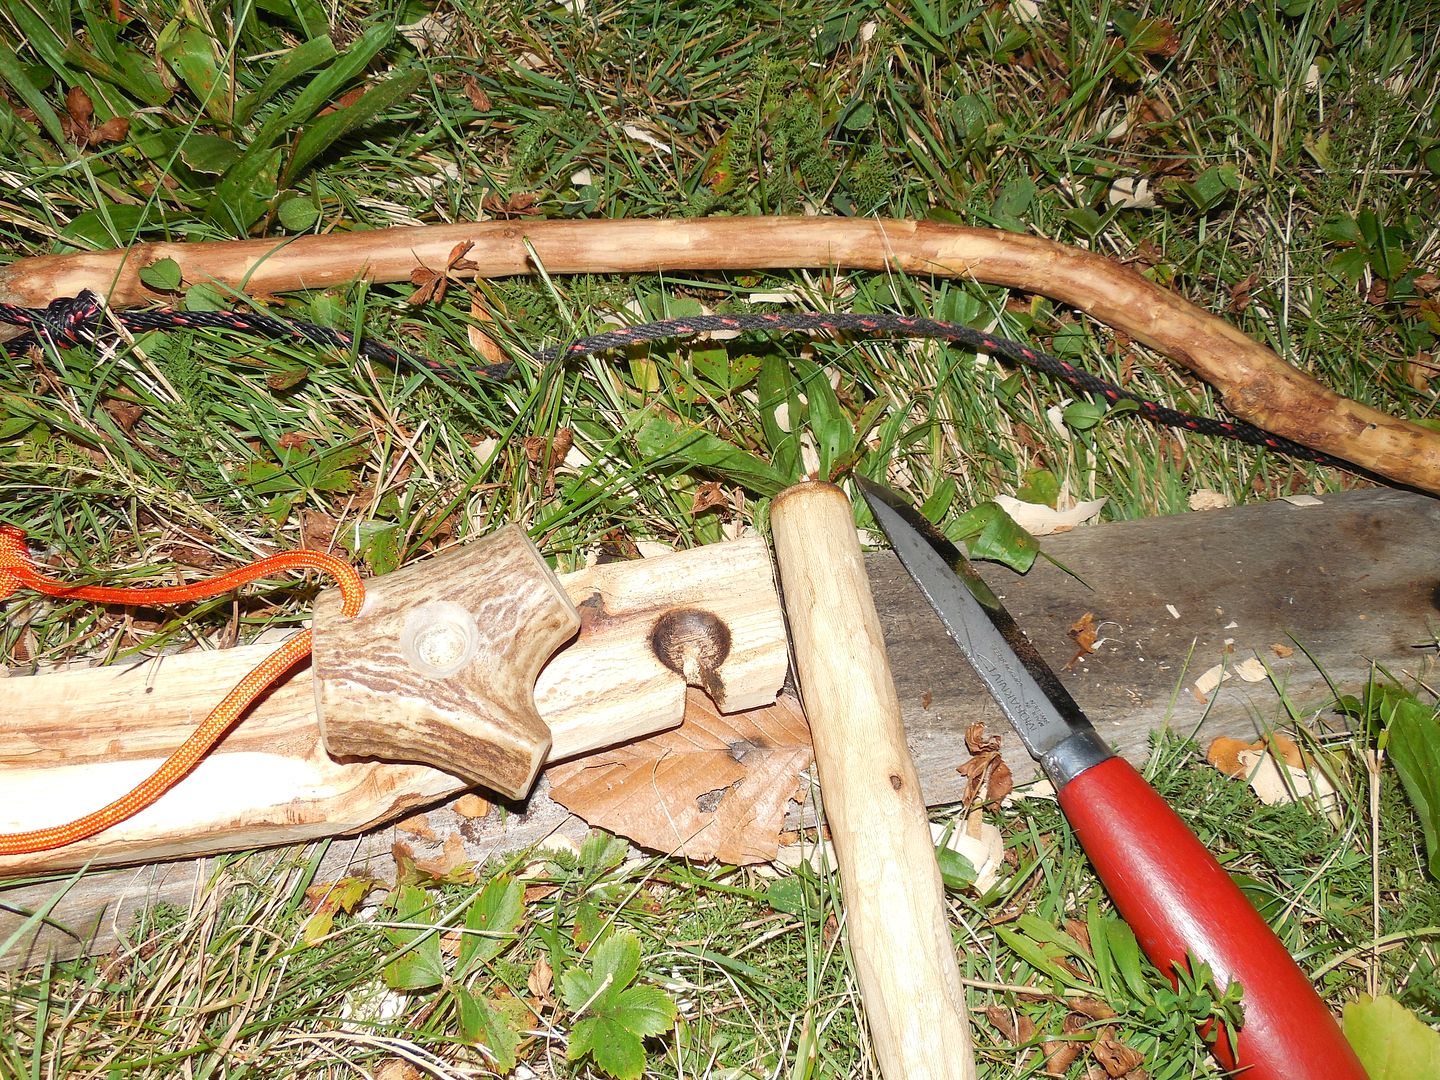
Antler works.
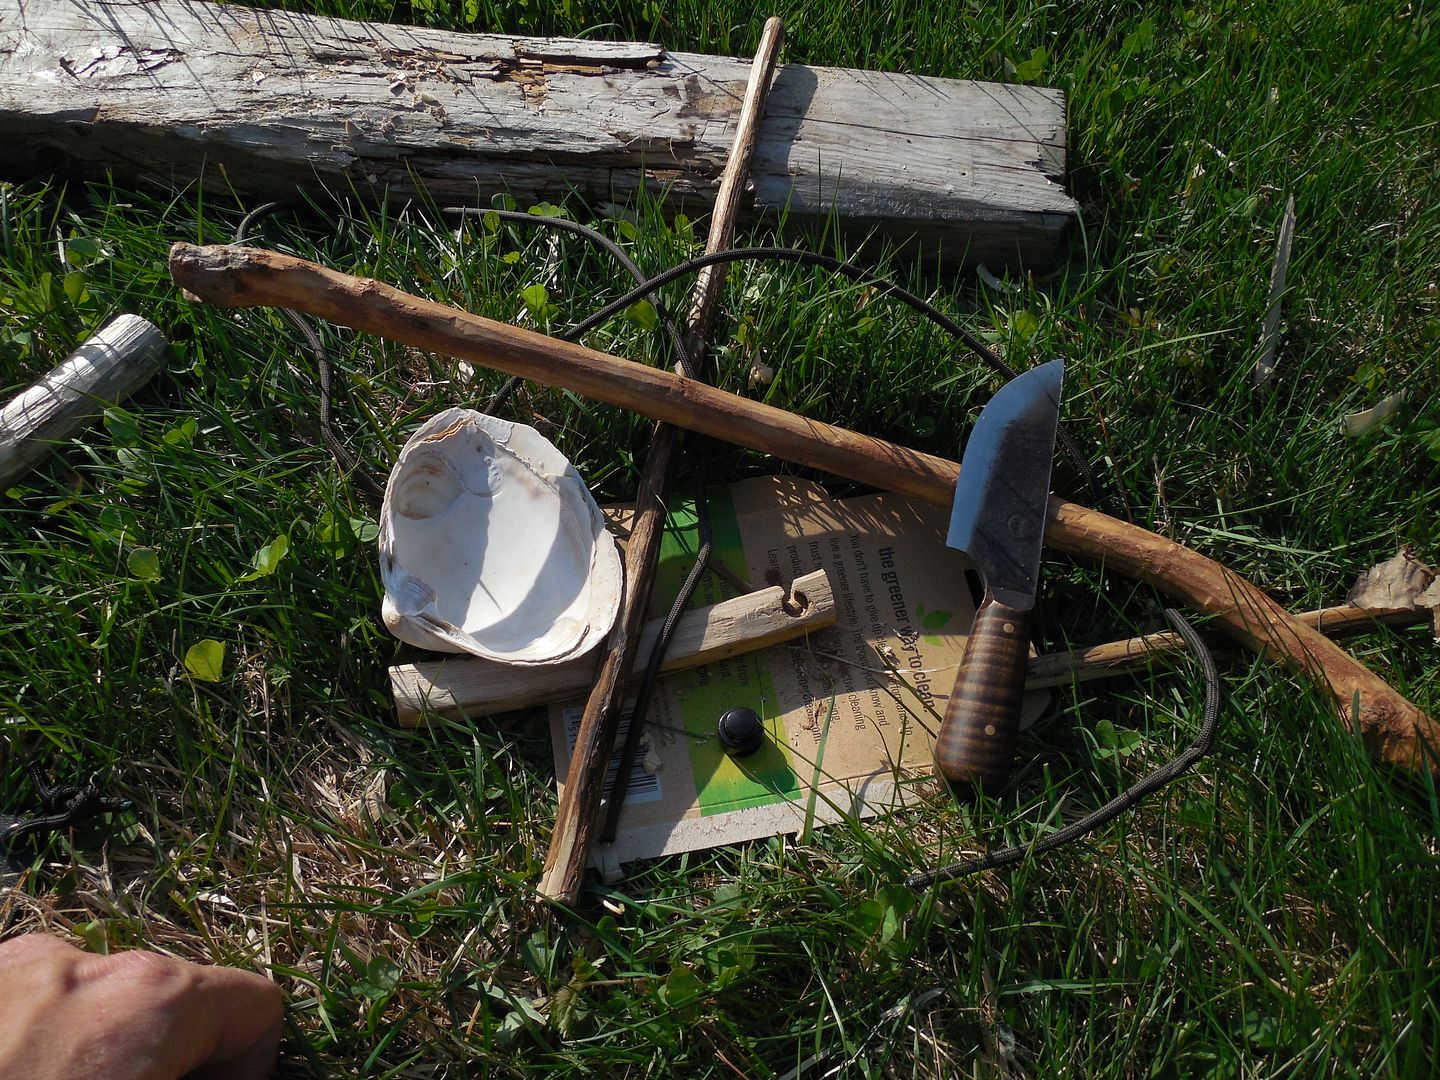
Shells can work.
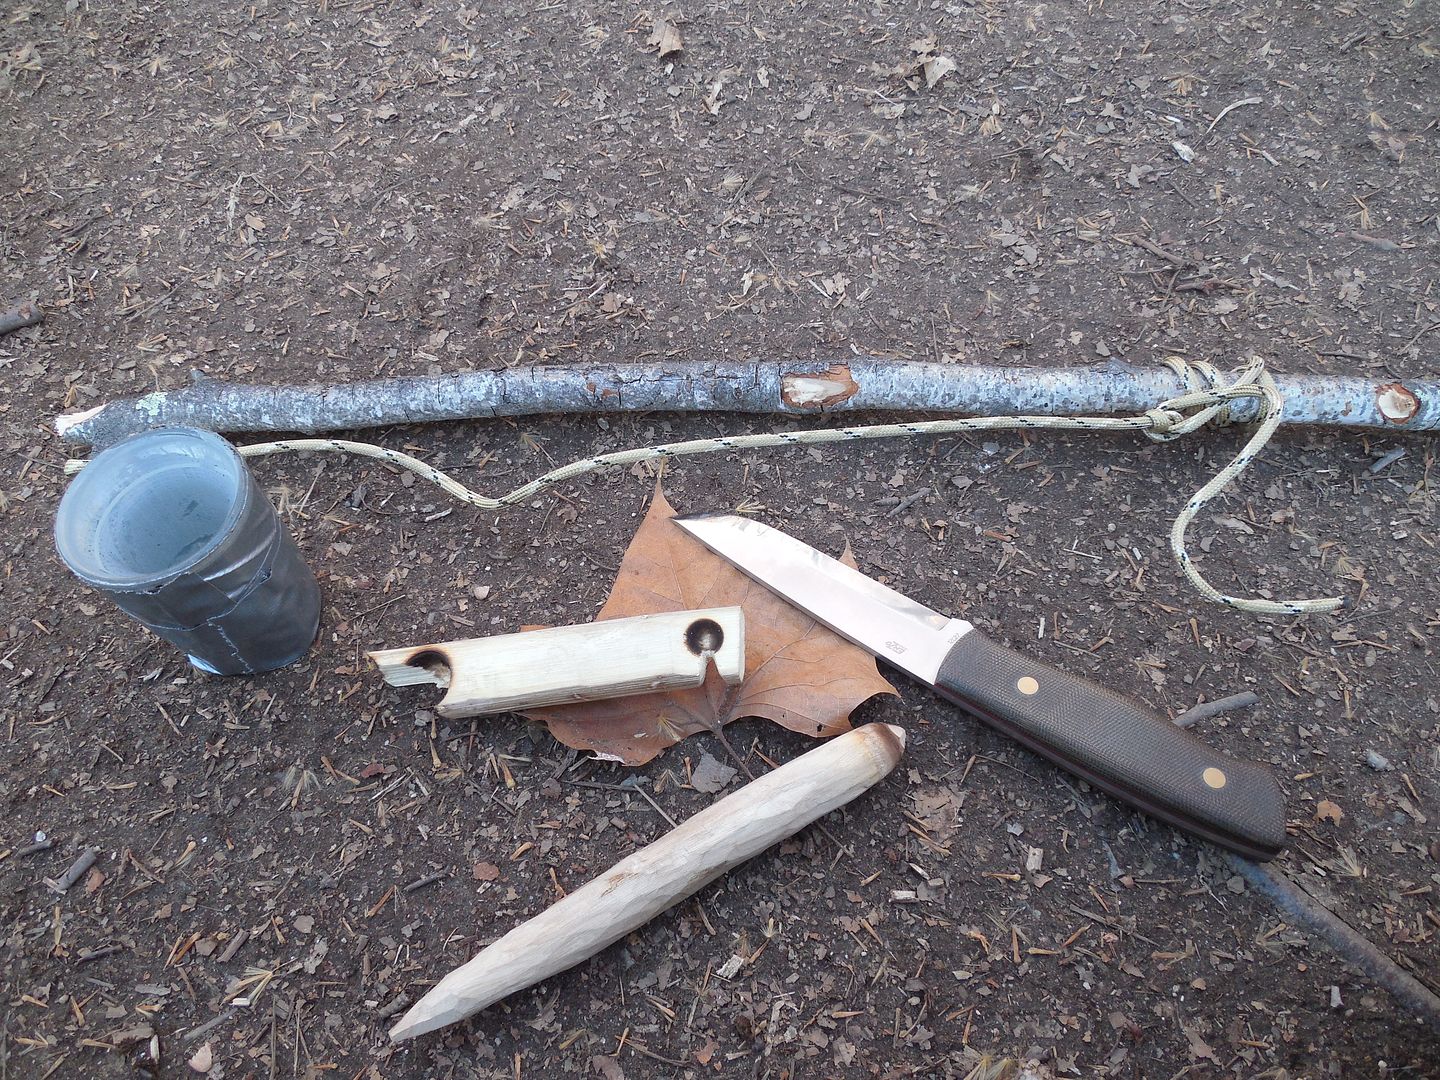
Glass works great.
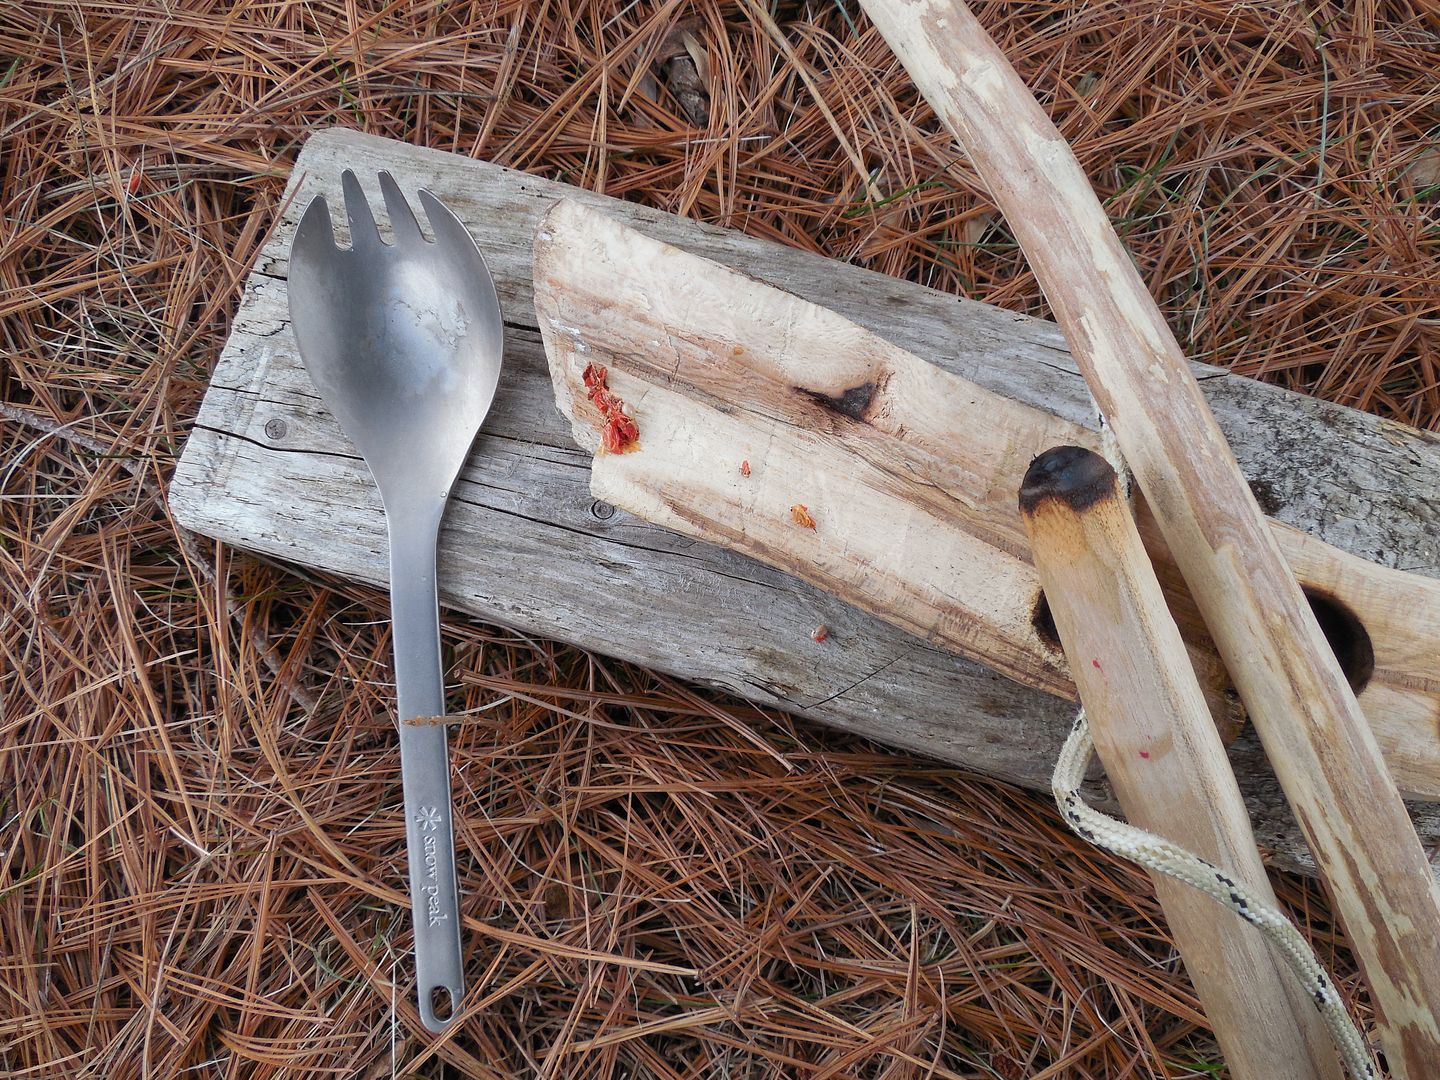
Spoons work.
Wood can work.
The key is less friction on the bearing block more on the fireboard.
Some final thoughts.
1. Don't get married to a set. If it fails over and over again make a new set.
2. This isn't a race. Who cares how long it takes to get a coal. The only person you need to best is yourself. I stopped caring about how much the guy next to me at the gym can bench sometime back in high school.
3. Proper form trumps physical strength and good cardo. It shouldn't be all that physically demanding.
4. A good proven set is more reliable and temporarily resistant to poor weather than one might expect.
5. Pack at least 3 ways to start a fire because sometimes it just won't work. Why? Perhaps you insulted the Fire Gods. Who knows but in any case we invented matches and lighters for a reason. That said knowledge adds no pack weight and there is something empowering about knowing this skill set.
6. If you fail 3 times during an attempt the odds are stacked against you. Change something up because the same actions again might produce the same results. Also take a breather.
That's all for now. Thanks for looking.
Sycamore I gathered during nocturnal creeping a few days back. Notice I already spun a coal so know it's a good proven set. You don't have to make a new set each time to "learn the true method" or whatever. I think this is a product of survival TV shows. Anyone think our ancestors really made a new set just before they needed a fire? Some how I think they had a proven set in their fire kits searching out materials for a new one before required. That said I will make a new set every now and then when out for a hike as it's something to do. Also if you want to make a new set each time then have at it. To each their own.

How long should the spindle be? How thick? The answer is you're asking the wrong person. Your personal preference and materials dictates what's going to happen. Sycamore has knotty kinked branches so by necessity this spindle is a bit shorter than I like. But it is what it is. The end drilling into the fireboard is bunter than the end facing the bearing block. I want more friction on the fireboard, less on the bearing block.

Using my knife to created a small notch in the fireboard for the burn-in. Despite some knives being a little easier to drill with if your knife is made of metal and has a point odds are it will drill into wood just fine. What are the ideal dimensions of a fireboard? The answer seems to be whatever works given what's available. If too thin and narrow the spindle could drill through or fly out.

You don't want the cord too near the fireboard or bearing block. What's really important is to keep the bow level during drilling. This way the cord won't wander up and down the spindle.

Ok IMHO this is probably the most important part. Use your leg to support and steady the hand holding the bearing block.


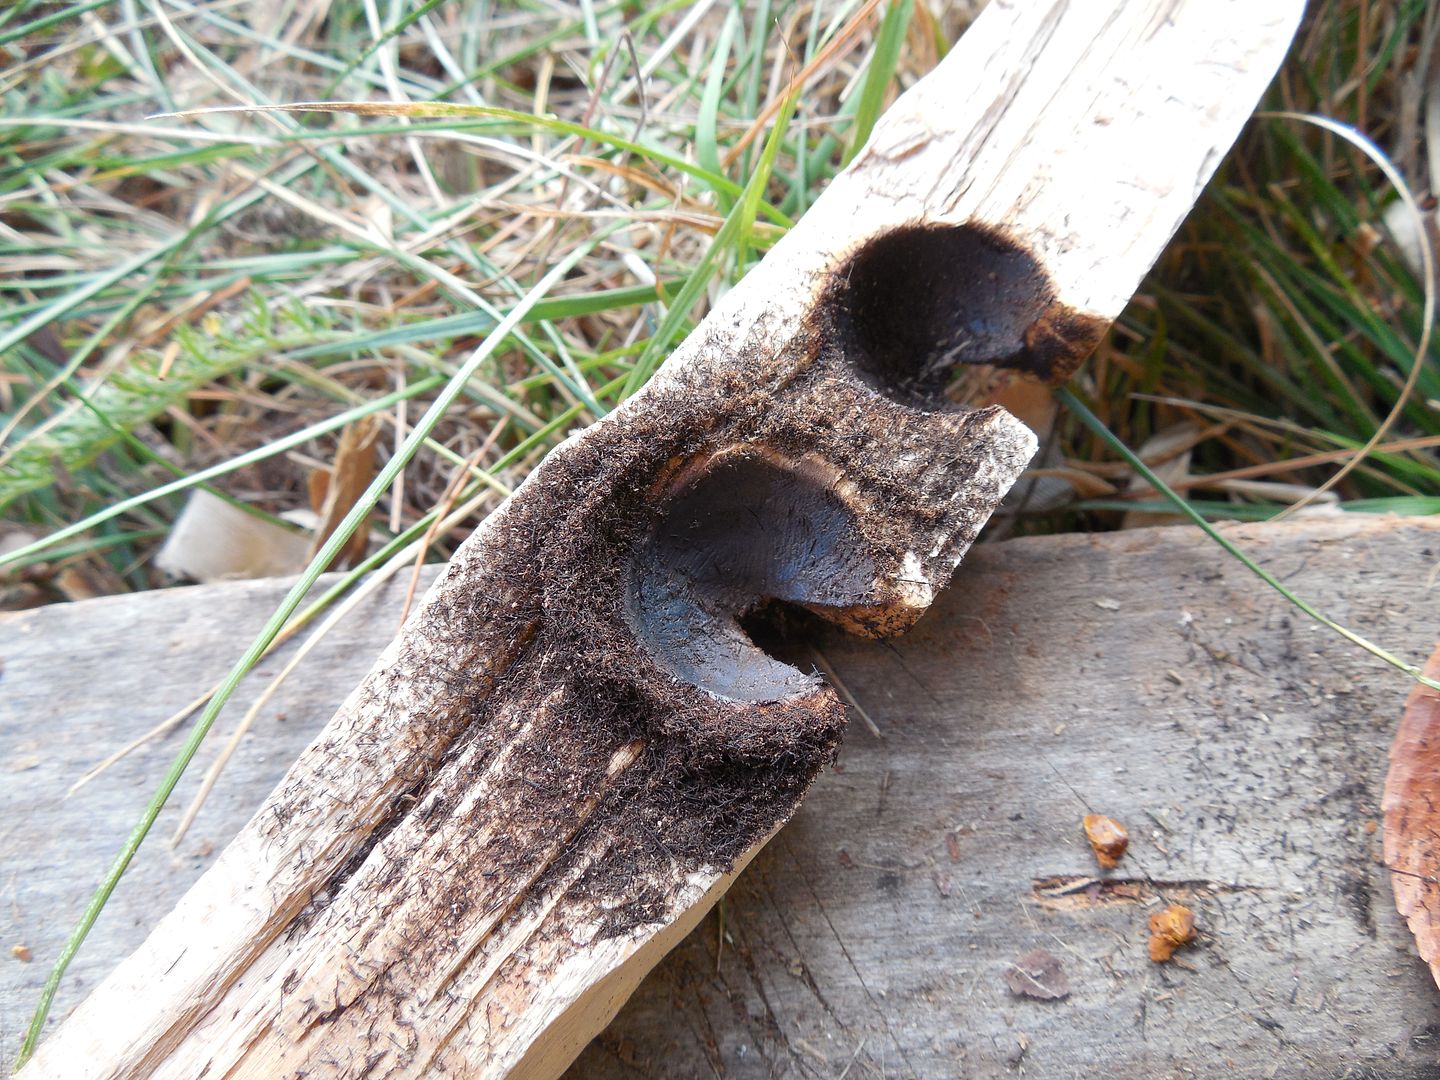
The burn-in. Don't expend too much energy on this. You're just looking to mate the spindle with fireboard. Often this step can give clues as to how the final attempt will go. If the hole is too near the edge the spindle will be more prone to flying out. Rogue spindles are responsible for the majority of cursing and incoherent mumbling when things aren't going our way. Too far back extra work is needed to cut the V-groove.

I like to use the knife to mark the center of the burn-in. This way I can cut the V-groove reasonably within the center of the circle. Does it need to be perfectly centered? I guess that depends how OCD you are.

Now I will just remove material from both sides of the mark.

What is the best size for the V-groove? I read it should be something like 8% of the circle but just eye it. I prefer the cut go to the center of the burn-in. Meh.... Good enough.

I like to cut material out of the bottom of the V-groove/fireboard as well. I think this allows more air for the ember and a larger dust pile but then again maybe not. Well in anycase I do it.

The tinder bundle. I am using cedar bark.

Fluffed up materials tend to catch fire easier and easy is exactly what we want. So fluff away.

Optional addition. A coal extender allows for the small friction fire coal to expand increasing the duration and overall heat of the ember. Even if for some reason the tinder bundle smolders without igniting coal extenders can allow for a second chance without spinning a new coal. I am using chaga but punkwood also works just time.

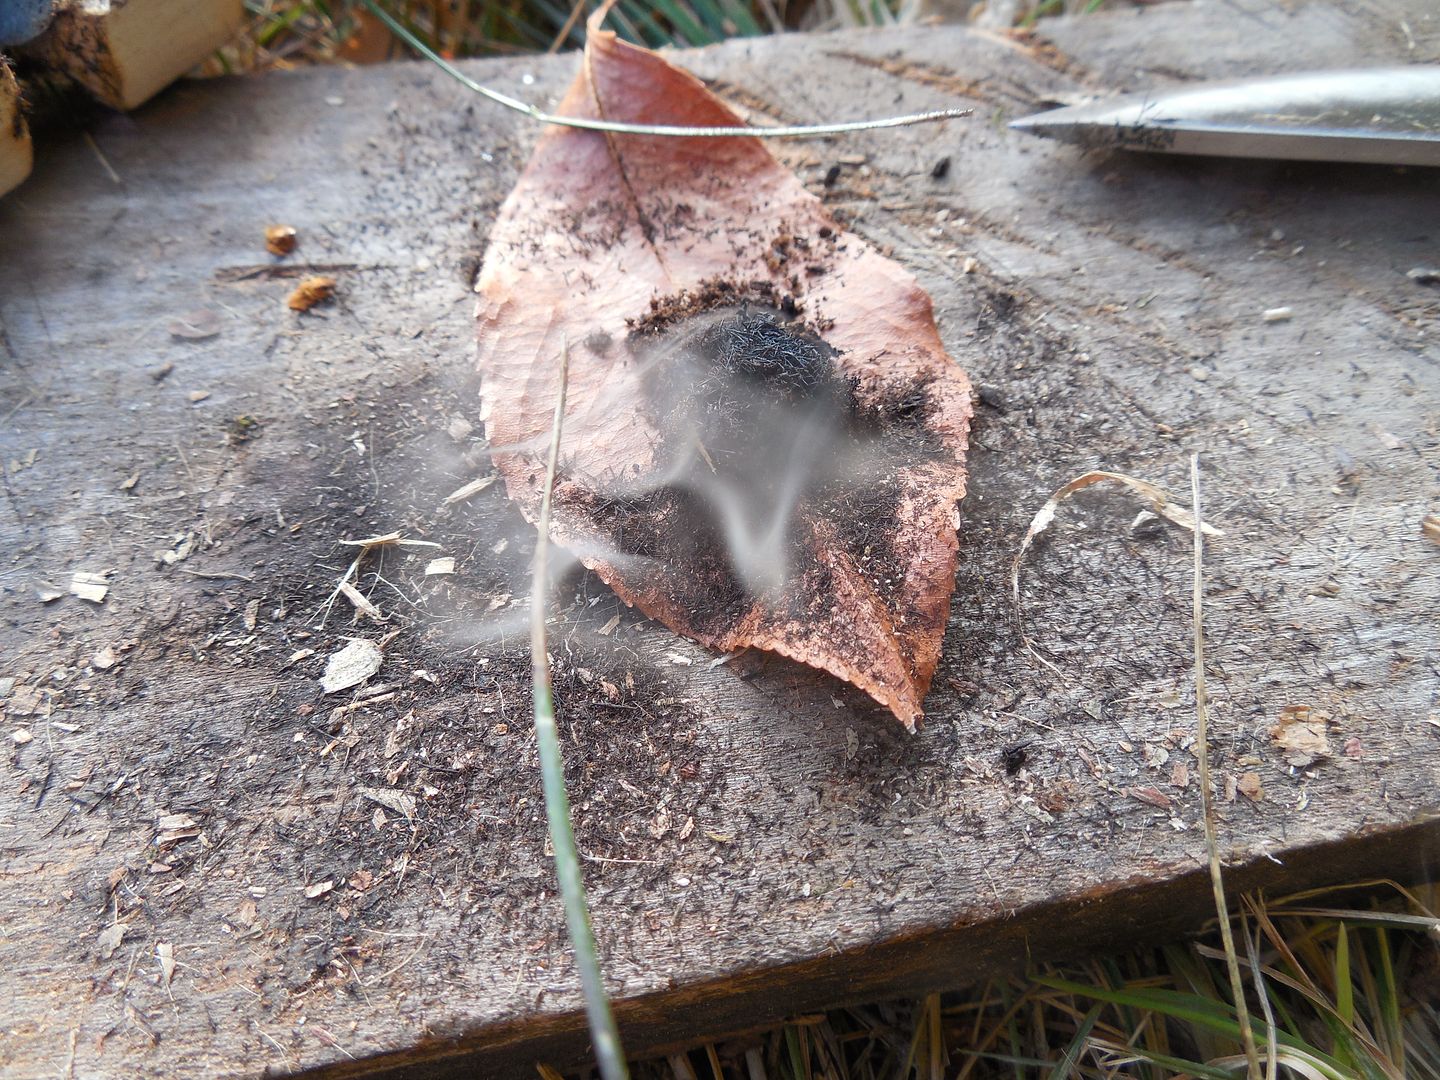
Speaking of coals being an optimist I found this leaf a few feet away.

There we go.

During the burn-in I glazed over the spindle. This will reduce the friction on the fireboard which isn't ideal. I like to shave the glaze off each attempt.

GO! When bowing there is no need work hard at first. Let the dust fill the V-groove as heat builds into the system. Then right near the end put the hammer down speeding things up. This shouldn't be overly tiring. Different sets will dictate how much pressure to apply. Again there are no absolutes.


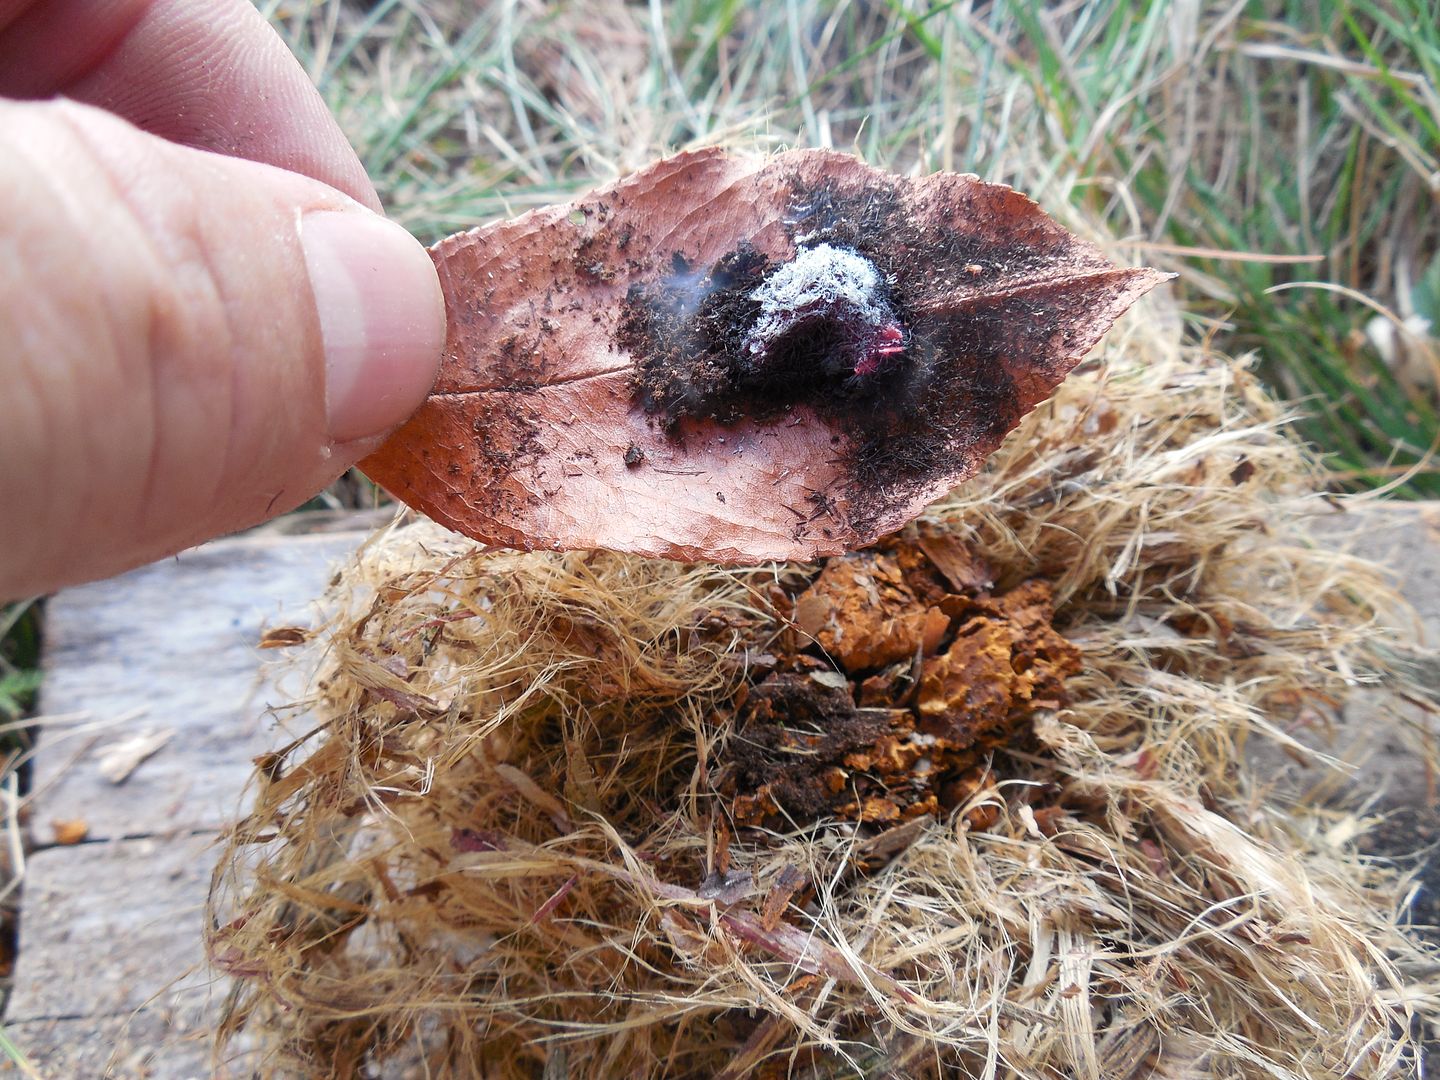
At this point time is on our side. It's best to sit back, catch your breath if needed and relax. Allow the coal to firm up. Remember we are dealing with a pile of smoldering dust which can burn for some time. When it's ready bring the tinder bundle to the coal, not the coal to the bundle. Notice the ash, a sign the coal is well developed.

If you have coal extenders the odds of success increase greatly if the tinder bundle is marginal.

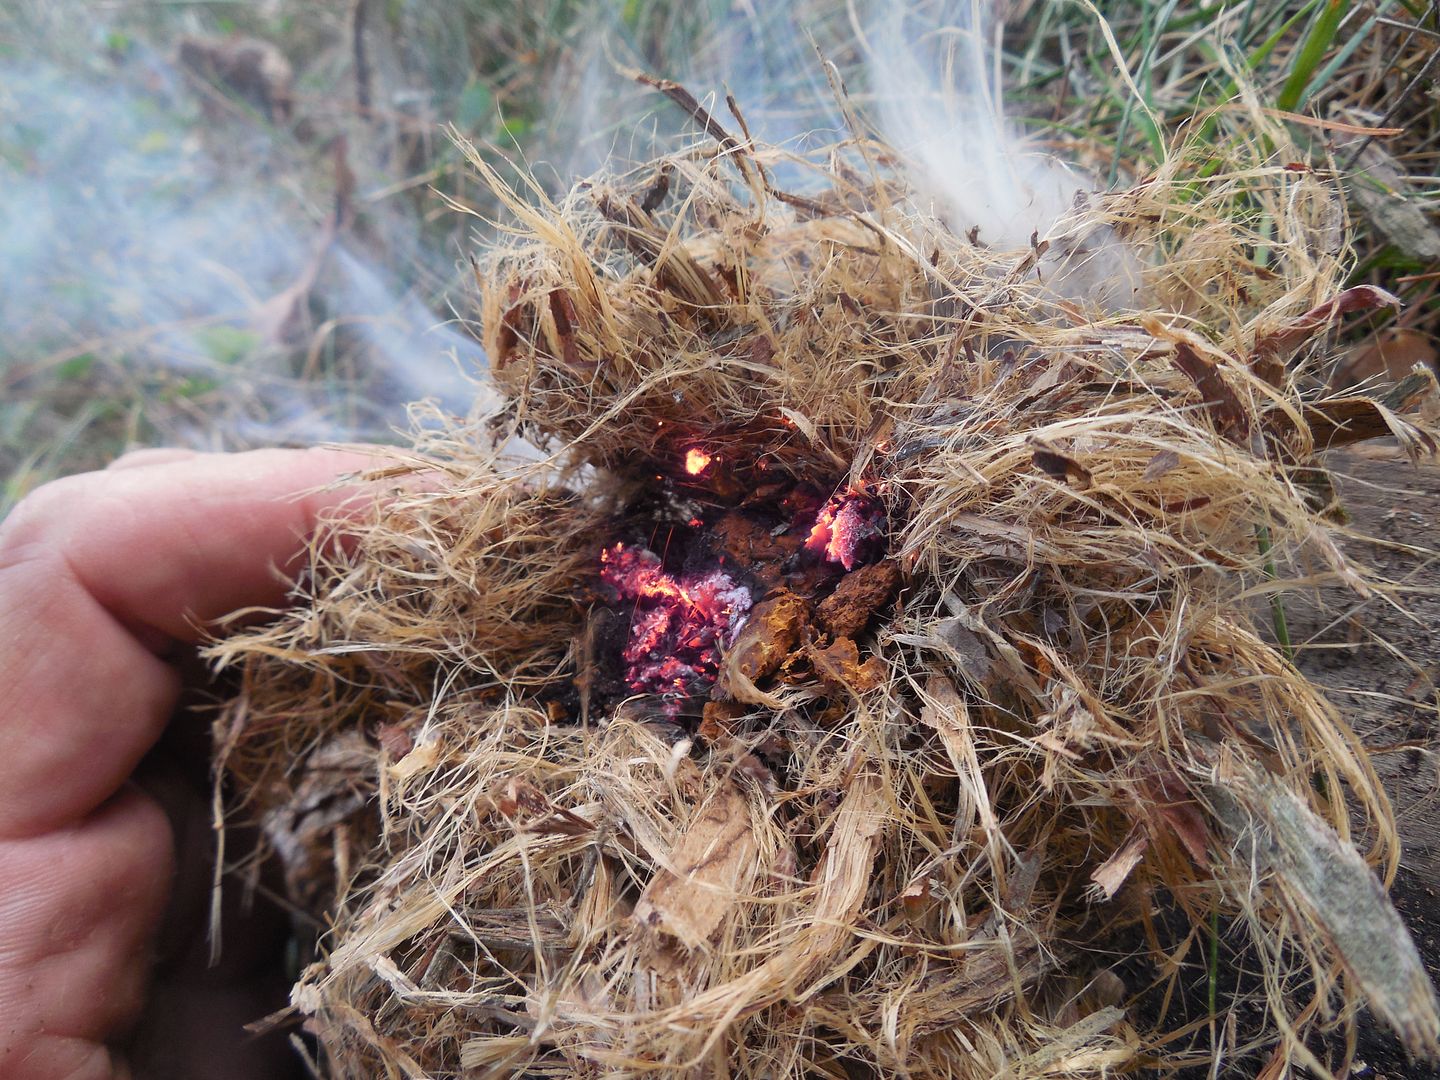
Given the size of the coal, prime materials and processing of the tinder bundle it easily ignited.

Notice how the spindle and hole are charred/glazed over. Before another attempt I would shave the spindle. Some take additional steps but that's all I do.


Extra tips. The bow.
I don't consider the bow a big deal, guessing others agree as it tends to be ignored. That said here is how I make them.
The tip.


The handle end.


This next bit is the hardest part. Leave enough slack to wrap around the spindle with just the right degree of tautness. Mosquitoes often take professional offense at this and will attack during your fiddling with the adjustment ensuring the cord is either too tight or loose.

I like bow shaped firebows because extra tension can be applied during bowing if the cord slips some. Yes there are ways to accomplish this with a straight bow but that is my preference.

What is the best size for the bow? Just experiment and find out for yourself. Very often materials and personal preference dictates what's best for you.

Or just ignore what I said and break a stick off a tree because we are talking about sticks after all.


The Bearing block.
Probably the most problematic part of the set. It must have lowest possible friction compared to the fireboard.
Antler works.

Shells can work.

Glass works great.

Spoons work.

Wood can work.

The key is less friction on the bearing block more on the fireboard.
Some final thoughts.
1. Don't get married to a set. If it fails over and over again make a new set.
2. This isn't a race. Who cares how long it takes to get a coal. The only person you need to best is yourself. I stopped caring about how much the guy next to me at the gym can bench sometime back in high school.
3. Proper form trumps physical strength and good cardo. It shouldn't be all that physically demanding.
4. A good proven set is more reliable and temporarily resistant to poor weather than one might expect.
5. Pack at least 3 ways to start a fire because sometimes it just won't work. Why? Perhaps you insulted the Fire Gods. Who knows but in any case we invented matches and lighters for a reason. That said knowledge adds no pack weight and there is something empowering about knowing this skill set.
6. If you fail 3 times during an attempt the odds are stacked against you. Change something up because the same actions again might produce the same results. Also take a breather.
That's all for now. Thanks for looking.

")
")
