Made this pot a little while ago, very simple to make from just a branch and a knife,
I used Ash for this pot as it cleaves wonderfully.
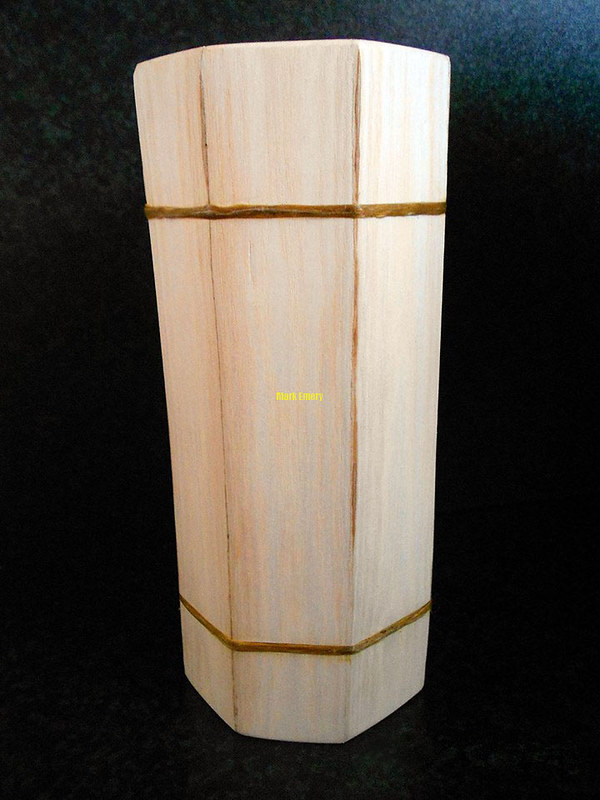 pot1 by Mark D Emery, on Flickr
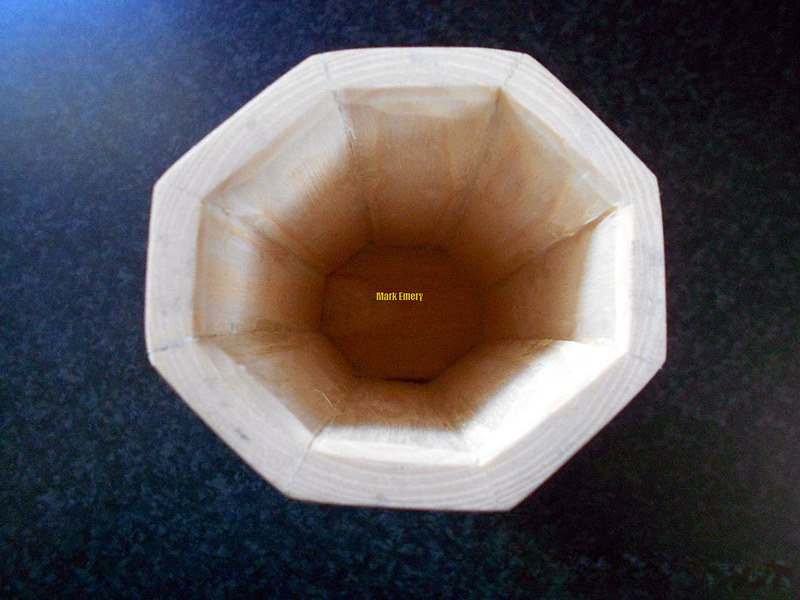 pot2 by Mark D Emery, on Flickr
I know i took a load of photo's of it's manufacture, but i cant find them at the moment, so my poor attempts at graphics will have to suffice.
1) Grab yourself a suitable sized branch, the one i used was about four inches in diameter and approx 10 inches long and importantly it has to be knot free, afraid you will have to imagine this is the branch end on
 hex by Mark D Emery, on Flickr
2) wrap some old inner tube or cordage around the branch and split it as shown, do not remove the wrap when done.
 1 by Mark D Emery, on Flickr
3) Cleave off the outer surface so you are left with a octagon.
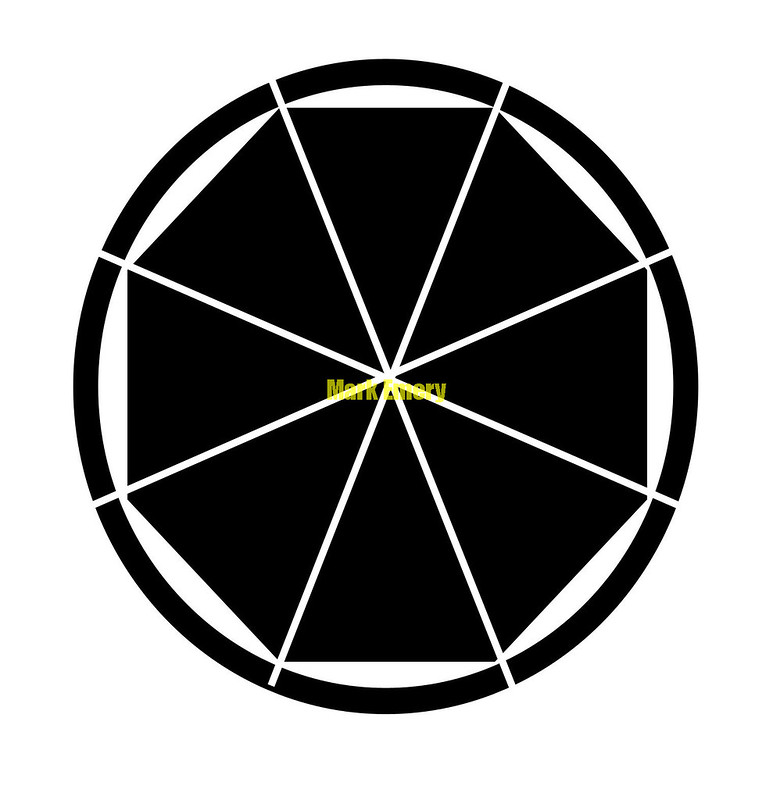 2 by Mark D Emery, on Flickr
Now remove the wrap and carefully cleave off the grey area, its useful to number the pieces so you know which piece goes where when you come to glue it all up, clean up the outer and inner surfaces but do not be tempted to alter the edges.
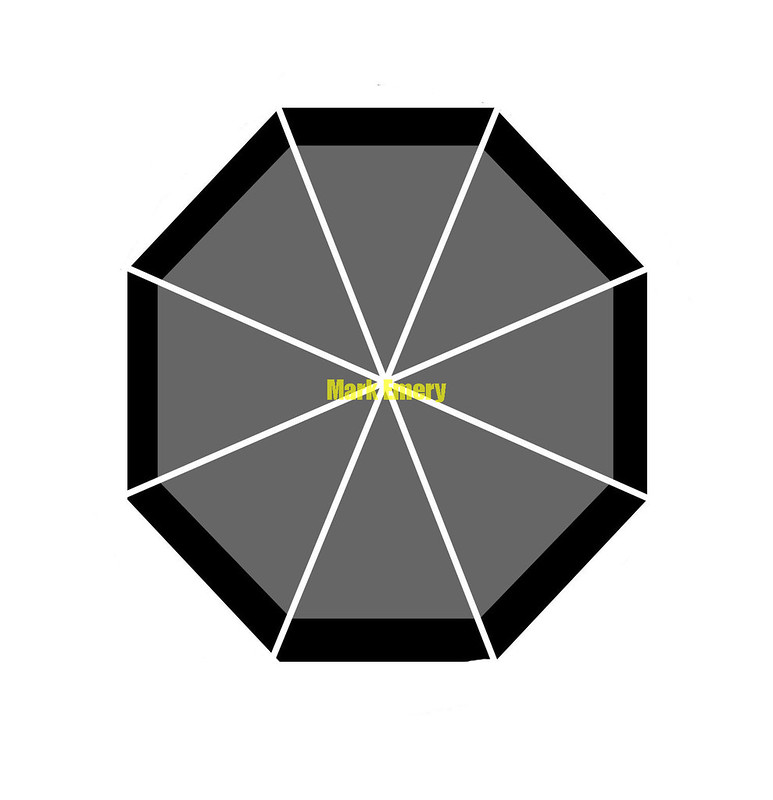 6 by Mark D Emery, on Flickr
you should be left with something like this
 hex2 by Mark D Emery, on Flickr
Once cleaned up, cut a slot in the bottom of each stave (marked in yellow) to accept the base plate.
 7 by Mark D Emery, on Flickr
I didn't glue the base plate in mine so it could move, but did glue the side of each stave, match them up so you get your pot then clamp with elastic bands. Once dry i then added a couple of bands of artificial sinew, but will eventually replace this with bramble or riven hazel/willow bands so its far more woodsy.
Mine is not waterproof as i use it for a spoon pot, but an application of beeswax should seal it quite nicely should you want to add a handle and use it as a mug
Hope this is of use to someone.
I used Ash for this pot as it cleaves wonderfully.
 pot1 by Mark D Emery, on Flickr
 pot2 by Mark D Emery, on Flickr
I know i took a load of photo's of it's manufacture, but i cant find them at the moment, so my poor attempts at graphics will have to suffice.
1) Grab yourself a suitable sized branch, the one i used was about four inches in diameter and approx 10 inches long and importantly it has to be knot free, afraid you will have to imagine this is the branch end on
 hex by Mark D Emery, on Flickr
2) wrap some old inner tube or cordage around the branch and split it as shown, do not remove the wrap when done.
 1 by Mark D Emery, on Flickr
3) Cleave off the outer surface so you are left with a octagon.
 2 by Mark D Emery, on Flickr
Now remove the wrap and carefully cleave off the grey area, its useful to number the pieces so you know which piece goes where when you come to glue it all up, clean up the outer and inner surfaces but do not be tempted to alter the edges.
 6 by Mark D Emery, on Flickr
you should be left with something like this
 hex2 by Mark D Emery, on Flickr
Once cleaned up, cut a slot in the bottom of each stave (marked in yellow) to accept the base plate.
 7 by Mark D Emery, on Flickr
I didn't glue the base plate in mine so it could move, but did glue the side of each stave, match them up so you get your pot then clamp with elastic bands. Once dry i then added a couple of bands of artificial sinew, but will eventually replace this with bramble or riven hazel/willow bands so its far more woodsy.
Mine is not waterproof as i use it for a spoon pot, but an application of beeswax should seal it quite nicely should you want to add a handle and use it as a mug
Hope this is of use to someone.
