Theres been a few threads recently on hobo type stoves, so I thought I'd share a design I have been working on since I saw Graham_S's wood stove in action at Loch Tay. I didnt take any measurements, or even photos, so no comments on copyright.
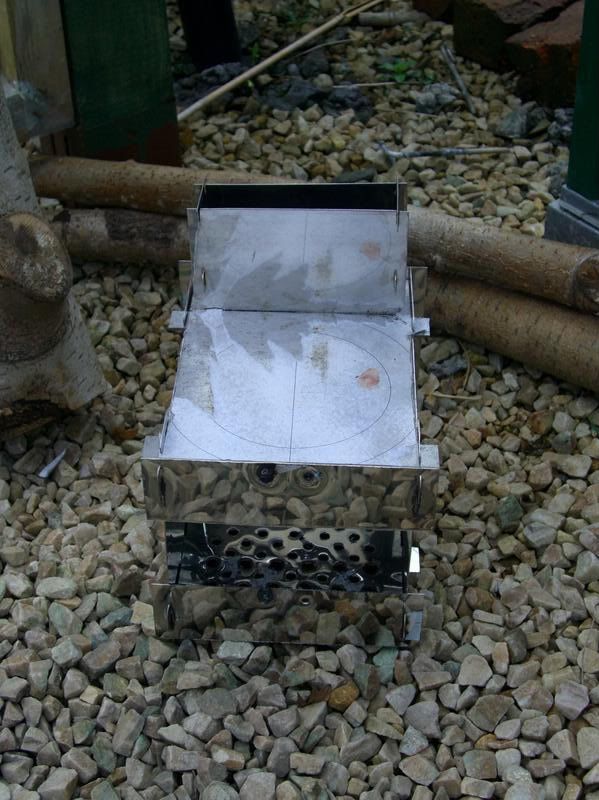
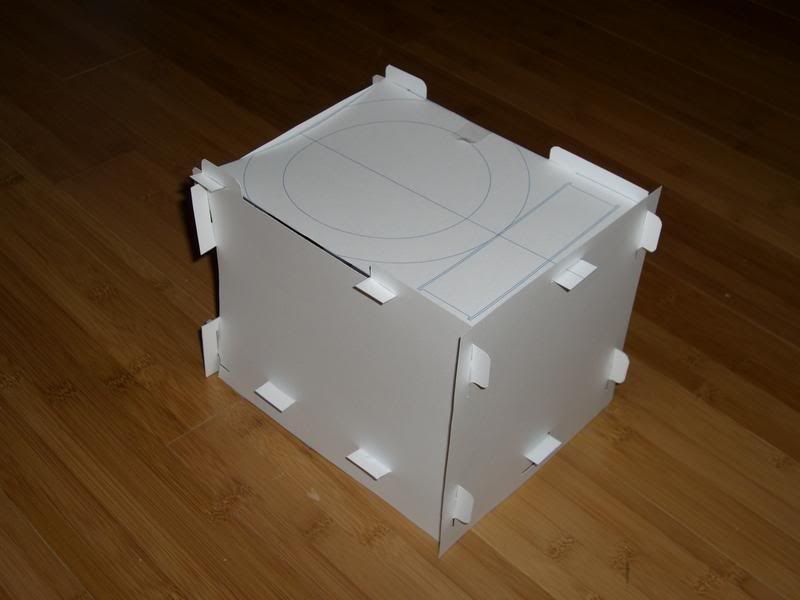
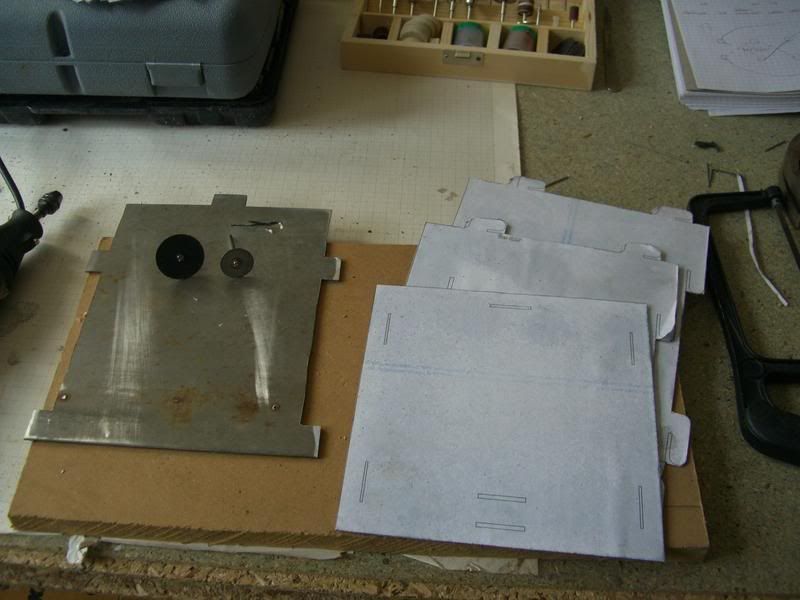
What I did was measure my favourite cook set that I have had for eons, it has a click stand and stainless steel trangia inside it along with a few other bits and pieces. anyway the biggest pot was 150mm dia, so I designed the wood stove such that the pot could sit on it.
Hopefully you can see the circle indicating the pot and also the rectangle at the rear for the chimney
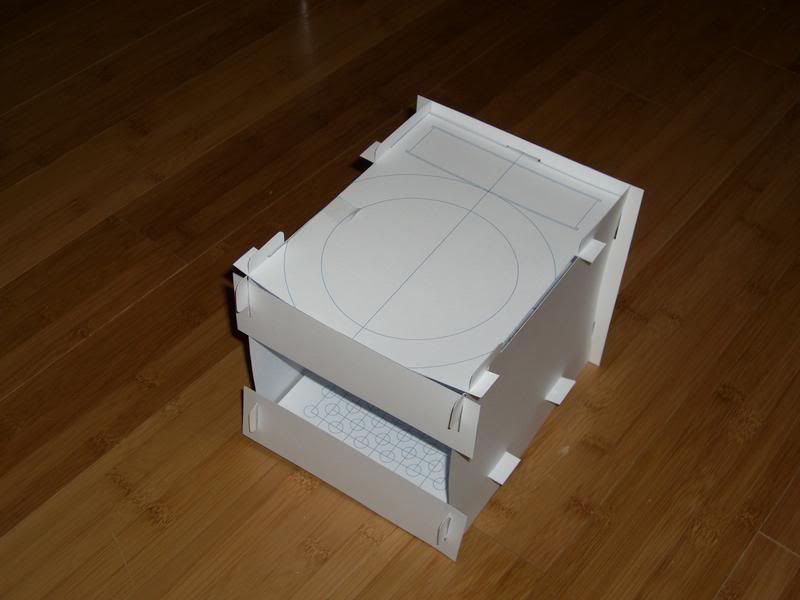
The chimney is made from 4 pieces that slot together, mainly so it stacks better when apart.
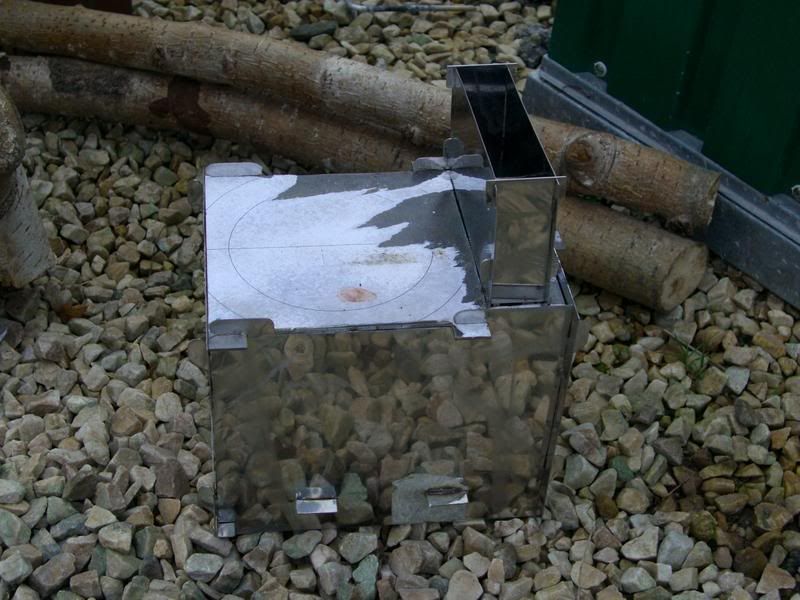
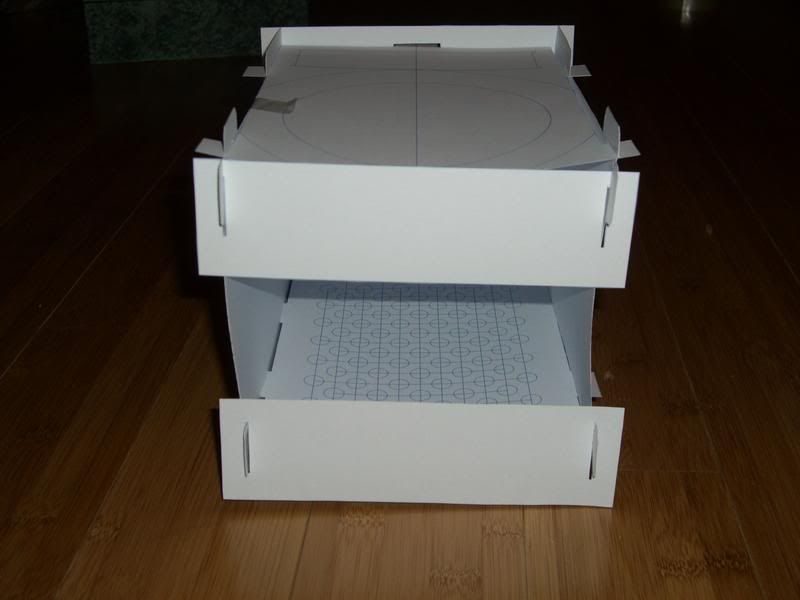
The back
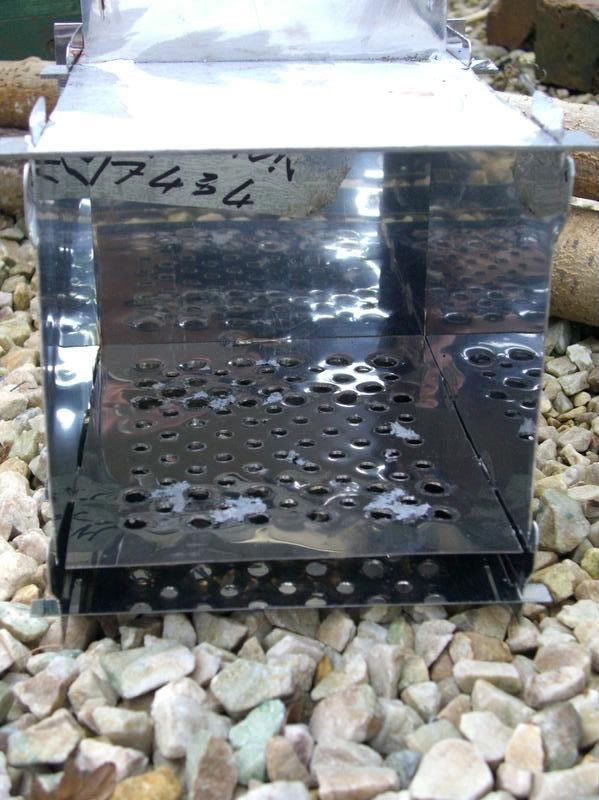
Finally the front
I already have the stainless steel sheet for this project, 0.9mm for the most part but 1.5mm for the top plate.
The design also has fold out feet, that are permanently attached to the sides, but I didnt bother with a grill, maybe later.
When I get some time at a weekend I'll cut it out, the card version seems to validate my design.
Stephen
What I did was measure my favourite cook set that I have had for eons, it has a click stand and stainless steel trangia inside it along with a few other bits and pieces. anyway the biggest pot was 150mm dia, so I designed the wood stove such that the pot could sit on it.
Hopefully you can see the circle indicating the pot and also the rectangle at the rear for the chimney
The chimney is made from 4 pieces that slot together, mainly so it stacks better when apart.
The back
Finally the front
I already have the stainless steel sheet for this project, 0.9mm for the most part but 1.5mm for the top plate.
The design also has fold out feet, that are permanently attached to the sides, but I didnt bother with a grill, maybe later.
When I get some time at a weekend I'll cut it out, the card version seems to validate my design.
Stephen

") Tell me, are you leaving the top plate flat like a hot plate / griddle ( firebox) or are you going to drill holes, one big hole or some sort of mesh? Yes, impressive bud!
Tell me, are you leaving the top plate flat like a hot plate / griddle ( firebox) or are you going to drill holes, one big hole or some sort of mesh? Yes, impressive bud!
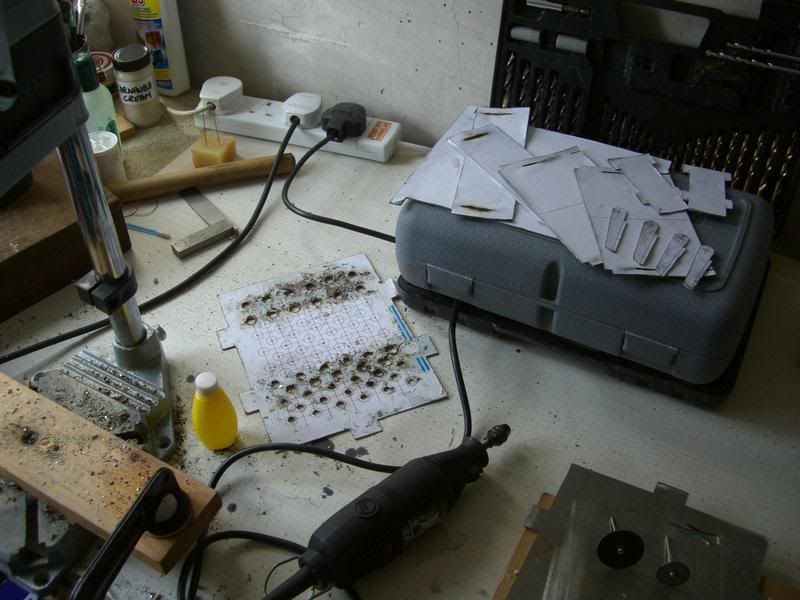
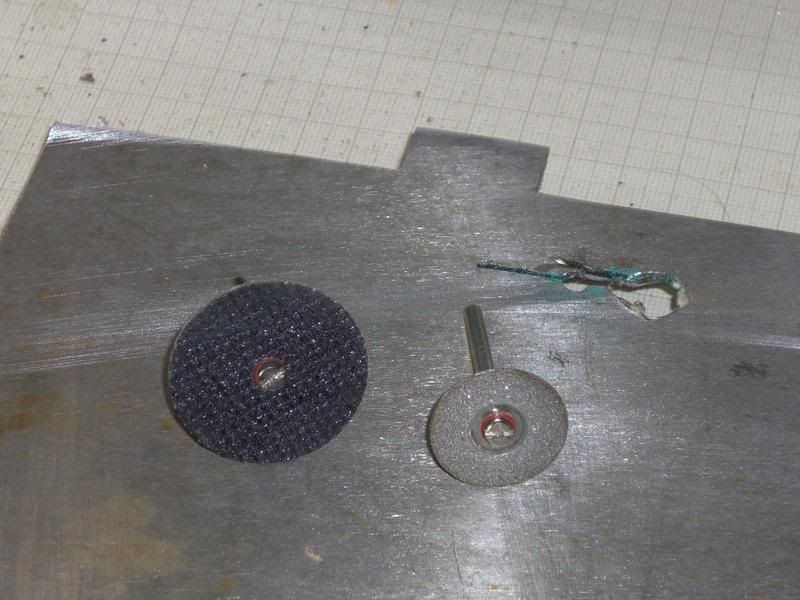
 I may cheat and see if one of the contractors at work has access to a milling machine.
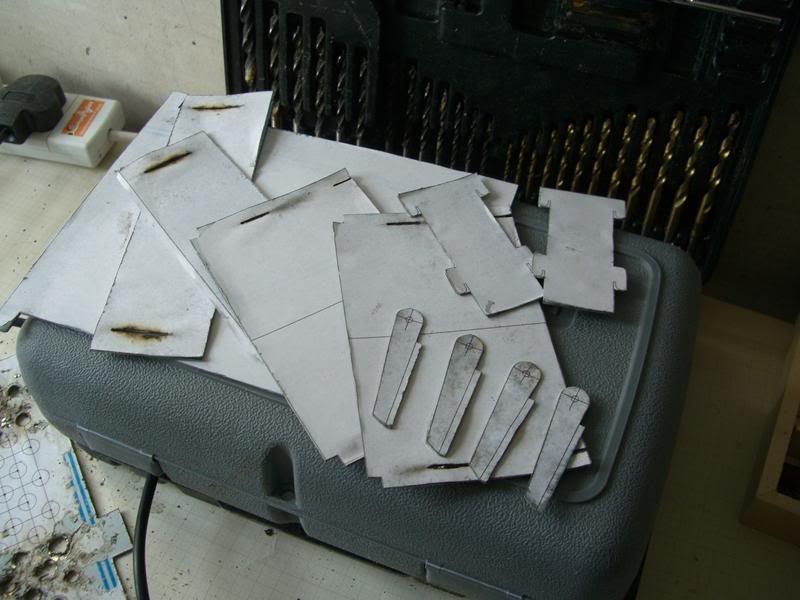
 so I might give them a try later.
")
 still quite fancy a roll up pyrolysis stove, dont know if I can pull that one off tho