After success making pop can meths stoves I thought I would try a Wood burner and the Wood Gas ones looked interesting to try.
Food cans lend themselves very nicely and I am sure this isnt original etc
A shopping trip to The Supermarket shopping by Can size and type i came back with cans for 2 sizes of stove this is the smaller version the larger will have to wait till i bring myself to Eat the dog food
 .
.
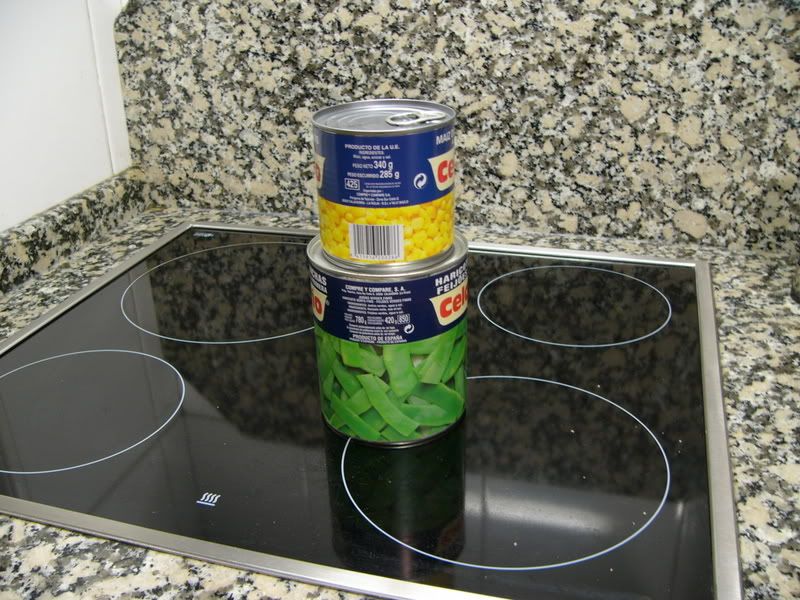
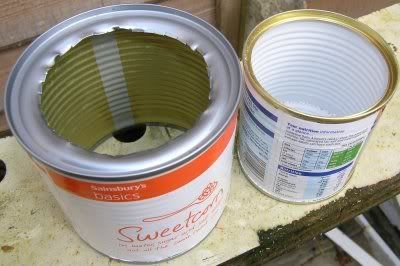
This is made from 2 Sainsburys Basics Sweet corn cans and one Sainsbury's Italian chopped tomato can cost under £1 even if you chuck the Food contents
The sweet corn cans have locking stacking ends ie the bottom is crimped to fit into the top so are secure when stacked and one of the reasons i chose them as it securely locates the top pot stand /wind break on the burner unit.
The tomato cam has a ring pull so when removed it has a nice clean edge and a lip to add strength
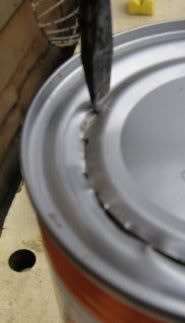
Tools: well I started with a hammer and a Flat screw driver sharpened as a cold chisel
But if you sharpen the end at an angle you dont need the Hammer and can easily push cut the steel.
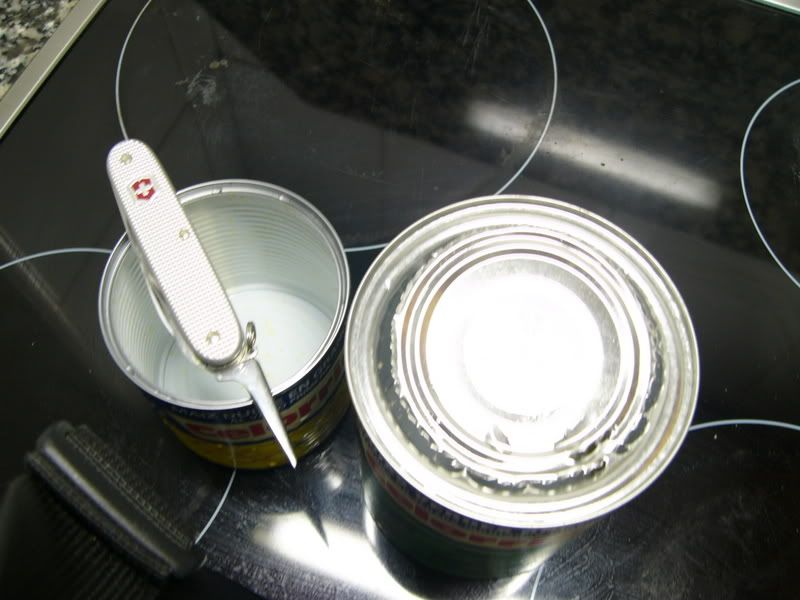
First off empty the cans because you need a lip for the top of the burner in the can open one of the sweet corn cans from the bottom using a top cutting opener so the crimp edge remains Swiss army knife or even the screw chisel.
The second sweet corn can you an open and remove both ends the tomato can is easy its a ring pull
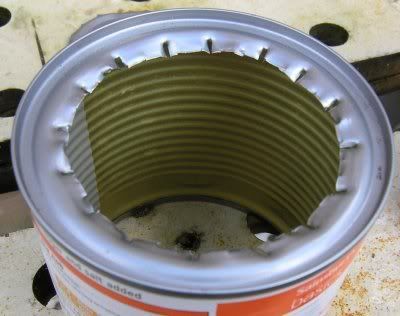
Now you need to center the tomato can on the top of the sweet corn can and mark/note where it sits in relation to the concentric rings you will cut out a little smaller.
Now a series of Radial nicks. This allows the small can to push through if angled and screwed in past he bottom crimp (you may find a can with different crimps that maybe the same diameter a the body)
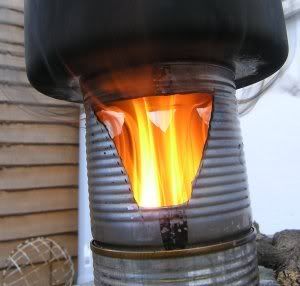
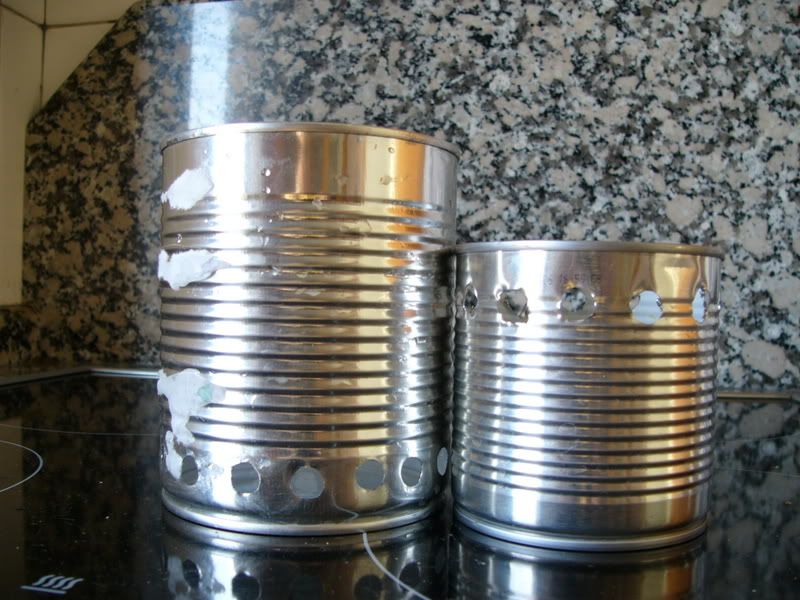
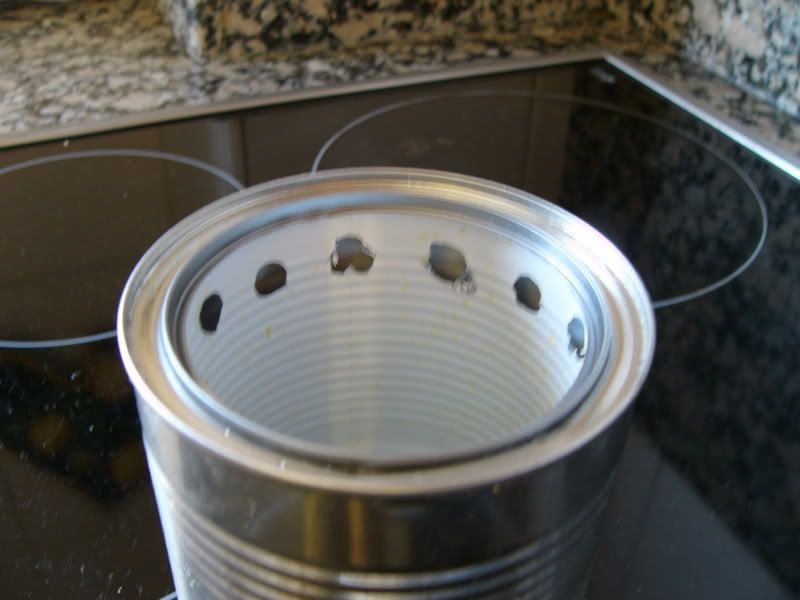
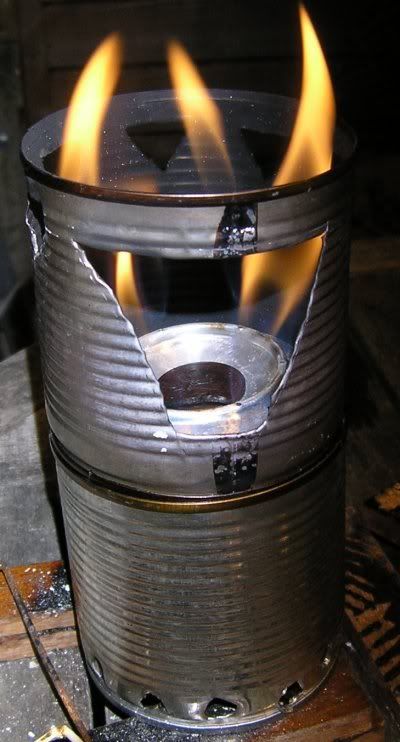
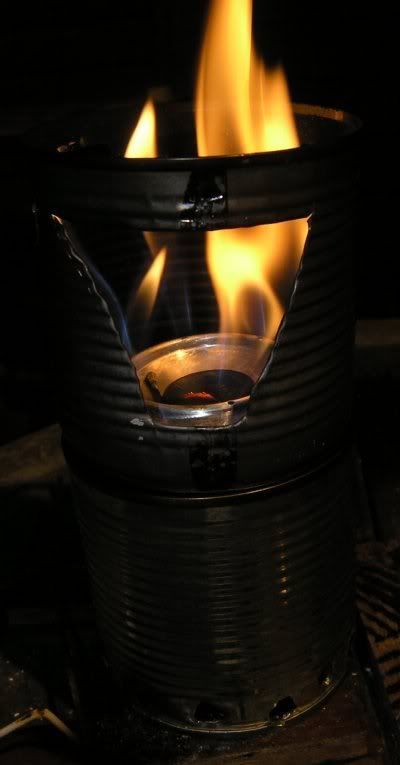
The Smaller can needs the Jet holes at the top and air holes at the bottom this is a bit of trial an error to balance the air flow on both the bottom air grill can be opened up later if necessary
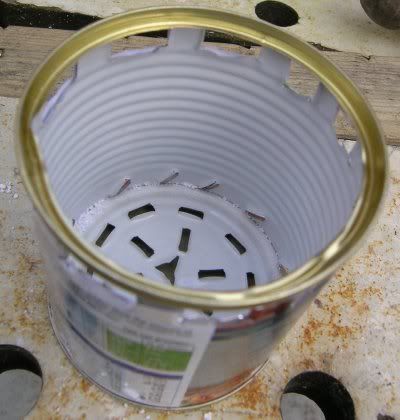
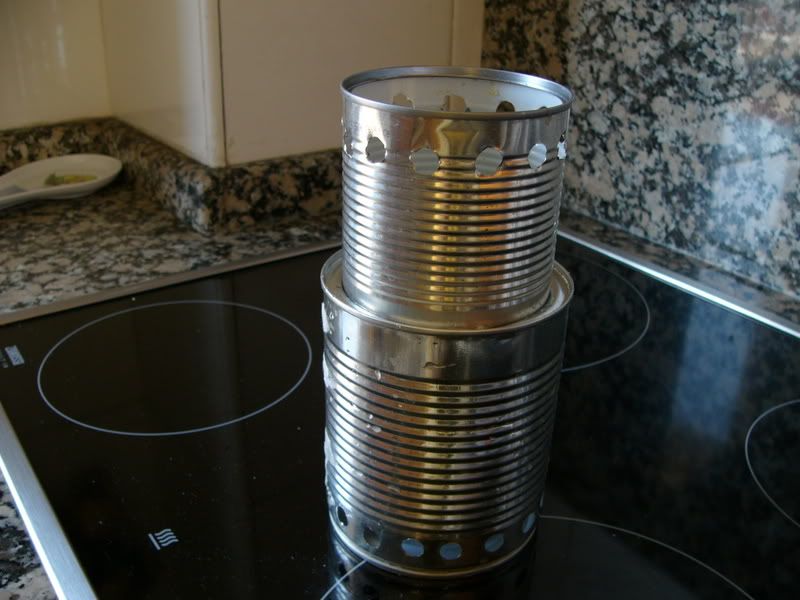
The second sweet corn can has a large triangle to allow more fuel to be added and smaller ones to allow heat and fumes to flow out and evenly to the pan and sits nicely in the top of the bas can
I have punched a series of holes round the base for air intake though with an open bottom it can be stood up for air inlet

thei (above) shows the Modified screwdriver
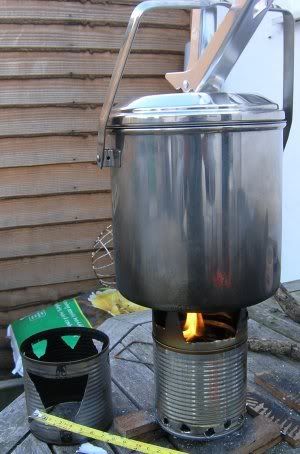
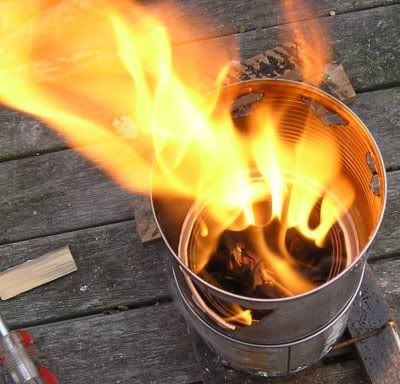
First light up
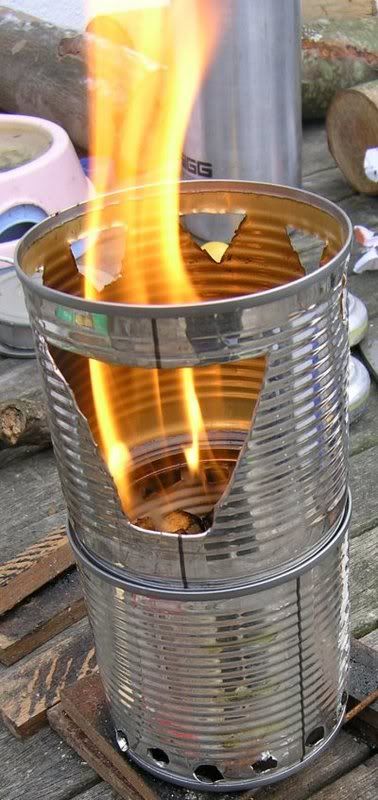
This stove consists of 2 cans 3 3/8 dia by 3 3/8 high and weighs 3 3/4oz
If cur up the side the top can should clip round the outside of the burner for packing and still clip inside the top lip for use (though I havent tried this yet)
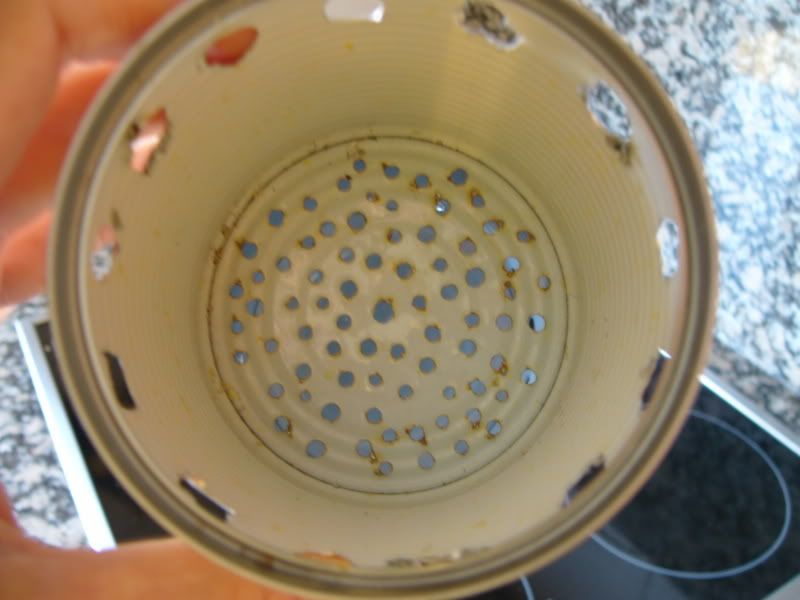
If you wanted you could open the burner can from the top at the correct diameter (see picture 1) and empty the contents from here this would leave the bottom intact and sealed but defiantly need the bas radial holes
The for the bigger one Ive go a 650gm can of Chappie dog food for the base a bean can for the Burner and a Can of ham/bacon grill for the pot stand
Food cans lend themselves very nicely and I am sure this isnt original etc
A shopping trip to The Supermarket shopping by Can size and type i came back with cans for 2 sizes of stove this is the smaller version the larger will have to wait till i bring myself to Eat the dog food
.This is made from 2 Sainsburys Basics Sweet corn cans and one Sainsbury's Italian chopped tomato can cost under £1 even if you chuck the Food contents
The sweet corn cans have locking stacking ends ie the bottom is crimped to fit into the top so are secure when stacked and one of the reasons i chose them as it securely locates the top pot stand /wind break on the burner unit.
The tomato cam has a ring pull so when removed it has a nice clean edge and a lip to add strength
Tools: well I started with a hammer and a Flat screw driver sharpened as a cold chisel
But if you sharpen the end at an angle you dont need the Hammer and can easily push cut the steel.
First off empty the cans because you need a lip for the top of the burner in the can open one of the sweet corn cans from the bottom using a top cutting opener so the crimp edge remains Swiss army knife or even the screw chisel
.The second sweet corn can you an open and remove both ends the tomato can is easy its a ring pull
Now you need to center the tomato can on the top of the sweet corn can and mark/note where it sits in relation to the concentric rings you will cut out a little smaller.
Now a series of Radial nicks. This allows the small can to push through if angled and screwed in past he bottom crimp (you may find a can with different crimps that maybe the same diameter a the body)
The Smaller can needs the Jet holes at the top and air holes at the bottom this is a bit of trial an error to balance the air flow on both the bottom air grill can be opened up later if necessary
The second sweet corn can has a large triangle to allow more fuel to be added and smaller ones to allow heat and fumes to flow out and evenly to the pan and sits nicely in the top of the bas can
I have punched a series of holes round the base for air intake though with an open bottom it can be stood up for air inlet
thei (above) shows the Modified screwdriver
First light up
This stove consists of 2 cans 3 3/8 dia by 3 3/8 high and weighs 3 3/4oz
If cur up the side the top can should clip round the outside of the burner for packing and still clip inside the top lip for use (though I havent tried this yet)
If you wanted you could open the burner can from the top at the correct diameter (see picture 1) and empty the contents from here this would leave the bottom intact and sealed but defiantly need the bas radial holes
The for the bigger one Ive go a 650gm can of Chappie dog food for the base a bean can for the Burner and a Can of ham/bacon grill for the pot stand
")