There's nothing quite like a comfortable dry place to lay down and relax. Monty my beagle has his old standby 'Tigger' to snuggle up with.

I figured that I'd like to get a free standing tarp shelter set up, so Monty, his monkey toy, and I hung out in the back yard figuring it all out.

I arranged all of my gear and puttered about getting it all ready. Finally I got the damn thing figured out! The 'Forester' layout described in my previous post did not work in the end. I needed a ridge-line that was to be attached from a high point - like a tree, and my backyard is rather free of trees.

The reason I want to set up my tarp as a free standing shelter is to limit the amount of weight that I normally carry on a canoe trip.

Sometimes I go on solo canoe trips and have to portage all of my gear in my knapsack, plus portage my canoe over land. My tent weighs about 10 pounds with fiberglass rods and the tarp I have weighs just under about 1 1/2 pounds.

Under the watchful eye of a Red Tailed Hawk, I set out to figure it all out. So after a couple of hours of not getting it to work earlier in th emorning, and sweating in the hot sun, I went inside to consult the oracle. I did a search on YouTube and found a great short video showing how to put up a tarp with 6 pegs and a pole.
http://www.youtube.com/v/MkBeZqXU4zk&rel=1
My tarp has 8 connection points or grommets for guy lines. The example provided showed a tarp having an additional 2 grommet points for attaching guy lines or simply putting in pegs or stakes.
First step is to add the extra two grommet points to the tarp, as shown in the diagram below.

I drove off to Canadian Tire (a building supply franchise in Canada) and from the camping section - which is running short of supplies due to the time of year - I picked up a grommet kit.
The grommet kit contains a jig and grommet pieces.

The grommet kit contains a cutting die, which is basically a sharpened tube.
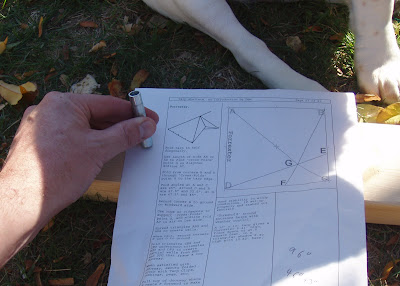
You use this to punch a hole through the tarpaulin, by resting the tarp on a piece of wood and then tapping the tube down onto the tarp.
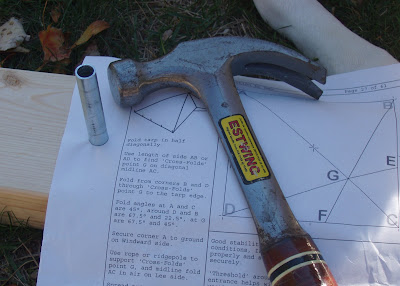
Ideally you should punch through 2 or more layers of material in order to get the strength needed to prevent the material from ripping.
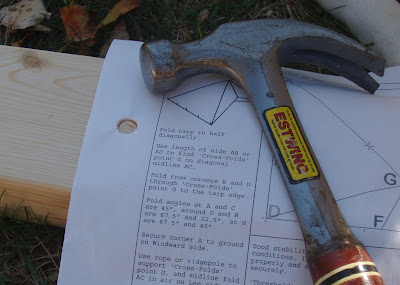
This will leave a sharp, clean hole in the fabric. While the tarp is made of rip-stop fabric, it is best to start off strong.
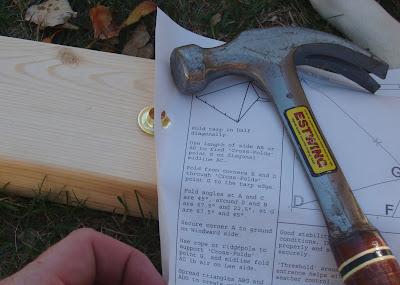
Then you place a rounded jig onto the ground, and place one of two parts of the grommet into a recessed die.
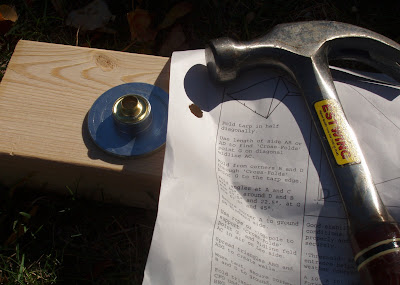
Slip the hole you made in the tarp over the grommet piece,
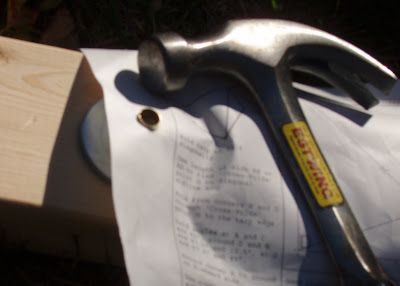
and drop a grommet washer over the grommet base which extend up through the hole.
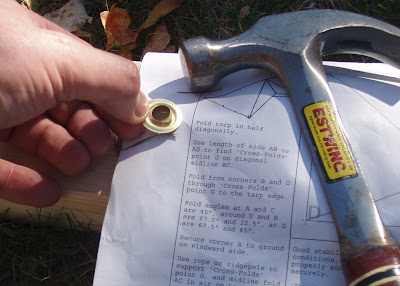
Next, using the rivet tool, rivet the two pieces together by hammering down against the base.
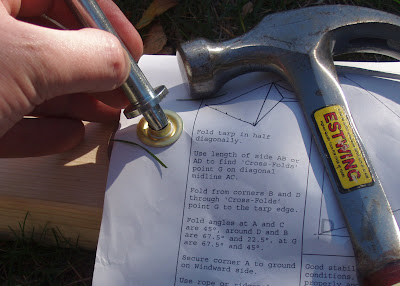
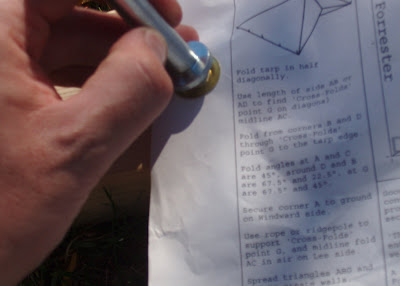

Gently pound the rivet tool with a hammer until the two grommet pieces have mated securely and snugly.

Now that I had the two new grommet points added to the tarp, I staked down the tarp through the two new points at the back, and then slipping pegs through the front left and right corner.
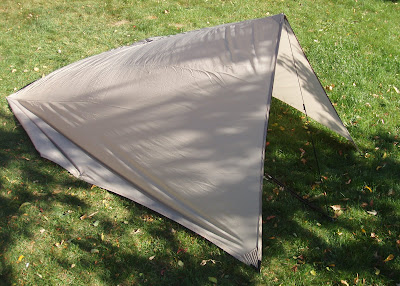
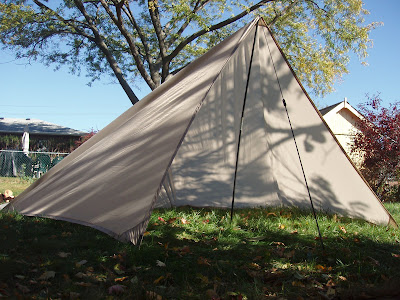
I aligned these as wide as the back connection points (which are of course 1/4 of the way in from the left and right of the full length of 9 1/2 feet.

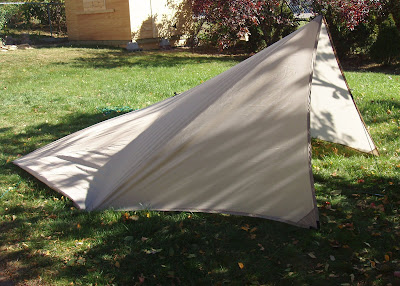
The slack at the front of the tarp allows for me to push (into the grommet hole in the center of the front) a 5 foot high tent pole.

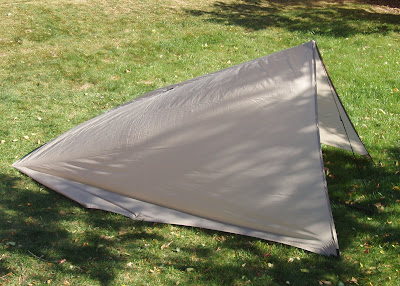
I staked down a guy line to give this extra stability at the front.
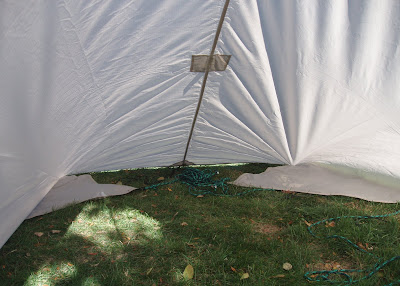

Then it was simply a case of pegging off the center grommet points of the sides, and tucking in the loose corners at the back (remember that these were not pegged off, as the new grommet holes 1/4 of the way in from each corner were the connection points on the ground).


The front of the shelter is open, but this will suffice even in a light rain. I can stake the front lower if needed, using guy lines, and using a shorter tent pole.
I think I will need to figure out how to stake it down all around in case of inclement weather, but that'll need to wait for another day. Perhaps I will bring another light tarp to lay over the tarp shelter.
Anyway, this configuration should be fine for my next camping trip. Hope this tutorial was helpful.
Cheers,
Mungo
I figured that I'd like to get a free standing tarp shelter set up, so Monty, his monkey toy, and I hung out in the back yard figuring it all out.
I arranged all of my gear and puttered about getting it all ready. Finally I got the damn thing figured out! The 'Forester' layout described in my previous post did not work in the end. I needed a ridge-line that was to be attached from a high point - like a tree, and my backyard is rather free of trees.
The reason I want to set up my tarp as a free standing shelter is to limit the amount of weight that I normally carry on a canoe trip.
Sometimes I go on solo canoe trips and have to portage all of my gear in my knapsack, plus portage my canoe over land. My tent weighs about 10 pounds with fiberglass rods and the tarp I have weighs just under about 1 1/2 pounds.
Under the watchful eye of a Red Tailed Hawk, I set out to figure it all out. So after a couple of hours of not getting it to work earlier in th emorning, and sweating in the hot sun, I went inside to consult the oracle. I did a search on YouTube and found a great short video showing how to put up a tarp with 6 pegs and a pole.
http://www.youtube.com/v/MkBeZqXU4zk&rel=1
My tarp has 8 connection points or grommets for guy lines. The example provided showed a tarp having an additional 2 grommet points for attaching guy lines or simply putting in pegs or stakes.
First step is to add the extra two grommet points to the tarp, as shown in the diagram below.

I drove off to Canadian Tire (a building supply franchise in Canada) and from the camping section - which is running short of supplies due to the time of year - I picked up a grommet kit.
The grommet kit contains a jig and grommet pieces.
The grommet kit contains a cutting die, which is basically a sharpened tube.
You use this to punch a hole through the tarpaulin, by resting the tarp on a piece of wood and then tapping the tube down onto the tarp.
Ideally you should punch through 2 or more layers of material in order to get the strength needed to prevent the material from ripping.
This will leave a sharp, clean hole in the fabric. While the tarp is made of rip-stop fabric, it is best to start off strong.
Then you place a rounded jig onto the ground, and place one of two parts of the grommet into a recessed die.
Slip the hole you made in the tarp over the grommet piece,
and drop a grommet washer over the grommet base which extend up through the hole.
Next, using the rivet tool, rivet the two pieces together by hammering down against the base.
Gently pound the rivet tool with a hammer until the two grommet pieces have mated securely and snugly.
Now that I had the two new grommet points added to the tarp, I staked down the tarp through the two new points at the back, and then slipping pegs through the front left and right corner.
I aligned these as wide as the back connection points (which are of course 1/4 of the way in from the left and right of the full length of 9 1/2 feet.
The slack at the front of the tarp allows for me to push (into the grommet hole in the center of the front) a 5 foot high tent pole.
I staked down a guy line to give this extra stability at the front.
Then it was simply a case of pegging off the center grommet points of the sides, and tucking in the loose corners at the back (remember that these were not pegged off, as the new grommet holes 1/4 of the way in from each corner were the connection points on the ground).
The front of the shelter is open, but this will suffice even in a light rain. I can stake the front lower if needed, using guy lines, and using a shorter tent pole.
I think I will need to figure out how to stake it down all around in case of inclement weather, but that'll need to wait for another day. Perhaps I will bring another light tarp to lay over the tarp shelter.
Anyway, this configuration should be fine for my next camping trip. Hope this tutorial was helpful.
Cheers,
Mungo
