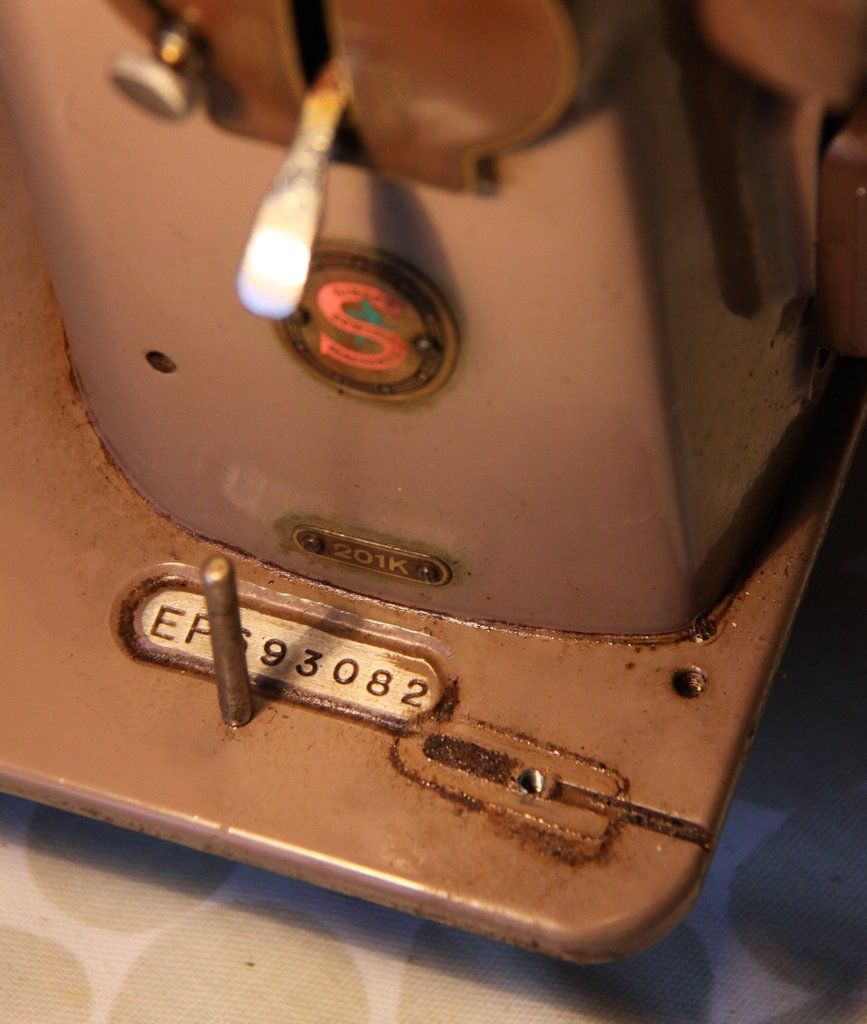
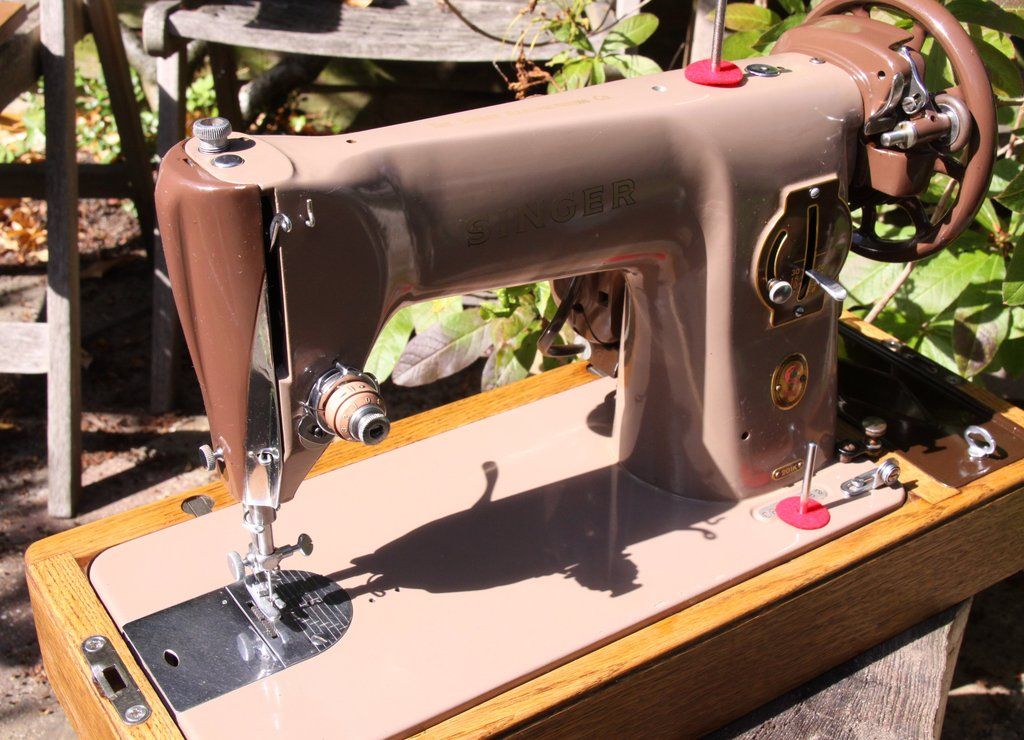
Hi...havn't bought one in a while because for some weird reason the price of a 201 seems to be going through the roof lolol but a few days ago i snapped this one up for a good price and seeings it was in such a mess i decided to do a Cleaning W.I.P.
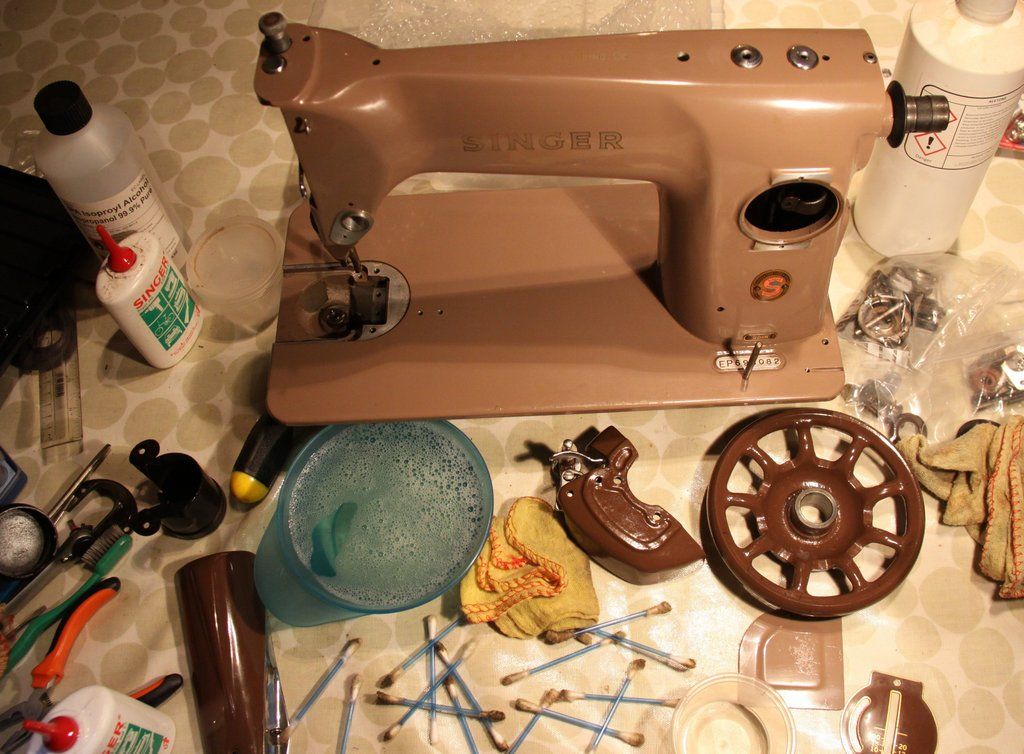
a few of the parts were so rusted up that i replaced them with spares, such as the foot lever on back, stitch length lever and one of the spool pins and i've also put it in a more deserving base now that it looks gorgeous....all these parts are readily available on ebay with a little patience and the rest is just time, elbow grease, a few tools, alcohol and metal polish...easy peasy! oh, and get yaself a ratchet screwdriver set...makes it soooo much easier to get out awkward screws....i've got a Faithfull 42 piece set, buyable on ebay for 20 quid...
to give a 201 a going over like this usually takes me 10 to 15 hours...
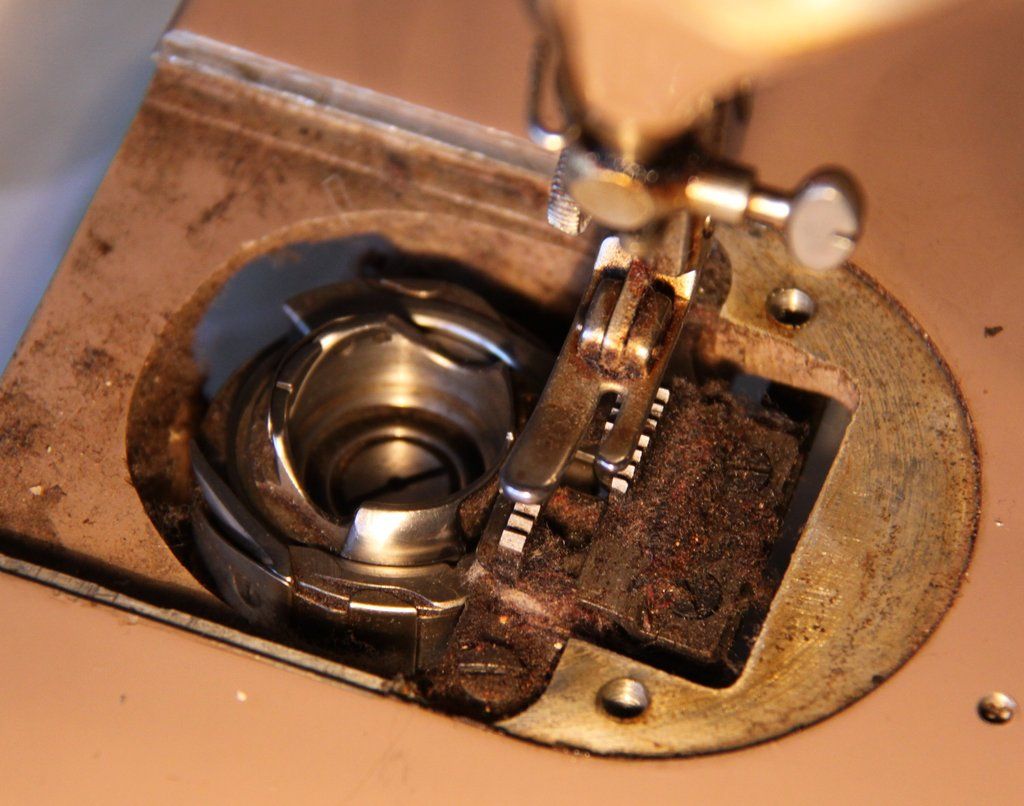
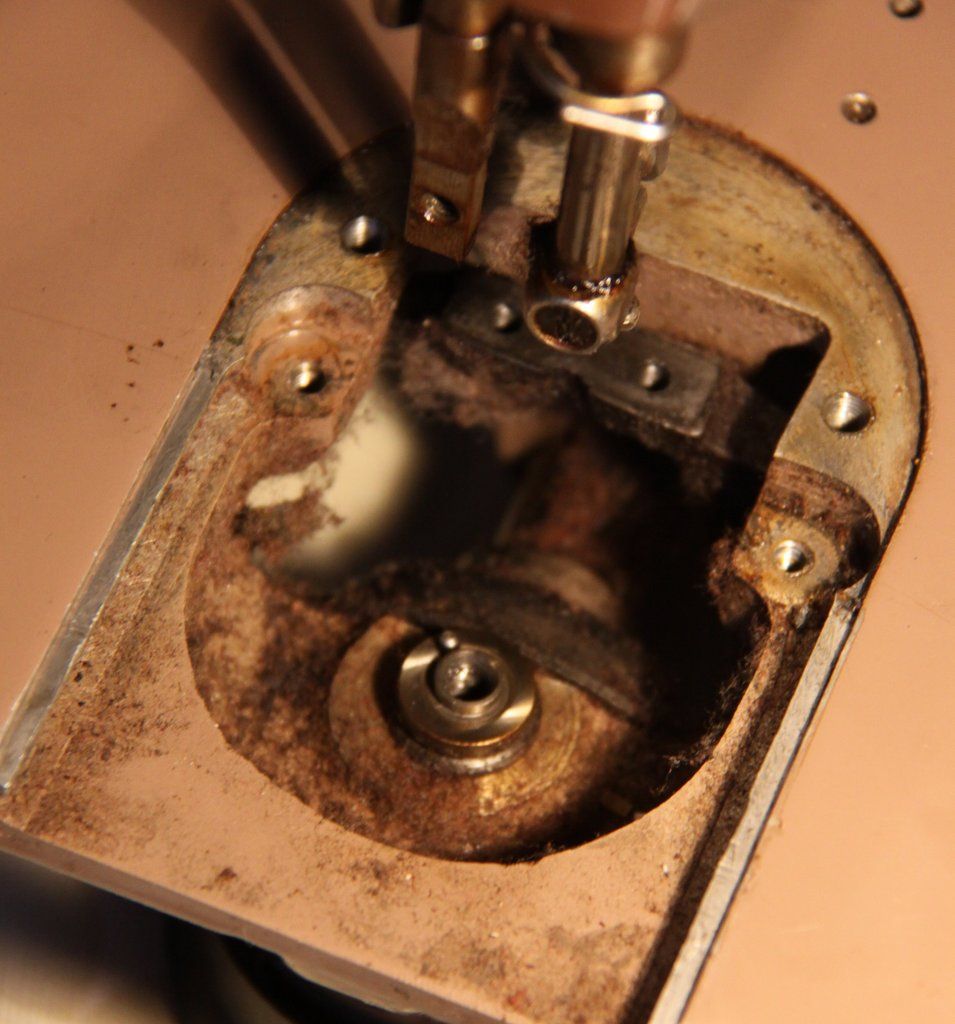
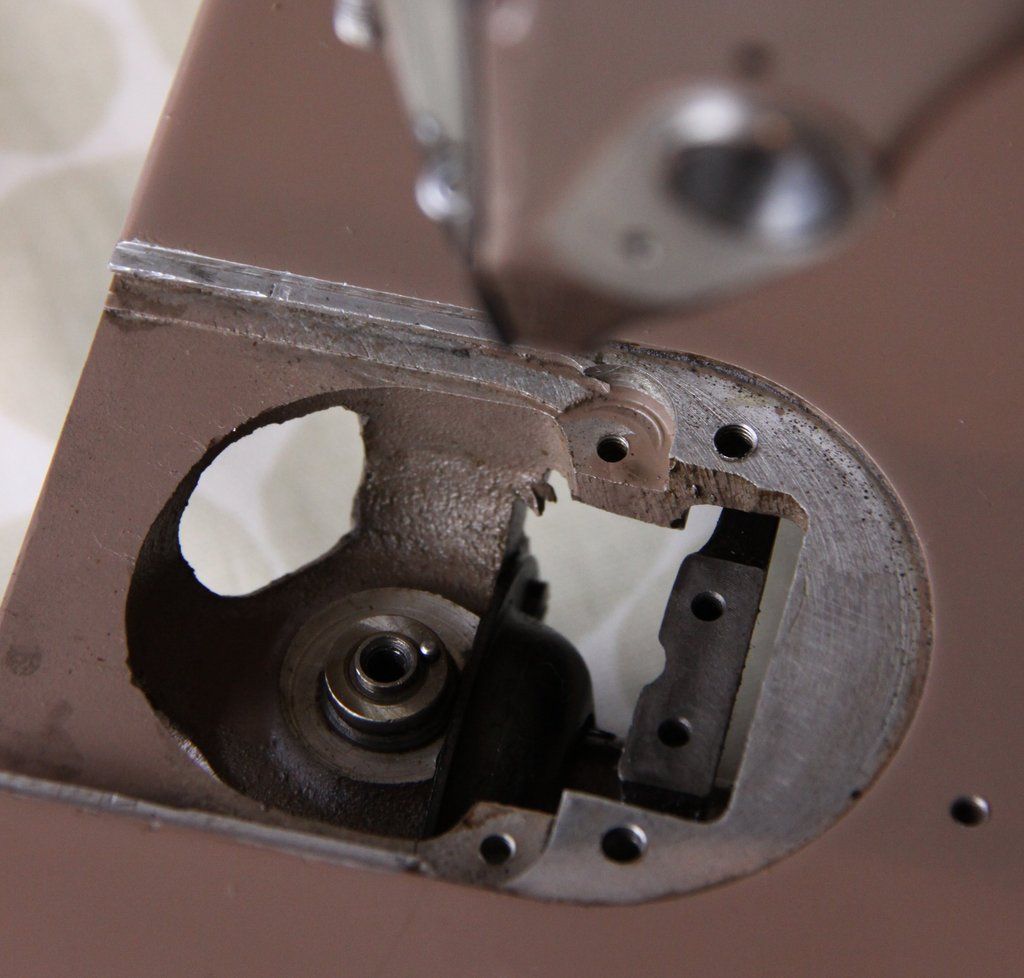
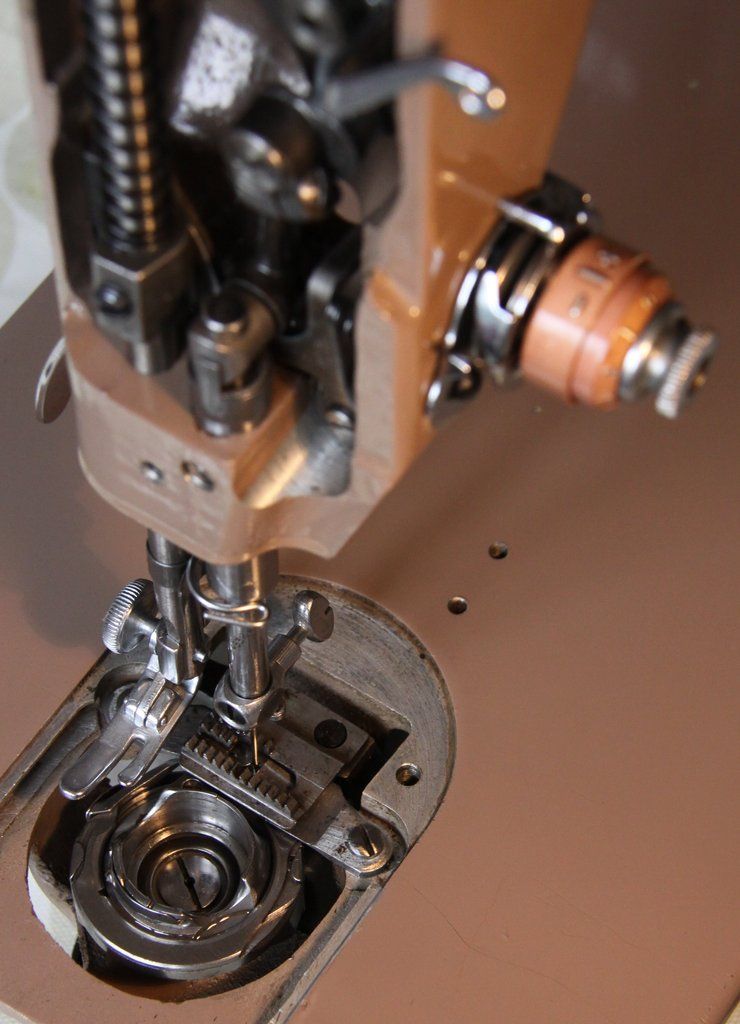
so...lets start taking it apart to discover the horrors lurking below....this is usually going to be the main offender...the bobbin housing...:
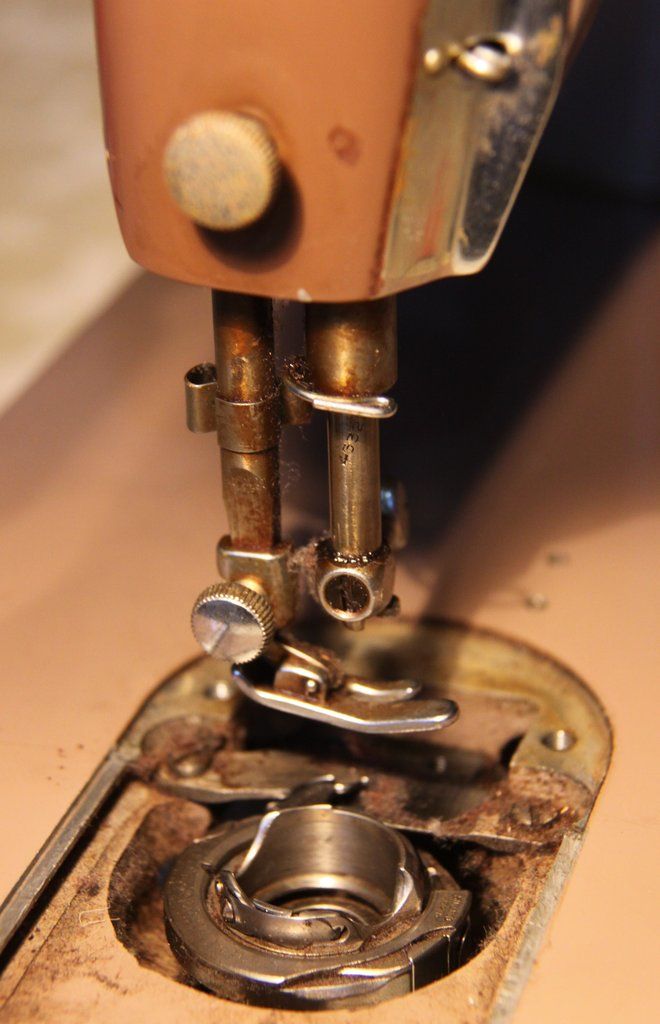
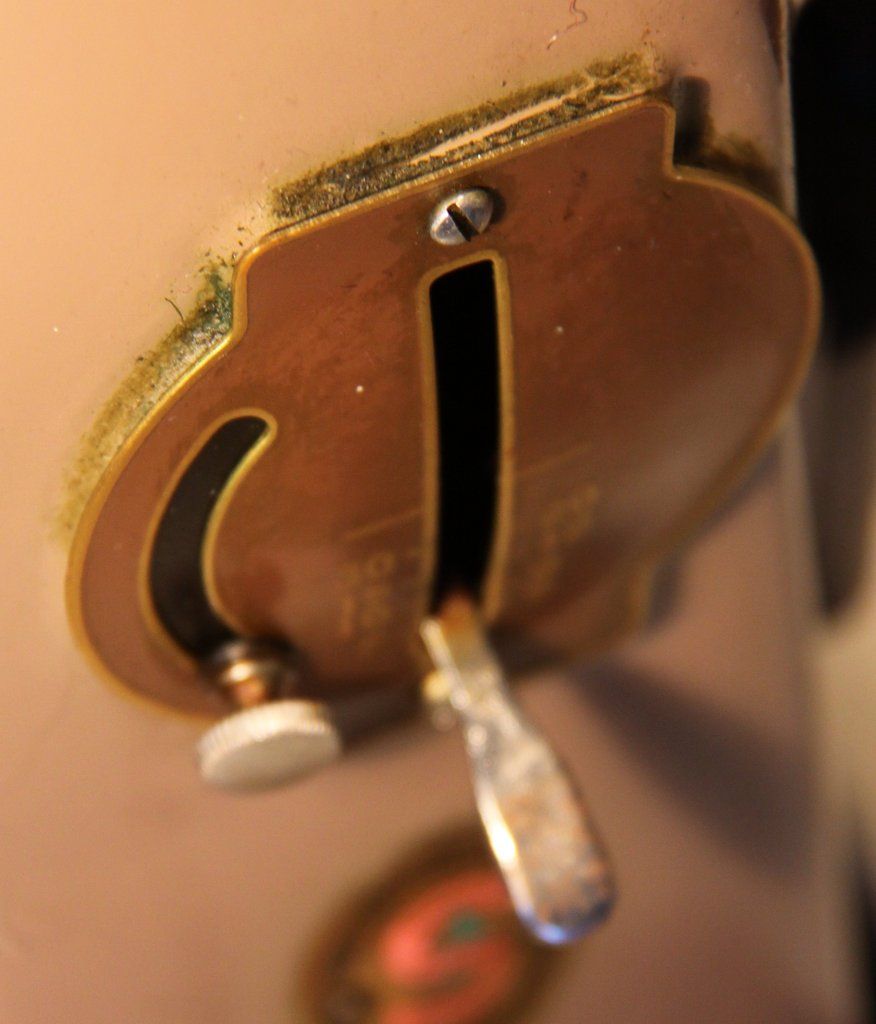
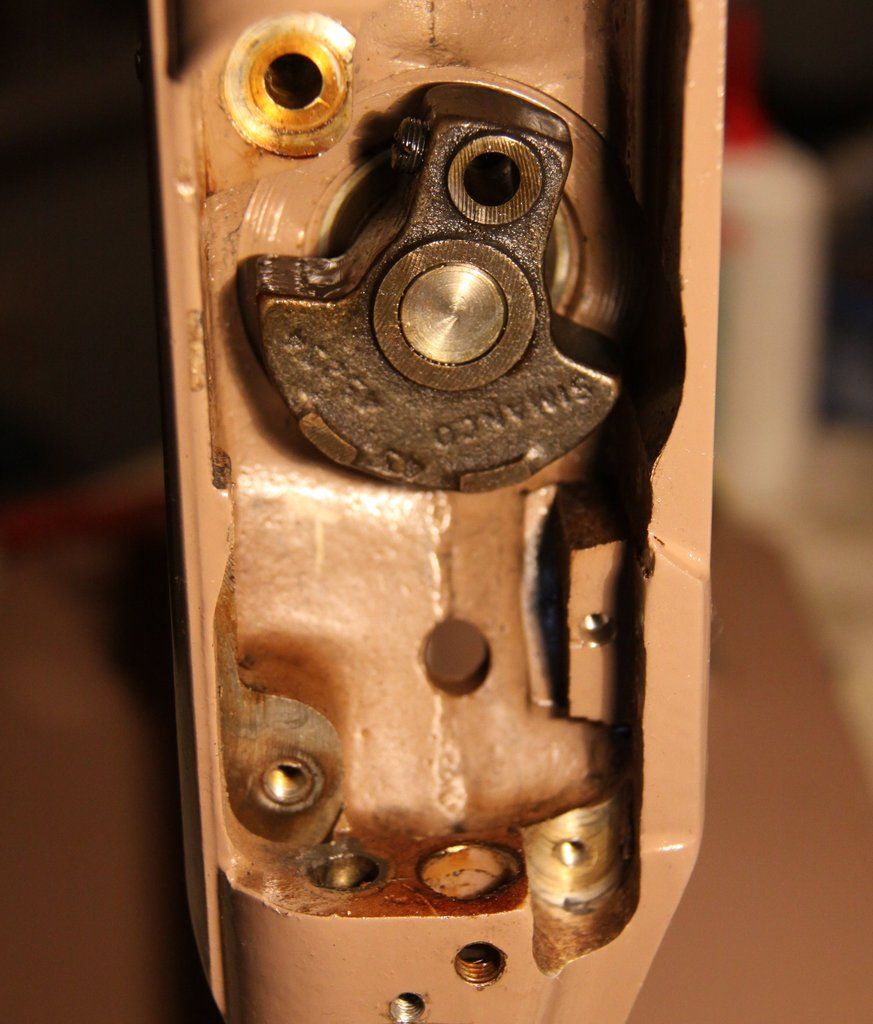
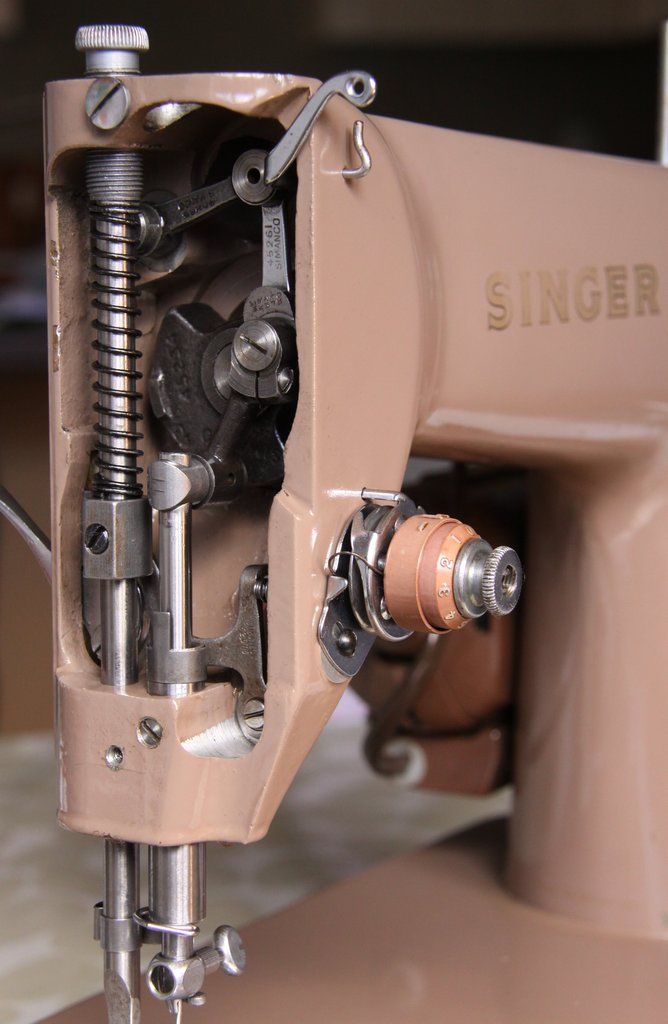
second worst is usually the bars that are for the presser foot and needle...also note the rusted up round nut at top...
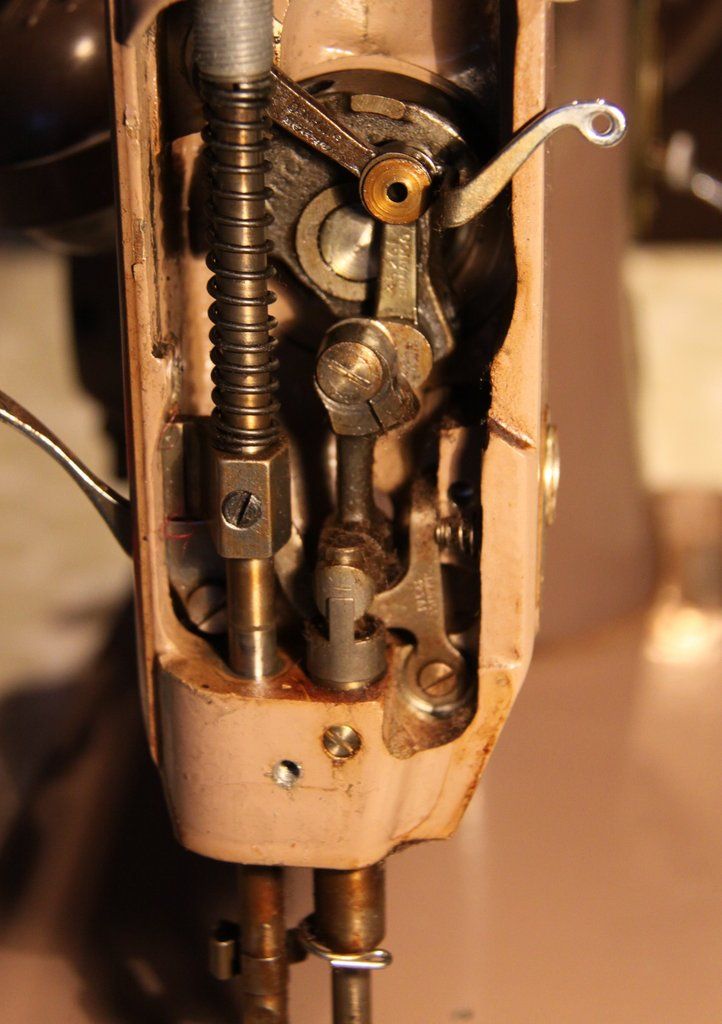
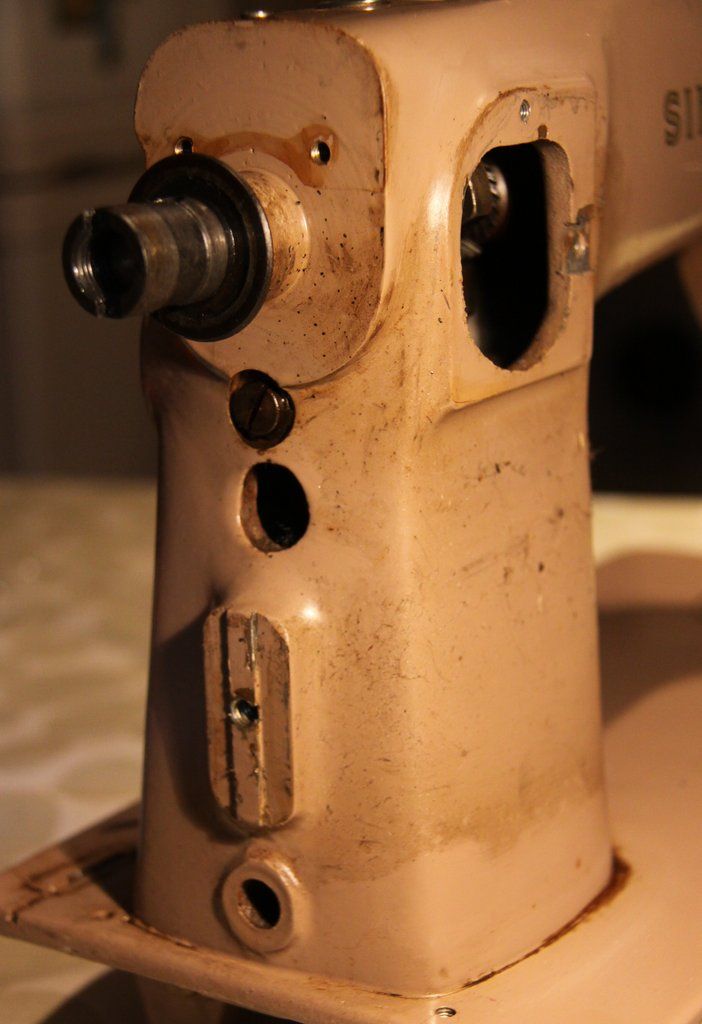
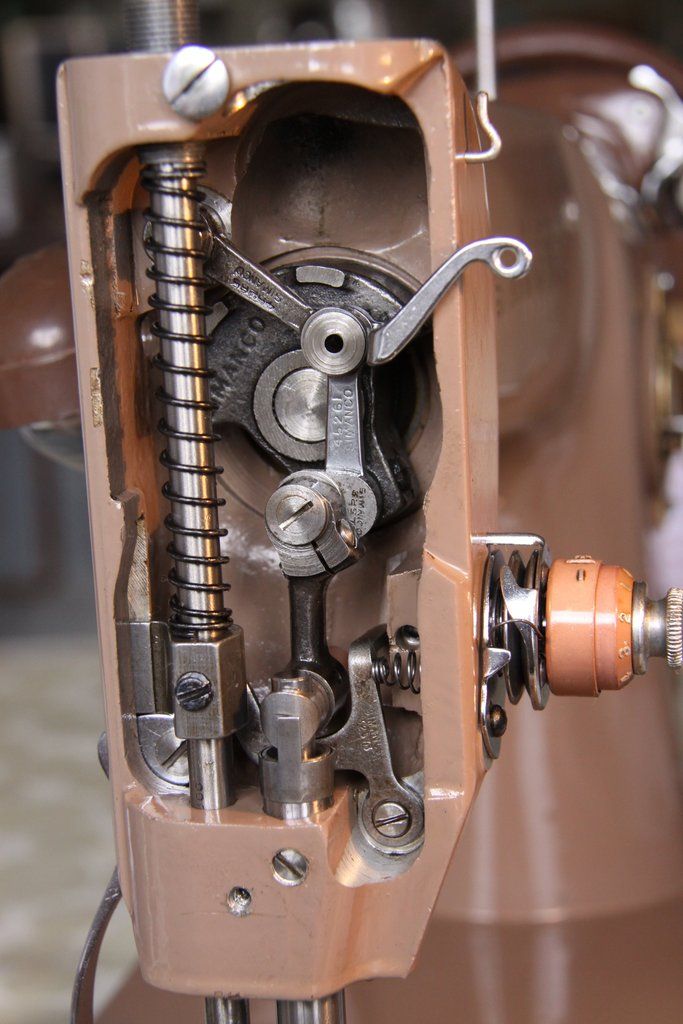
thirdly it'll be inside the head...
and then its going to be the outside of the overall machine...lurrrrrrrrrrvly gunk!
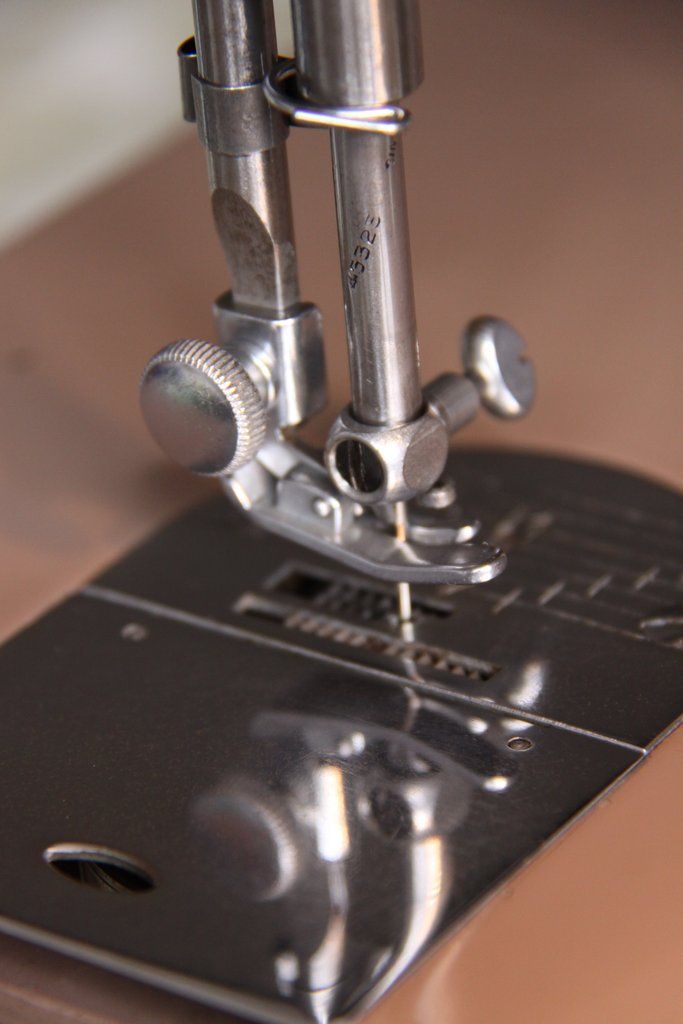
nice huh?....and scratched up throat plates too...
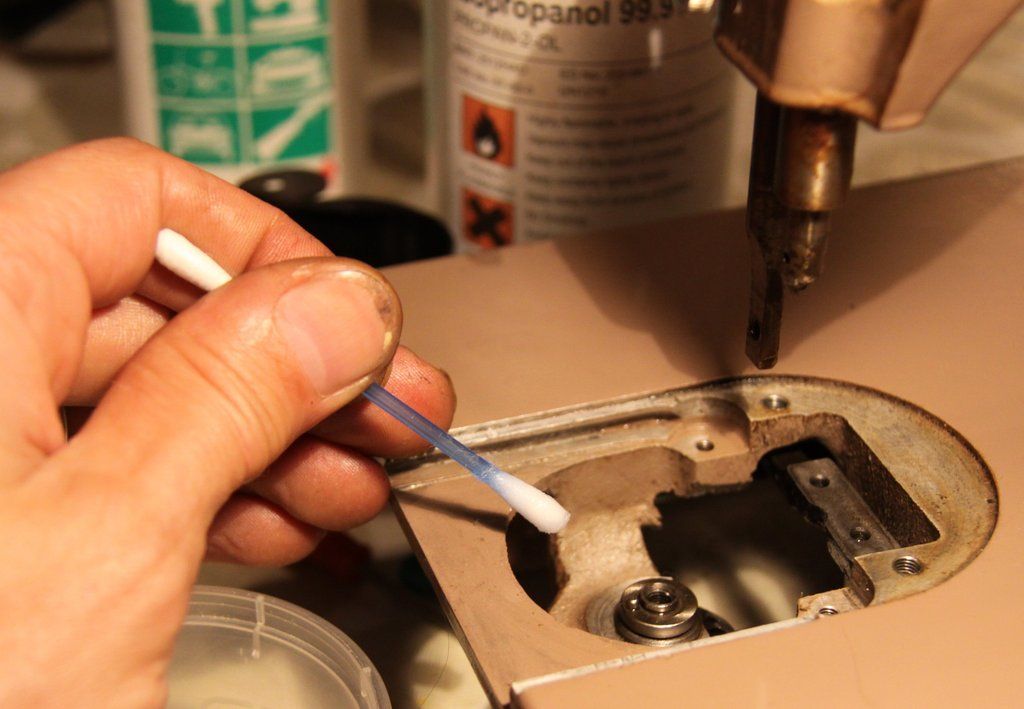
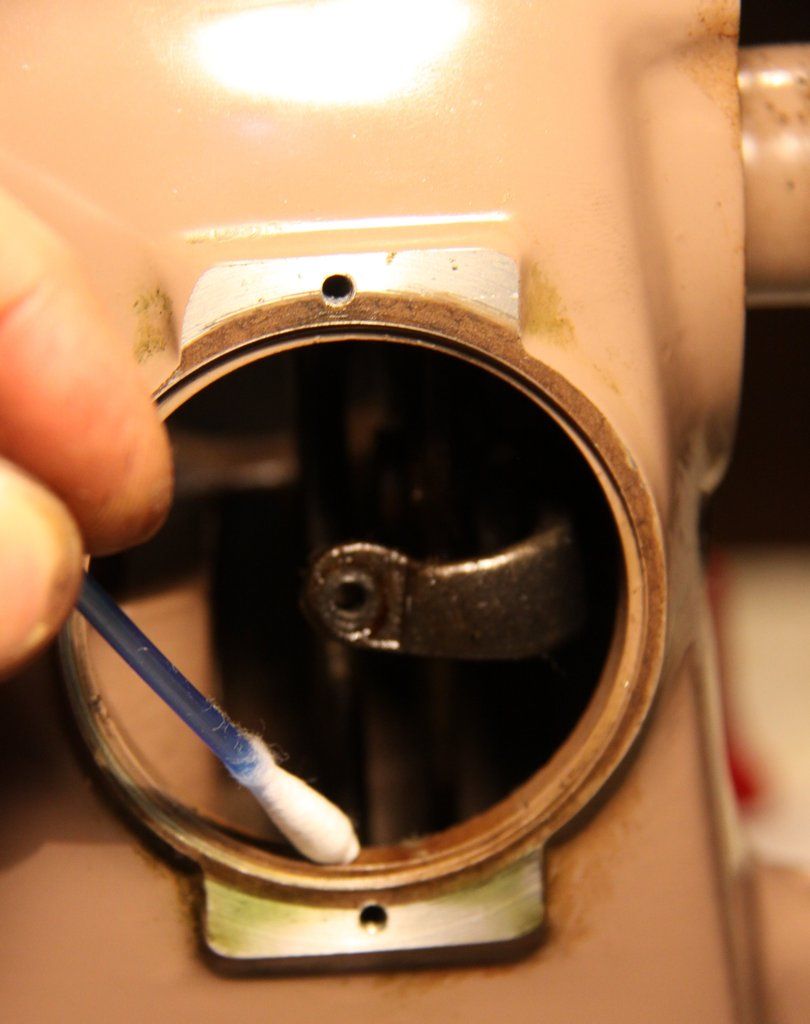
so in we go with the ear-buds....you'll need a lot of these.....and alcohol....do not get alcohol anywhere visible such as the bed as it can strip the lacquer....only use on shiney metal or places that'll be out of sight...to be totally on the safe side just use warm water with just a tad of fairy liquid in in and a soft cloth for painted areas...when using alcohol keep a cloth in one hand so that if you accidentally slip you can get the alcohol off nice n quick....
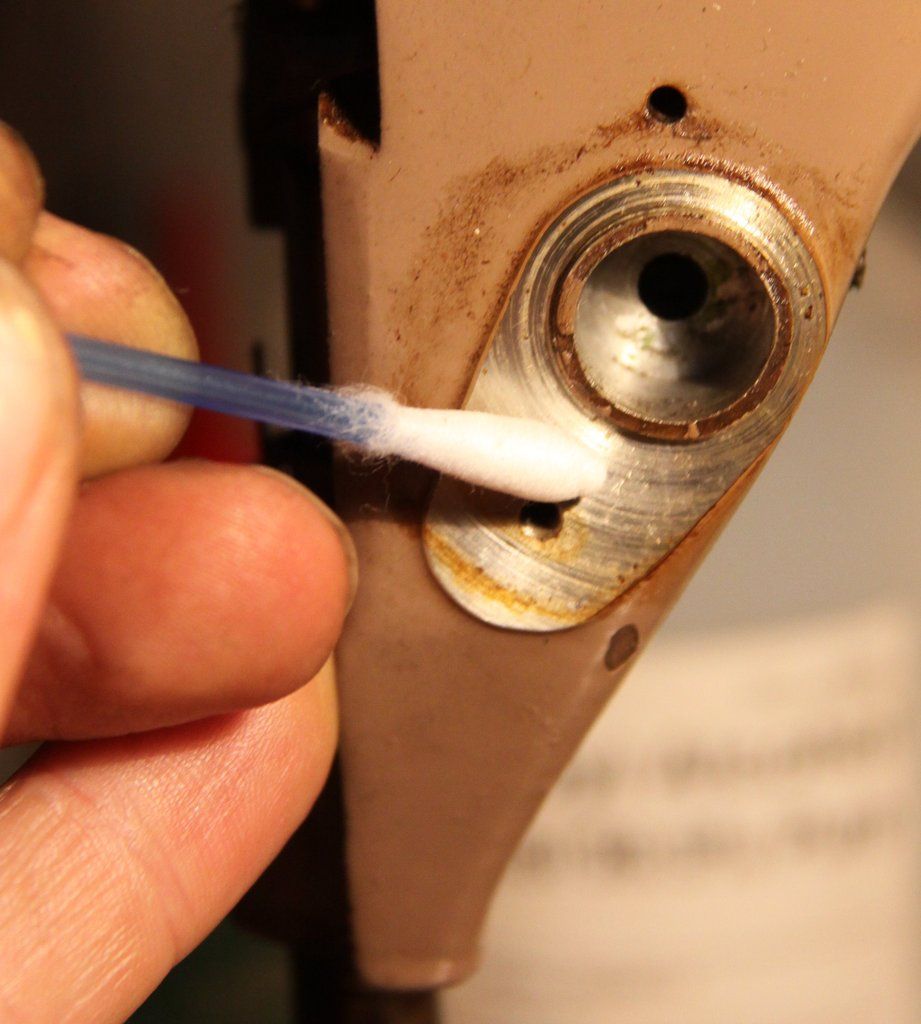
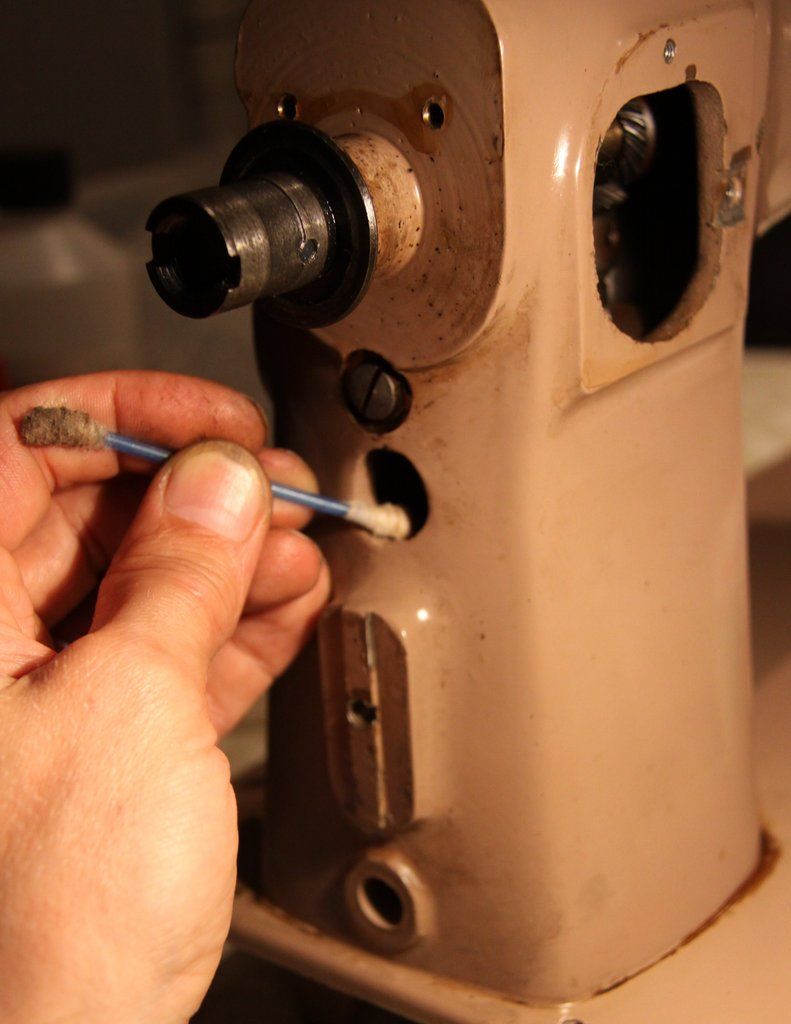
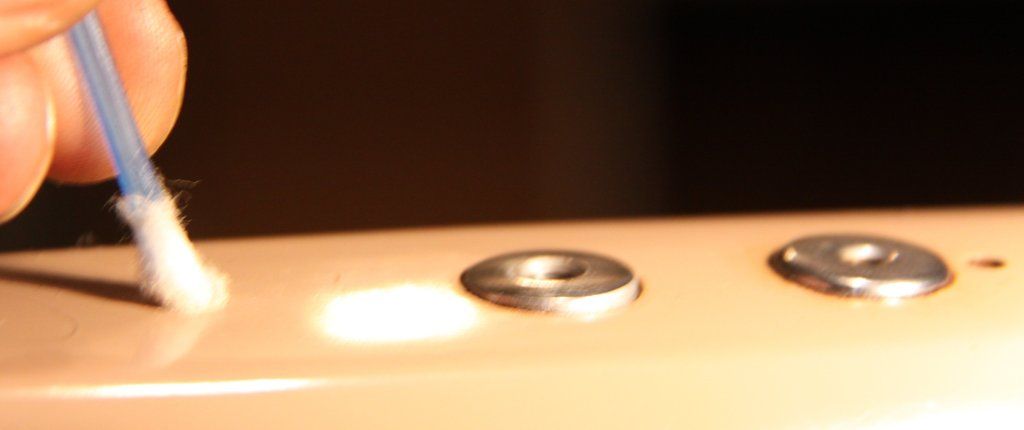
do all the holes front and back, inside rims etc....its the small things that make a difference...as i'm doing this i will also be oiling internal bits of gear and so on that need doing....may as well do them at same time...
next it's soapy water time and soft cloths and a fair bit of rubbing....make sure its a soft cloth because some areas are gonna need real pressure and you could scratch the lacquer and dull it....
see....she's looking real purdy already...
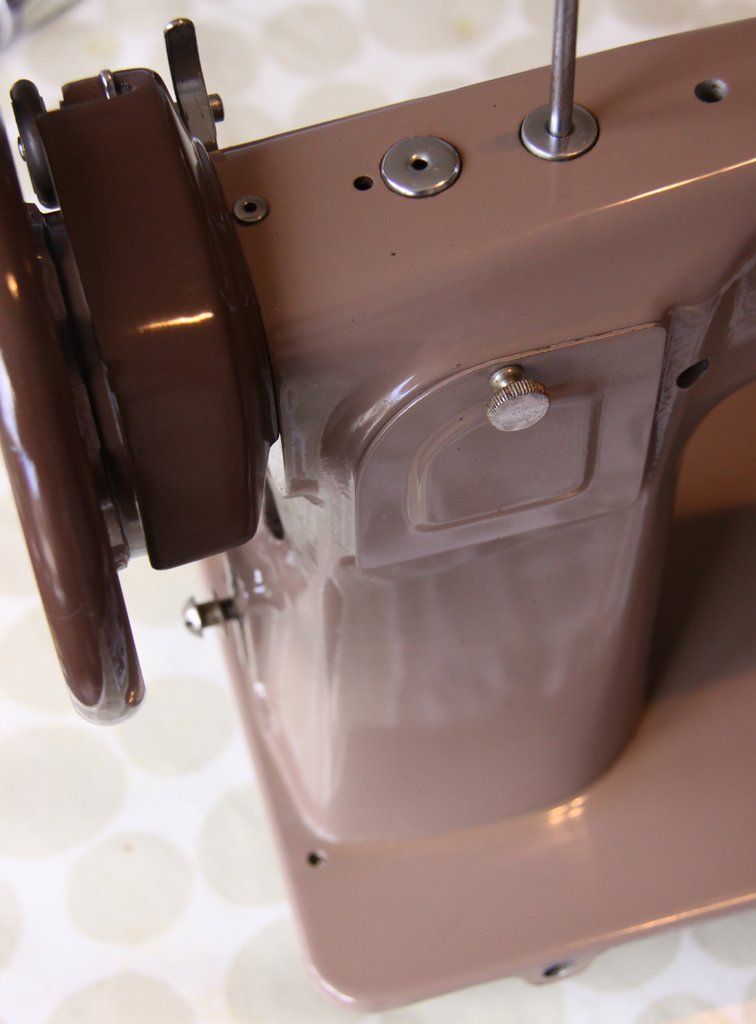
the brown face plate, balance wheel and stitch length cover were all washed under a warm tap with fairy liquid and a cloth....once theyre dry they can go back on...each time you put a piece back on give it a rub with your oily cloth, re-oil screws and holes and so on...
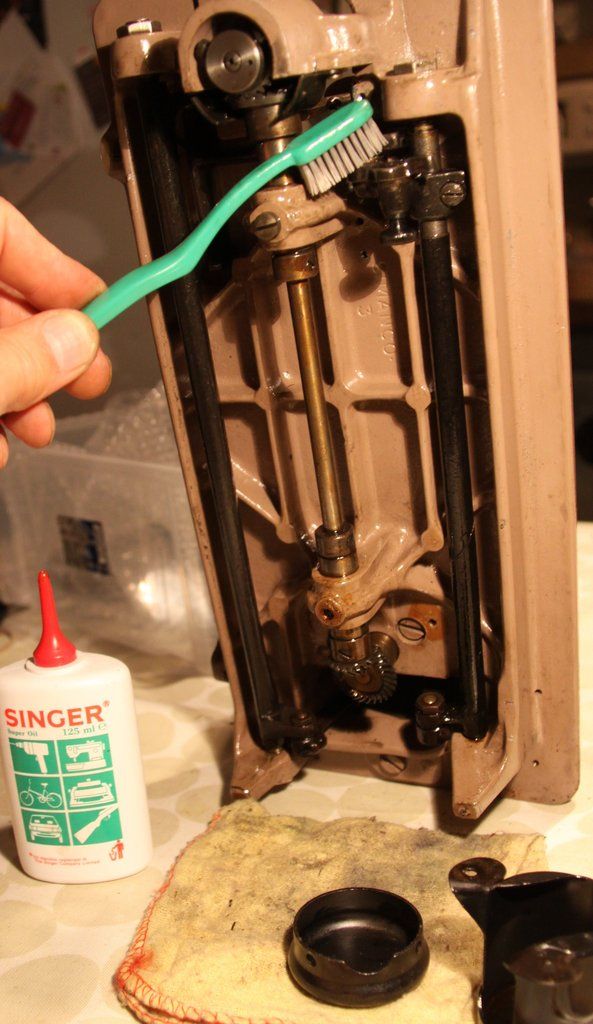
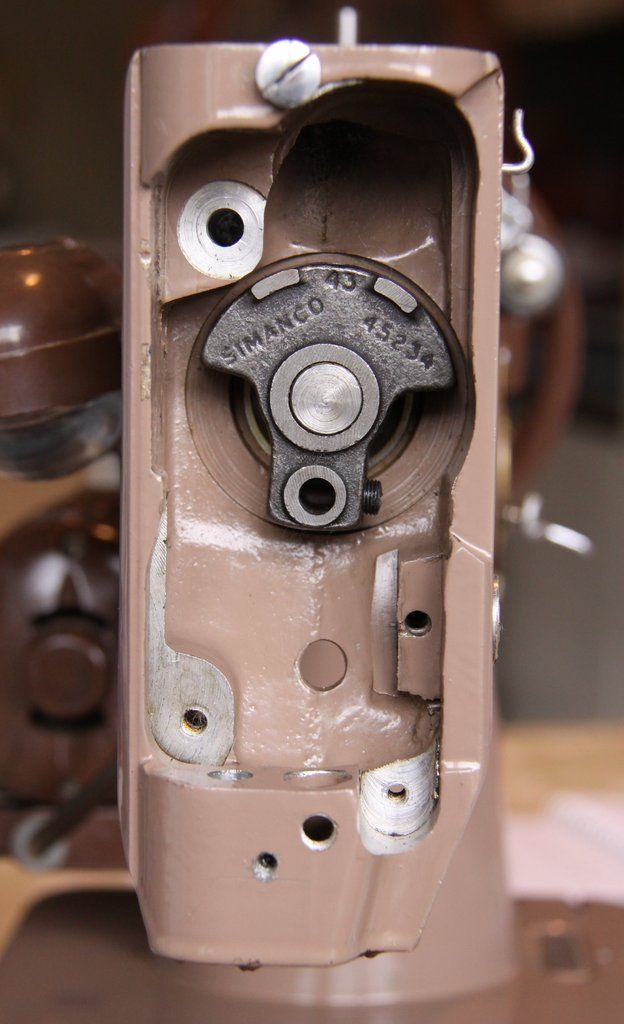
dry her off pretty good....then tip the machine on one end, remove the three dull black metal parts from the bottom thus allowing access to some heavy cogs/gears and room to work in the bobbin housing area...then i get a toothbrush, usually angelas, and give the whole thing a good going over with singer oil and oil the moving parts/joints....this will also give it a good clean....tip on other end and repeat, then wipe it all down to get excess off....i'll also check that screws are tight and often i'll unscrew as many as i can, apply oil and re-tighten....
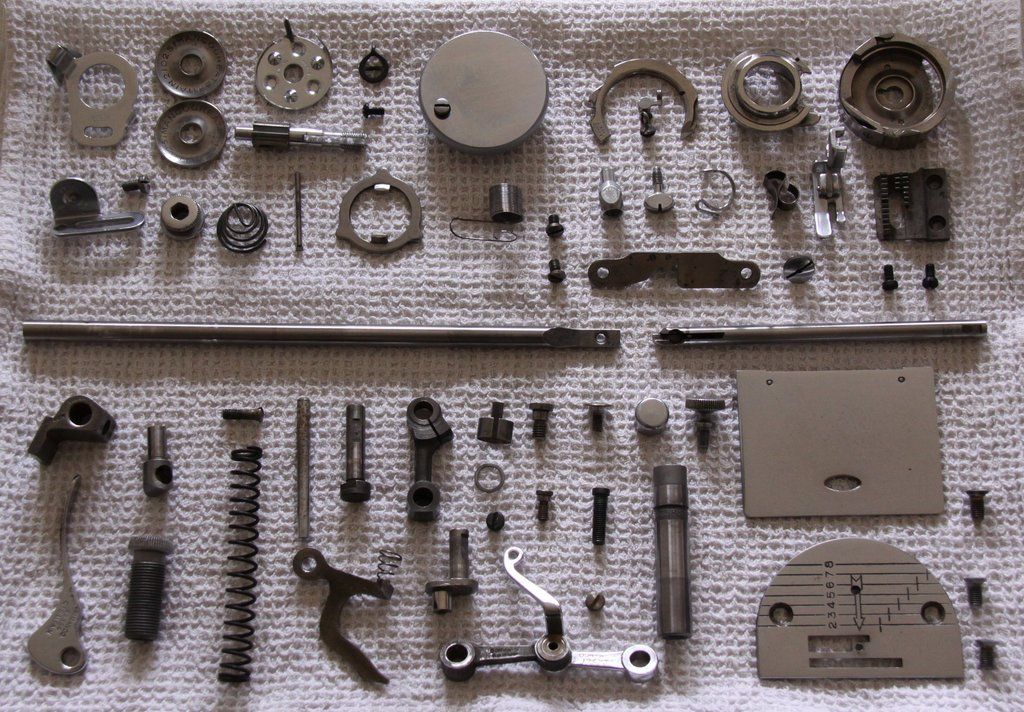
next its time to strip the head out...some of this can be difficult if youve not done it before and one of the screws un-does in a clock-wise direction so be warned...i've covered some of this in my neglected blog which i'll put up the link for at the end so long as Tony doesnt mind....i bought myself a few different thickness and lengths of stainless rod and they allow me to achieve a total strip.....ooer....of course you dont have to go the whole hog but come on, who wants a half cleaned machine?
check this out....looks like a cows behind...with extra brown stuff...
before...
so we get some plastic tubs and soak in alcohol for a while (lids on obviously....alcohol evaporates)....then we get the toothbrush and fairy and scrub each part under the running tap...dont lose bits down the plug hole....its not kool at all. no really.
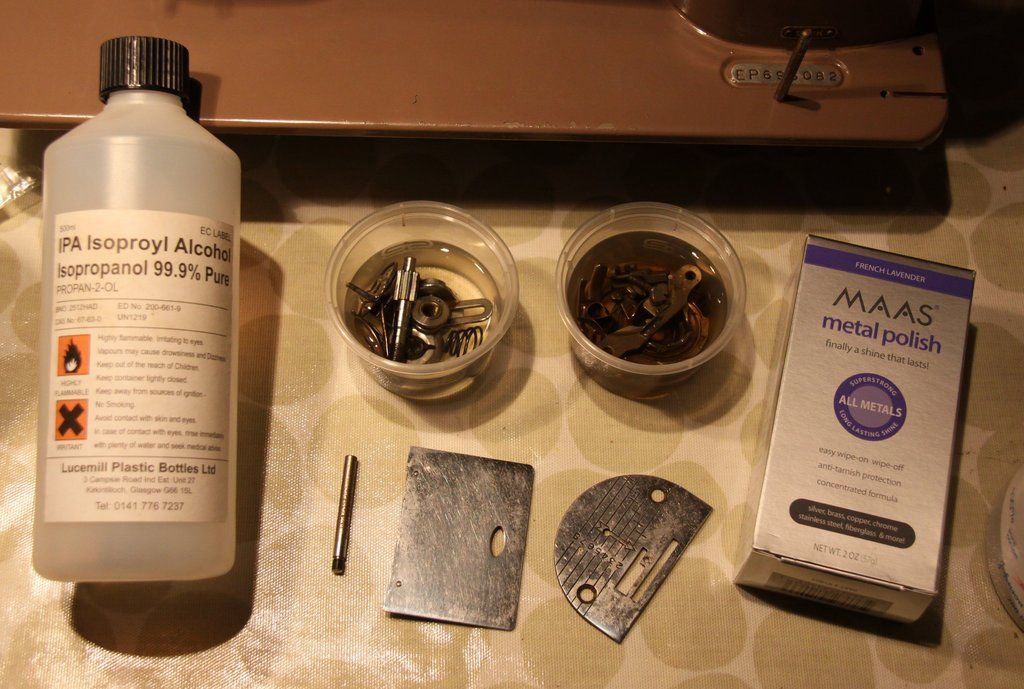
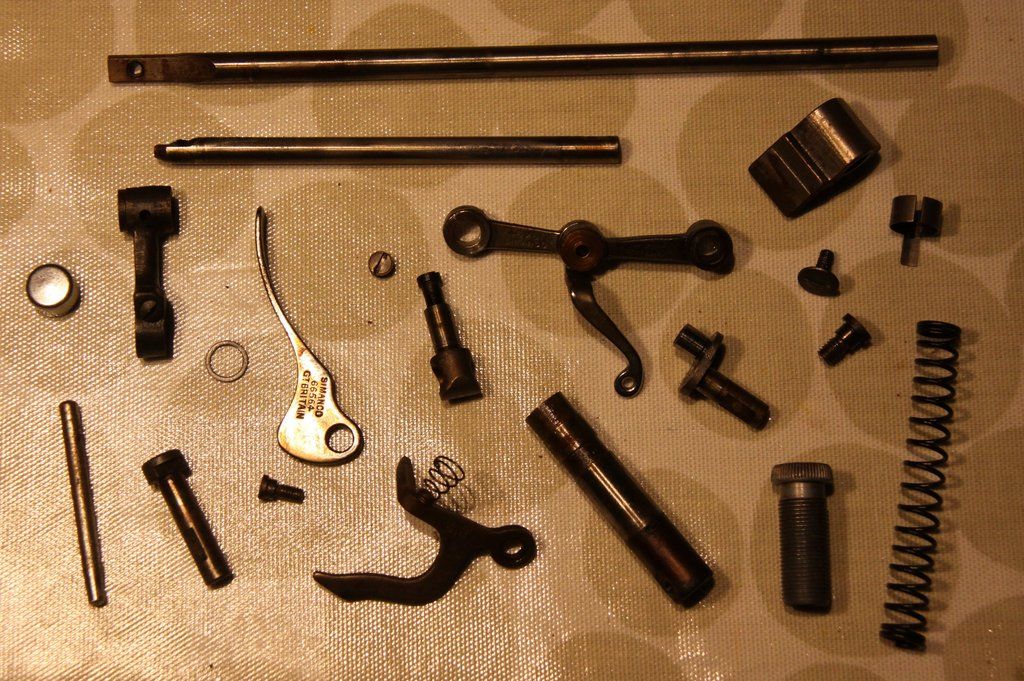
after....the dirtiest rods were also polished with Maas...oh and dont forget to put bits in zip lock bags as you go....keeps things in order and not lost too.
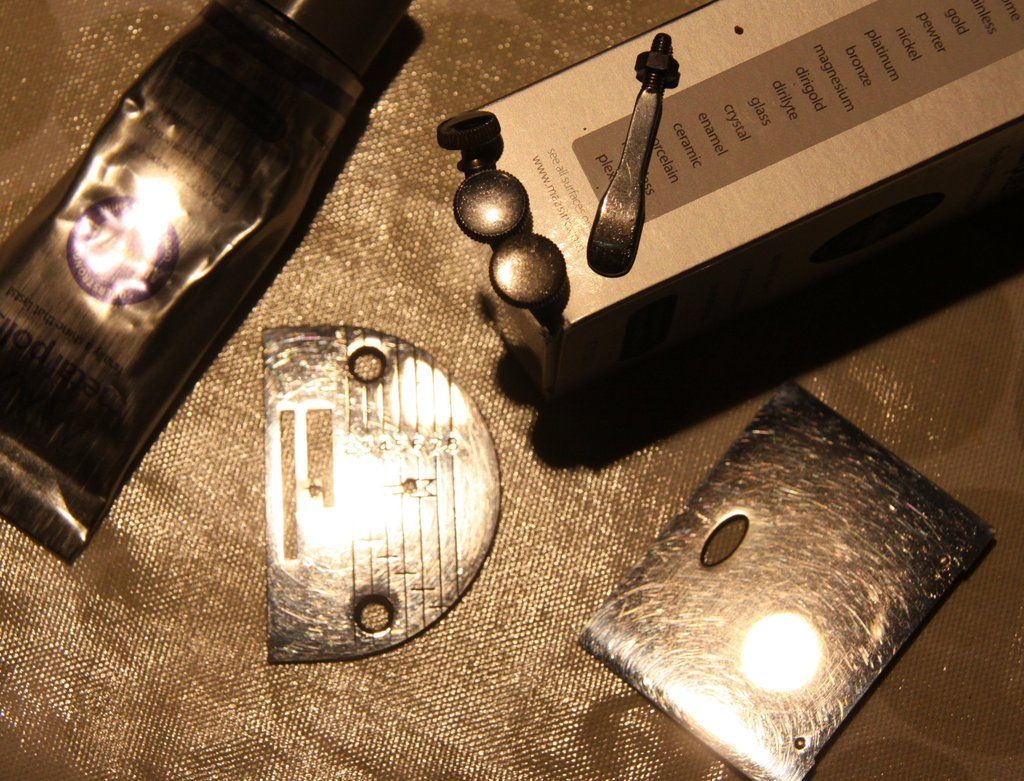
...after i gave the throat plates a first polish using Maas....not only does it bring things back to life but it also gets scratches out to some degree...i'm guessing you should be careful therefore not to over-do it as you may well rub the entire plating off so go easy and dont be greedy...
now i started checking the electrics....electrics are scarey if youre a newbie like me....and going by the state of the machine so far i was dreading what i was going to find....(feel free to nag the hell out of macaroon for electrical advice, after all, it is all his fault....)
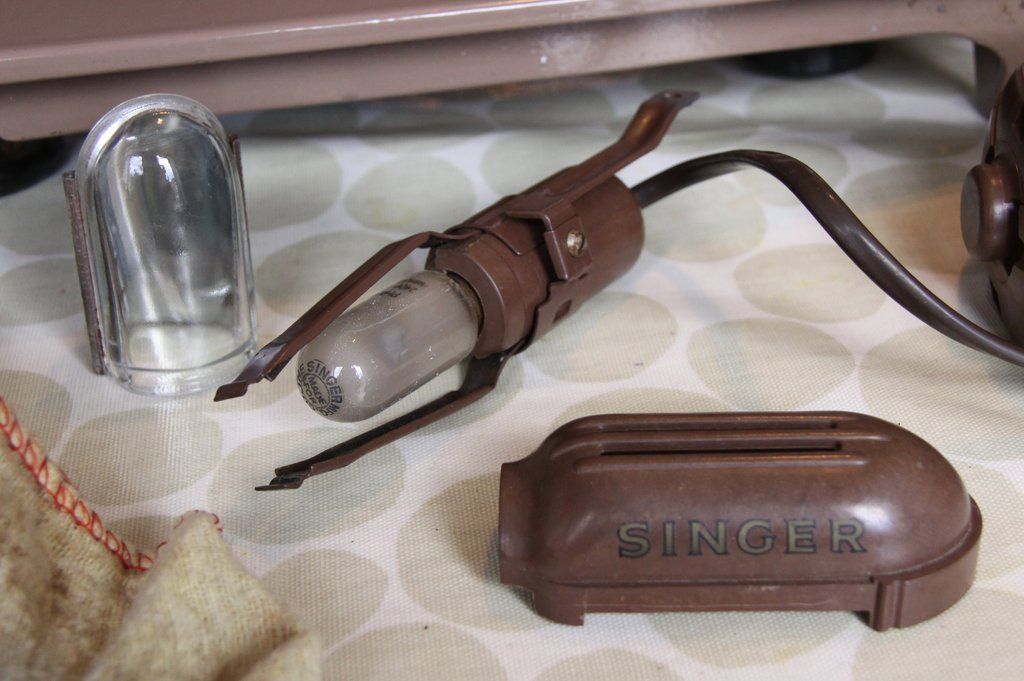
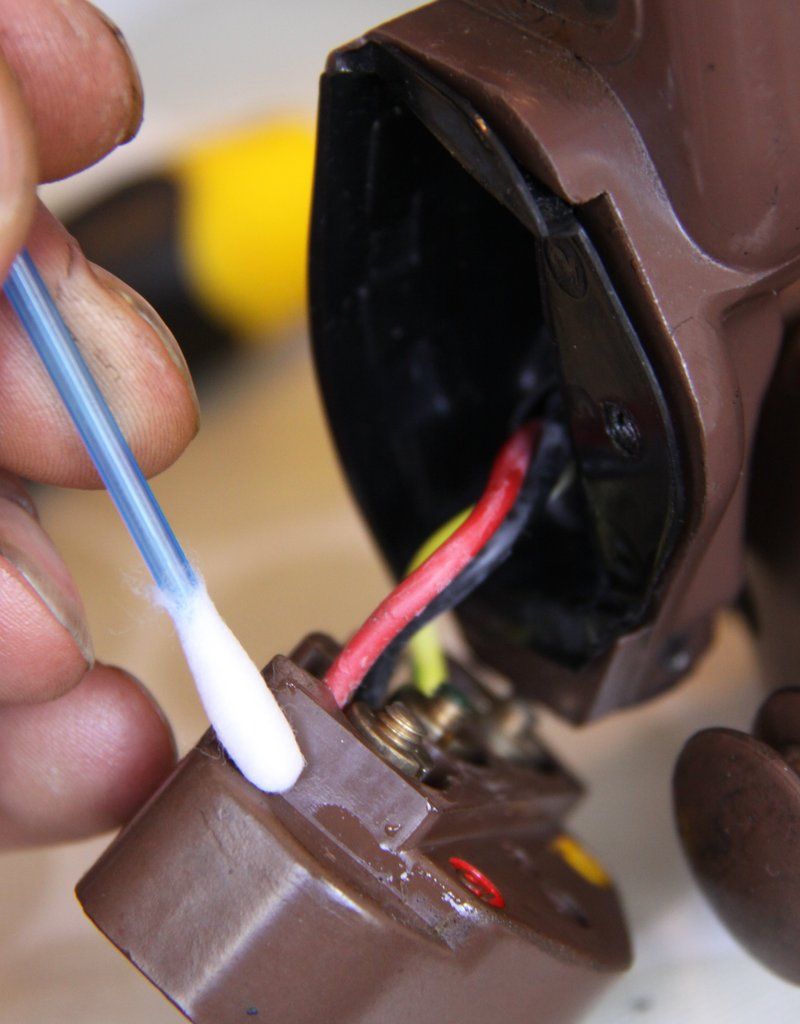
first i cleaned the glass of the light...
then i had a peep at the wiring....deep breath....all good, phew! quite often wiring will be crumbling and degraded and/or saturated in the wrong lubricant or blantantly done by a moron...
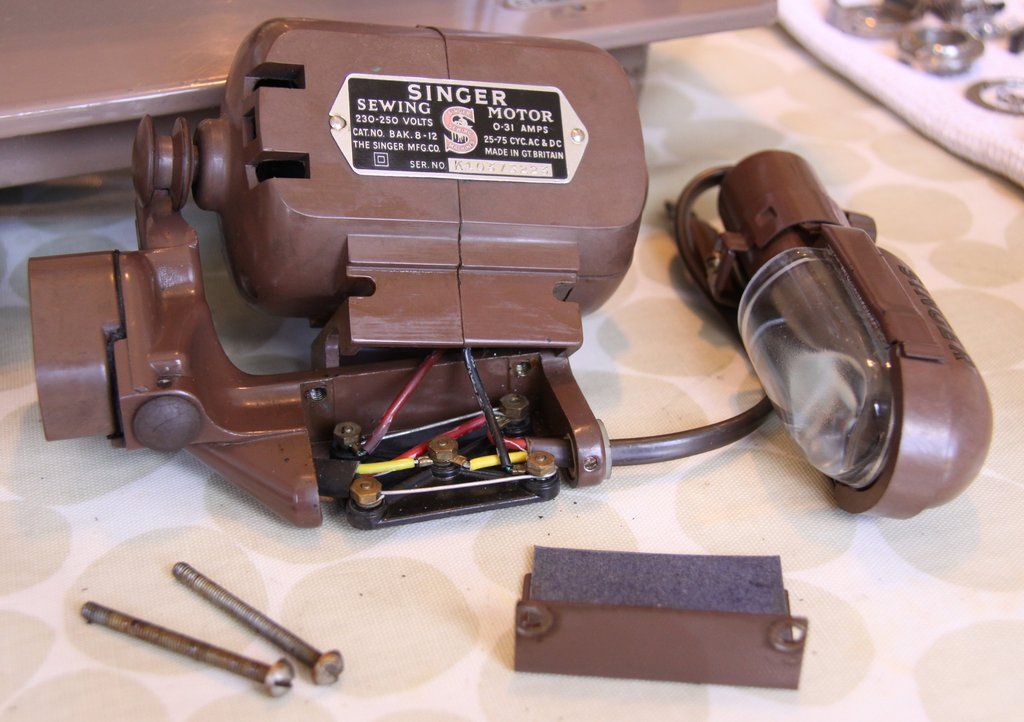
here you can just about see that a smidge of oil has at some point worked its way inside....no biggy....just dab it out and have a wipe round...
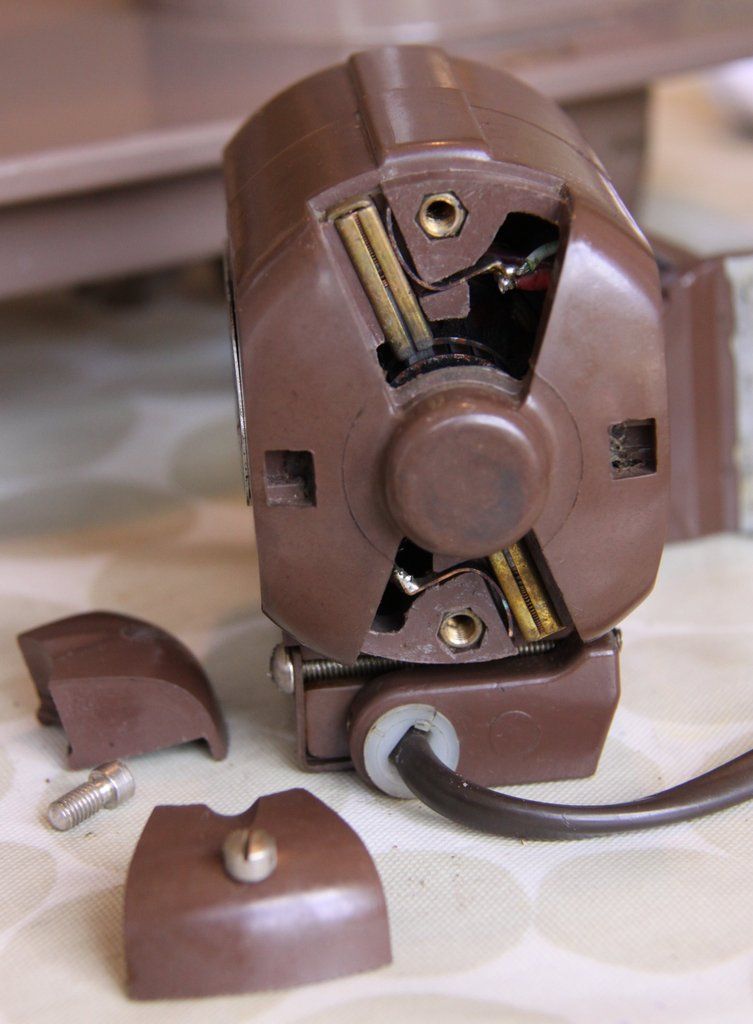
those of you who've seen my 201-2 total rewiring thread will know just how bad the inside of motors can be, especially when idiots stick oil/grease in the wrong areas like the brush tubes....not only is this motor clean as a whistle but the brushes are hardly worn...they could of course be new ones but if theyre the originals then this machines not been used that much, just terribly looked after....big relief either way...
now i cleaned out the head with buds and alcohol...
and started to put it all back together....
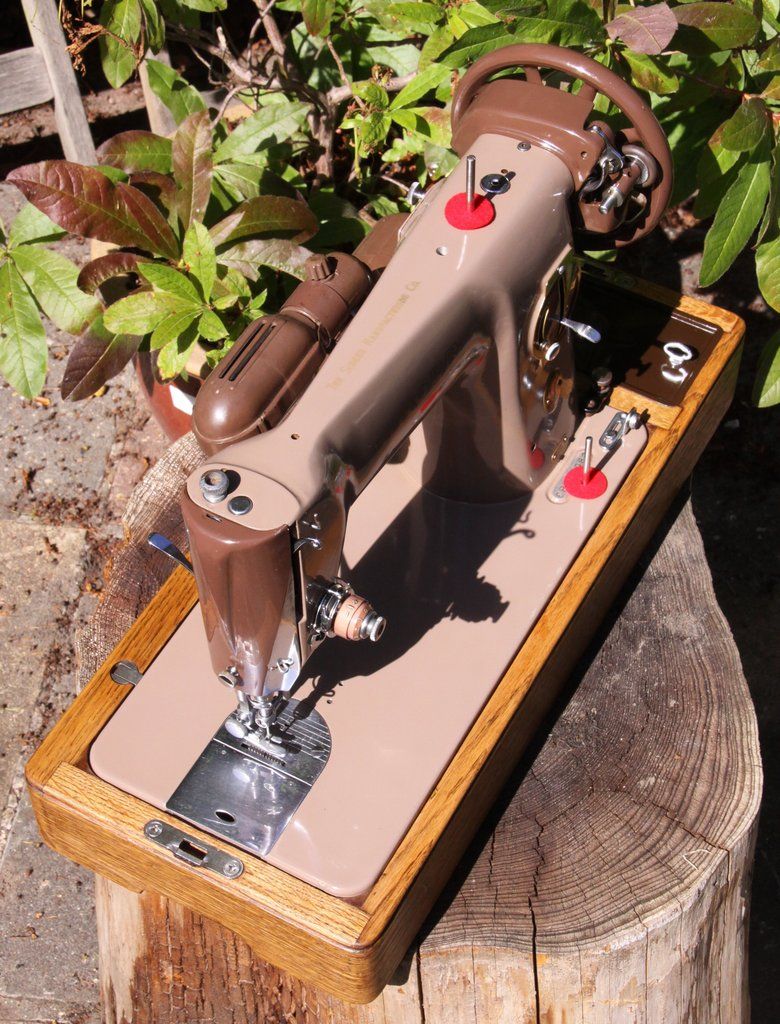
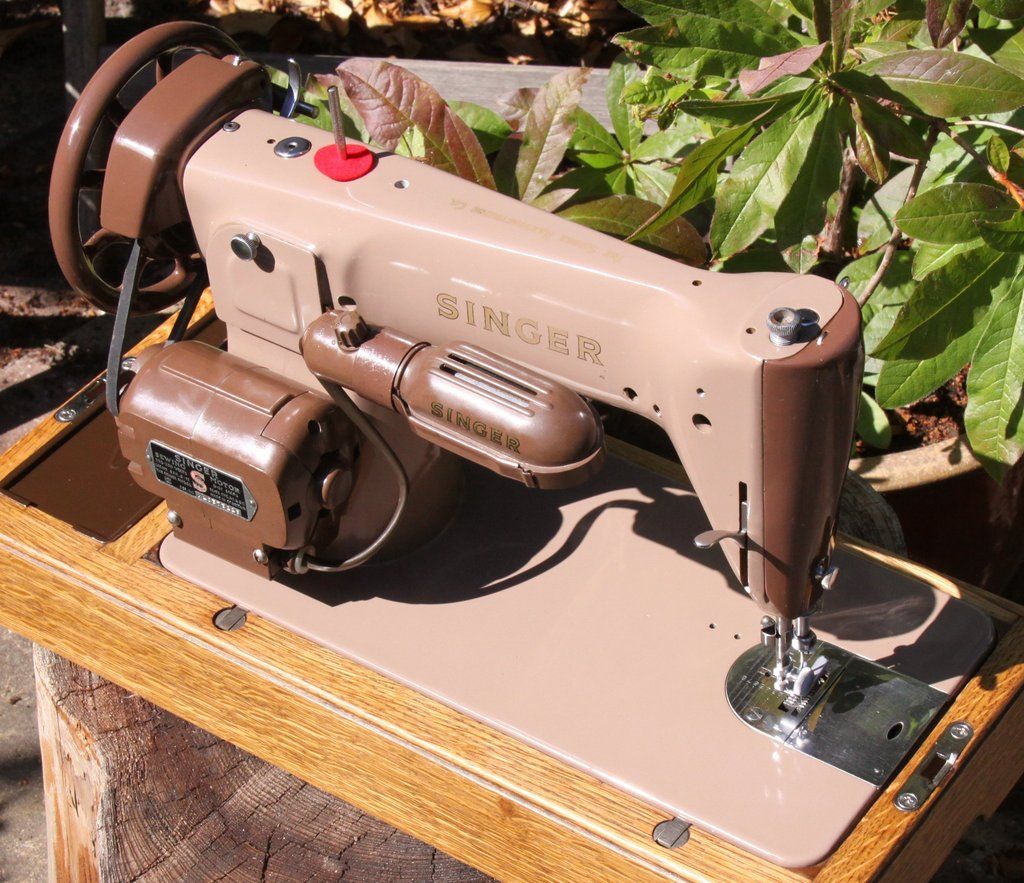
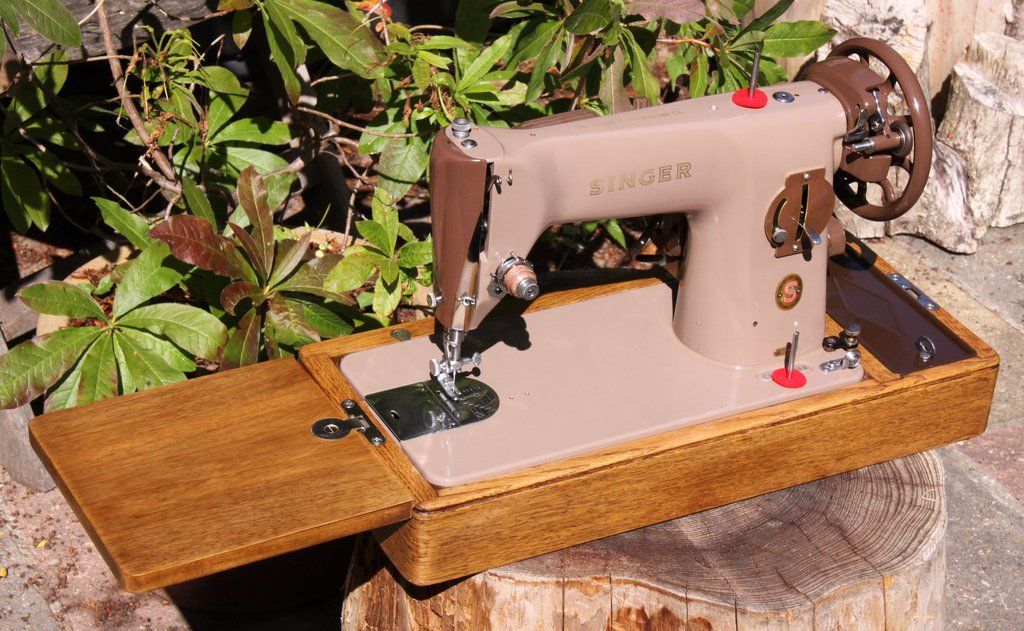
and heres how she looks now....
glorious!!! as near to new as you're going to get...i'm in love all over again...for the 22nd time i think lol!
if anyone needs help with anything please drop me a line and i'll do my best to help...lets keep these gorgeous machines going strong!! what made this job even nicer was that my son Oliver expressed a growing interest and spent many hours beside me in the kitchen helping me get this done....wikid!!!
regards
Sonni
http://beneaththestarsleatherwork.blogspot.co.uk/
a few of the parts were so rusted up that i replaced them with spares, such as the foot lever on back, stitch length lever and one of the spool pins and i've also put it in a more deserving base now that it looks gorgeous....all these parts are readily available on ebay with a little patience and the rest is just time, elbow grease, a few tools, alcohol and metal polish...easy peasy! oh, and get yaself a ratchet screwdriver set...makes it soooo much easier to get out awkward screws....i've got a Faithfull 42 piece set, buyable on ebay for 20 quid...
to give a 201 a going over like this usually takes me 10 to 15 hours...
so...lets start taking it apart to discover the horrors lurking below....this is usually going to be the main offender...the bobbin housing...:


second worst is usually the bars that are for the presser foot and needle...also note the rusted up round nut at top...

thirdly it'll be inside the head...

and then its going to be the outside of the overall machine...lurrrrrrrrrrvly gunk!


nice huh?....and scratched up throat plates too...

so in we go with the ear-buds....you'll need a lot of these.....and alcohol....do not get alcohol anywhere visible such as the bed as it can strip the lacquer....only use on shiney metal or places that'll be out of sight...to be totally on the safe side just use warm water with just a tad of fairy liquid in in and a soft cloth for painted areas...when using alcohol keep a cloth in one hand so that if you accidentally slip you can get the alcohol off nice n quick....


do all the holes front and back, inside rims etc....its the small things that make a difference...as i'm doing this i will also be oiling internal bits of gear and so on that need doing....may as well do them at same time...


next it's soapy water time and soft cloths and a fair bit of rubbing....make sure its a soft cloth because some areas are gonna need real pressure and you could scratch the lacquer and dull it....
see....she's looking real purdy already...


the brown face plate, balance wheel and stitch length cover were all washed under a warm tap with fairy liquid and a cloth....once theyre dry they can go back on...each time you put a piece back on give it a rub with your oily cloth, re-oil screws and holes and so on...


dry her off pretty good....then tip the machine on one end, remove the three dull black metal parts from the bottom thus allowing access to some heavy cogs/gears and room to work in the bobbin housing area...then i get a toothbrush, usually angelas, and give the whole thing a good going over with singer oil and oil the moving parts/joints....this will also give it a good clean....tip on other end and repeat, then wipe it all down to get excess off....i'll also check that screws are tight and often i'll unscrew as many as i can, apply oil and re-tighten....

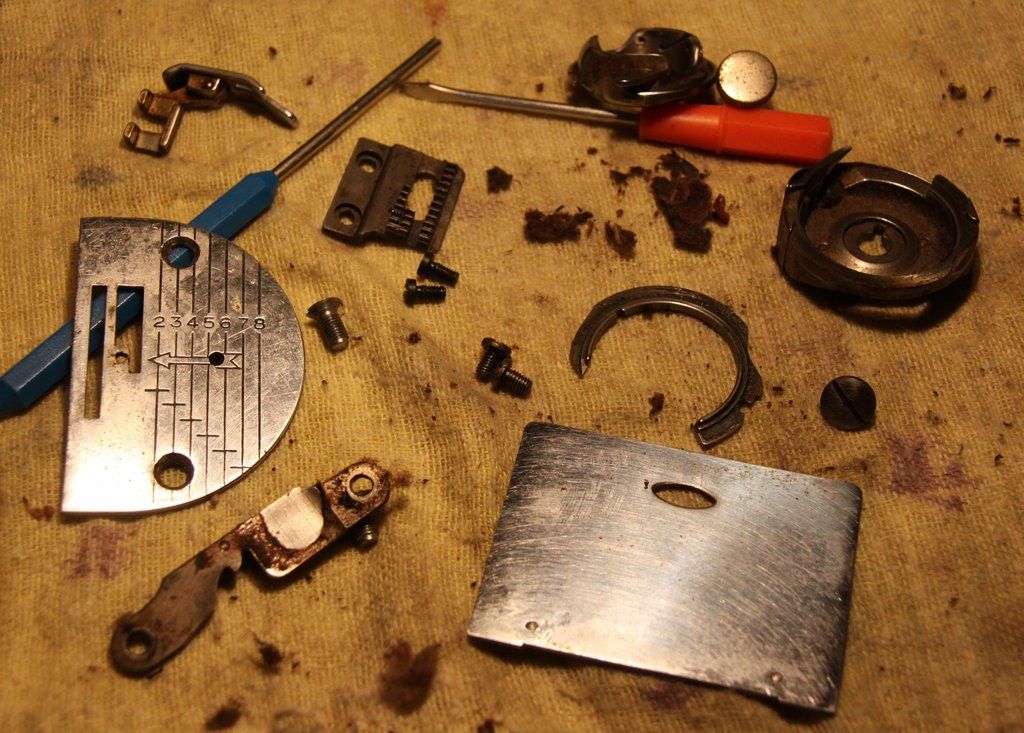
next its time to strip the head out...some of this can be difficult if youve not done it before and one of the screws un-does in a clock-wise direction so be warned...i've covered some of this in my neglected blog which i'll put up the link for at the end so long as Tony doesnt mind....i bought myself a few different thickness and lengths of stainless rod and they allow me to achieve a total strip.....ooer....of course you dont have to go the whole hog but come on, who wants a half cleaned machine?
check this out....looks like a cows behind...with extra brown stuff...

before...

so we get some plastic tubs and soak in alcohol for a while (lids on obviously....alcohol evaporates)....then we get the toothbrush and fairy and scrub each part under the running tap...dont lose bits down the plug hole....its not kool at all. no really.

after....the dirtiest rods were also polished with Maas...oh and dont forget to put bits in zip lock bags as you go....keeps things in order and not lost too.

...after i gave the throat plates a first polish using Maas....not only does it bring things back to life but it also gets scratches out to some degree...i'm guessing you should be careful therefore not to over-do it as you may well rub the entire plating off so go easy and dont be greedy...

now i started checking the electrics....electrics are scarey if youre a newbie like me....and going by the state of the machine so far i was dreading what i was going to find....(feel free to nag the hell out of macaroon for electrical advice, after all, it is all his fault....)
first i cleaned the glass of the light...

then i had a peep at the wiring....deep breath....all good, phew! quite often wiring will be crumbling and degraded and/or saturated in the wrong lubricant or blantantly done by a moron...

here you can just about see that a smidge of oil has at some point worked its way inside....no biggy....just dab it out and have a wipe round...

those of you who've seen my 201-2 total rewiring thread will know just how bad the inside of motors can be, especially when idiots stick oil/grease in the wrong areas like the brush tubes....not only is this motor clean as a whistle but the brushes are hardly worn...they could of course be new ones but if theyre the originals then this machines not been used that much, just terribly looked after....big relief either way...

now i cleaned out the head with buds and alcohol...

and started to put it all back together....

and heres how she looks now....


glorious!!! as near to new as you're going to get...i'm in love all over again...for the 22nd time i think lol!


if anyone needs help with anything please drop me a line and i'll do my best to help...lets keep these gorgeous machines going strong!! what made this job even nicer was that my son Oliver expressed a growing interest and spent many hours beside me in the kitchen helping me get this done....wikid!!!
regards
Sonni
http://beneaththestarsleatherwork.blogspot.co.uk/
Last edited:

")
") when I can find some space
when I can find some space 