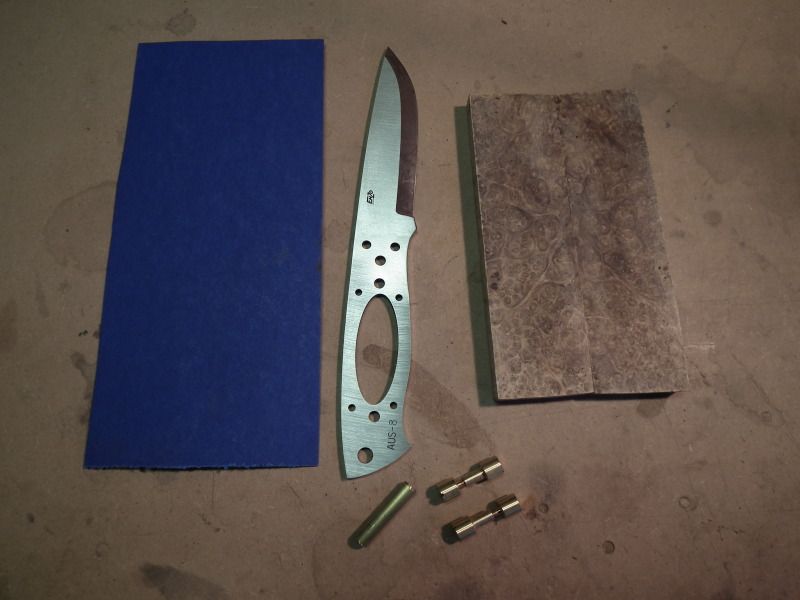
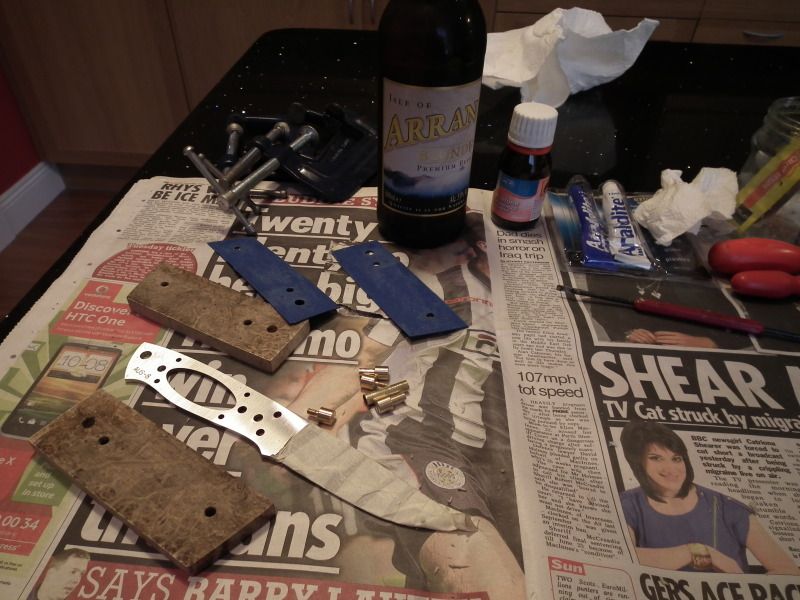
Thought I'd do a buildalong for a fulltang stainless Enzo for someone who spends a fair bit of time on the water so picked it up from Dennis, the guy who runs brisa in finland. Already had the liners, bolts and some stabilized black ash burr from pikebite over on BB, so we were good to go!
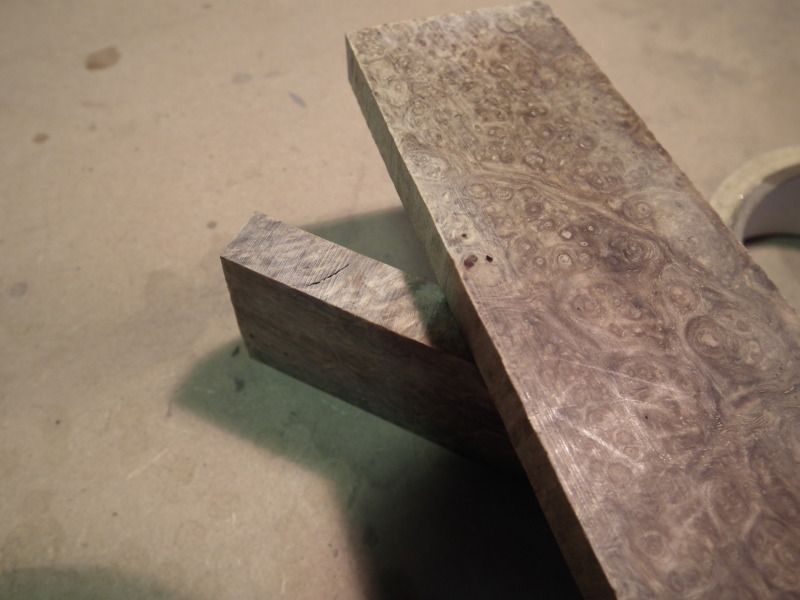
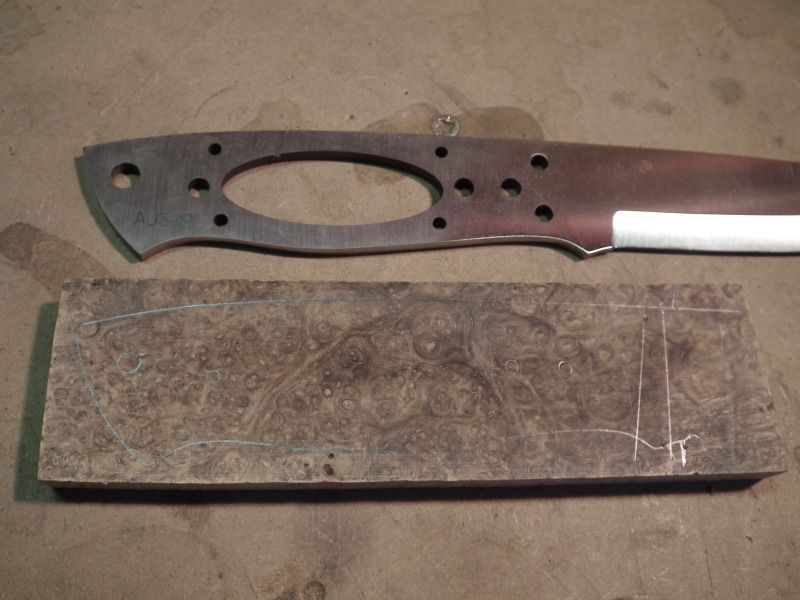
First thing was planning, all wood especially burrs has some character <cough> defects <cough> and so I always like to try and work around them if possible. You can see a couple of splits here and some holes, very common with burr but easily filled with either epoxy or superglue.
Figured out where the blade should go avoiding the 'characterful' bits. I always tend to label everything as it makes it nice and consistent. Left, Top, Rear and Right, Top, Rear.
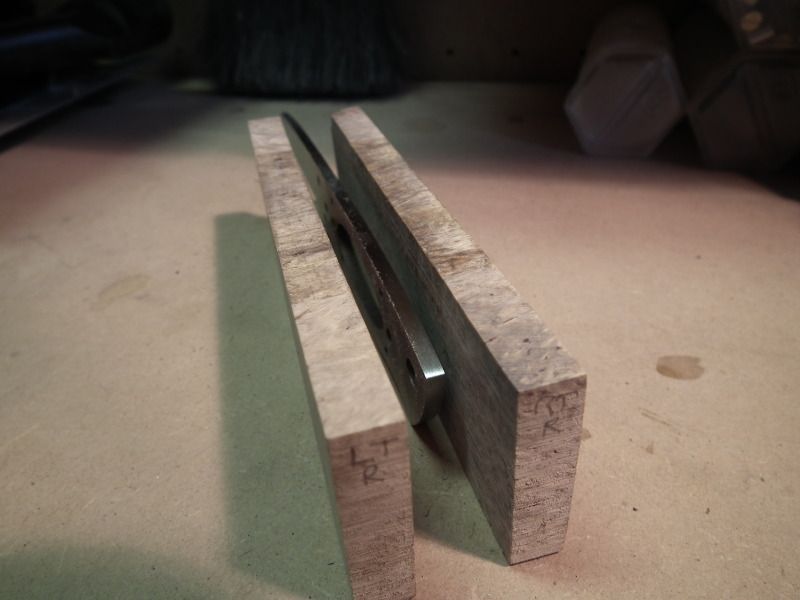
Also makes sure you get the bookmatching right.
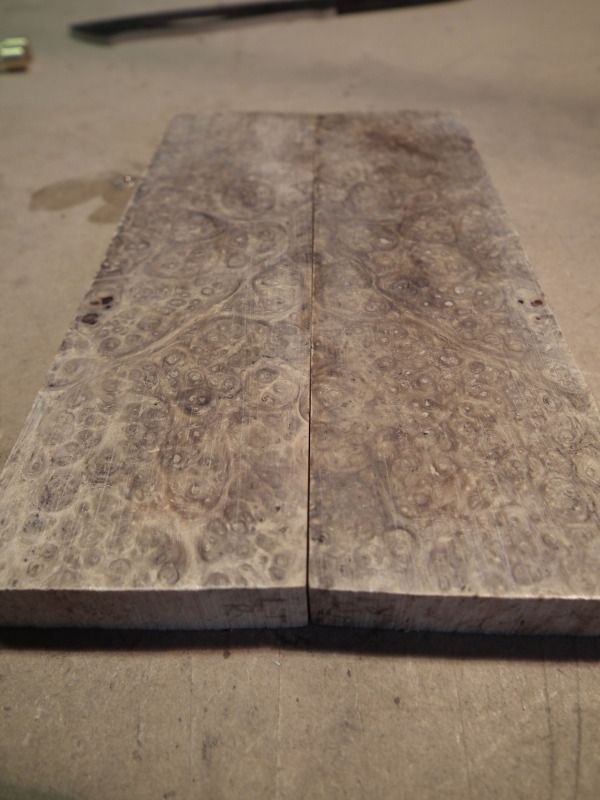
Another good trick is to draw on an outline, helps with avoiding the holes and also helps line it up properly.
Blade taped up (you'll only forget to do this once!) and clamped to the scale ready for drilling. I should say there are 100s of ways to handle a blade, this is just the way I like doing it.
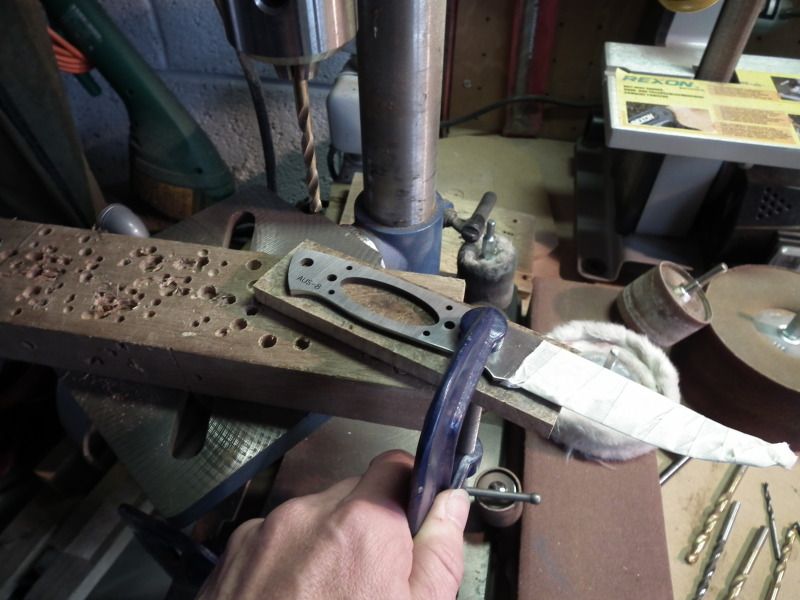
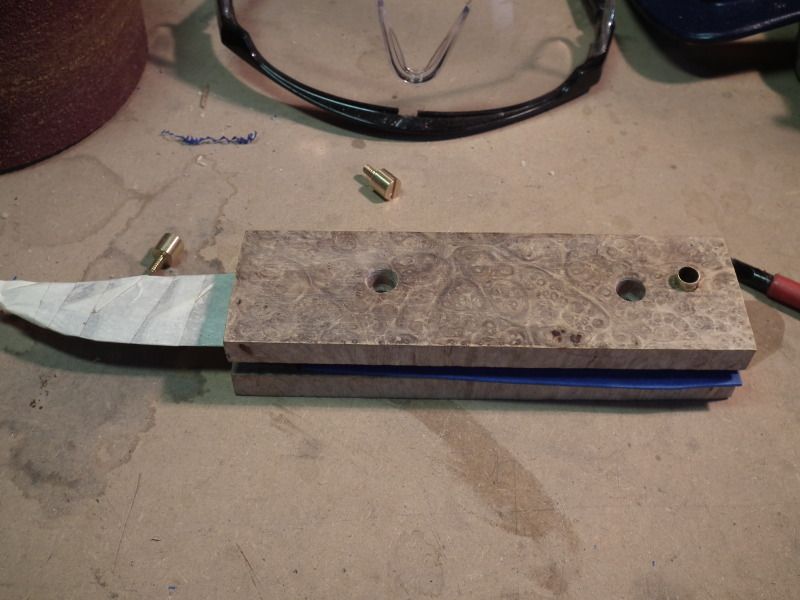
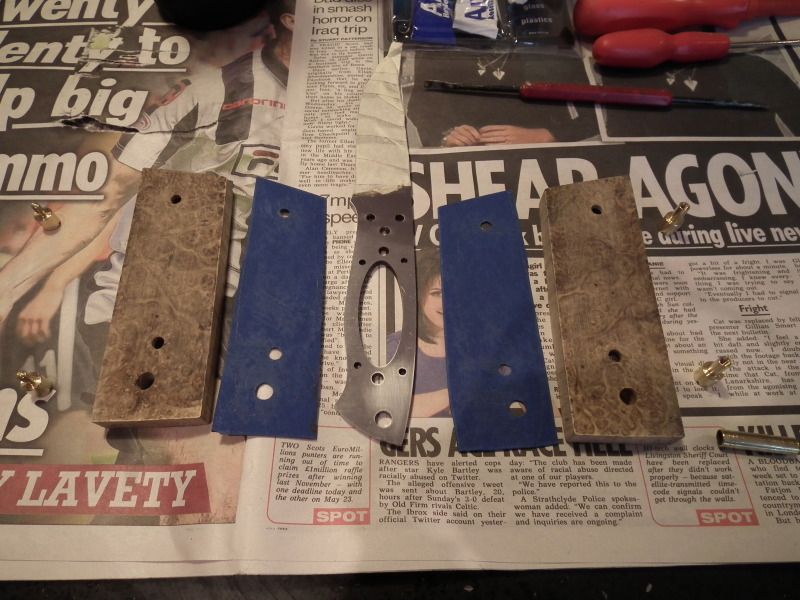
All drilled checking the bolts and lanyard tube fits. I put these in before I drill the last hole so that they definitely line up, tolerances are pretty tight on these things.
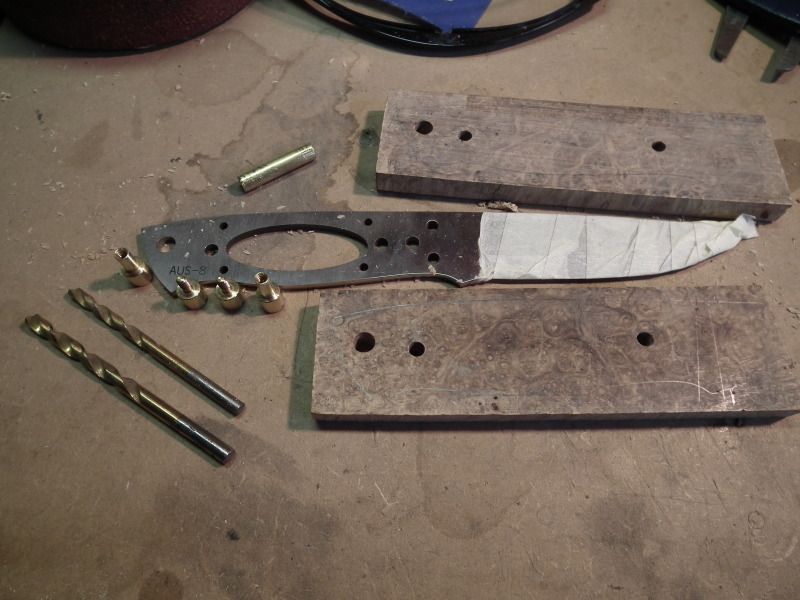
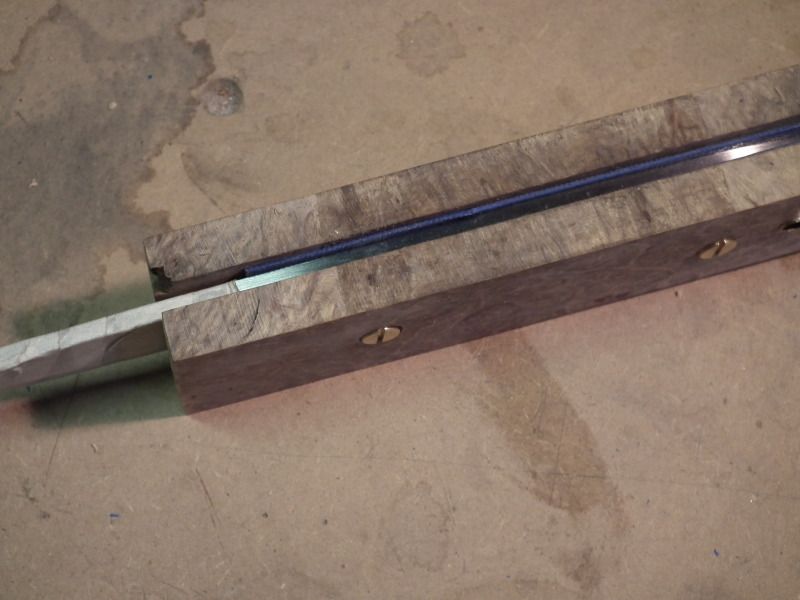
All drilled. Note the pencil lines on the right of the scales showing where the wood will be chopped and finished prior to final gluing. It's impossible to do this when it's all glued up.
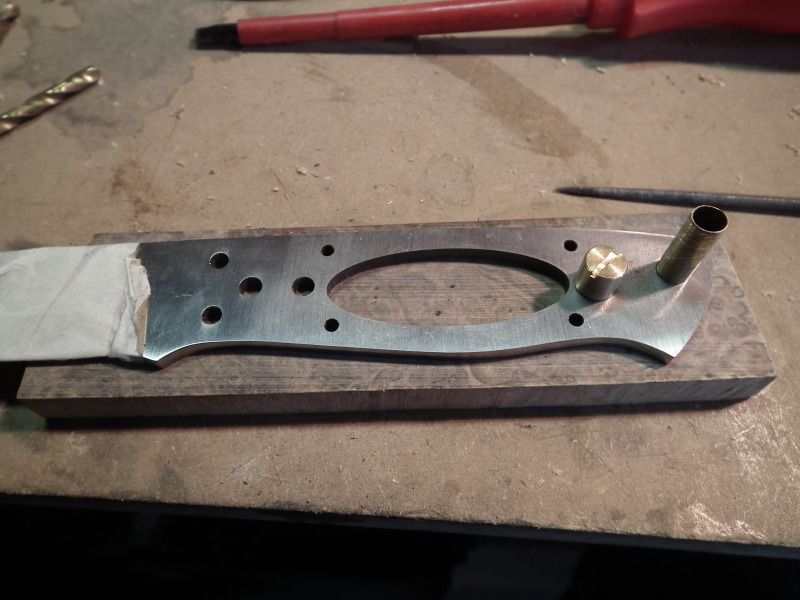
As you can see from above the bolts have a shoulder, now some people have a stepped drill which gives you a nice stepped hole (unsurprisingly) in one fell swoop. I don't have one so use 2 different sizes of drill to get this result.
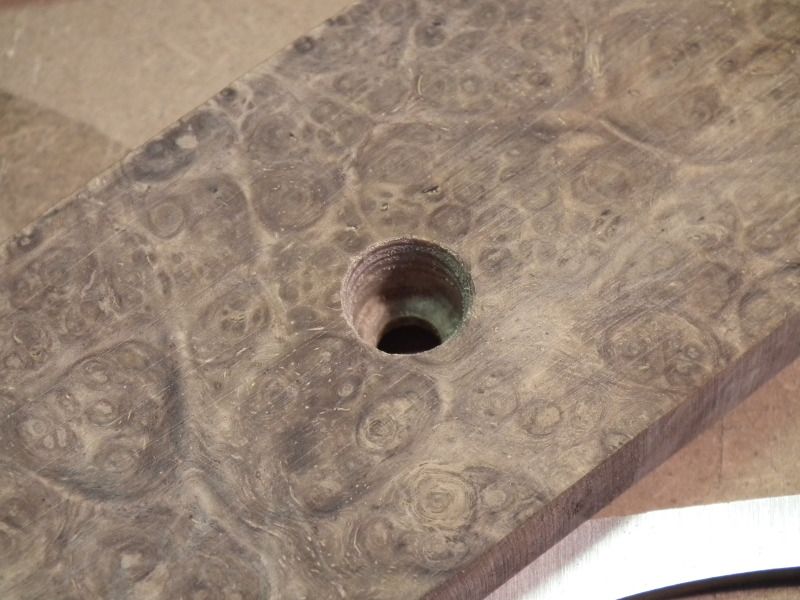
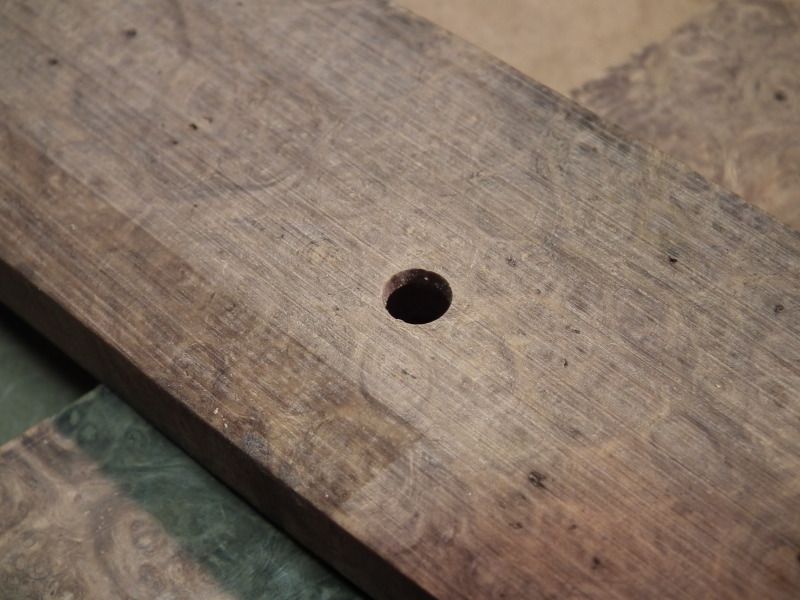
The hardest bit is lining up the second bigger hole (drill the smallest one first and make sure you drill through from the correct side, this is where the labelling comes in handy!)
Right where were we...
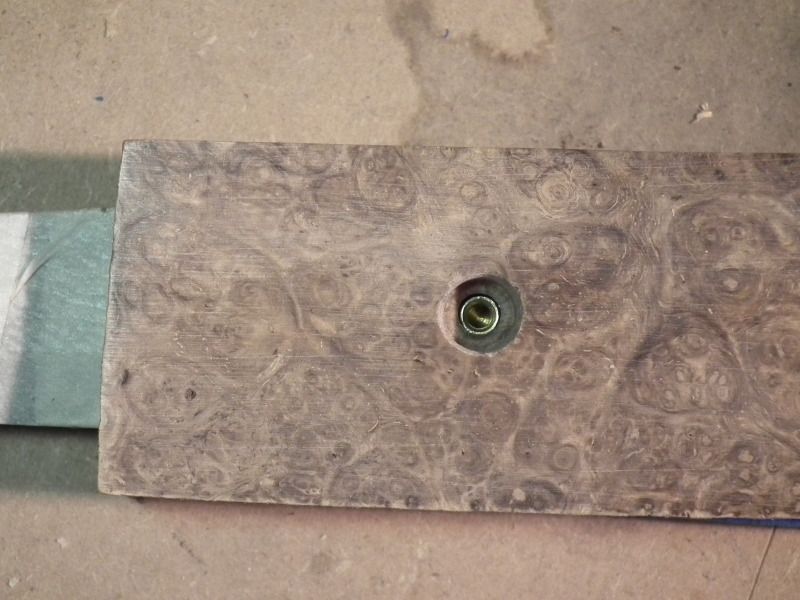
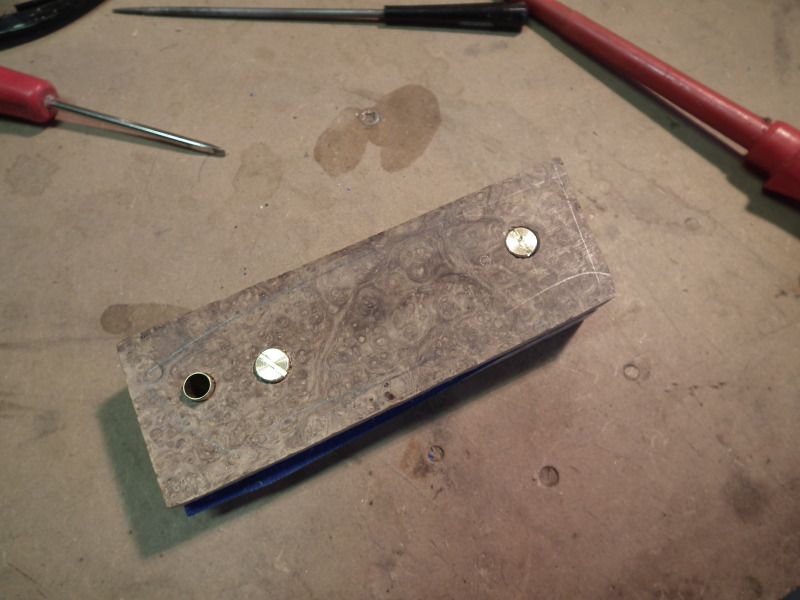
Ah yeah, all done, liners were drilled in the same way using the same drill. I tend to drill through the holes in the blade tang to make sure they line up. In this pic the other half of the bolt is in situ poking up the way.
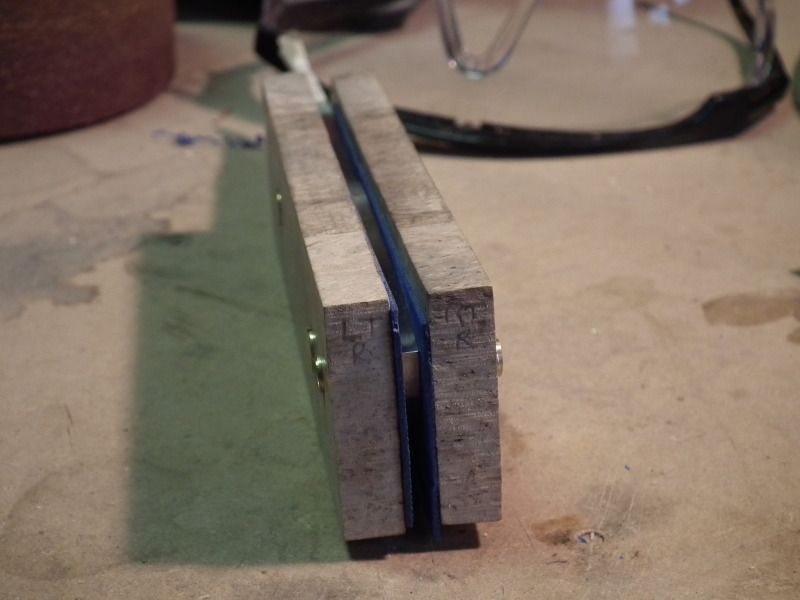
Dryfit to make sure everything is all lined up ok and there are no gaps. Note the characterful end bits on the left, they will be removed when we go to finish off the front surfaces.
Blade removed and scales cut with a bandsaw leaving a bit extra to be removed with sandpaper, working up the grades. This is the tricky to reach bit, it's here you need to make sure the holes are all aligned and you reassemble it the same way every time.
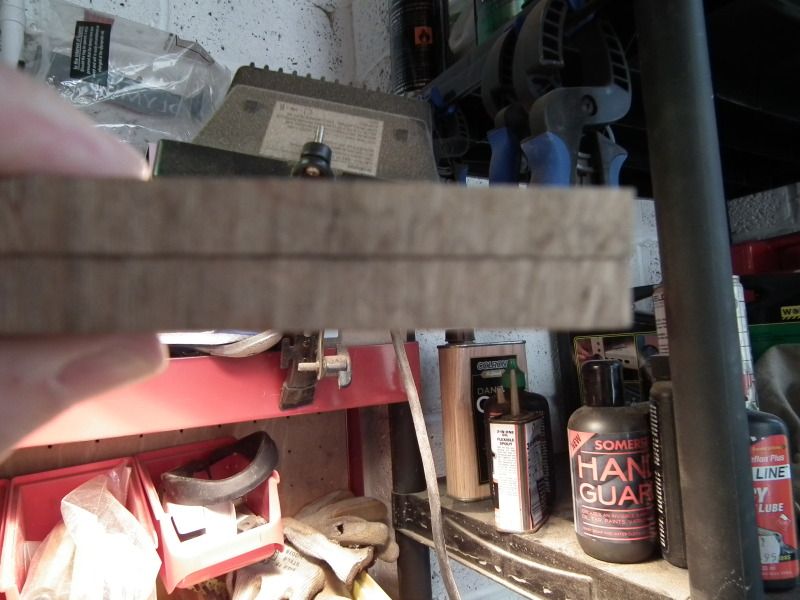
until you get this, note the grain running diagonally across the way
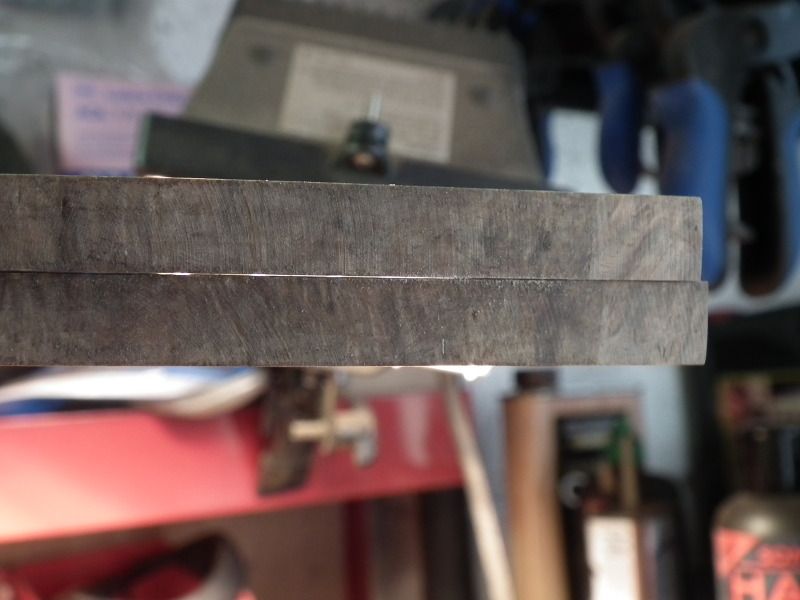
At this point I realised I'd missed a step, something you should do right at the beginning and that was to smooth the faces where the connect to the liners and tang. As you can see they were not quite flush!
Not a big deal as you can remove this ok without really impacting anything but it was some unplanned work. For this, I have a big flat metal block with some 60grit taped on.
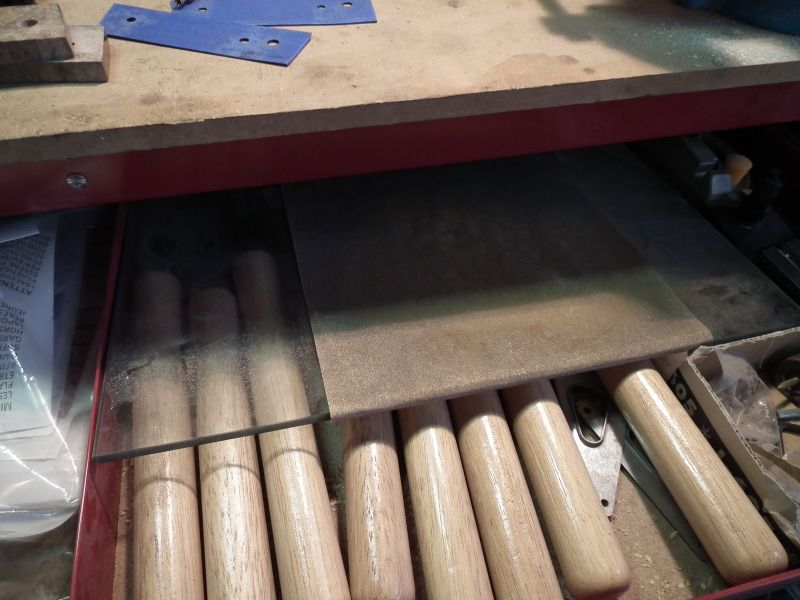
and some 240 on some glass!
if SWMBO ever finds out what happened to that 3rd shelf in the cabinet, I'm dead!! Poor pic but after some careful sanding, being very careful not to oversand the ends you get this. I can't see the light!!!
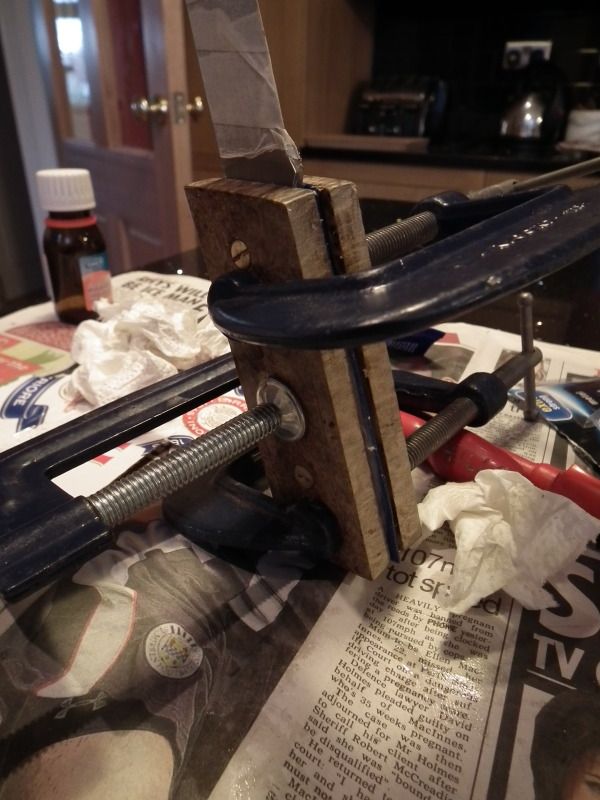
Right, ready to glue. This is the most nerve racking bit. Some acetone to clean everything down and remove any grease, also make sure there is as little dust as possible so I went into the kitchen for this. I find it's good if you bring it in 24 hours before you glue, even though it's stabilised wood there may be some expansion and contraction of the materials. Maybe not though!!! Good old araldite slow setting stuff, the fast set stuff is just too fast, even with the slow stuff it gets a bit tacky by the time everything has been put together and the glue applied. A couple of screwdrivers for nipping up the bolts and a spreader for spreading and the clamps for clamping. Oh and a beer for when you're done!
All cleaned up and laid out ready to go. I dry fitted it all again and took it apart and laid it out like this.
Not many pics of the assembly but it is pretty straightforward, a thin smear every where (the pencil lines help and save some glue) Don't get it in the threads forms a really nasty hydraulic lock when you go to tighten them (done that before!) Acetone removes it pretty quick though. Everthing together in the same order, bolts nipped up and then on go the clamps.
a bit of kitchen towel dipped in acetone and wrung out to help clean the glue that was squeezed out. Get this bit really clean as it's really hard to do it when it's all set.

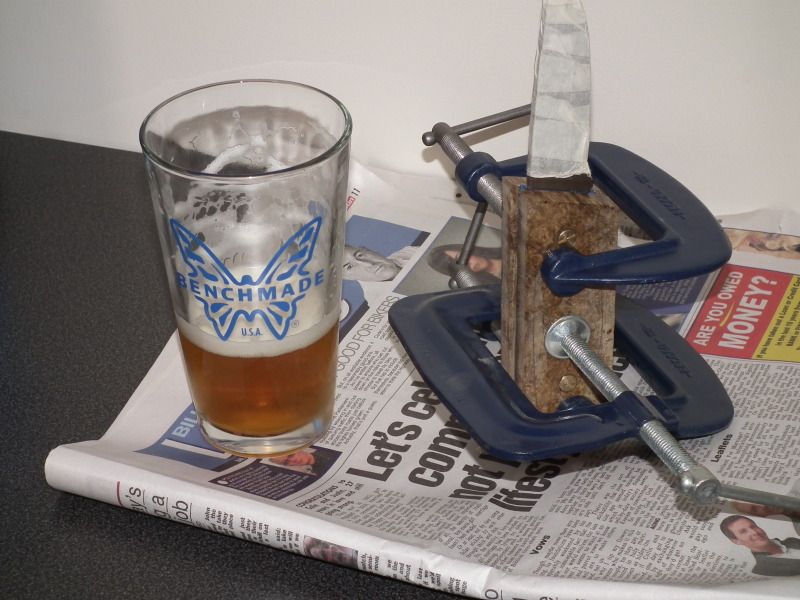
Put aside to rest and drink beer to celebrate.
Short and sweet, this is the assembly bit done, now comes the sanding... maybe tomorrow!
Right where did we get to, ah yes sanding.
Sanding can be nasty, wood can be nasty so I invested in a good mask to filter out all the dust. It works great, how do I know? The lack of wooden bogies are a big hint!! I use a good few grades of sandpaper, 80, 120, 240, 400, 600 and 1200 then finishing off with a buffing wheel and some compound. You saw what it looked like after being glued up, square a blocky but with the pencil line visible.
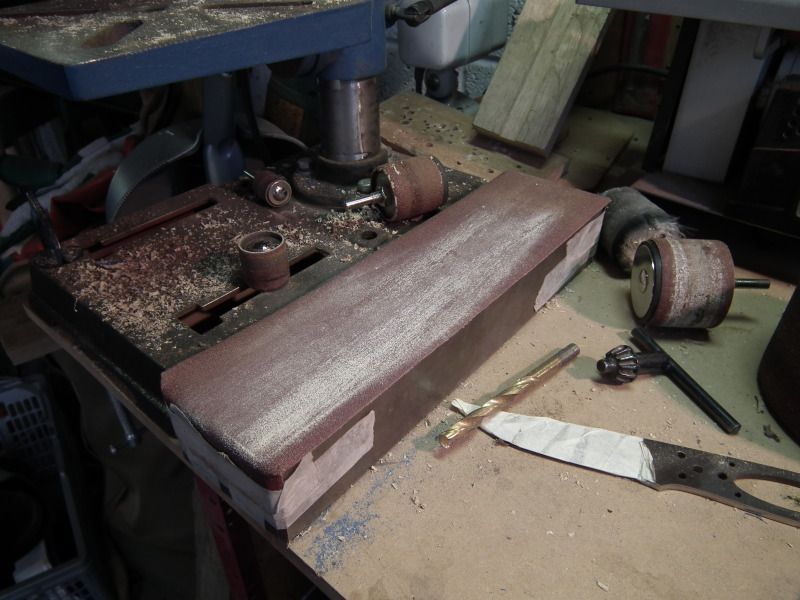
I neglected to take some pics but essentially all I did from here was to cut round it with the band saw as close as you dare (again handy pencil lines) and then rough out the shape with the big sanding wheel you can see at the right of the pic here. All the sanding wheels were out of screwfix, the mops etc were off ebay.
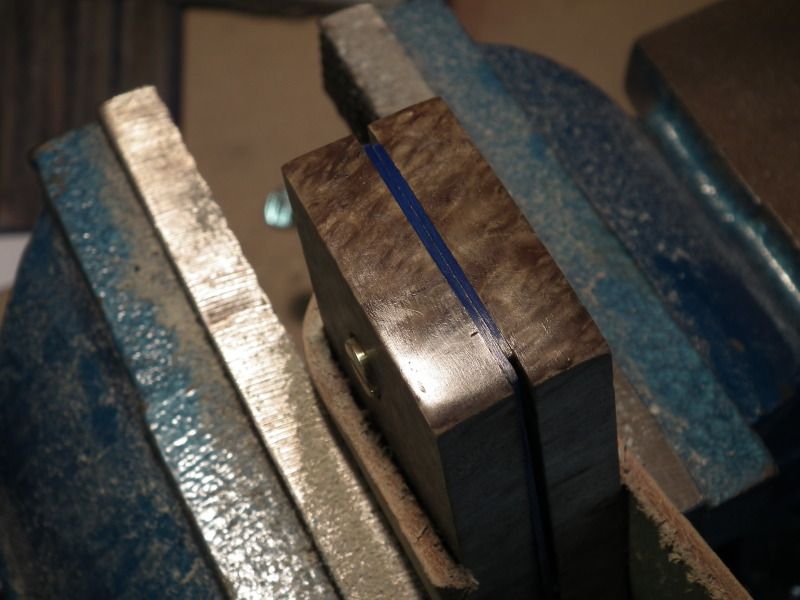
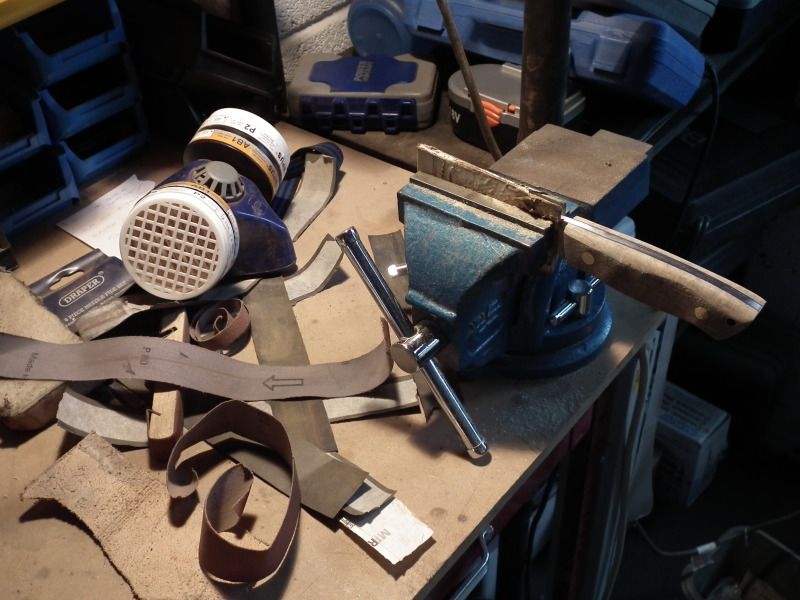
So, bandsawed the shape out, used the big sanding wheel to take it to the edge of the metal tang and also do some rough shaping of the handle, 'coke bottle' grooves on the sides and some narrowing near the blade. Also chamfered it at 45 degrees top and bottom to save some manual sanding. Some cardboard to protect the blade and then into the vice.
The above was all done using the big sanding wheel and bandsaw, no power tools from now on in though, time for some elbow grease. Get a strip of the 80 and then start buffing, like a shoeshine;
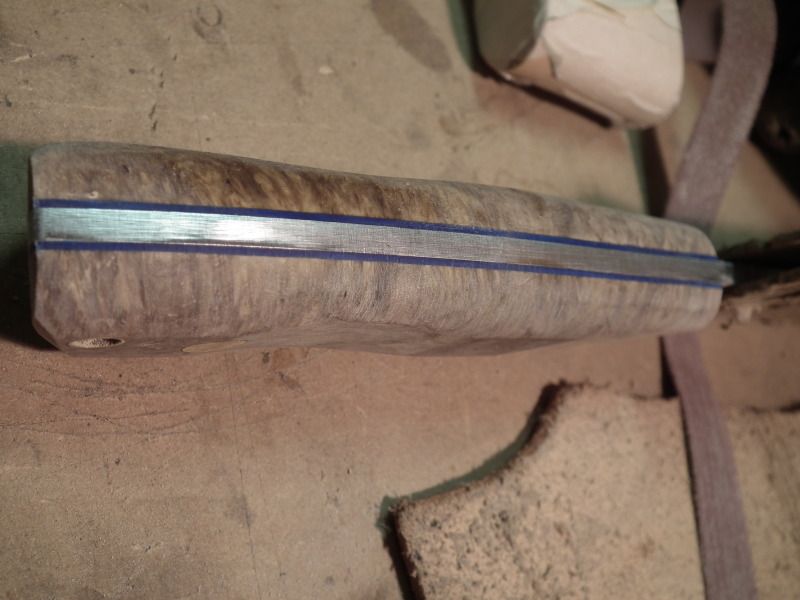
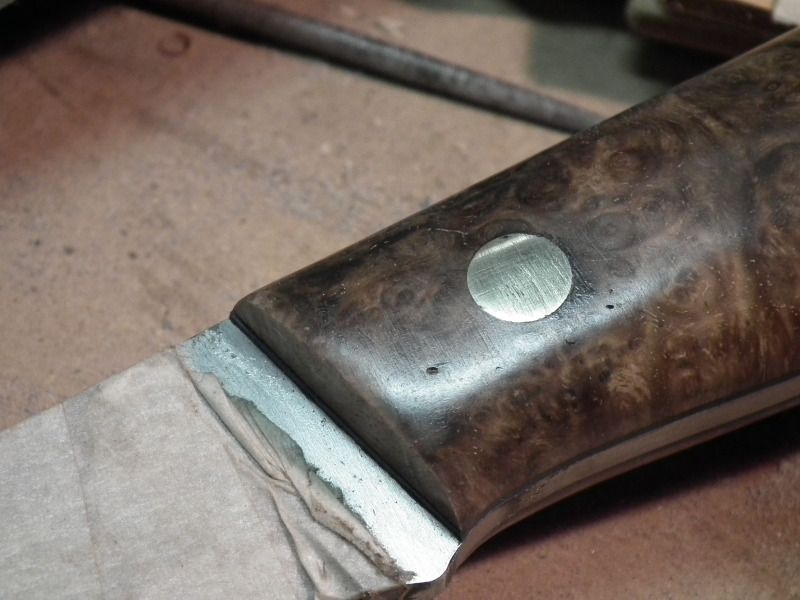
after a while it should go from this (note the flat top and the scratches in the wood)

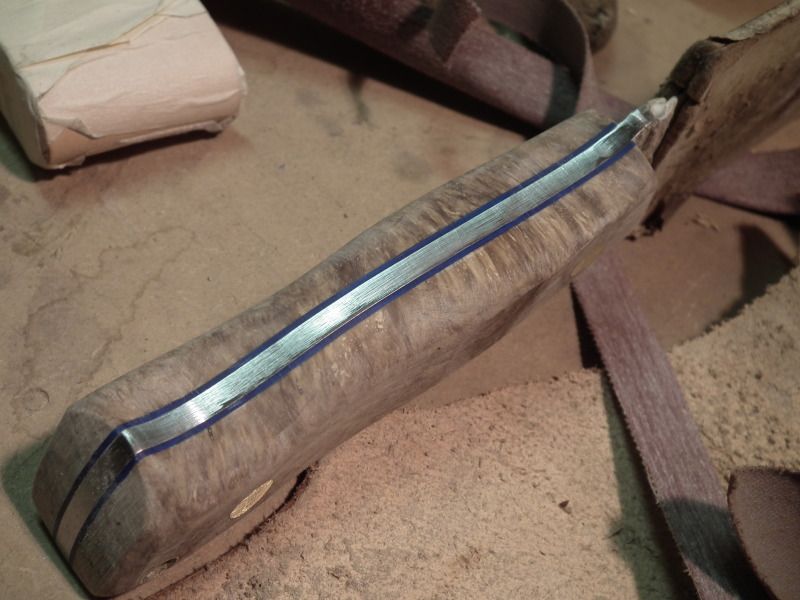
to this, all nice and rounded over the top
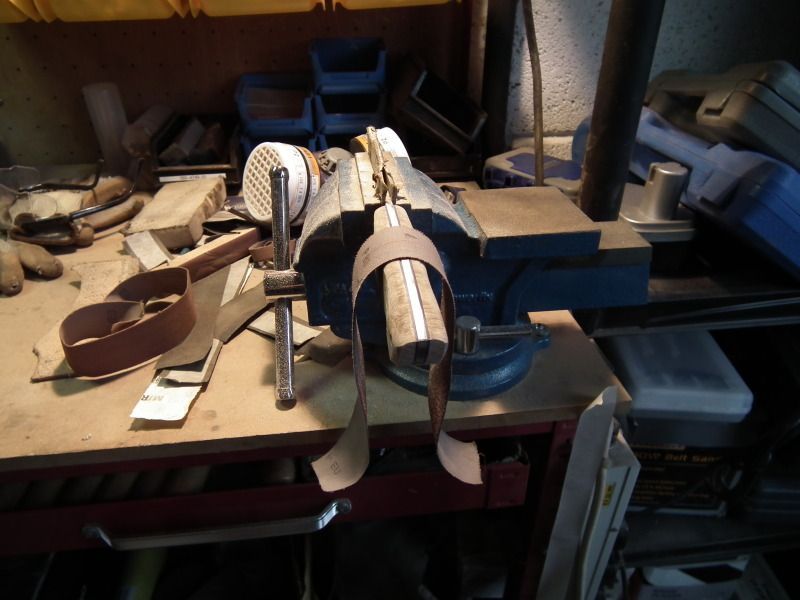
Bottom is the same, you need to watch the curves of the tang here as they distort the sandpaper and can cause it to dig in making nasty gouges. Don't neglect the butt of the handle, mount the knife vertically in the vice and beaver away at it, it's a pain but worth it.
So top and bottom are all nicely rounded, time for the sides, again shoeshining 80 grade paper. Clamp the blade to the bench and let it hang over. Aim here is to blend in the transition lines where the big sanding wheel has done it's work
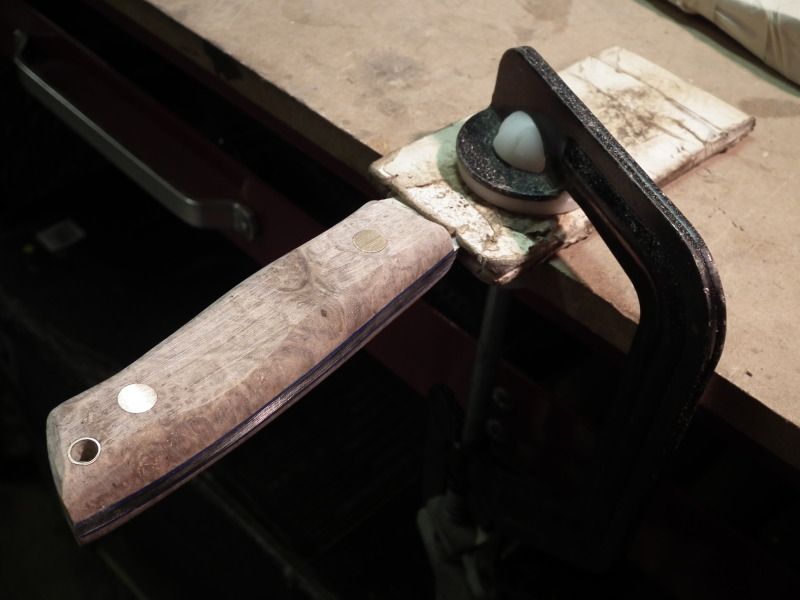
after a while, it gets all nice and rounded like this

and the other side, same again;
until.....
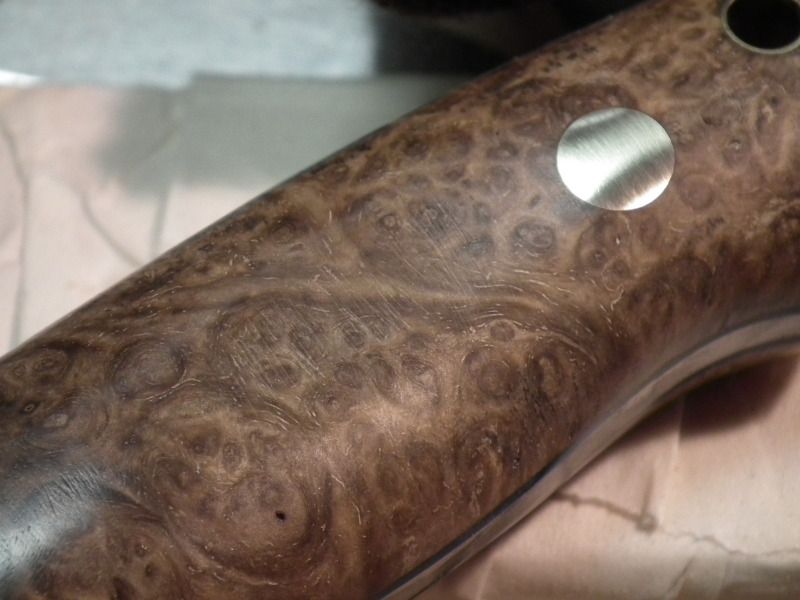
so as we left it all the roughing out was done, plenty big scratches left by the 80 grade paper.
now time to do the same, top, bottom, left side, right side, butt and go through all the grades. This is the first pass down to about 600, still some scratches on the side beside the bolt, these are hard to see until you get to about 600, I go back to about 240 or 400 and remove them before going any further
and some lovely imperfections in the burr coming out. (you get this with wood, really hard to get a perfect piece!) but wood is a natural material, blah de blah!
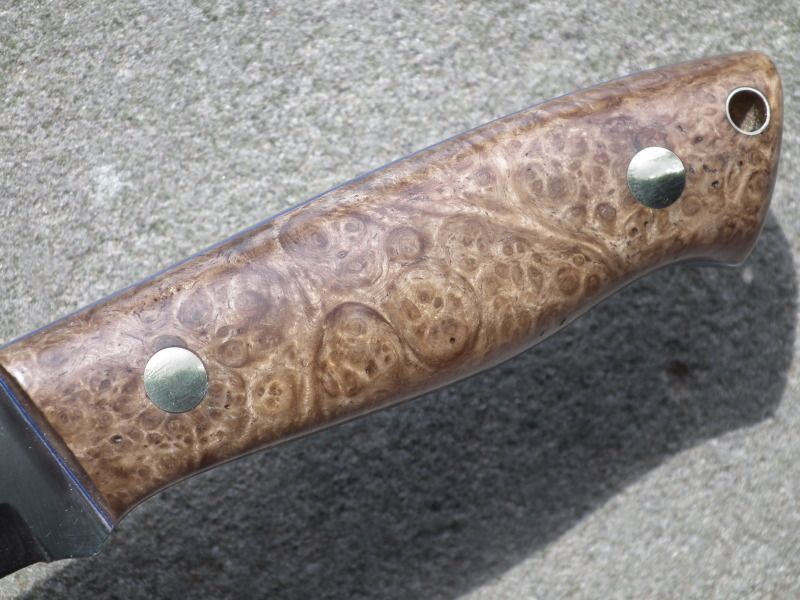
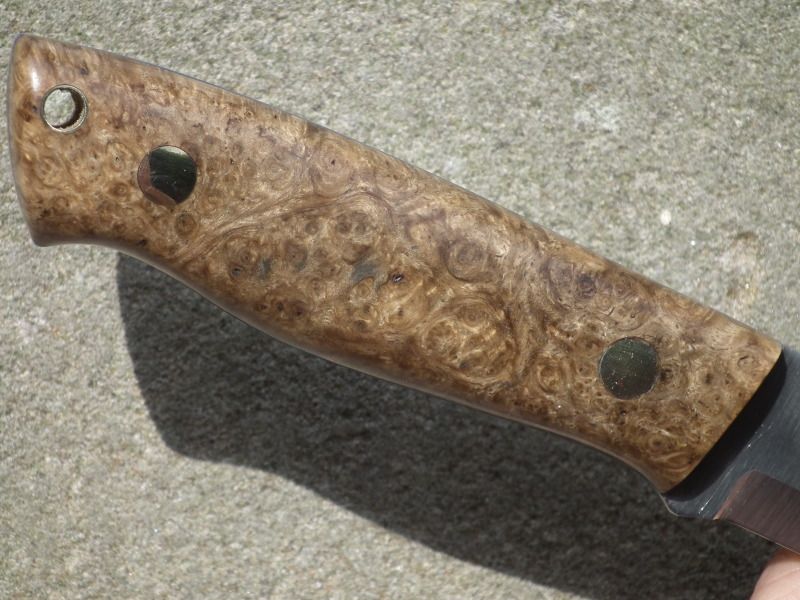
eventually is should get like this after going down all the grades and getting the right finish. These were taken after going to 1200 grit and then a little polish on the buffing wheel. A wee splash of danish oil left to soak for a while then get buffing with a soft cloth.
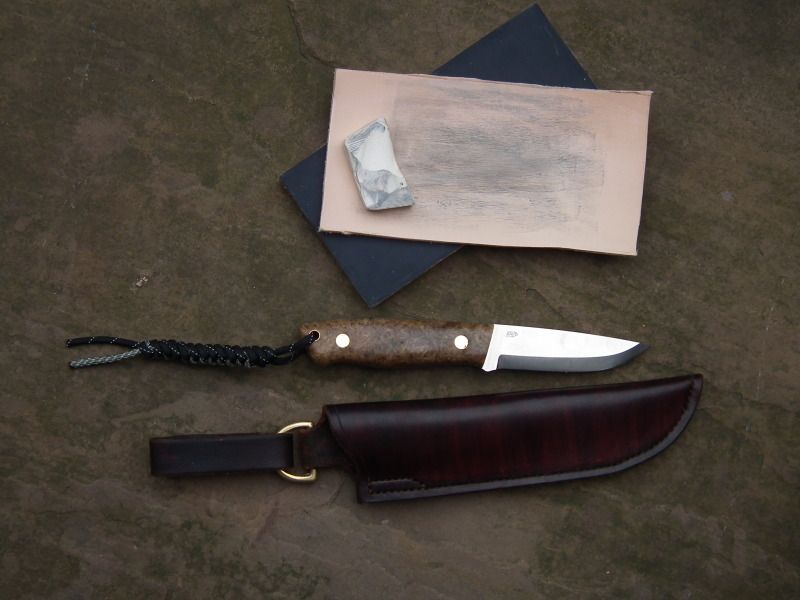
Chuck in a homemade leather sheath, GID lanyard and a £5 sharpening kit to make it shaving sharp and yer done!
phew!
Cheers,
Alan
First thing was planning, all wood especially burrs has some character <cough> defects <cough> and so I always like to try and work around them if possible. You can see a couple of splits here and some holes, very common with burr but easily filled with either epoxy or superglue.
Figured out where the blade should go avoiding the 'characterful' bits. I always tend to label everything as it makes it nice and consistent. Left, Top, Rear and Right, Top, Rear.
Also makes sure you get the bookmatching right.
Another good trick is to draw on an outline, helps with avoiding the holes and also helps line it up properly.
Blade taped up (you'll only forget to do this once!) and clamped to the scale ready for drilling. I should say there are 100s of ways to handle a blade, this is just the way I like doing it.
All drilled checking the bolts and lanyard tube fits. I put these in before I drill the last hole so that they definitely line up, tolerances are pretty tight on these things.
All drilled. Note the pencil lines on the right of the scales showing where the wood will be chopped and finished prior to final gluing. It's impossible to do this when it's all glued up.
As you can see from above the bolts have a shoulder, now some people have a stepped drill which gives you a nice stepped hole (unsurprisingly) in one fell swoop. I don't have one so use 2 different sizes of drill to get this result.
The hardest bit is lining up the second bigger hole (drill the smallest one first and make sure you drill through from the correct side, this is where the labelling comes in handy!)
Right where were we...
Ah yeah, all done, liners were drilled in the same way using the same drill. I tend to drill through the holes in the blade tang to make sure they line up. In this pic the other half of the bolt is in situ poking up the way.
Dryfit to make sure everything is all lined up ok and there are no gaps. Note the characterful end bits on the left, they will be removed when we go to finish off the front surfaces.
Blade removed and scales cut with a bandsaw leaving a bit extra to be removed with sandpaper, working up the grades. This is the tricky to reach bit, it's here you need to make sure the holes are all aligned and you reassemble it the same way every time.
until you get this, note the grain running diagonally across the way
At this point I realised I'd missed a step, something you should do right at the beginning and that was to smooth the faces where the connect to the liners and tang. As you can see they were not quite flush!
Not a big deal as you can remove this ok without really impacting anything but it was some unplanned work. For this, I have a big flat metal block with some 60grit taped on.
and some 240 on some glass!
if SWMBO ever finds out what happened to that 3rd shelf in the cabinet, I'm dead!! Poor pic but after some careful sanding, being very careful not to oversand the ends you get this. I can't see the light!!!
Right, ready to glue. This is the most nerve racking bit. Some acetone to clean everything down and remove any grease, also make sure there is as little dust as possible so I went into the kitchen for this. I find it's good if you bring it in 24 hours before you glue, even though it's stabilised wood there may be some expansion and contraction of the materials. Maybe not though!!! Good old araldite slow setting stuff, the fast set stuff is just too fast, even with the slow stuff it gets a bit tacky by the time everything has been put together and the glue applied. A couple of screwdrivers for nipping up the bolts and a spreader for spreading and the clamps for clamping. Oh and a beer for when you're done!
All cleaned up and laid out ready to go. I dry fitted it all again and took it apart and laid it out like this.
Not many pics of the assembly but it is pretty straightforward, a thin smear every where (the pencil lines help and save some glue) Don't get it in the threads forms a really nasty hydraulic lock when you go to tighten them (done that before!) Acetone removes it pretty quick though. Everthing together in the same order, bolts nipped up and then on go the clamps.
a bit of kitchen towel dipped in acetone and wrung out to help clean the glue that was squeezed out. Get this bit really clean as it's really hard to do it when it's all set.
Put aside to rest and drink beer to celebrate.
Short and sweet, this is the assembly bit done, now comes the sanding... maybe tomorrow!
Right where did we get to, ah yes sanding.
Sanding can be nasty, wood can be nasty so I invested in a good mask to filter out all the dust. It works great, how do I know? The lack of wooden bogies are a big hint!! I use a good few grades of sandpaper, 80, 120, 240, 400, 600 and 1200 then finishing off with a buffing wheel and some compound. You saw what it looked like after being glued up, square a blocky but with the pencil line visible.
I neglected to take some pics but essentially all I did from here was to cut round it with the band saw as close as you dare (again handy pencil lines) and then rough out the shape with the big sanding wheel you can see at the right of the pic here. All the sanding wheels were out of screwfix, the mops etc were off ebay.
So, bandsawed the shape out, used the big sanding wheel to take it to the edge of the metal tang and also do some rough shaping of the handle, 'coke bottle' grooves on the sides and some narrowing near the blade. Also chamfered it at 45 degrees top and bottom to save some manual sanding. Some cardboard to protect the blade and then into the vice.
The above was all done using the big sanding wheel and bandsaw, no power tools from now on in though, time for some elbow grease. Get a strip of the 80 and then start buffing, like a shoeshine;
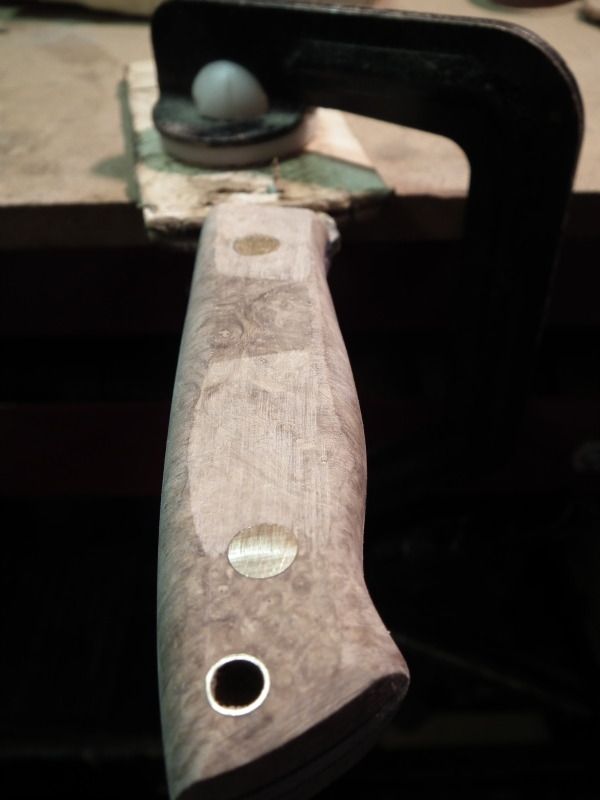
after a while it should go from this (note the flat top and the scratches in the wood)
to this, all nice and rounded over the top
Bottom is the same, you need to watch the curves of the tang here as they distort the sandpaper and can cause it to dig in making nasty gouges. Don't neglect the butt of the handle, mount the knife vertically in the vice and beaver away at it, it's a pain but worth it.
So top and bottom are all nicely rounded, time for the sides, again shoeshining 80 grade paper. Clamp the blade to the bench and let it hang over. Aim here is to blend in the transition lines where the big sanding wheel has done it's work
after a while, it gets all nice and rounded like this
and the other side, same again;
until.....
so as we left it all the roughing out was done, plenty big scratches left by the 80 grade paper.
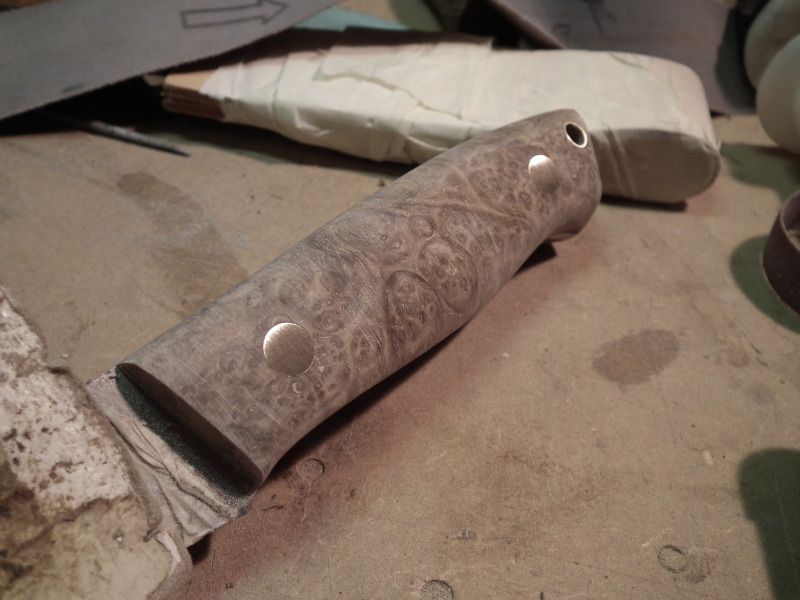
now time to do the same, top, bottom, left side, right side, butt and go through all the grades. This is the first pass down to about 600, still some scratches on the side beside the bolt, these are hard to see until you get to about 600, I go back to about 240 or 400 and remove them before going any further
and some lovely imperfections in the burr coming out. (you get this with wood, really hard to get a perfect piece!) but wood is a natural material, blah de blah!
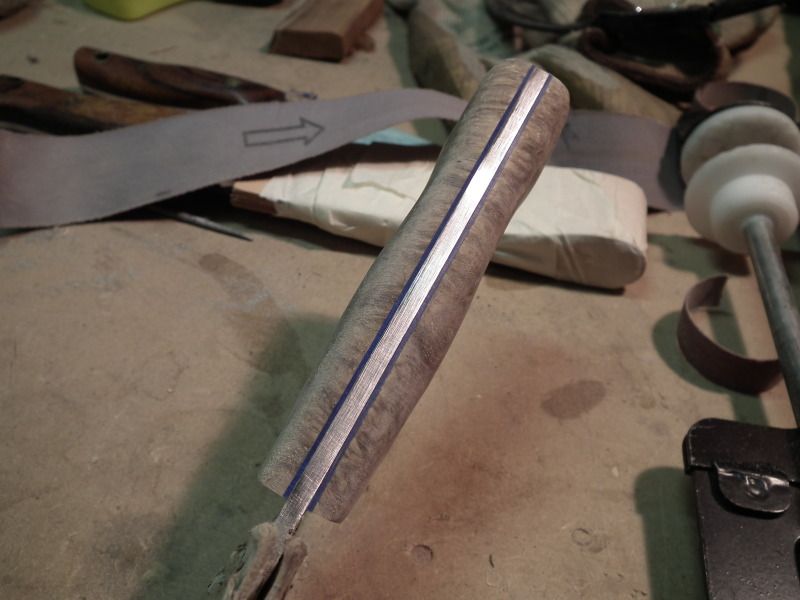
eventually is should get like this after going down all the grades and getting the right finish. These were taken after going to 1200 grit and then a little polish on the buffing wheel. A wee splash of danish oil left to soak for a while then get buffing with a soft cloth.
Chuck in a homemade leather sheath, GID lanyard and a £5 sharpening kit to make it shaving sharp and yer done!
phew!
Cheers,
Alan