With folk blethering about strings on another thread and me just sitting down to make one I figured I'd take a bunch of pics and walk through it. No-one asked for it and there are plenty of string making tutorials already on the net but what the hey, won't do any harm.
I have a jig for making double loop strings but haven't used it in ages. Got fed up with strings needing replaced because they'd stretched - with a single loop you just move the knot to take up the stretch so they tend to last longer.
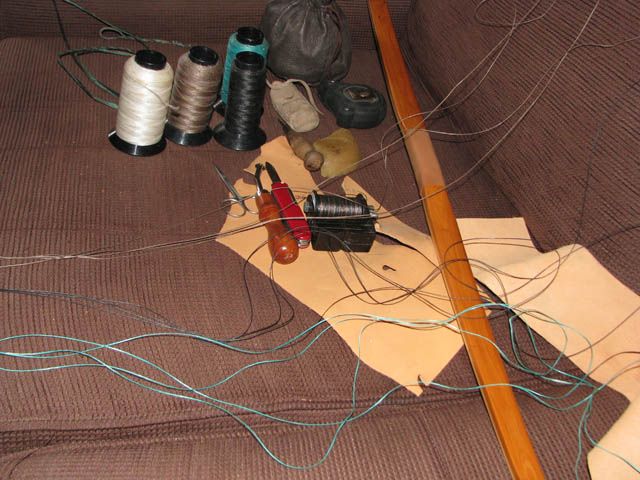
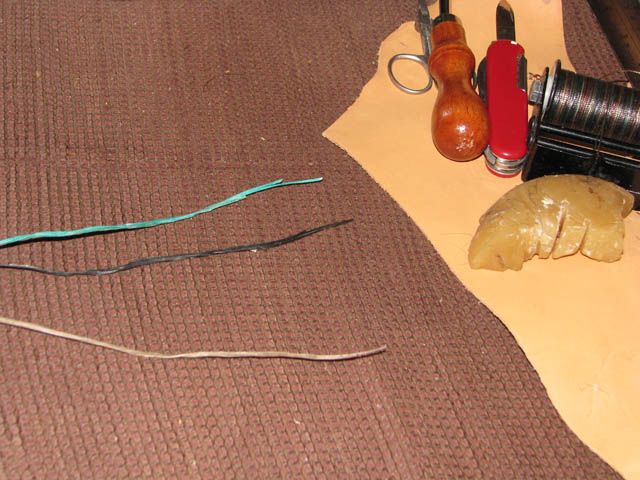
This one's a 3-ply 12 strand for my mum's 30lb bow. For 45lb and over I go up to 15 strand. All my own bows are 15 strand simply so I can use the same arrows and the arrow nocks fit them all.
Anyhow, on with the job.
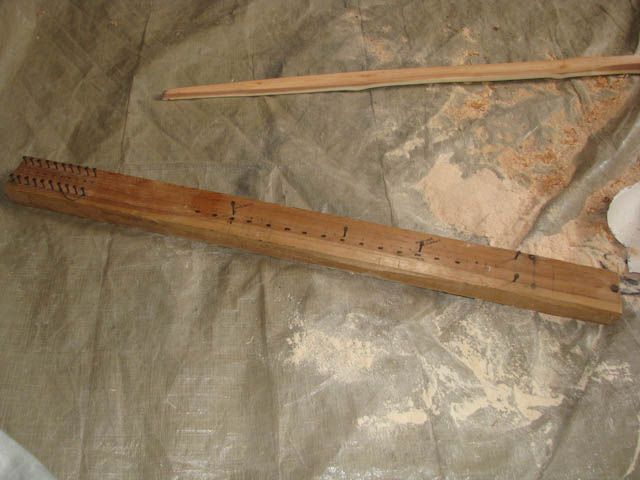
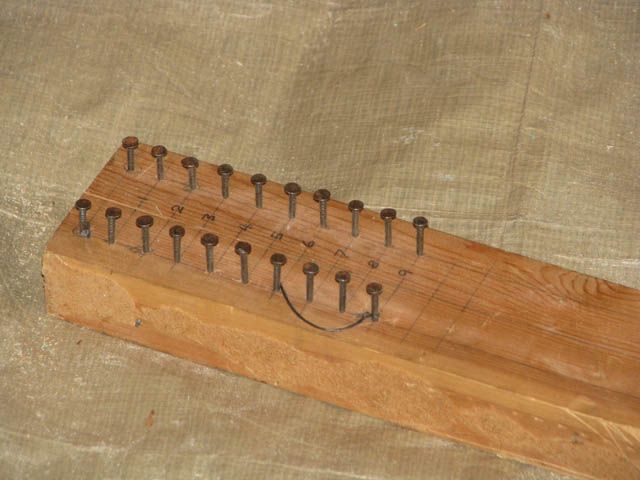
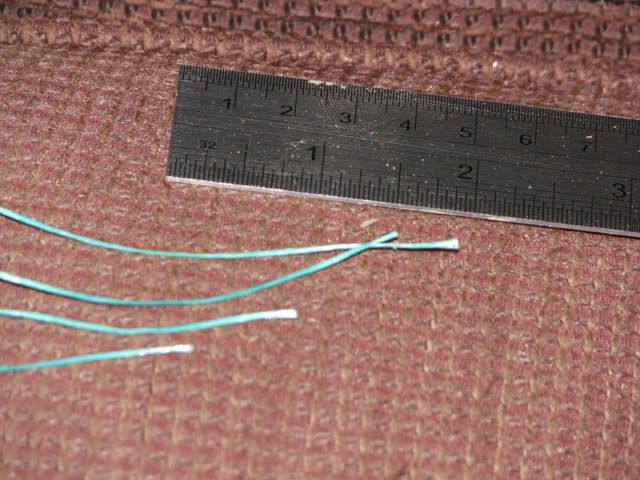
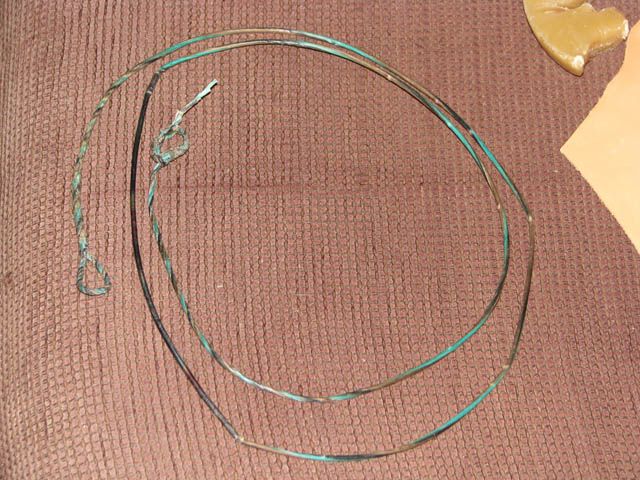
Cut all the strands to the nock-nock length of the bow plus 10-12"(plus another couple for a recurve string - bigger loop). I cut this string a bit fine by only adding 7" - just got away with it.
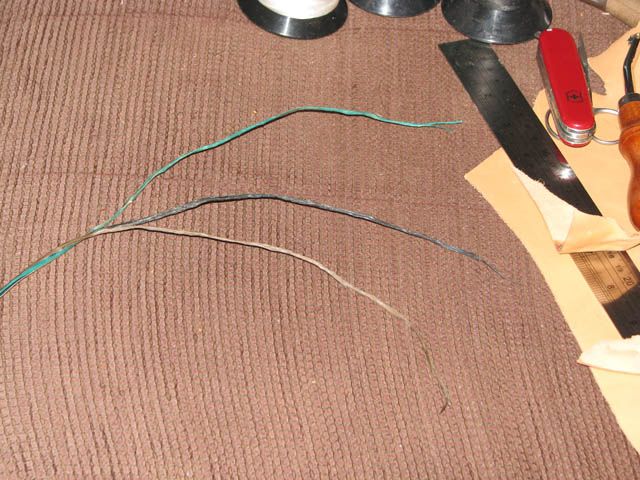
Bundle each ply, stagger each strand to effectively taper both ends.
Wax up the plys until they hold themselves together. The more the merrier when it comes to waxing, right through the process.
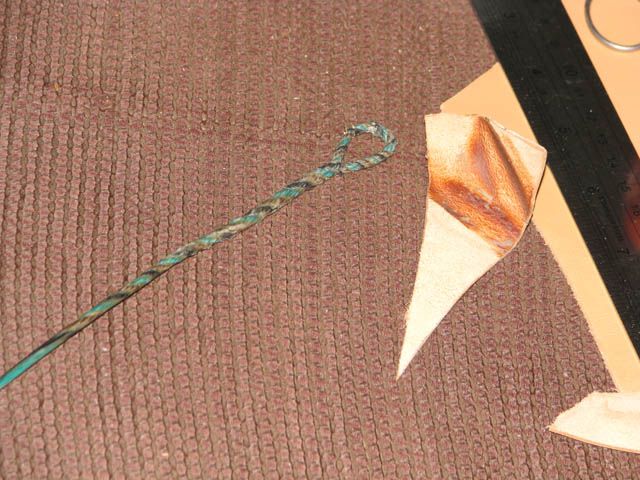
The loop for this bow is only a little one - under 3". I wanted another 3" for the main twist and you lose about an inch as you go. For a heavier bow I'd go with 4-5" of main twist so would have cut the strands longer in the first place.
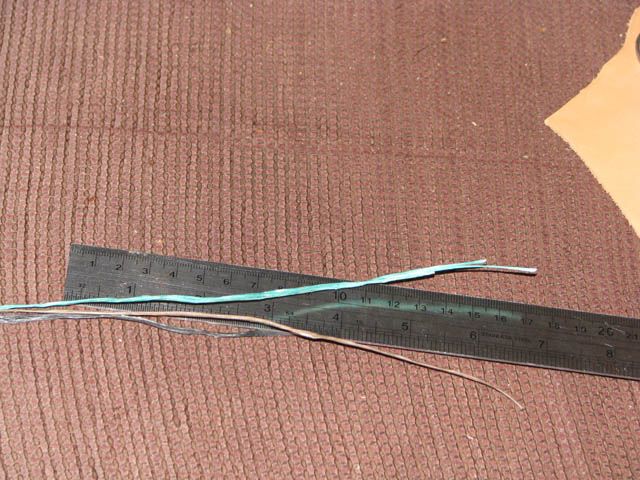
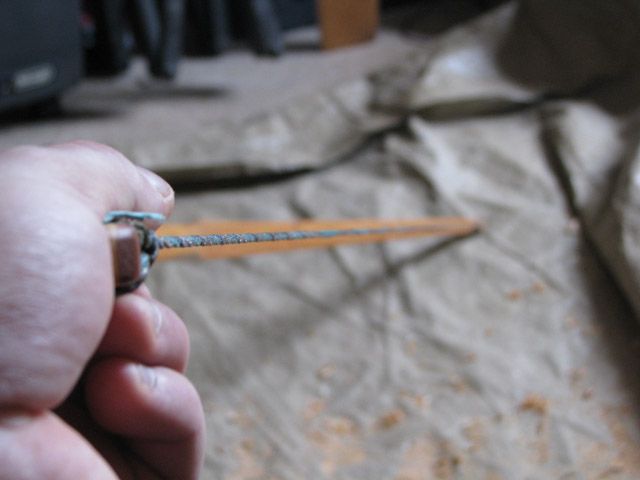
Twist up the bit that'll form the top loop. Offer it up to the bow to be sure that it'll slip down the limb a few inches when the bow's unstrung(quite tight is ok, it'll stretch a bit).
Fold the loop, match up the plys if it's a multicolour string....
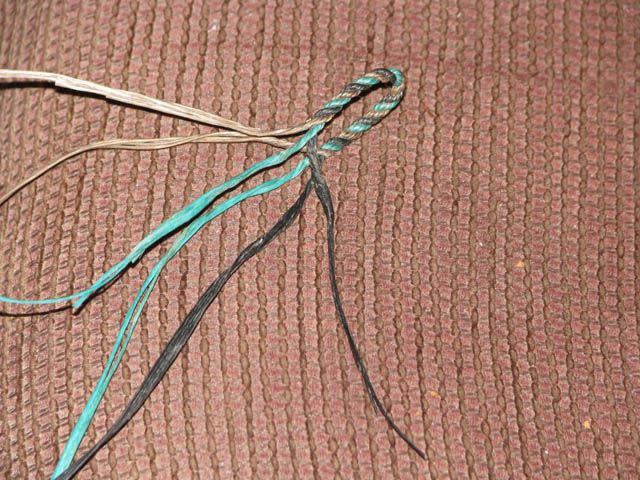
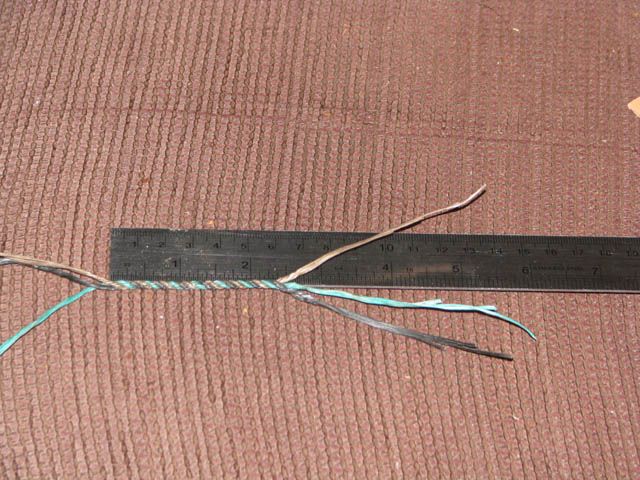
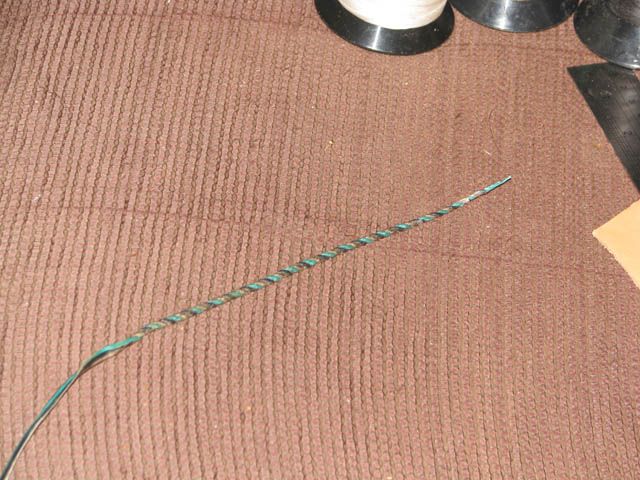
...and start the main twist.
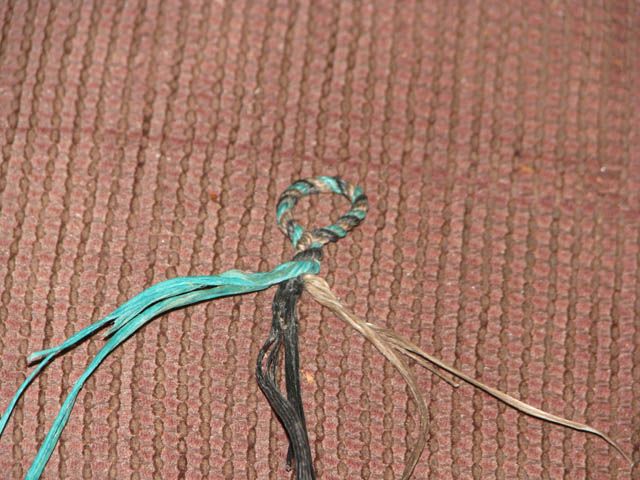
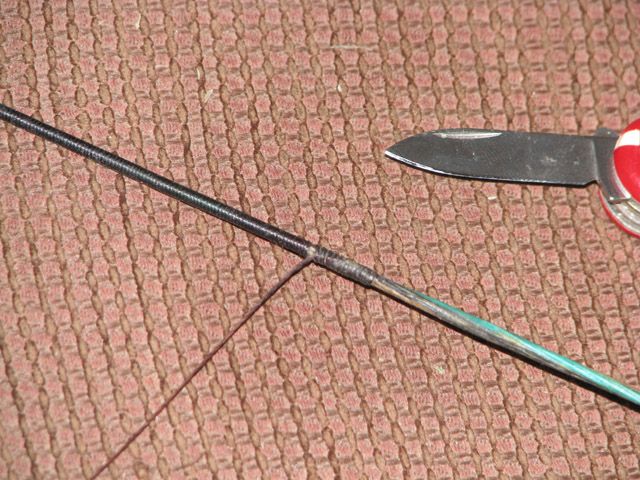
Carry on until the tapered ends have fully blended in and there's no harm in continuing on for another inch or two.
Trim off any ends that are sticking out.
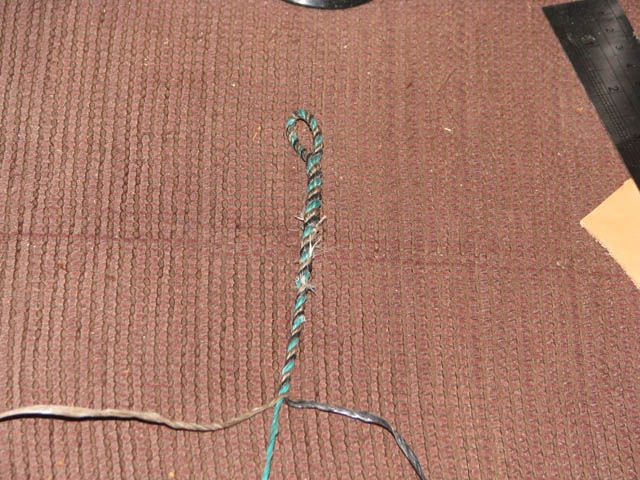
Pop the loop around something secure. Twist each ply a few times....
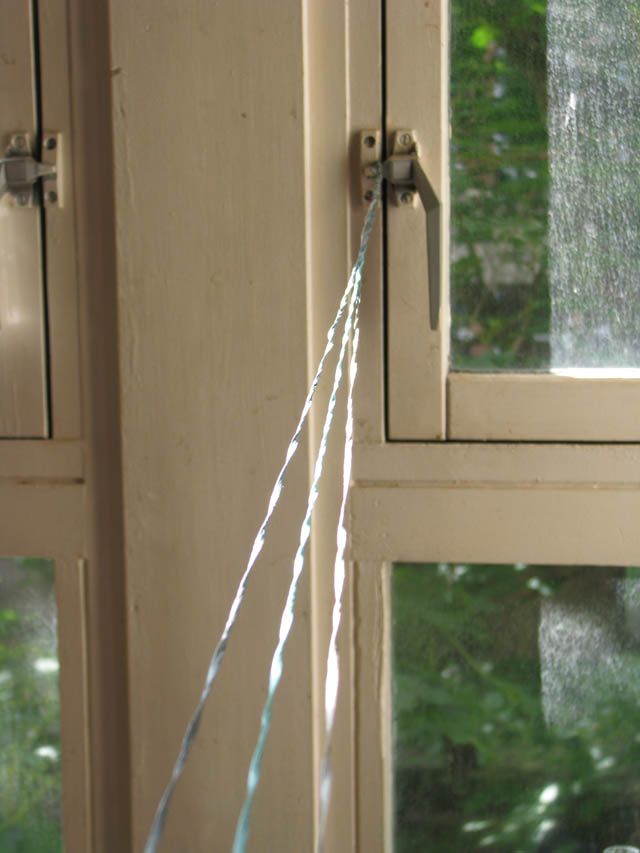
...then twist all the plys around each other a few times(neatly) so the string all comes together.
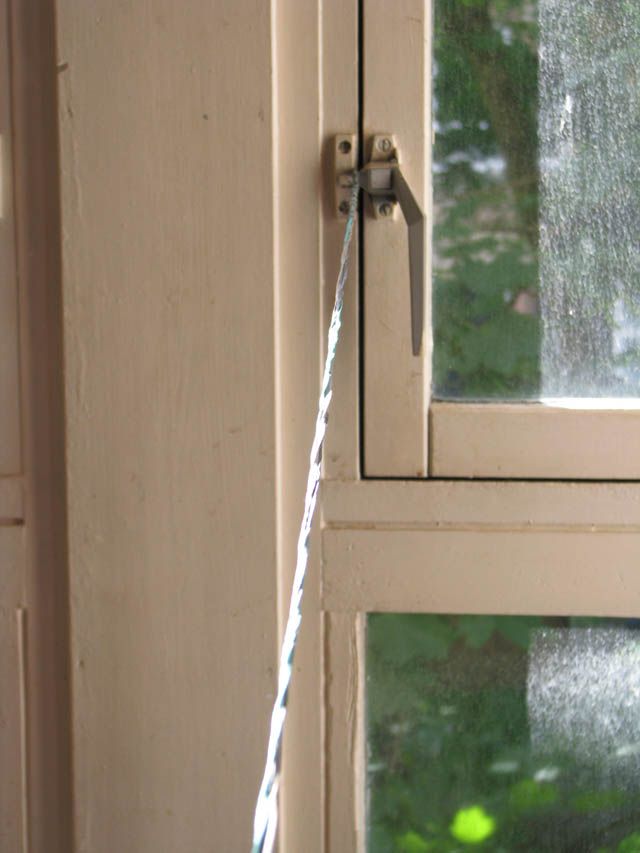
Now wax the hell out of it. At this point you can start taking some of the stretch out the string material so pull pretty hard on the loose end while waxing. Keep waxing it up until the string is loaded with the stuff and there's excess filling the gaps between the plys on the twisted section.
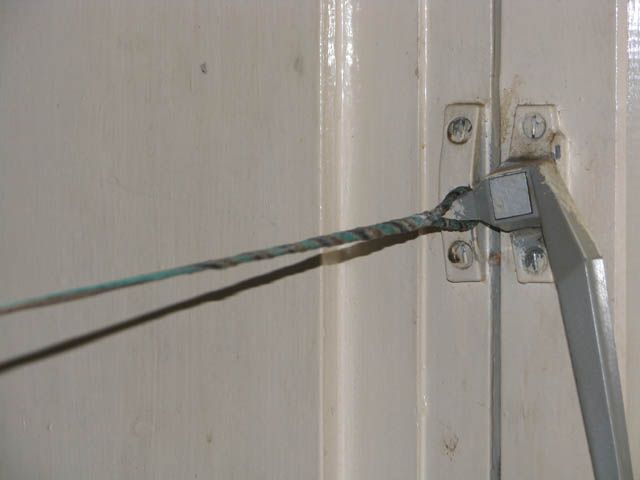
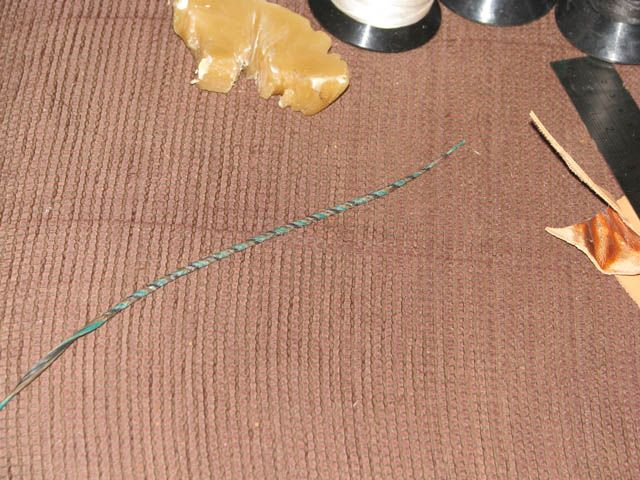
With the string end still secured, use a scrap of leather(or cardboard) and burnish it. Go hard and fast to build up heat and keep pressure on the the loose end all the time.
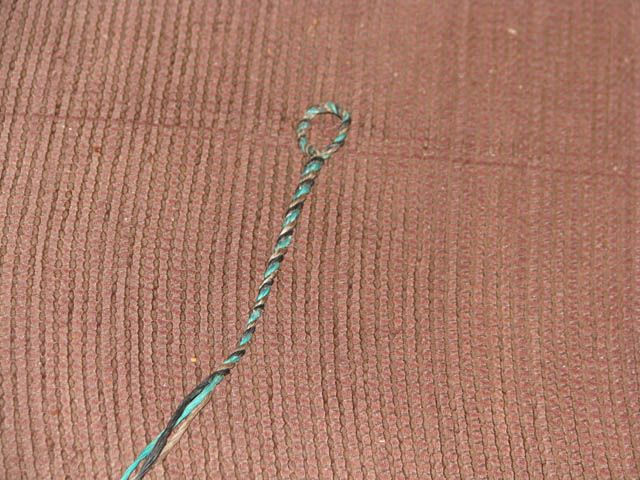
Once burnished everything'll look much neater, less excess wax and the string itself should have rounded off nicely.
Slip the loop onto and down the top limb of the bow a few inches.
Decide where to start the twisted section for the knot.

Separate the 3 plys again along that length...
...and twist them up.
Wax and burnish the new twist.
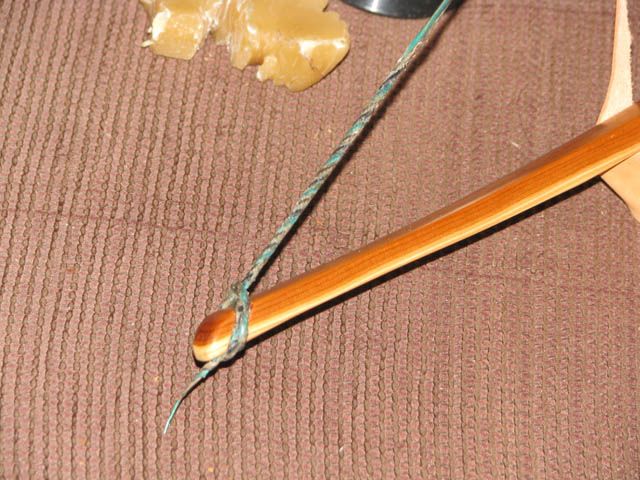
Tie onto the bottom nock with a timber hitch...
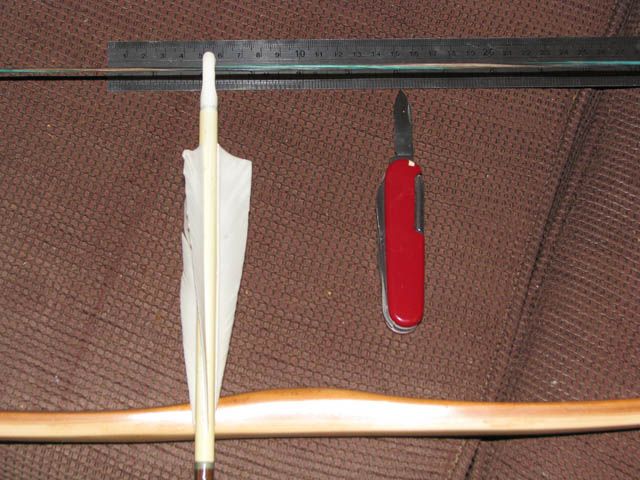
...and decide where to start the serving(at least 2" above the arrow nock position and 4" below - up to let's say 3" above 6" below).
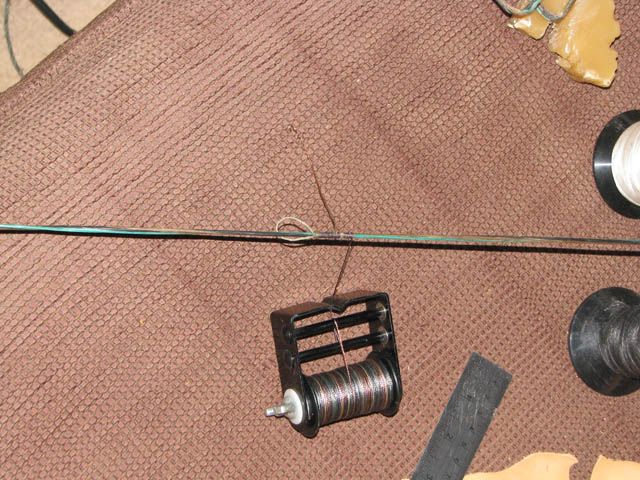
Leave a bight and start the serving, covering the loose end of the serving material. After half an inch or so bring the loose end out and carry on serving for a bit then pause(where the pic was taken) and pull the end to tighten everything up.
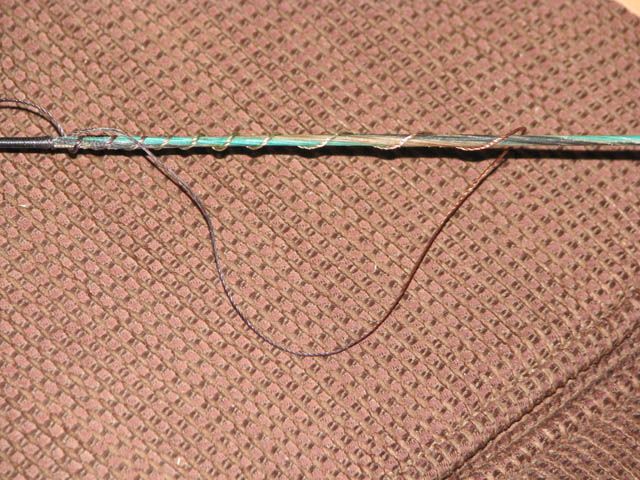
Continue serving until you reach the desired endpoint. The serving is finished in the same way at this end but it's done slightly differently. Leave a slack section and go up the string a few inches then wind the serving material back along the string half a dozen times at least...
...then as you wind up the last of the serving it will unwind from the slack section as you go. Carry on until all the winds are out of what will by then just be a bight then pull the loose end to tighten everything up.
Cut off the tails.
Wax/burnish the string again.
Job's a good 'un.")
No doubt others will do things slightly differently. I've not bothered trying to take out the stretch from this string - usually I do(before putting the serving on) but this is such a light bow that it'll not stretch too bad. My mum can just keep an eye on the brace height for the first few sessions.
I have a jig for making double loop strings but haven't used it in ages. Got fed up with strings needing replaced because they'd stretched - with a single loop you just move the knot to take up the stretch so they tend to last longer.
This one's a 3-ply 12 strand for my mum's 30lb bow. For 45lb and over I go up to 15 strand. All my own bows are 15 strand simply so I can use the same arrows and the arrow nocks fit them all.
Anyhow, on with the job.
Cut all the strands to the nock-nock length of the bow plus 10-12"(plus another couple for a recurve string - bigger loop). I cut this string a bit fine by only adding 7" - just got away with it.
Bundle each ply, stagger each strand to effectively taper both ends.
Wax up the plys until they hold themselves together. The more the merrier when it comes to waxing, right through the process.
The loop for this bow is only a little one - under 3". I wanted another 3" for the main twist and you lose about an inch as you go. For a heavier bow I'd go with 4-5" of main twist so would have cut the strands longer in the first place.
Twist up the bit that'll form the top loop. Offer it up to the bow to be sure that it'll slip down the limb a few inches when the bow's unstrung(quite tight is ok, it'll stretch a bit).
Fold the loop, match up the plys if it's a multicolour string....
...and start the main twist.
Carry on until the tapered ends have fully blended in and there's no harm in continuing on for another inch or two.
Trim off any ends that are sticking out.
Pop the loop around something secure. Twist each ply a few times....
...then twist all the plys around each other a few times(neatly) so the string all comes together.
Now wax the hell out of it. At this point you can start taking some of the stretch out the string material so pull pretty hard on the loose end while waxing. Keep waxing it up until the string is loaded with the stuff and there's excess filling the gaps between the plys on the twisted section.
With the string end still secured, use a scrap of leather(or cardboard) and burnish it. Go hard and fast to build up heat and keep pressure on the the loose end all the time.
Once burnished everything'll look much neater, less excess wax and the string itself should have rounded off nicely.
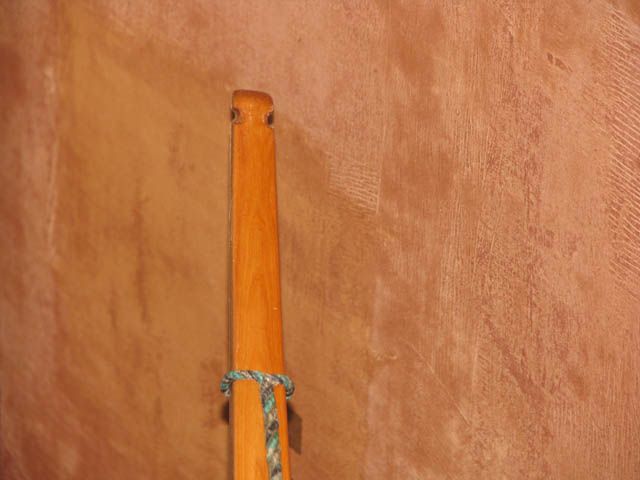
Slip the loop onto and down the top limb of the bow a few inches.
Decide where to start the twisted section for the knot.
Separate the 3 plys again along that length...
...and twist them up.
Wax and burnish the new twist.
Tie onto the bottom nock with a timber hitch...
...and decide where to start the serving(at least 2" above the arrow nock position and 4" below - up to let's say 3" above 6" below).
Leave a bight and start the serving, covering the loose end of the serving material. After half an inch or so bring the loose end out and carry on serving for a bit then pause(where the pic was taken) and pull the end to tighten everything up.
Continue serving until you reach the desired endpoint. The serving is finished in the same way at this end but it's done slightly differently. Leave a slack section and go up the string a few inches then wind the serving material back along the string half a dozen times at least...
...then as you wind up the last of the serving it will unwind from the slack section as you go. Carry on until all the winds are out of what will by then just be a bight then pull the loose end to tighten everything up.
Cut off the tails.
Wax/burnish the string again.
Job's a good 'un.
No doubt others will do things slightly differently. I've not bothered trying to take out the stretch from this string - usually I do(before putting the serving on) but this is such a light bow that it'll not stretch too bad. My mum can just keep an eye on the brace height for the first few sessions.
Last edited:
 and good to see the construction throughout too. I didn't realise that the twist wasn't tight plyed right up the length.