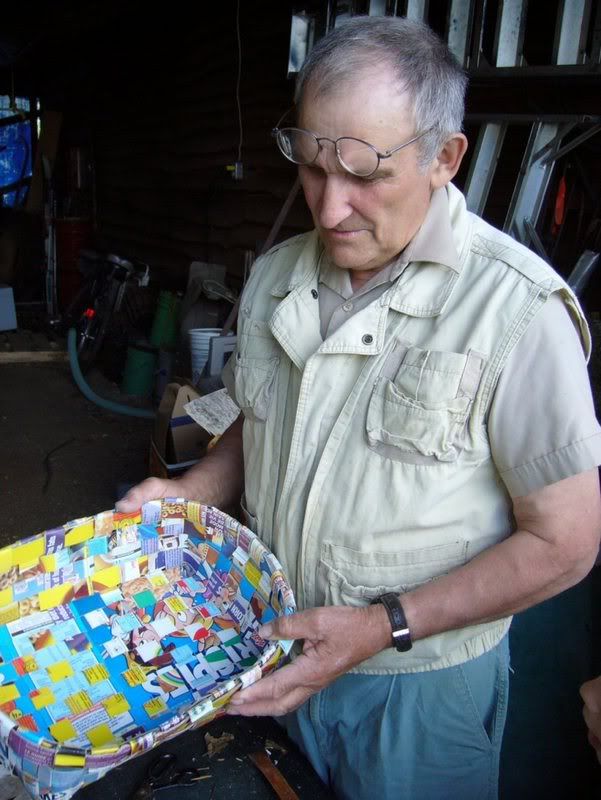
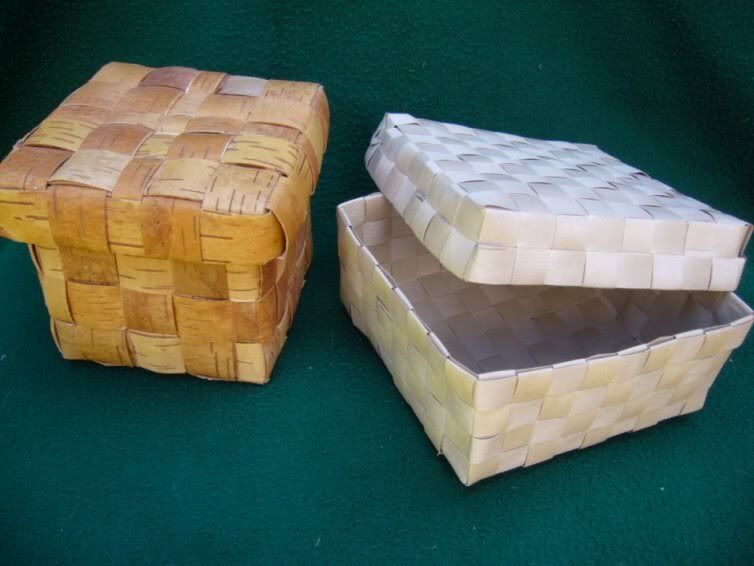
Begin by cutting your birch bark/cereal boxes into strips, by whichever method you find easiest .
.

Decide on the size of base you want for your basket and then weave the strips together (the strips should be butted up together in one direction, with a slight gap between each strip in the other direction). To help hold the base together while working you can weave string around and tie off.

Then bend up the projecting strips to form the sides (birch bark is best warmed first prior to doing this).

Make the following cuts in either end of a longer strip


Then place the square tab through the triangular cut to form a band for the sides of the basket.

Weave the first band around the sides of the basket, ensuring the weaves are opposite to those on the base below. Then weave a second band opposite to the previous. Continue to weave bands around the sides until your basket is the desired height. If a strip becomes to short overlap it with a new one and continue weaving.

Continue to weave bands around the sides until your basket is the desired height (it is not important for the bands to look neat yet). Cut the ends of the strips so that they project above the top band the same width as the band itself.

This next bit is much more difficult to describe than to actually do!
To finish off the basket you will need two long strips laid either side of the top band. From this point I will refer to the ends of the woven strips as tabs. As you work through steps 1 and 2, pull each tab to tighten the basket and pull the side bands tighter together.
1. Tuck the end of the inner strip behind one of the tabs. Take the next tab and bend over the outer strip and top band, and tuck it inside the inner strip which holds the tab in place and then tuck the inner strip behind the next tab.

2. Take the next tab and bend over the inner strip and top band, then tuck it inside the outer strip and tuck the outer strip behind the next tab (as shown in the two pictures below).


Continue alternating this process until the basket is completed.


Decide on the size of base you want for your basket and then weave the strips together (the strips should be butted up together in one direction, with a slight gap between each strip in the other direction). To help hold the base together while working you can weave string around and tie off.

Then bend up the projecting strips to form the sides (birch bark is best warmed first prior to doing this).

Make the following cuts in either end of a longer strip


Then place the square tab through the triangular cut to form a band for the sides of the basket.

Weave the first band around the sides of the basket, ensuring the weaves are opposite to those on the base below. Then weave a second band opposite to the previous. Continue to weave bands around the sides until your basket is the desired height. If a strip becomes to short overlap it with a new one and continue weaving.

Continue to weave bands around the sides until your basket is the desired height (it is not important for the bands to look neat yet). Cut the ends of the strips so that they project above the top band the same width as the band itself.

This next bit is much more difficult to describe than to actually do!
To finish off the basket you will need two long strips laid either side of the top band. From this point I will refer to the ends of the woven strips as tabs. As you work through steps 1 and 2, pull each tab to tighten the basket and pull the side bands tighter together.
1. Tuck the end of the inner strip behind one of the tabs. Take the next tab and bend over the outer strip and top band, and tuck it inside the inner strip which holds the tab in place and then tuck the inner strip behind the next tab.

2. Take the next tab and bend over the inner strip and top band, then tuck it inside the outer strip and tuck the outer strip behind the next tab (as shown in the two pictures below).


Continue alternating this process until the basket is completed.


