Carving with Children – Guidence and tips

Carving is great social fun for all and an inclusive task. Still, steps and considerations are needed when working with young children, and even inexperienced adults.
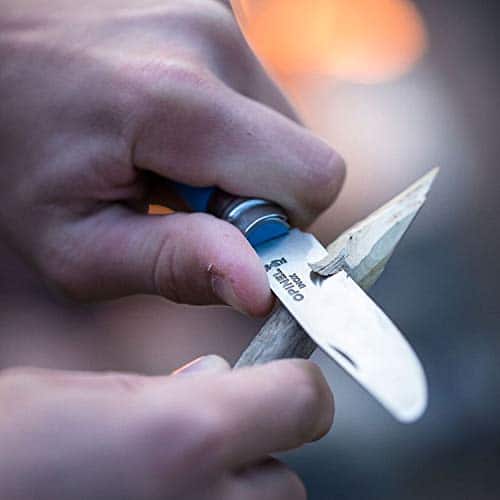
There are a number of products (Opinel 7, Mora children’s model) that are perfectly designed for small hands; of course, safety precautions should still be observed. I would always go for a fixed blade or locking folding knife like the Opinel 7, as the tool can be used to strip bark and strike fire steels, while being closed and can even be locked in the closed position.
From what age should a child be allowed to use an outdoor knife?
Working out when a child is ok to use sharp tools is a big question that many of us need to deal with; the maturity and abilities of children vary. Age is not always a good indicator to judge when a child should be able to use sharp tools.
As a basic standard, a child should be able to hold the knife securely, comprehend and follow the safety rules for using woodcarving knives, and, importantly, understand that any sharp-edge tool is just that, a tool.
The most important thing is to provide the children with support in the learning process and to ensure that they abide by the ground rules right from the start, which will be listed later.
However, it is ultimately up to you to decide at what age your child can be considered “mature” enough to handle a knife. Start small and easy and progress from there.
My personal view is that carving tools/knives come out when the parent/guardian is also doing the same task. Carving is a social experience.
Many people start children carving between 5 and 8. However, this is only a rough guideline.
Tips for carving wood with children
Children have only limited strength in their hands, and beginners may quickly reach their limits with their first attempts at carving. Knives should always be sharp to avoid frustration and keep things as safe as possible. It is easier to slip with a blunt knife.
Softwoods or fresh green wood from a hazel or willow tree are also ideal for starting out.
Following the direction of the wood grain requires less effort, with the added benefit that the wood will not fray or split as easily.
The projects should be kept simple for first experiences.
A good starter project is sharpening a stick as a skewer to bake bread on a campfire. Knife handling can also be practised when making the bread, for example, by letting the children chop up a few herbs to add to the dough. Some chopped tomatoes or diced ham will also make the dough tastier.
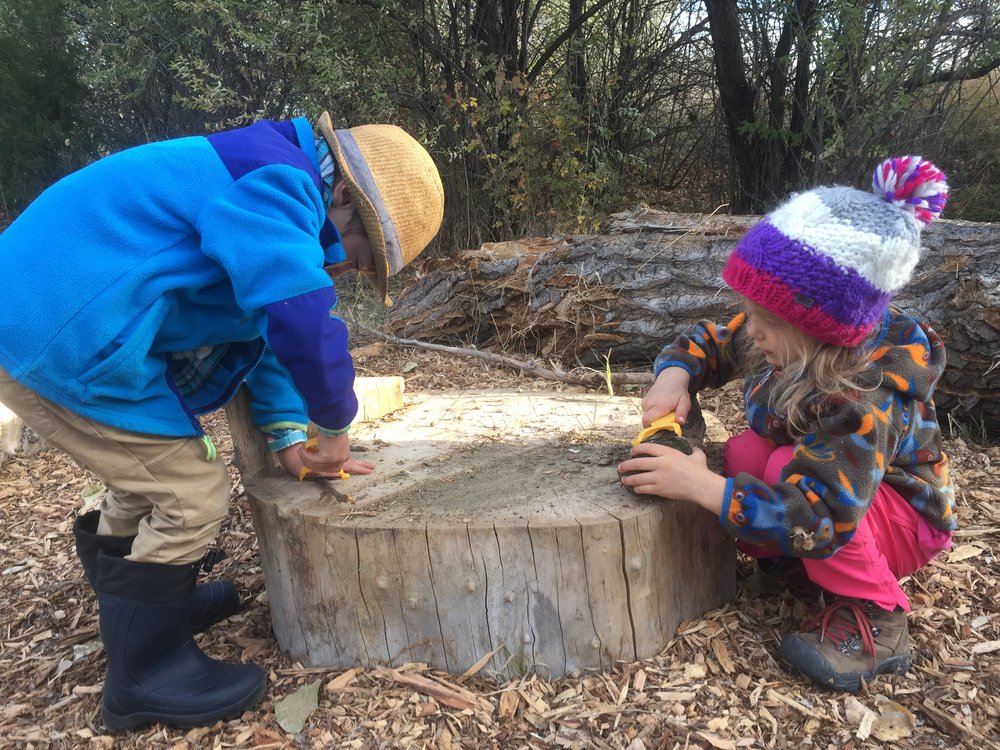
You can also get them to carve a bar of soap to get the feel and confidence of using a knife.
Once your child has managed the first projects and learnt how to handle the knife, you can move on to more challenging whittling tasks.
At this stage, however, it is still advisable to opt for simple shapes without elements that are too thin or require complex controlled cuts.
Guidelines for children using knives
1. Your child should always be sat down or kneeling. Safe whittling requires optimum control, and an upright, comfortable and supported posture is the number one rule!

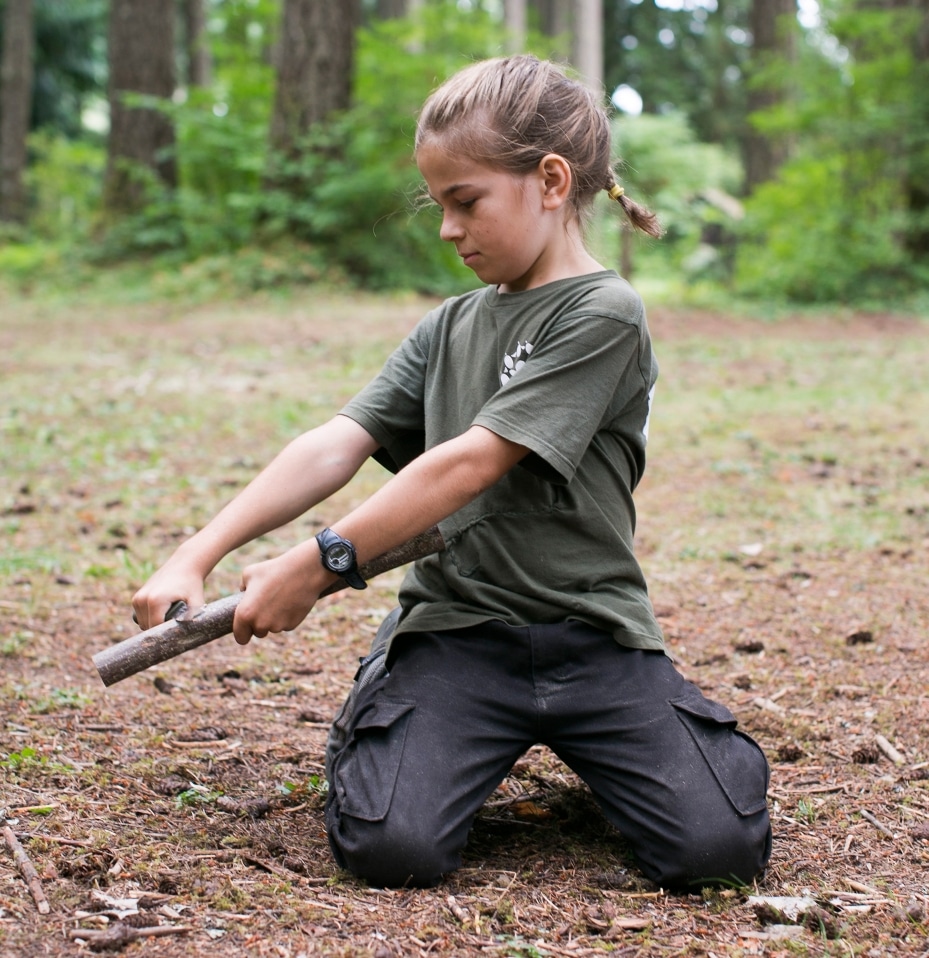
2. Ensure the child has a safe grip on the knife; where possible, your child should bear down and carve on a wooden block, placing feet flat on the ground, the upper part of the body should be slightly bent forward, with the arms resting on the thighs. If kneeling, make sure there are no obstructions or waste materials around them.

3. For safety, ensure your child keeps a distance of two arm’s lengths (approx. 1 metre) from anyone else whilst carving.
4. Carving with a sharpened blade minimises the risk of injury as you have to exert less pressure on the knife.
5. Any carving movement should always be directed away from your body; to begin with, keep all carving movements in a downward direction.
6. The blade should always be safely re-sheathed or folded immediately after use.
As a matter of principle, an adult should always supervise wood carving. It is also essential that parents/guardians act as exemplary role models: If you do not conscientiously follow your own rules, your child will most likely not observe the safety precautions either.
Example whittling task – hiking/walking stick
Children particularly love making hiking sticks. You need a straight, dry branch, and you’re ready to go.
The first step is to carefully remove the bark, a sharp spine of the knife is ideally suited for this, as it requires little skill to do, and the results are great. Or use a peeler on green wood; this is a great tool to use for this with young children.
Then sharpen the narrower end of the branch and round off the broader end. The walking stick can then be decorated at will with all sorts of symbols and patterns.
If at hand, the stick’s surface can be finished with sandpaper. Going on a hike is even more fun when you can take your self-made walking staff along with you!
Quick tips
- Children’s knives should always be kept sharpened.
- Soft, fresh wood is easier to carve.
Start on a bar of soap - Always cut in the direction of the wood grain.
- Keep woodcarving and outdoor activities simple at the beginning. You can move on to more challenging carving projects at a later stage.
Enjoy and have fun with your family.
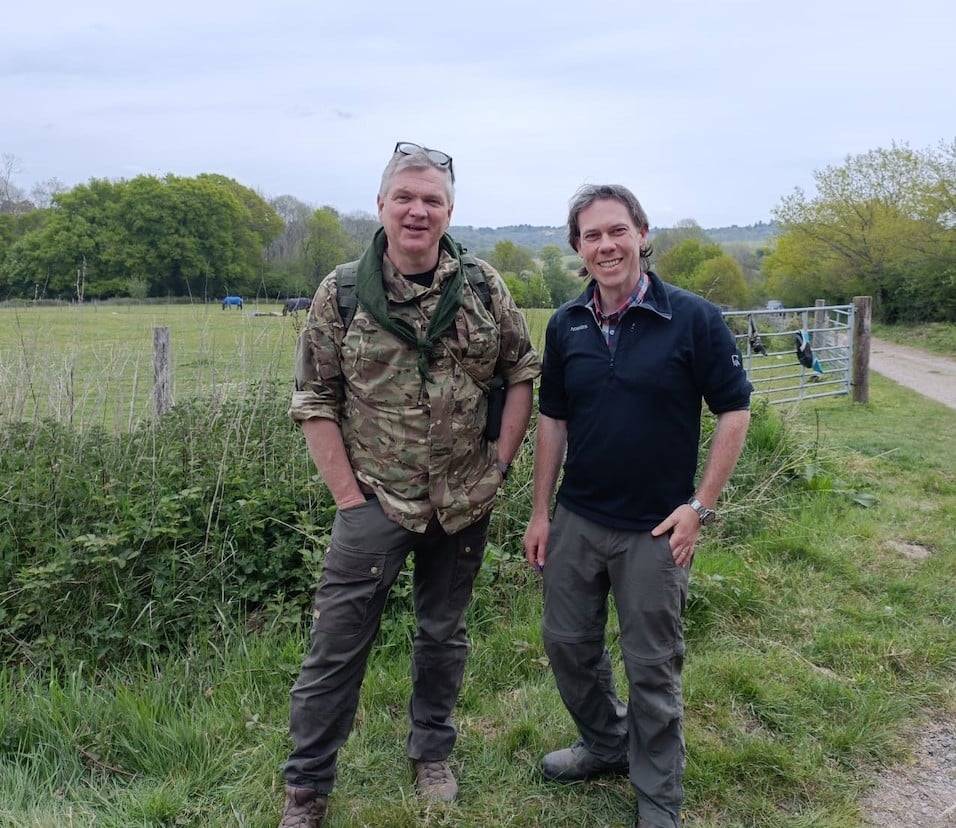
Graham Earl has a PhD in Ecohydrology, and currently working within the Water Industry, but has experience as a farmer and specialist advisor (Air and Water Quality) within the land-based industries, and with 30 years’ experience within the land-based sector.
Graham has been in the unique position to shape and influence hundreds of different landowners businesses and on farm practices. Graham’s experience within the Woodland and Bushcraft sector comes about from this upbringing on a family run farm, later re-sparked through undertaking courses with Ray Mears, and assisting with the Woodland Committee for his local showground since 2004.