More old saws: Carving tools part 1

More tools from old saws!
After writing the article on making knives from an old saw, I started thinking about other tools that could be made in the same way.
I’ve limited the tools that I use to the sort of things that any ‘generally handy’ sort of person might have access too.
Get an old saw
Having used my only redundant saw in the last article, I had to go out and buy one! A trip to the local tip got me this Swedish-made saw for a whole 50p, it turned out to have resharpenable teeth (rather than cheap hardpoints) and so the actual blade was slightly harder than before, as well as being a tiny bit thinner.
50p Saw
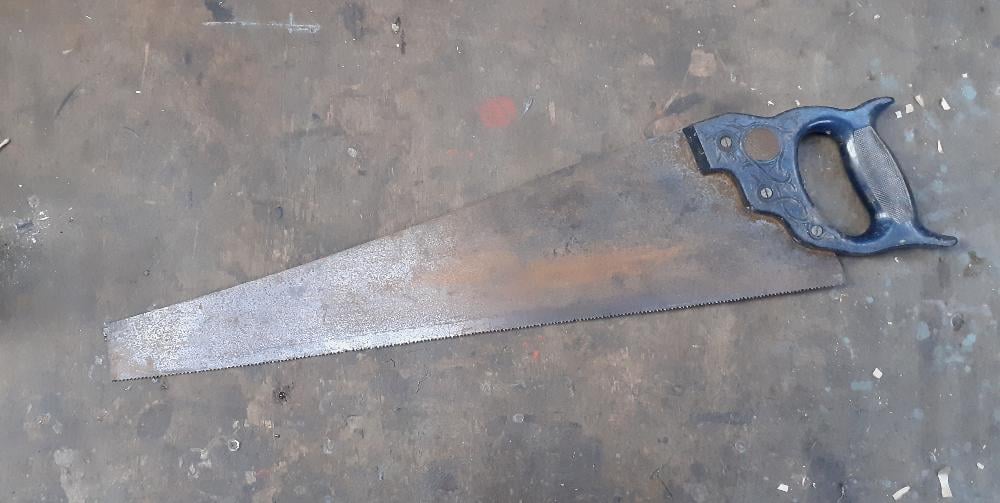
The slightly harder blade meant that it was easier to cut with the angle grinder than snips, harder to drill, harder to cold work; but should yield a better edge even without re-heat treating.
Marking out
Tools marked out
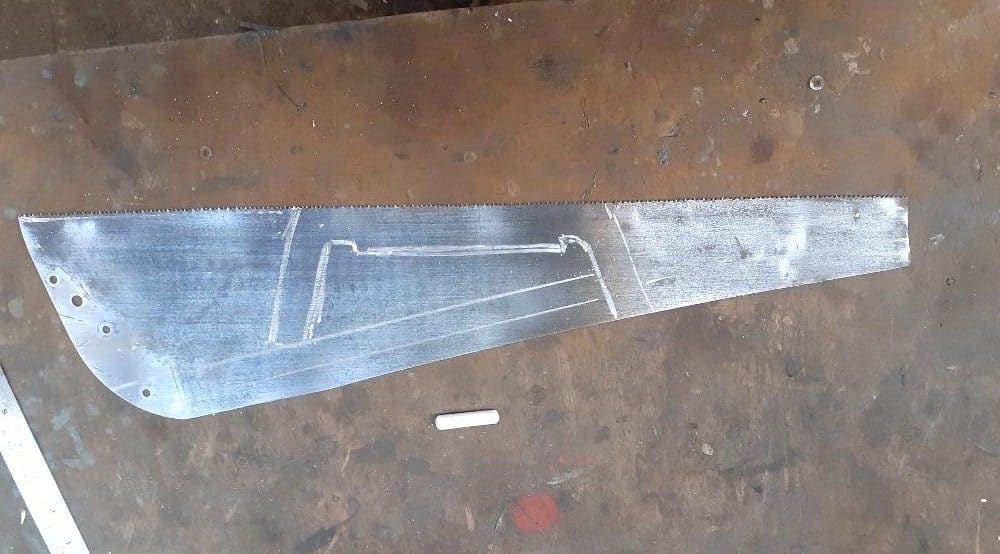
I decided to make a whole wood carving toolkit from this saw, starting with tools that don’t require hot working and heat treating (though they would hold a better edge if you did).
Cutting out
All of the cutting was done with an angle grinder fitted with thin cutting discs and shaping done with either an angle grinder (flap disc) or just good sharp files. I started by drawing a drawknife in the middle of the saw and then cutting strips off to turn into other tools.
Tools cut from saw blade
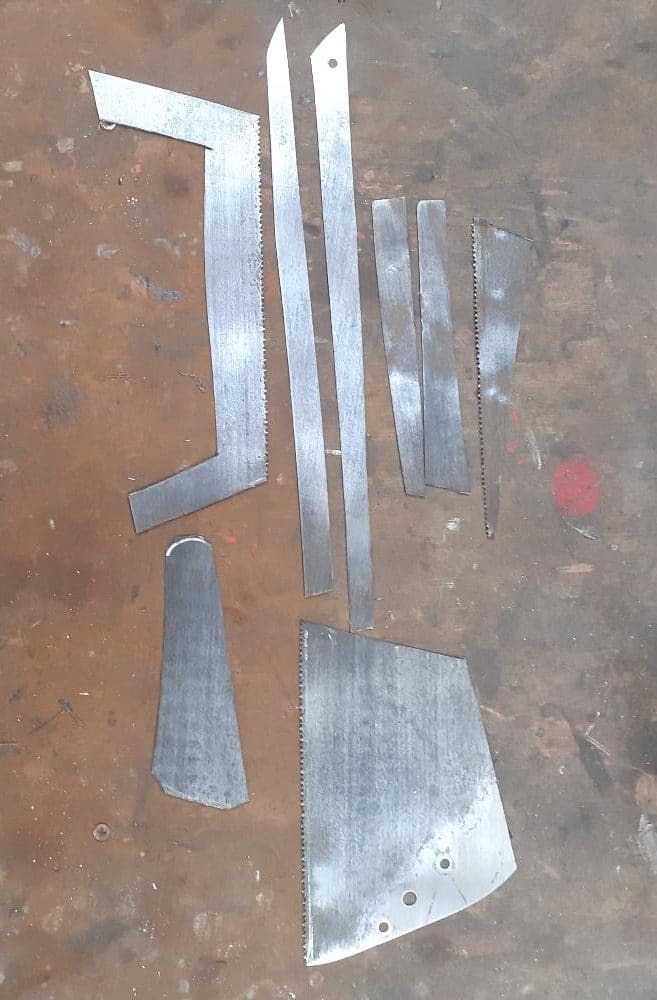
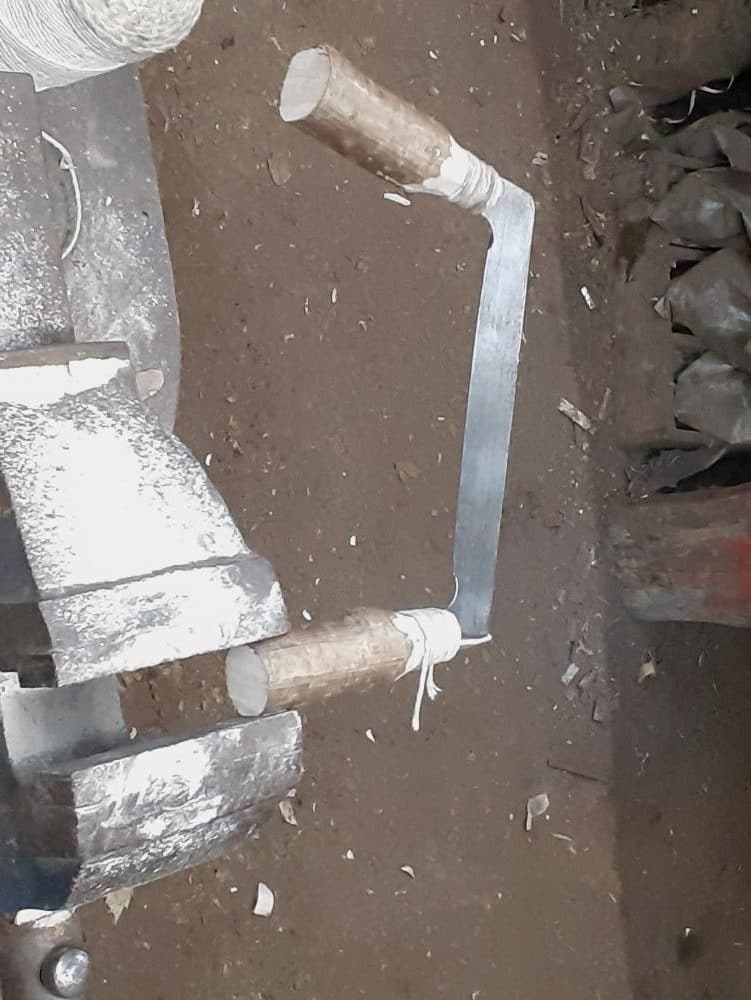
The saw is a bit thin for a drawknife really, but with a gentle hand, it still works fine (it also allows you to use the same tool for hollowing cuts, just by flexing it in use!).
Thin bladed draw knife
Handle
For the handles, I opted for a whipped string ferule sealed with superglue to prevent splitting and a peened nail to hold the tangs in place (hidden under the string).
Pinned and whipped handles
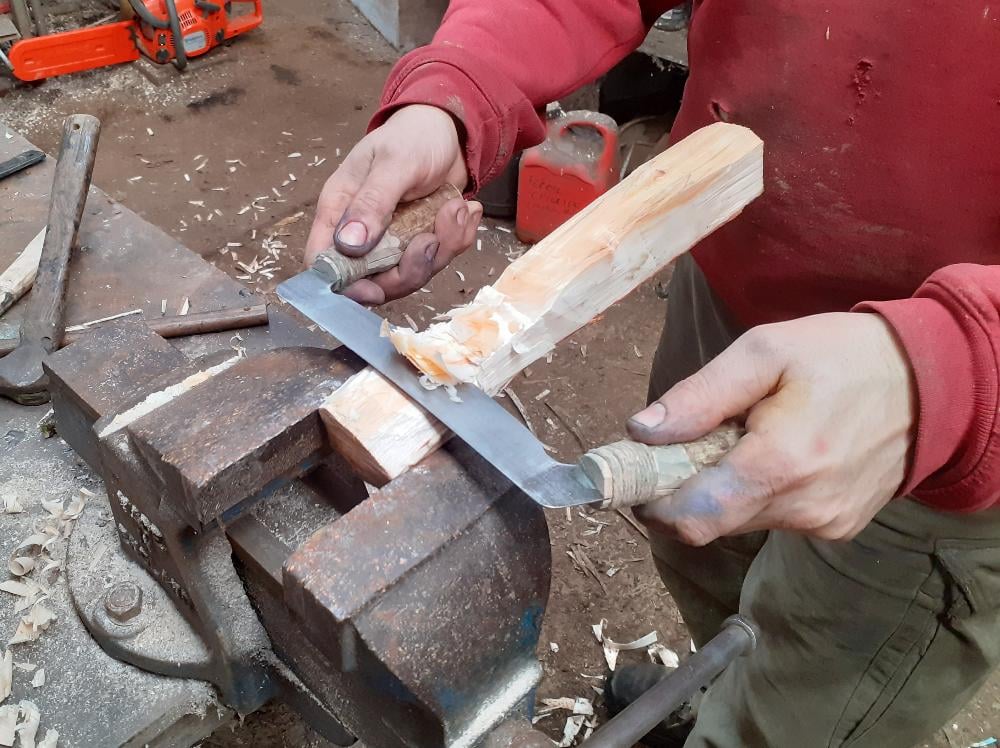
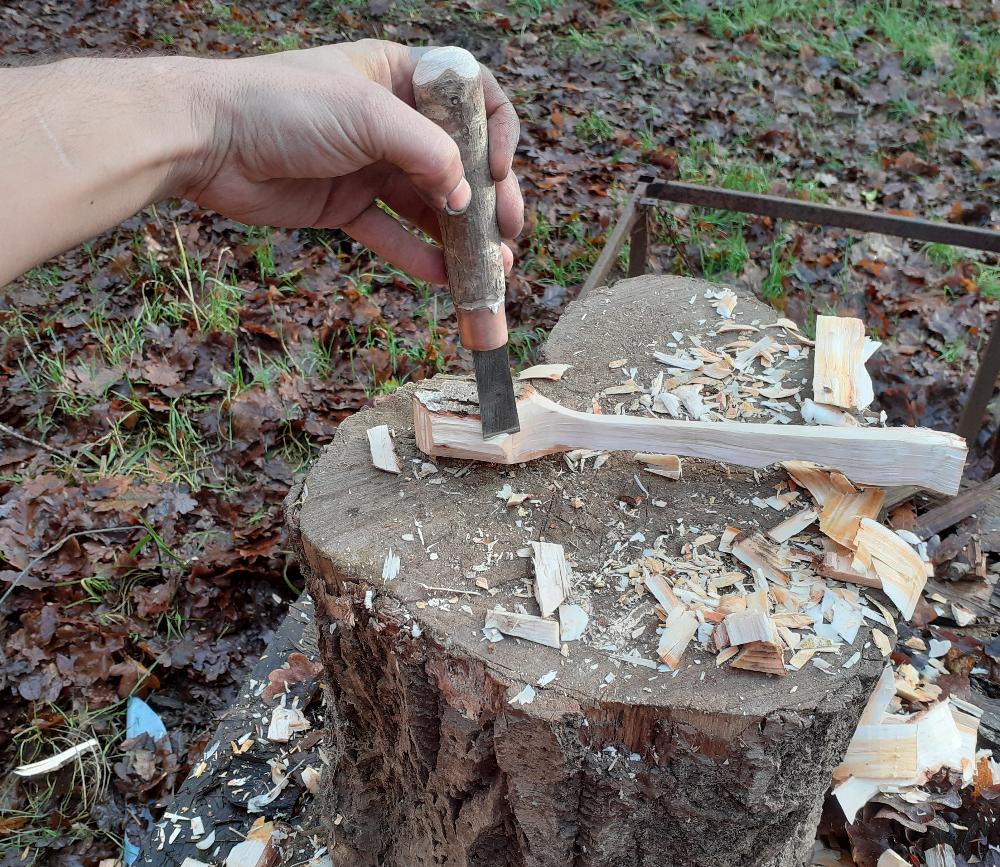
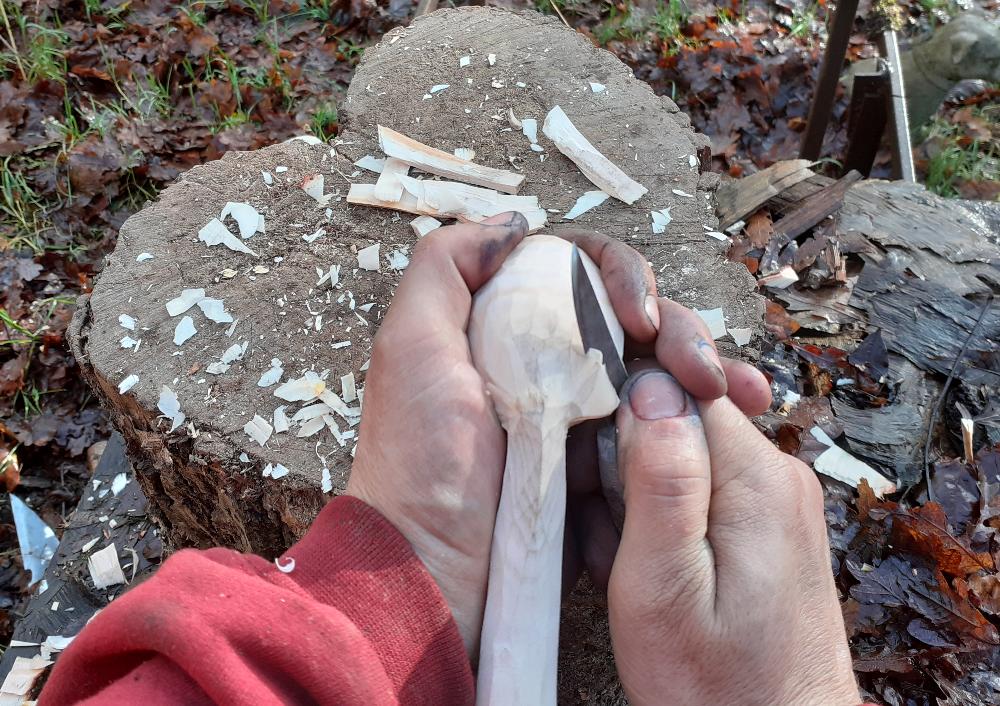
The chisel is not a heavy carving tool, but one used for hand carving as you would with a knife and is underrated as a carving tool in bushcraft. It’s held in the palm and used for carving the outside curves like cups/bowls/spoons, cleaning up flat surfaces like mortice and tenon joints and some detail carving (using the corners like a knife tip, but being pushed rather than pulled).
Straight chisel
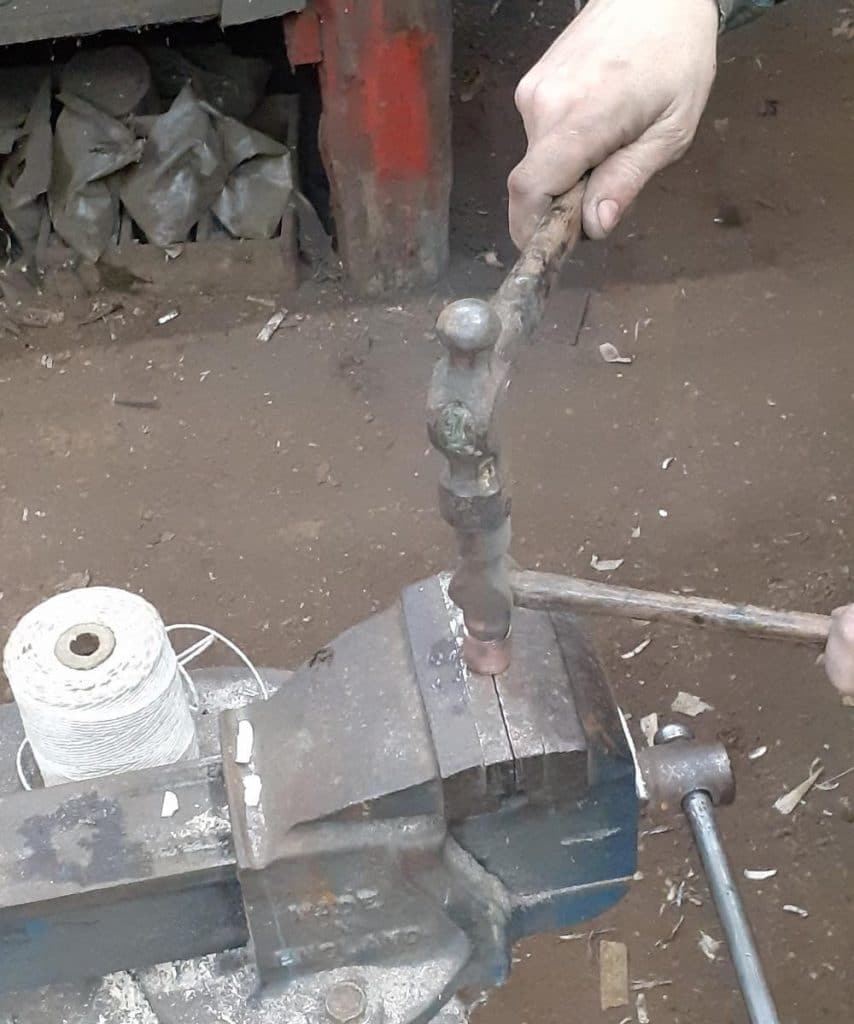
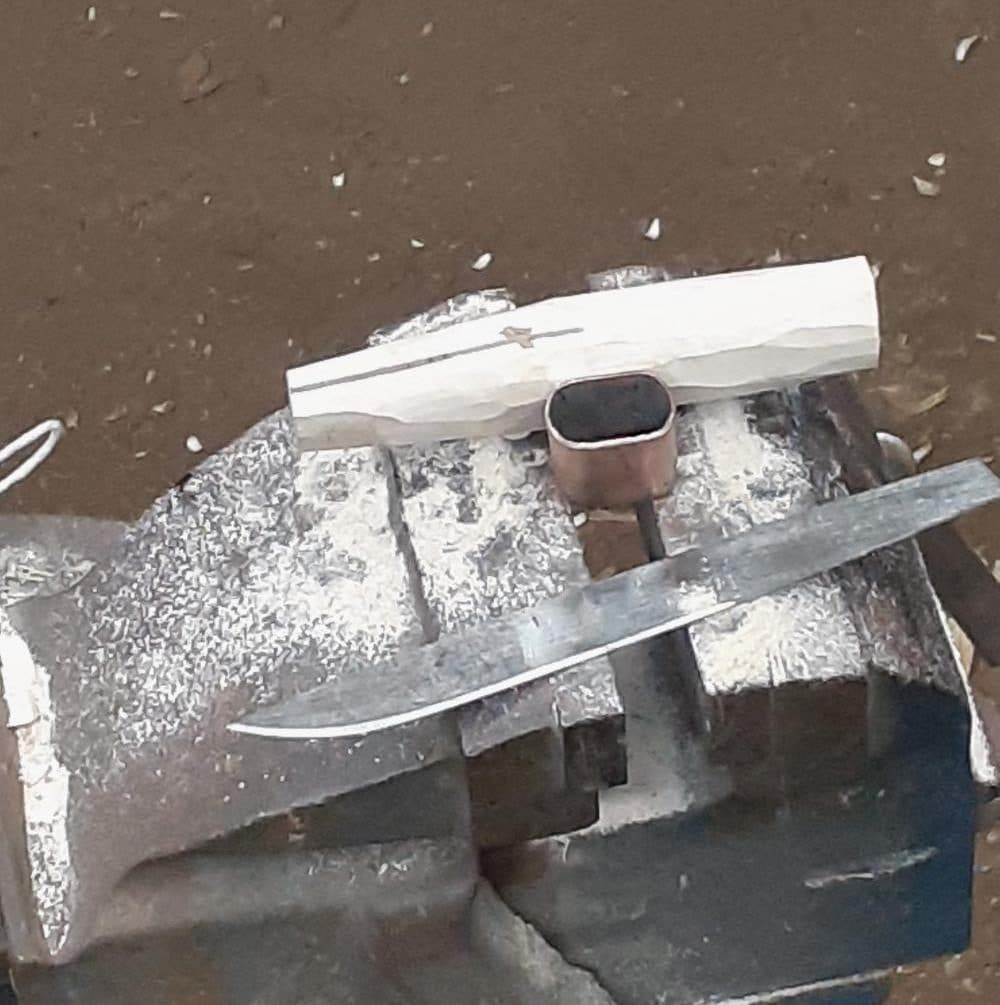
The blade is just a strip of steel with a flat back end, the working end can be dead straight, slightly curved, or angled as a skew; all are very useful tools to make. The handle is short (to be palmed) with a slot no thicker than the saw blade. The ferrule was flared by gently hammering a ballpeen hammer into the end of the tube.
Shaping the ferrule
Flaring a Ferrule
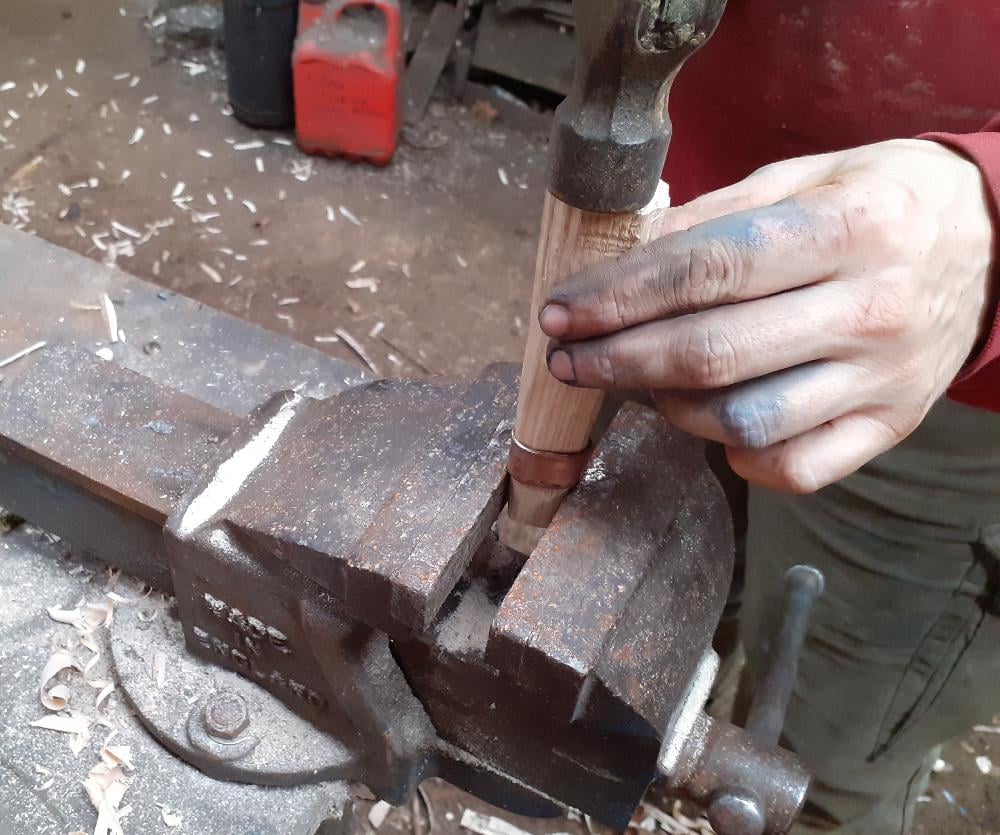
I carved the handle so that it just started to go into the ferrule, placed the blade in about 1/3 of the way into the slot and then with the ferrule braced on top of a slightly open vice, the handle and ferrule were driven home until nothing would move further.
Flared ferrule and handle
The blade was tight, but might wiggle under pressure, so with the clamped in a vice with soft jaws the handle was driven on until the blade reached the end of the slot. Assuming that the wood doesn’t dry out any further, the blade should remain solid enough for it’s intended purpose.
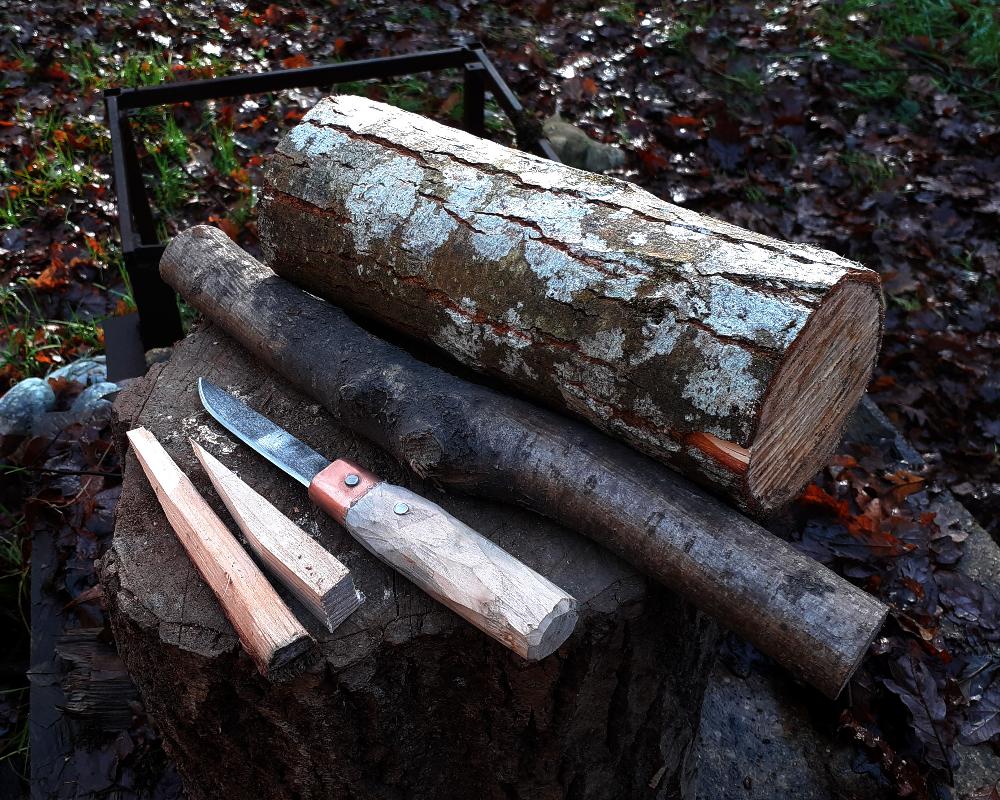
Next up a few carving knives. A 2” sloyd blade and a ½” long chip carving/kolrosing/scrimshaw blade were fitted into simple stick handles the way I do many of my normal carving tools: drill a big hole and fill it with epoxy!
Small knife
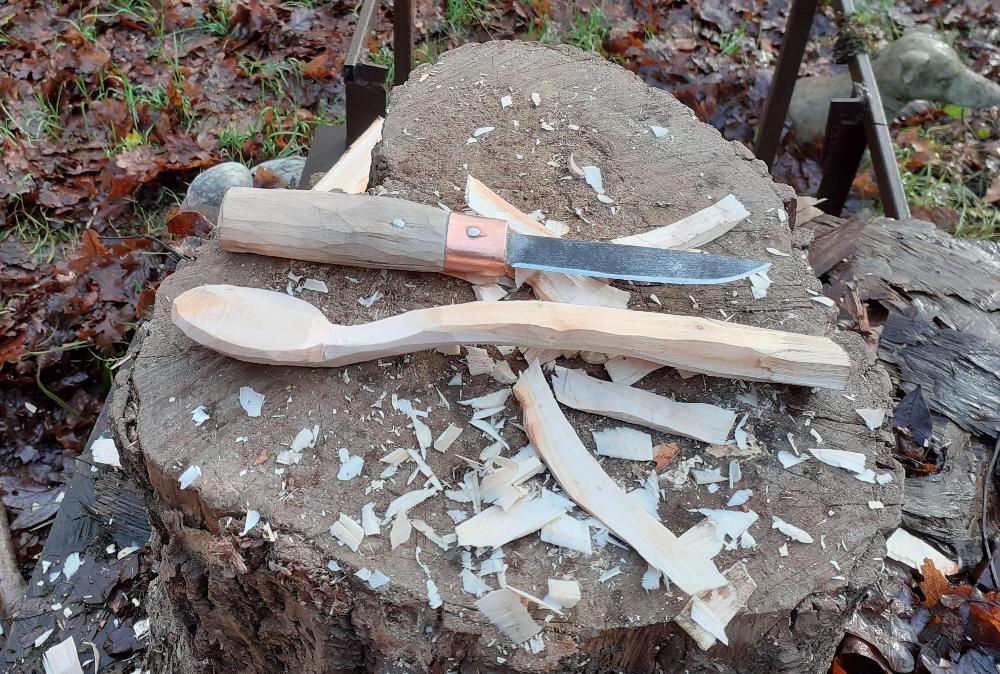
The large knife is akin to a Gypsy peg or flower knife; these are traditionally made from old butter knives that are very thin and don’t split the wood being carved or riven. The blade is quite long (4”) and flexible; in this case, I went for a carved handle and a fattened oval ferrule.
Large knife
Due to the extra length in the very thin blade, I was concerned that there might be enough leverage in hard use to split out from a simple wood or string handle.
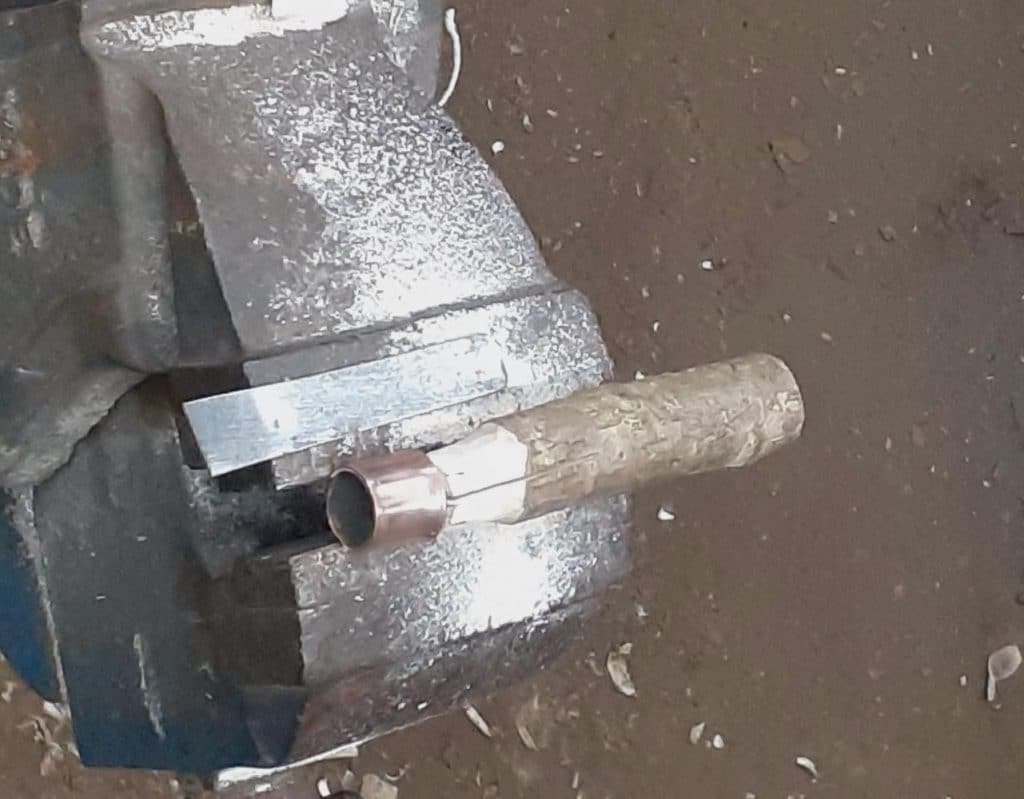
The ferrules used in this edition are more advanced than the simple slice of pipe used last time. The round ferrule on the chisel has a flared opening, which forces it to compress the wood when driven on, making a tighter fit.
Oval ferrule
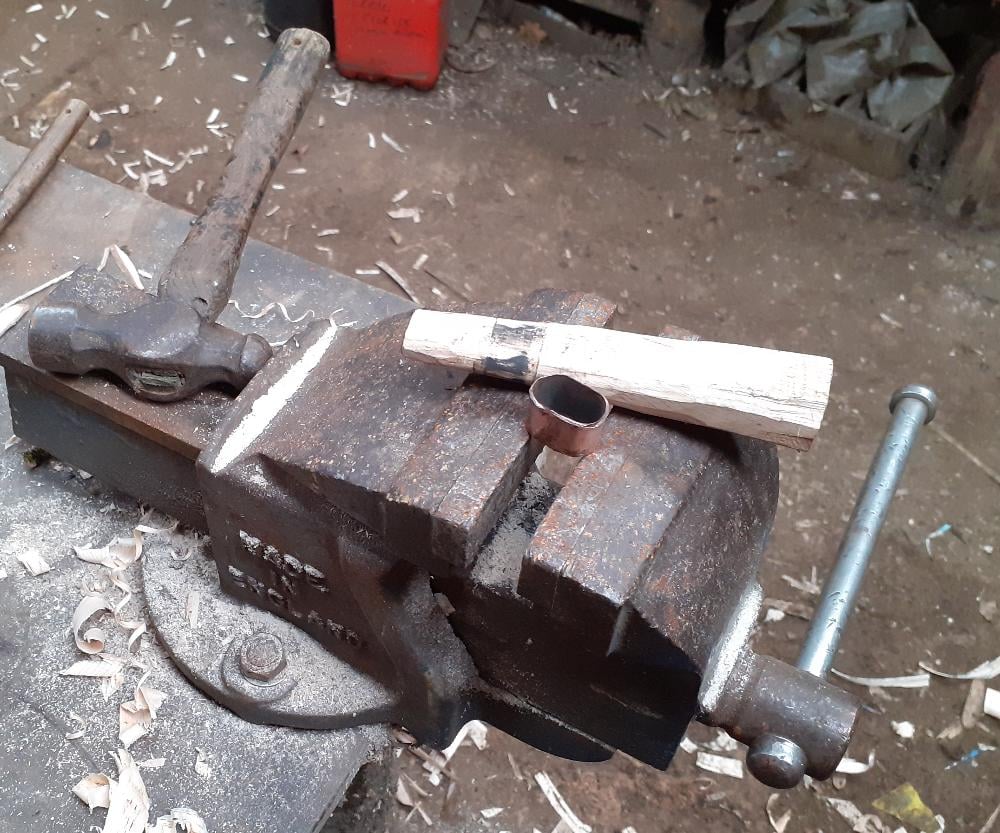
The oval ferrule used on the knife was first flared, then squashed a little in the vice, before a tapered stick is driven in to give it more shape (I normally use steel drifts for this process).
Tapered stick for drifting
Finished Ferrule
Ready for assembly
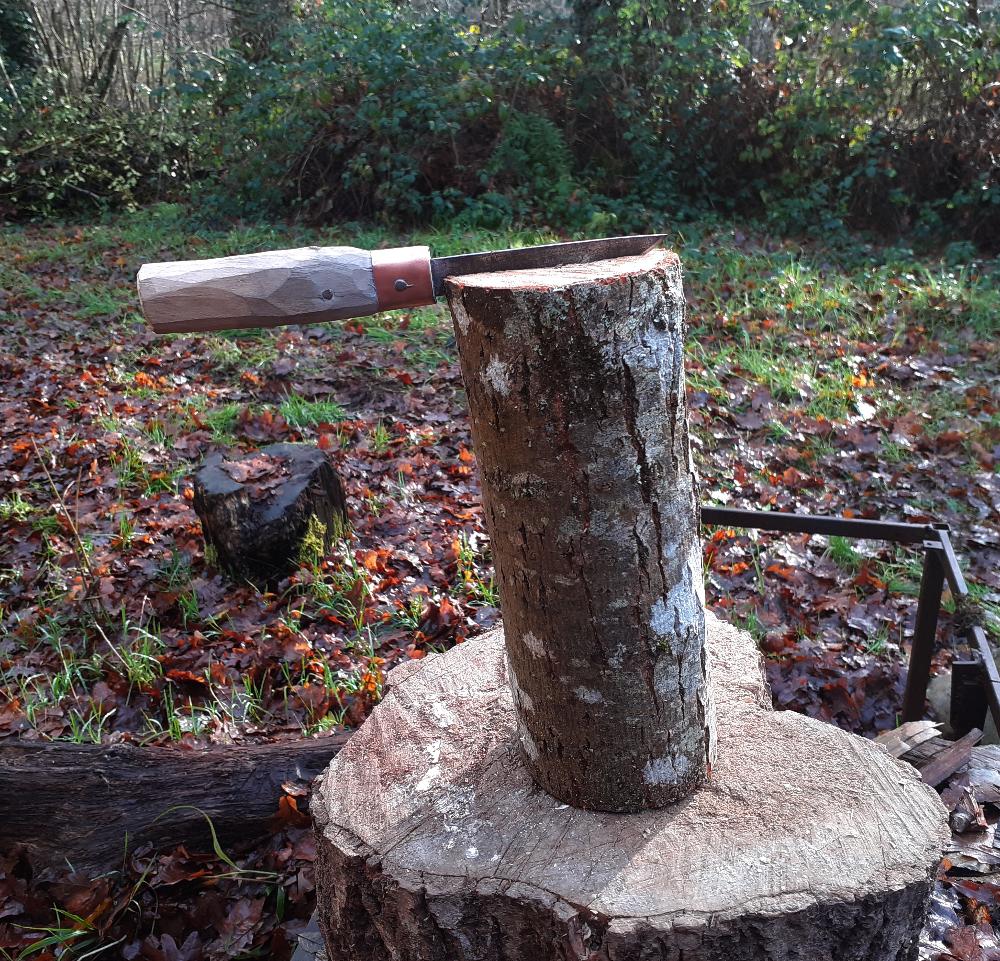
These tools are tough and can are made to be used
Time for some log splitting
Batten for starting cut
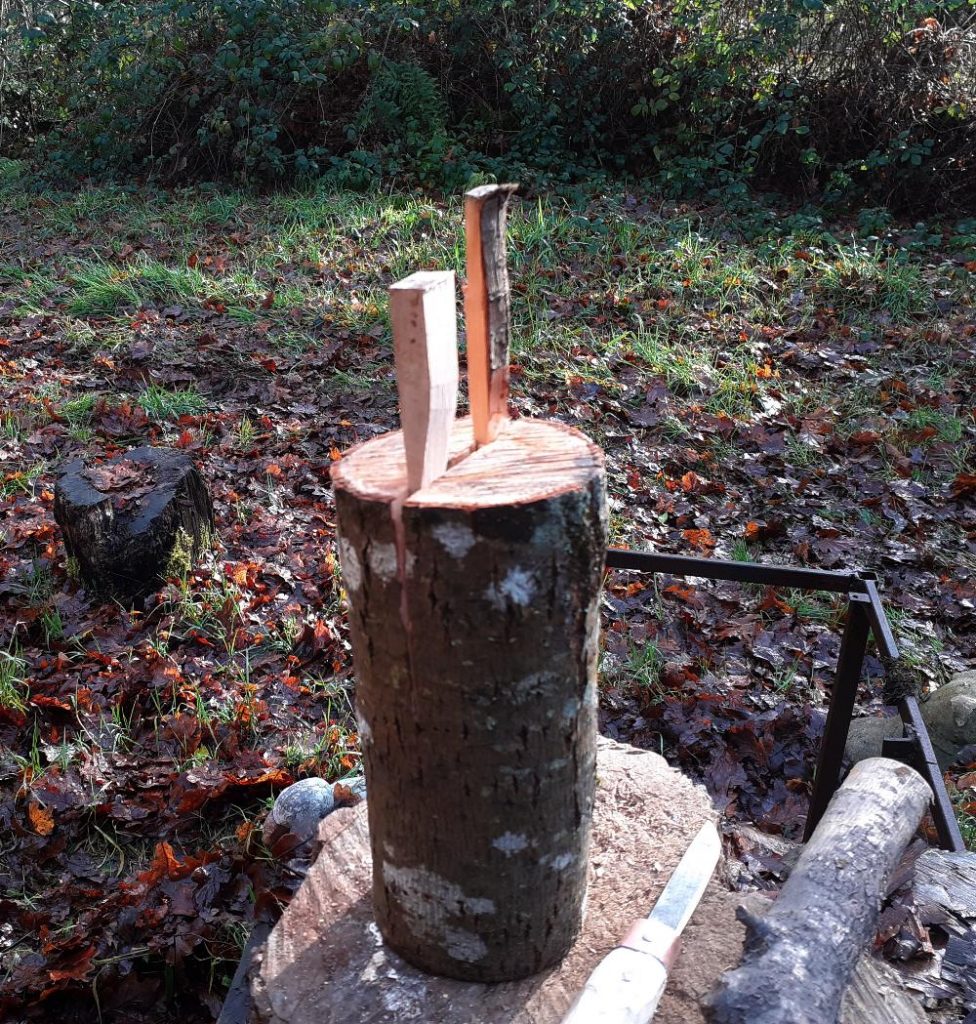
Hammer in carved wedges
So far all of the tools have been flat, simple blades. Next time I’ll show you how to make hooked blades without a forge…

Dave Budd is a world renowned smith specialising in historic weapons and other period steelwork, he runs knife and axe making courses amongst other things from his woodland in rural Devon.
You can see some of his work and contact him through his website DaveBudd.com