Fire by Friction & Magnification

Making fire without lighter or matches seems to be one of the main skills that people associate with bushcraft, and here I am going to look at two intriguing methods – fire by friction and fire by magnification – both with long pedigrees.
Fire by friction, also known as bow drill technique, “Indian fire fiddle” etc is a prehistoric fire-lighting method and can be performed with nothing more than materials found out in the woods, while fire by magnification relies on some sort of “burning glass” or lens. Burning glasses were often built into historic tinderboxes, but I have had success using lenses made from magnifying glasses, condoms and even ice!
As with all fire-lighting, preparation is key to success and before you even think of making your ember you need to have your fire laid and ready with at least twice the amount of tinder you would imagine needed, with kindling, small wood and fuel to hand.
To make fire you are going to need to produce heat, so protect your equipment from the cold and damp, insulated from the ground which is nearly always colder and damper than you want to work on.
Fire by Friction
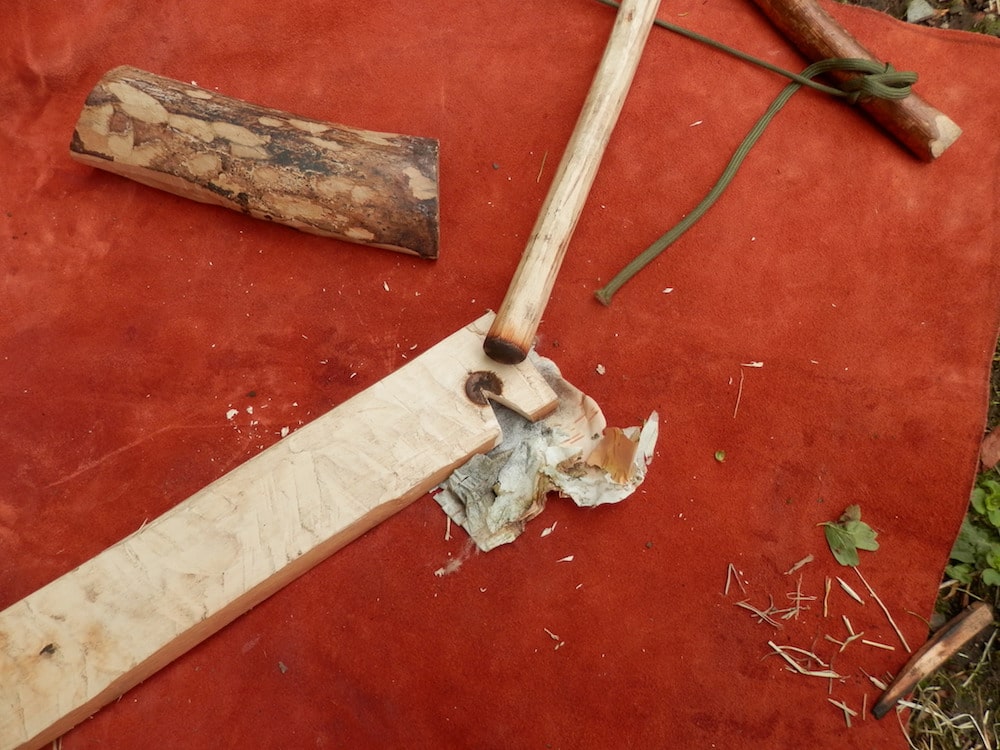
The main pieces of equipment needed for fire by friction using a bow drill set are the “bow” a “base-” or “hearth-board”, a “spindle” and a bearing block. A dried leaf, sliver of wood or piece of bark is useful as an “ember catcher” and a good dry tinder bundle is essential.
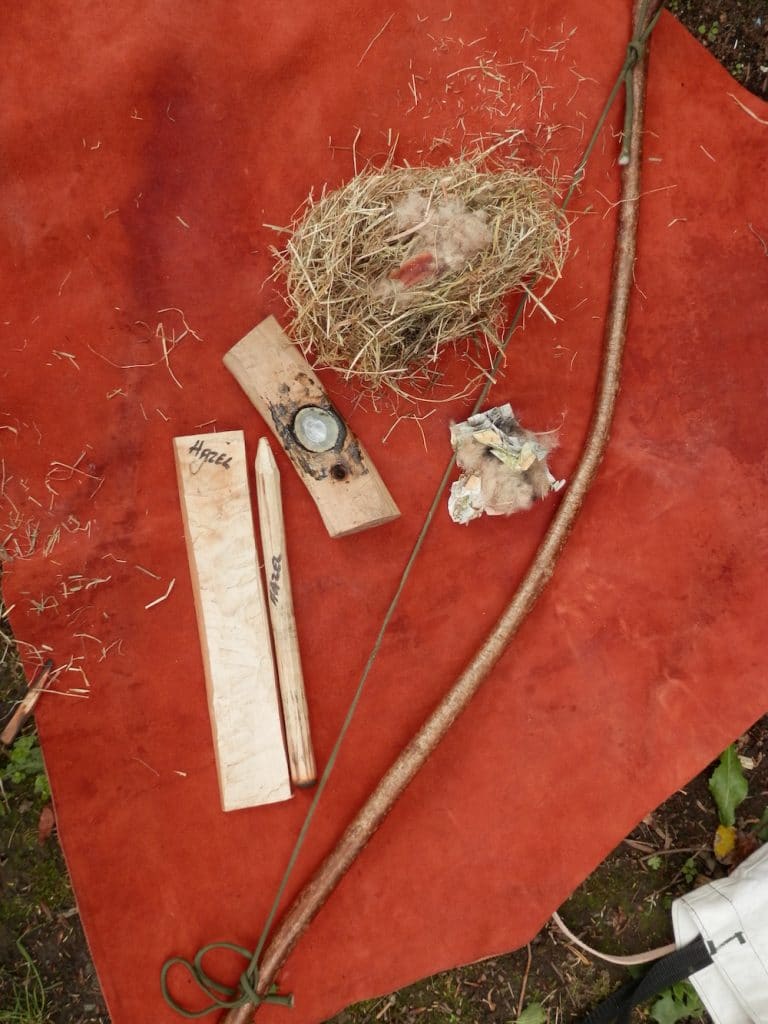
The bow needs to be about as long as your arm from armpit to middle fingertip, rigid or semi-rigid and with a curve to allow the spindle free play. The bow cord can be made of any tough cord. I have used nettle cordage, plaited leather and other natural cordage, but paracord and other synthetics tend to wear better.
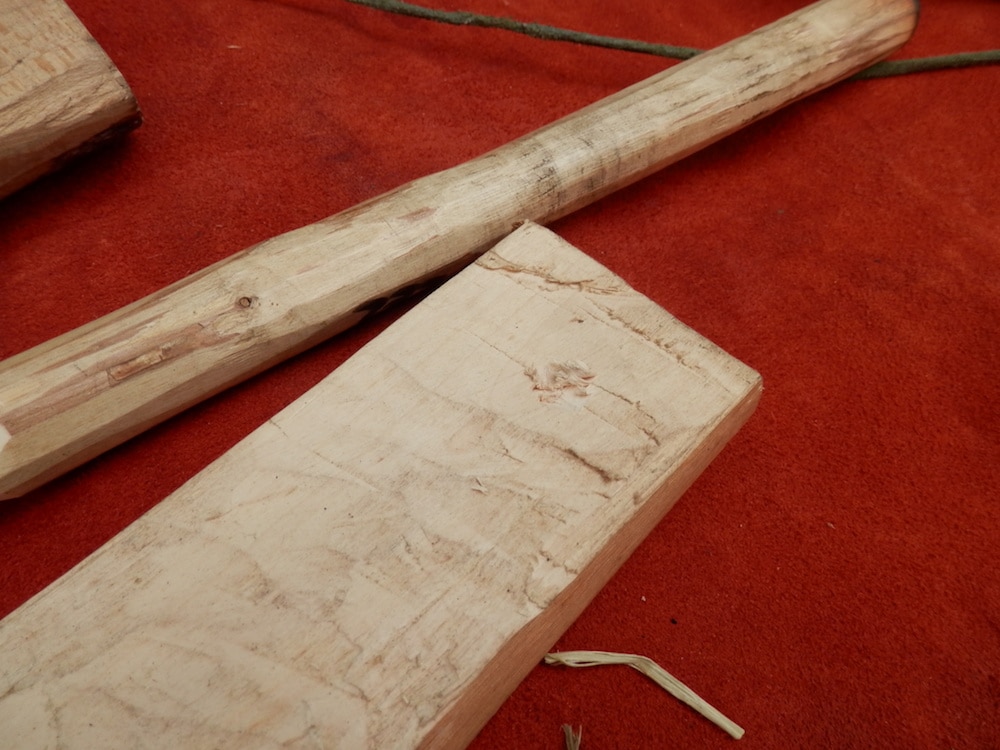
For the baseboard and spindle, most people find using the same kind of wood works best and hazel on hazel is one of my favourites.
The idea is that the spindle will spin on the base plate creating heat by friction and the two pieces will wear each other down creating “char” dust which will collect and eventually ignite. Using woods of different hardnesses means that one will wear the other away faster.
The bearing block needs to be of a hard wood with a recess cut in its underside to take and support the top of the spindle and have the top side shaped to fit comfortably in the hand. I have seen people use a stack of limpet shells as a bearing block and I will, if possible, set a limpet shell into my bearing block as a “frictionless bearing”. If you do not have limpets you can lubricate the bearing by inserting green leaves – holly is very good – to reduce friction. The bearing block is not where you want the heat!

The base or hearth board can be between 1.5 and 2.5cm thick and long enough for one end to be trapped under your foot while you work. As long as the baseboard is wider than the spindle, width is not too important, but it does need to be worked reasonably flat.
The spindle needs to be very straight, around 20-30cm long and about as thick as your thumb with one end domed and the other brought to a strong point.
Both baseboard and spindle need to be thoroughly dry and seasoned for best results.
The cord on the bow needs to be tied so that when you twist the spindle in the cord, it is tight enough to get the spindle turning, but not so tight that it is hard to turn it at all! Tension can be adjusted by gripping the cord as well as the bow with as many fingers as it takes to get the tension right.
To start getting fire by friction, dig a small indent into the top of your baseboard using the tip of your knife. Trap the baseboard under your left foot (I am describing the set-up for right-handers; left-handed folk will have to make their own adjustments – sorry!) and kneel left knee up, right knee on the ground. Twist the spindle into the bow cord and put the domed end into the indent of the baseboard.
Place the bearing block onto the pointed end of the spindle and position yourself so that you can lock your left arm around your left knee and press vertically down on the spindle. This prevents the spindle from wobbling or flying out of the baseboard as you “saw” the bow back and forth.
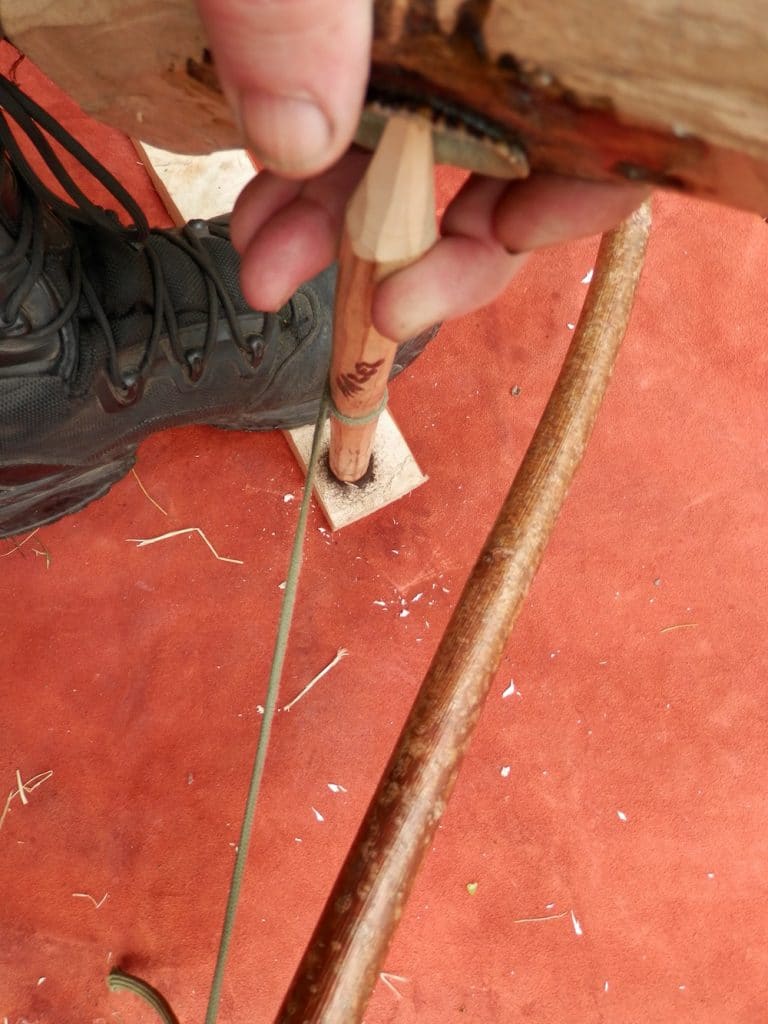
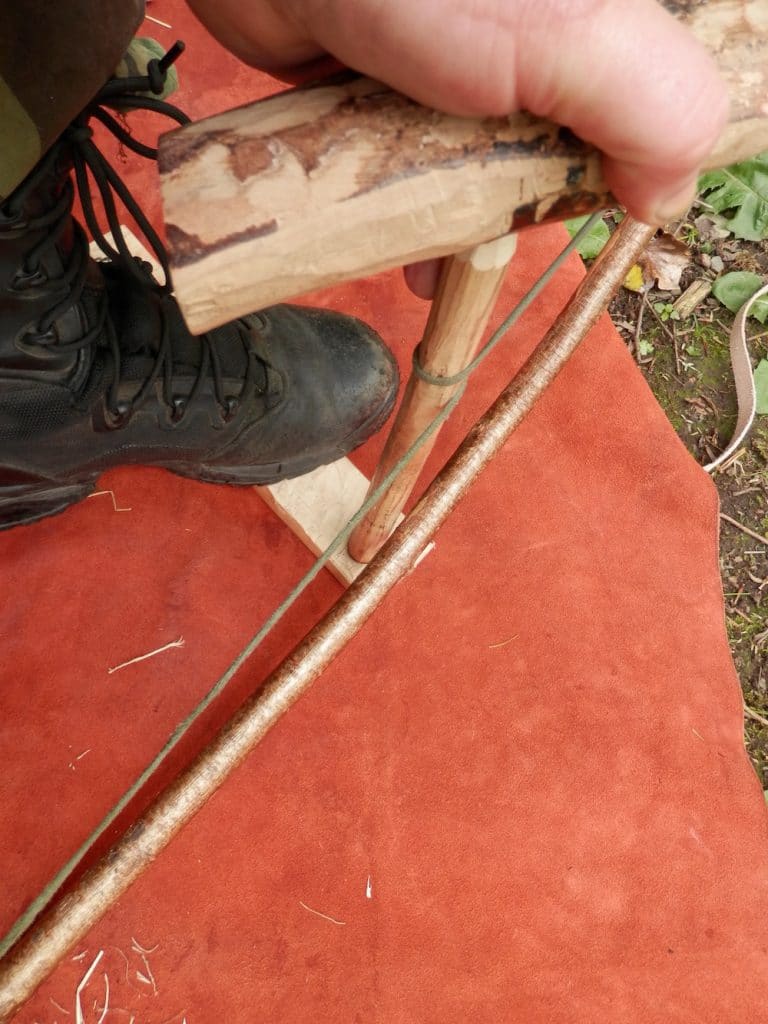
As you push the bow back and forth keep the string parallel with the ground or it will climb up and down the spindle and may fly away! If you press down too hard, the spindle will not spin; if you do not press hard enough the spindle can jump off the baseboard. However, you should soon see smoke and “char” developing as the spindle wears in.
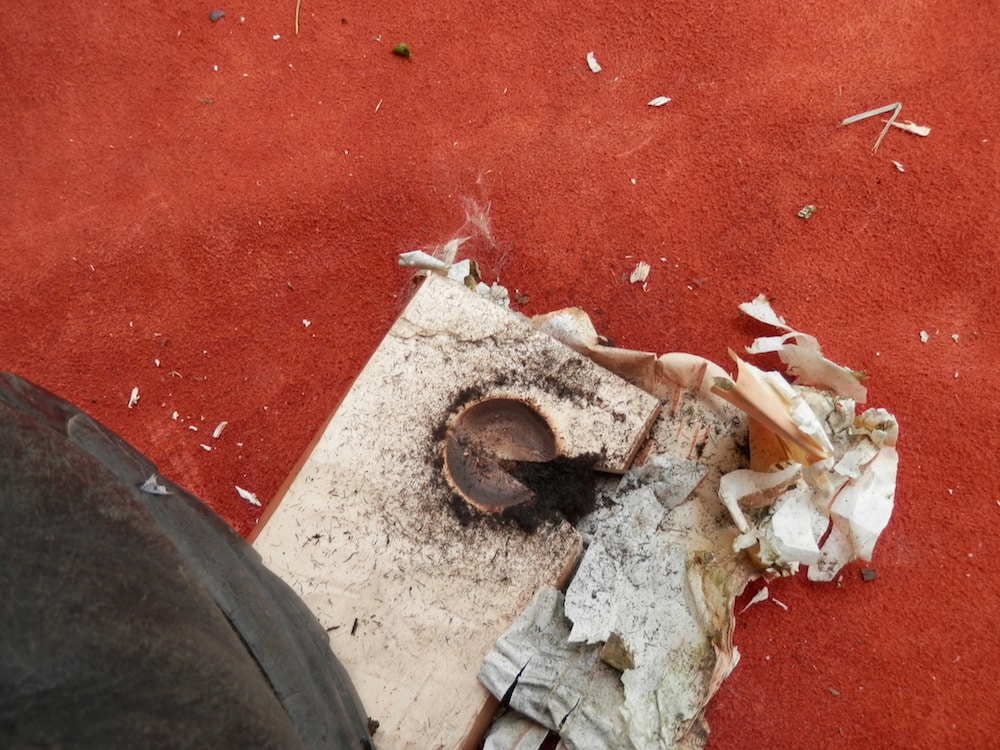
Once this occurs you need to cut out a “pie slice” notch from the baseboard, reaching from the centre of your newly made depression to the edge of the board. The slice needs to be around 1/8th of the circle of the depression. This is to catch the char and start your ember.
Place your ember catcher under the pie slice and start bowing again. Start slow and steady, increasing pressure and speed until you have great clouds of smoke developing. You cannot have too much smoke!
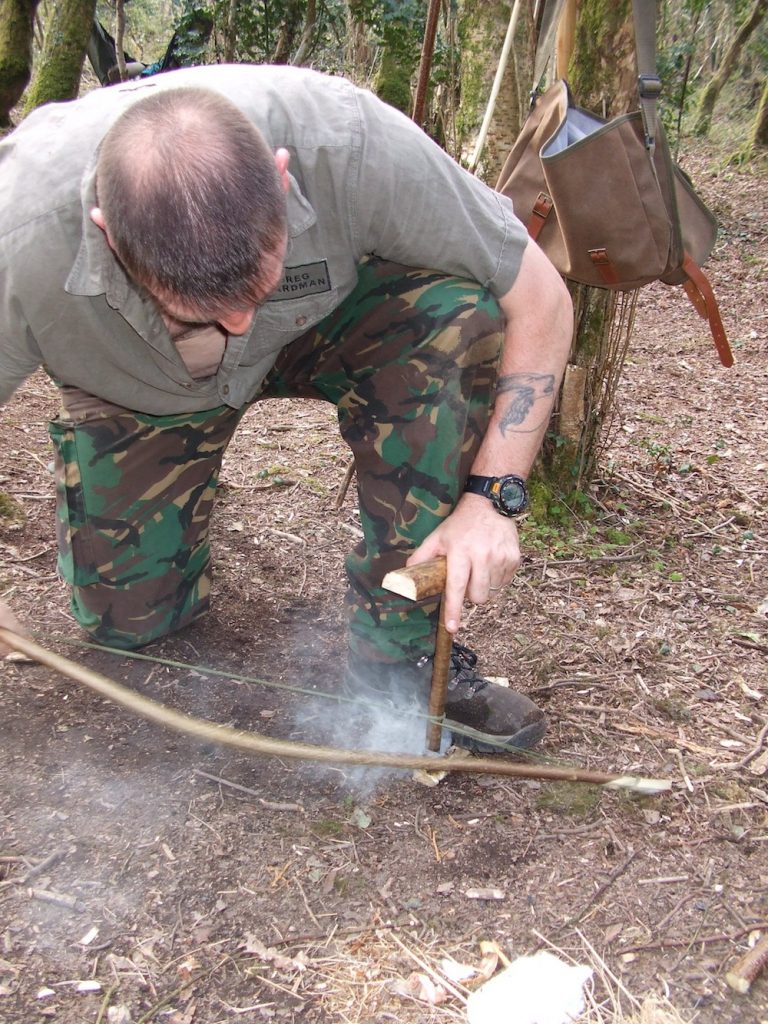
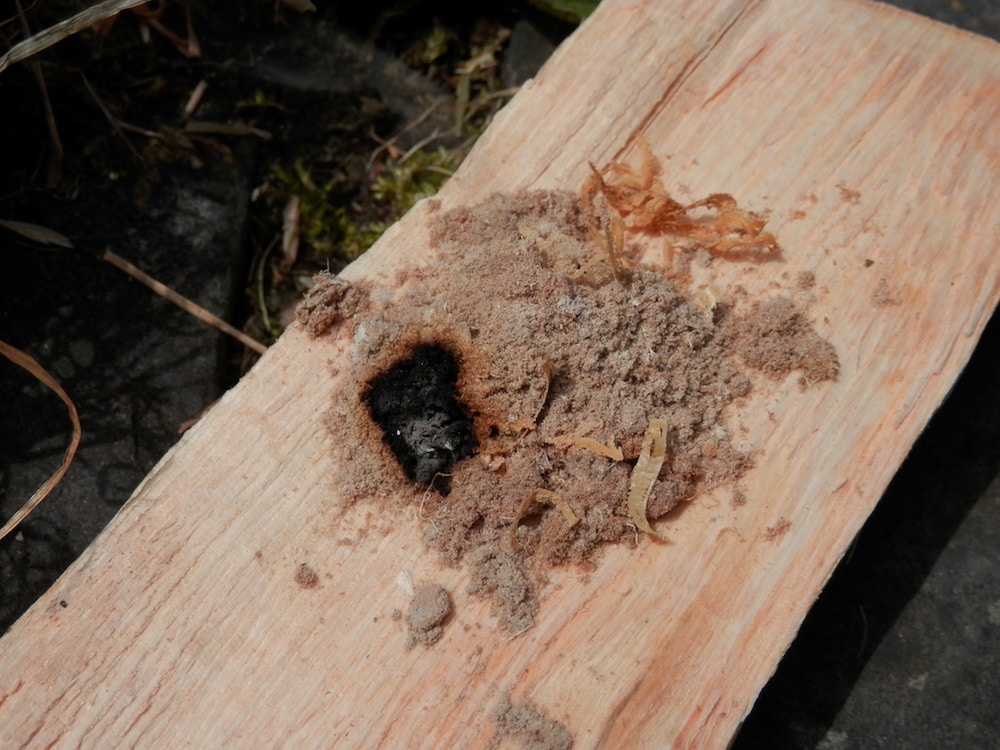
You will know you have succeeded when, if you stop bowing and remove the spindle, the char that has collected in the pie slice keeps smoking and you see a pinpoint of red glowing coal in there. No smoke or glow to be seen? Get back to bowing!
Once the ember is forming you need to let air to it so it can develop. Gently tap the baseboard to free the ember and lift the board free, it’s also a good idea to have something thin to hold down the ember as you lift the baseboard, then, gently blowing on the ember if it needs it, or if there’s a breeze allowing it to reach the ember. be careful at this stage, the ember is very delicate.
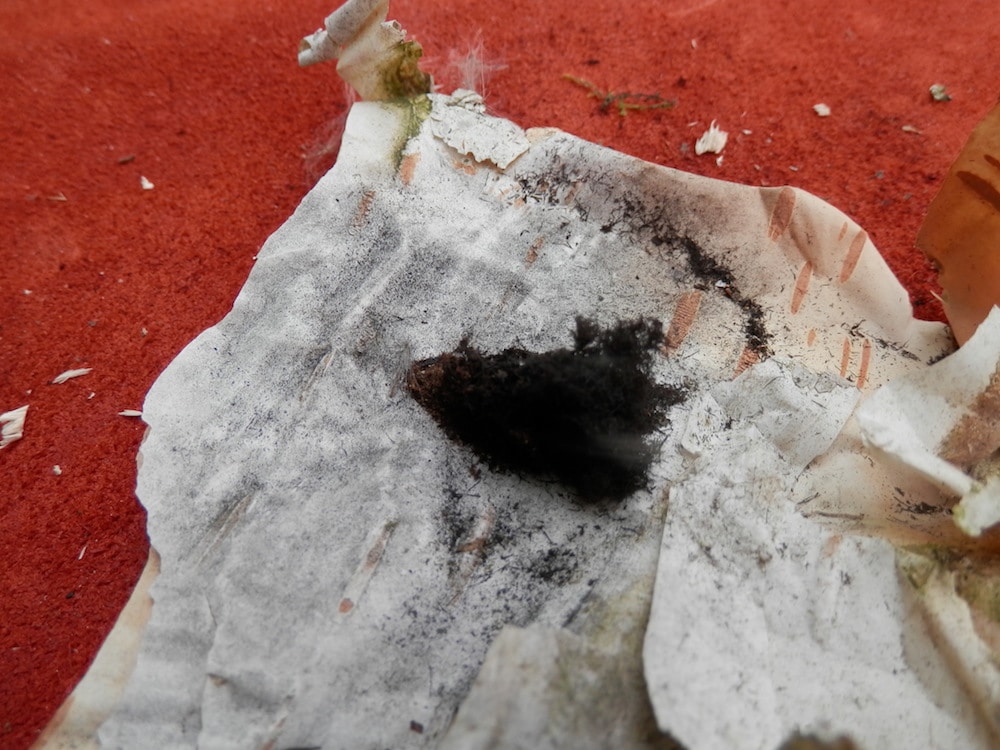
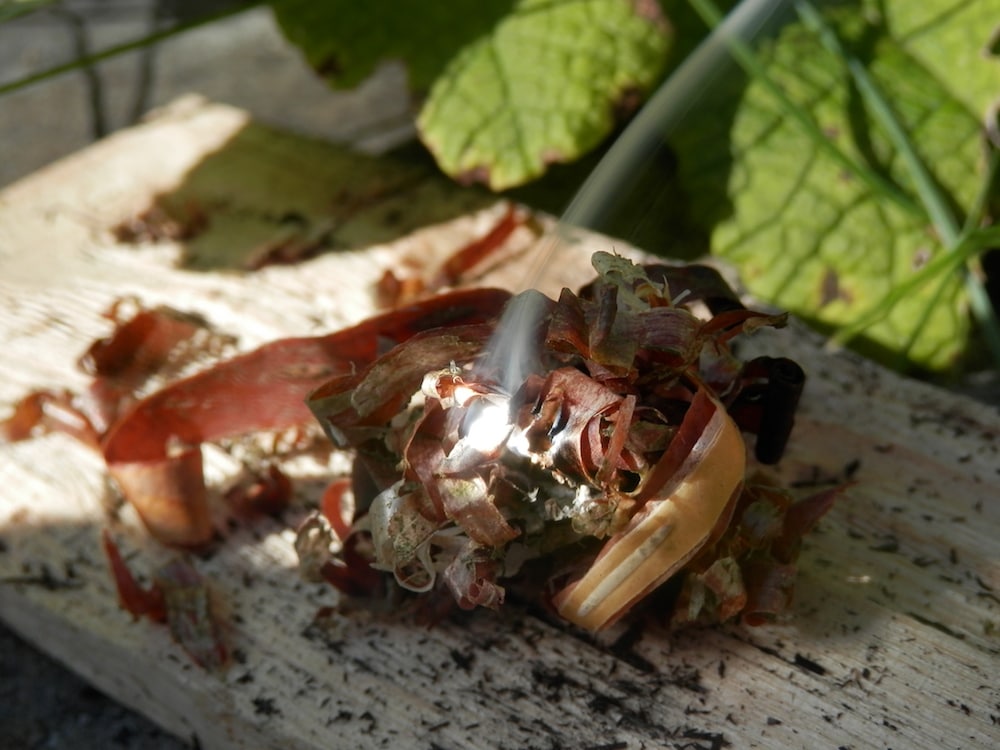
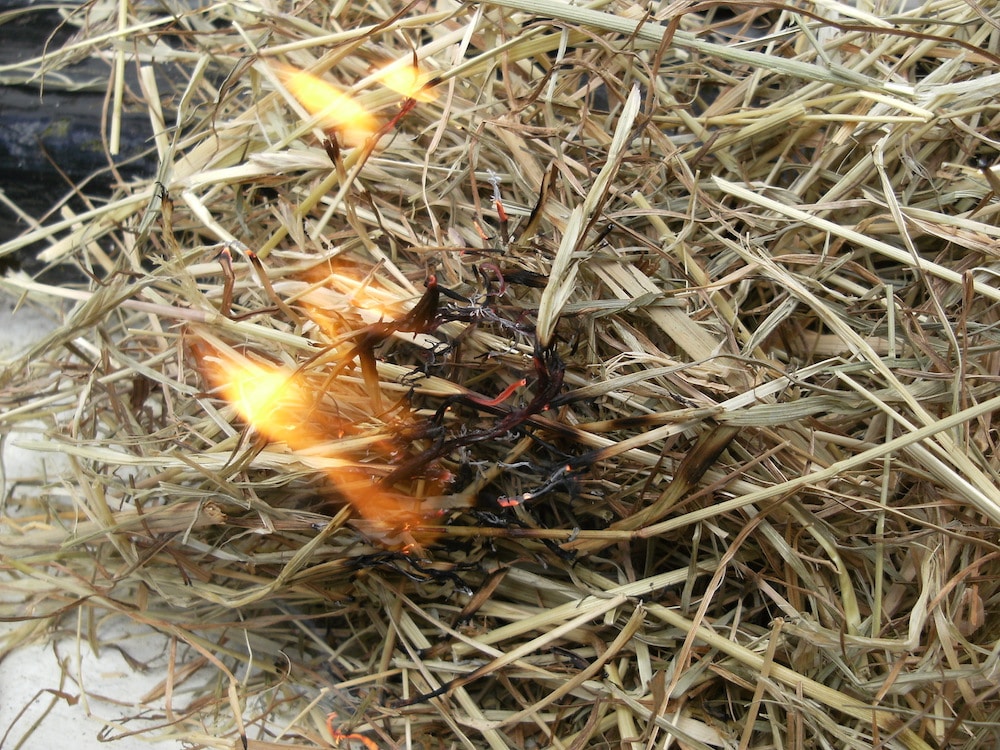
Use the ember catcher to tip the ember into the tinder bundle.
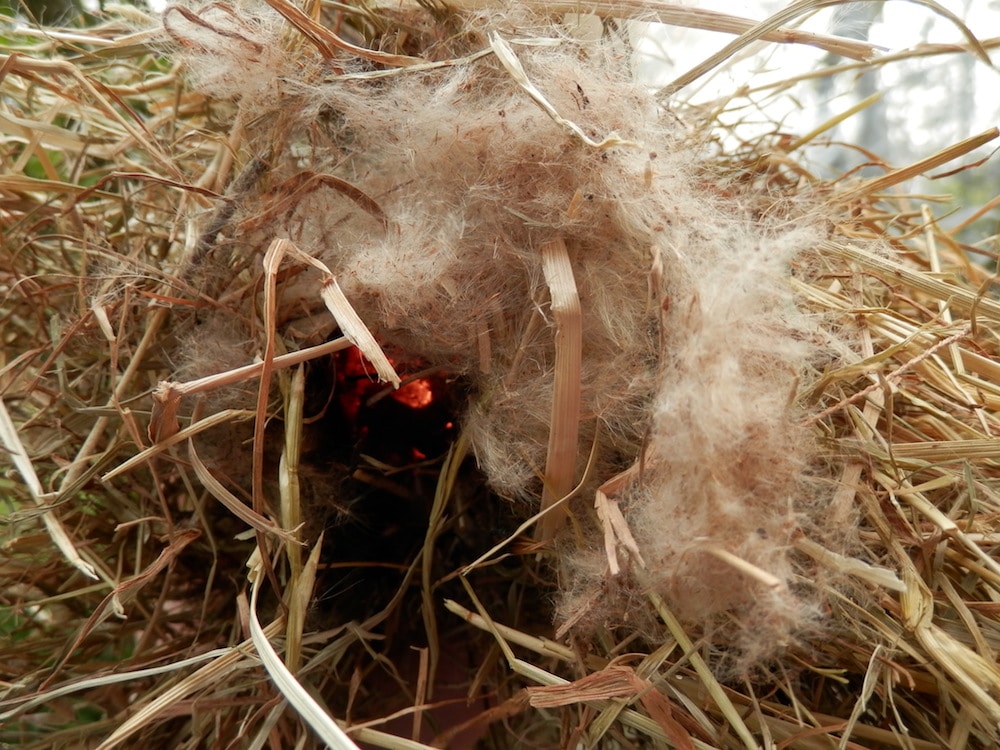
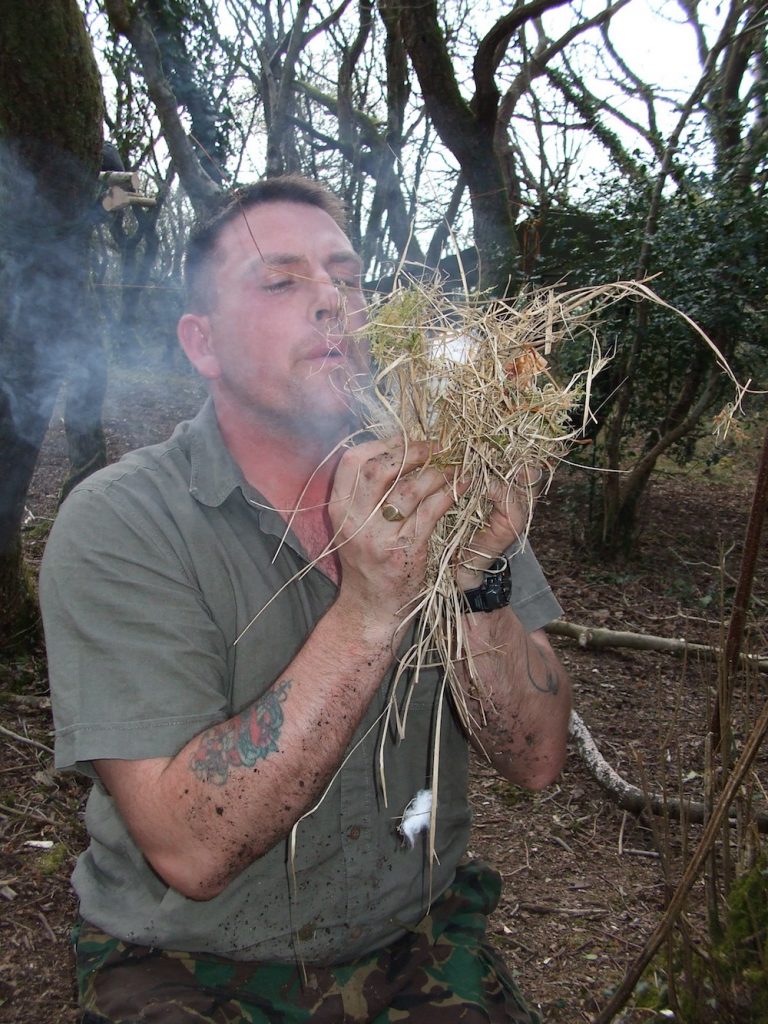
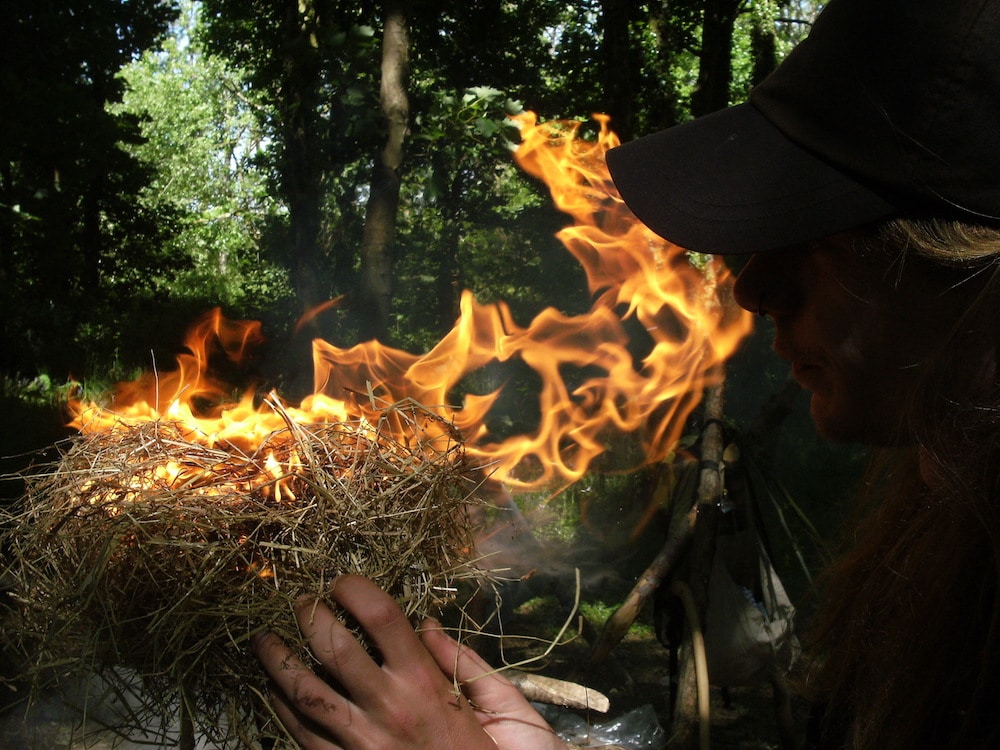
As with most “primitive” fire lighting techniques, all that now remains is to blow the ember up to flame!
Sometimes during the bowing you get excessive squeaking – try altering your downward pressure to avoid this, and sometimes the wood “glazes”, polishing not charring. If glazing occurs rough up the spindle and base depression with your knife and go again.
If at first you do not succeed, try, try, try again! Bow drill friction fire becomes easier the more you do it and get the feel for it. Initially, it is hot, hard work (my first ever ember was immediately dowsed when a drop of sweat dripped off my nose right onto the coal as I tried to blow the ember brighter) but with practice, it becomes fast and easy. Trust me on that!
Fire by Magnification
After fire by friction, fire by magnification is easy!
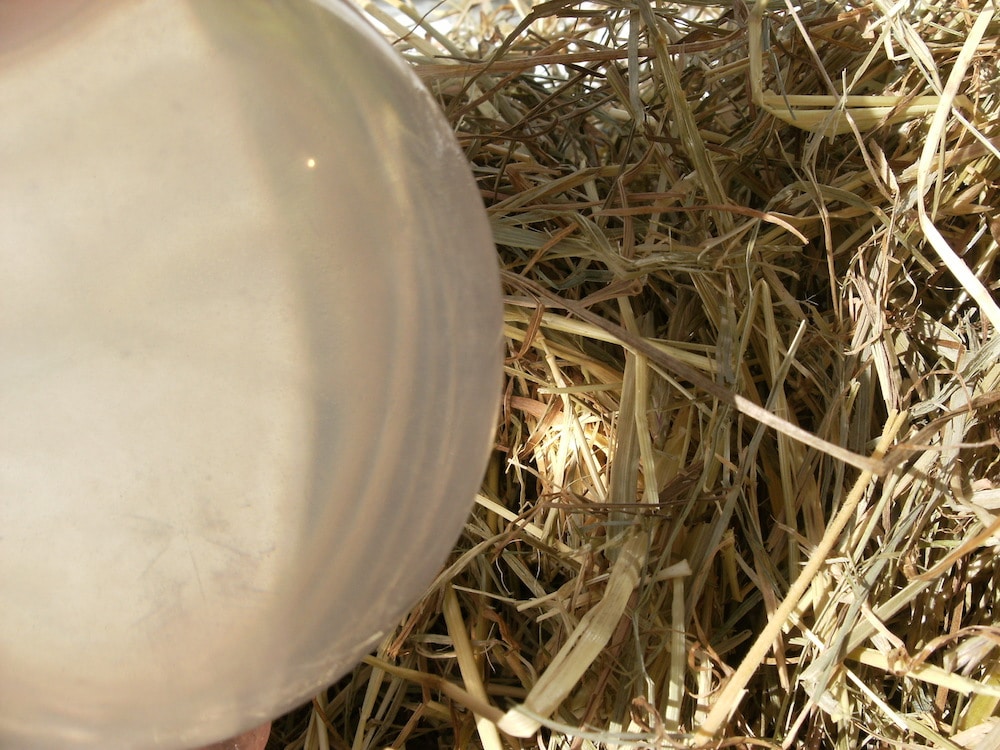
On a dry, sunny day take your chosen lens and move it back and forth above your tinder until the light is focussed onto one spot. On a very bright day I have gone from start to fire in under one minute.
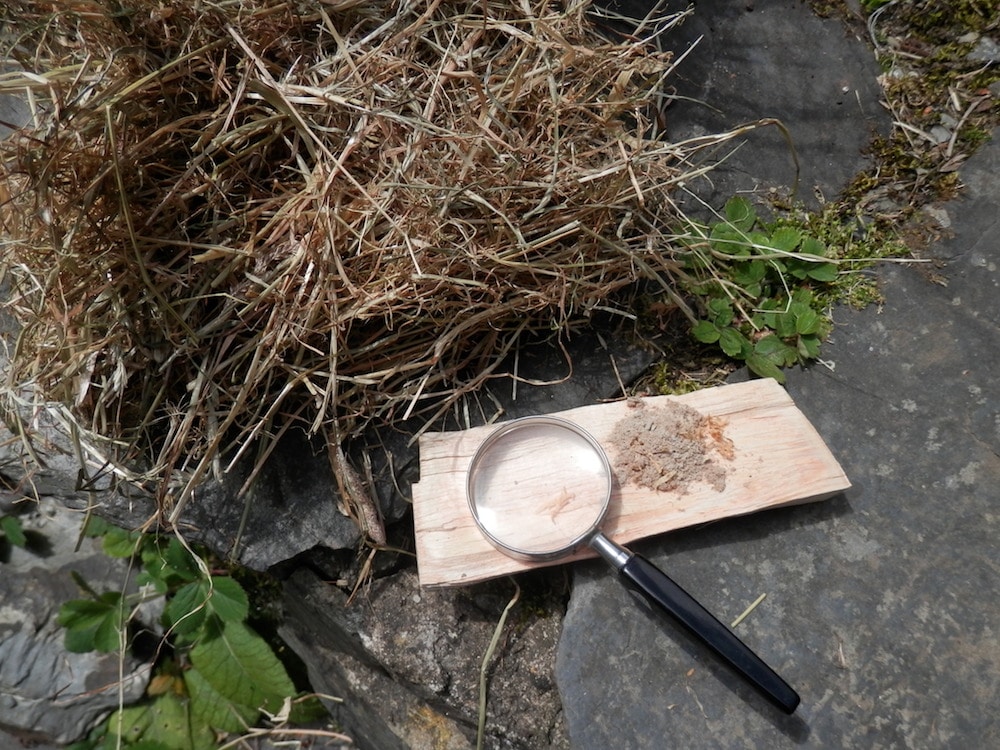
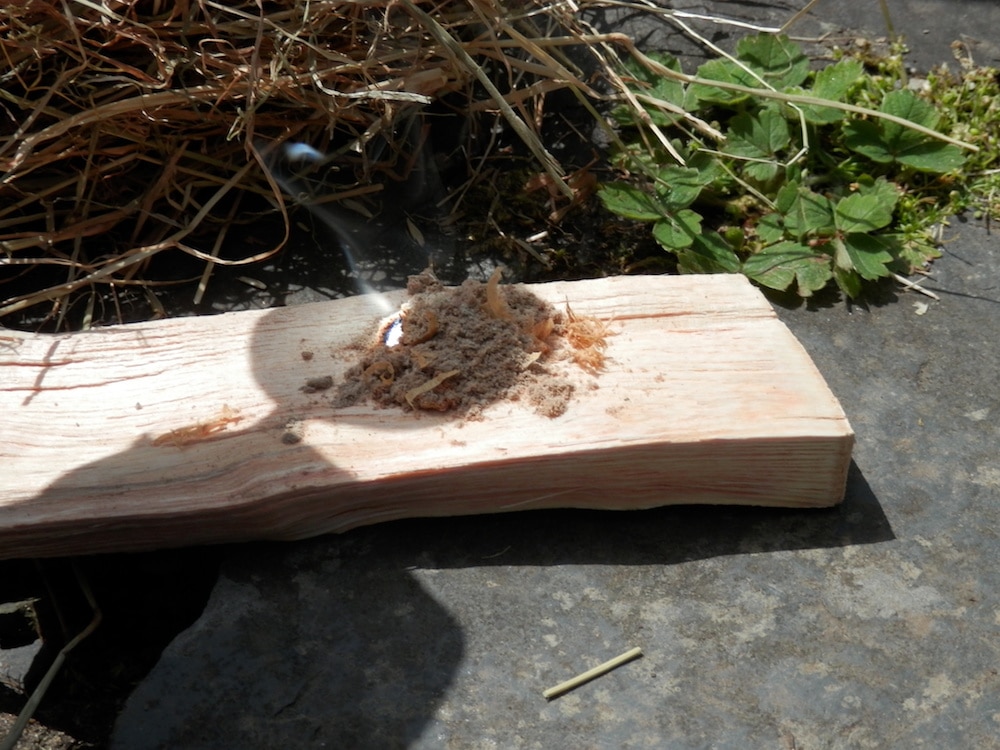
On a less bright day I have found that wood powder, finely scraped from the driest of dry kindling will char to an ember more easily than other tinder will go to flame, and such an ember, then placed in a tinder bundle, can be blown to flame in the usual manner.
The wider the diameter of your burning glass the more light it concentrates and so is quicker, but I have had great results from a 5cm diameter magnifying glass bought at high street stationers, while “Fresnel” flat lenses the size of credit cards also work well and store easily.
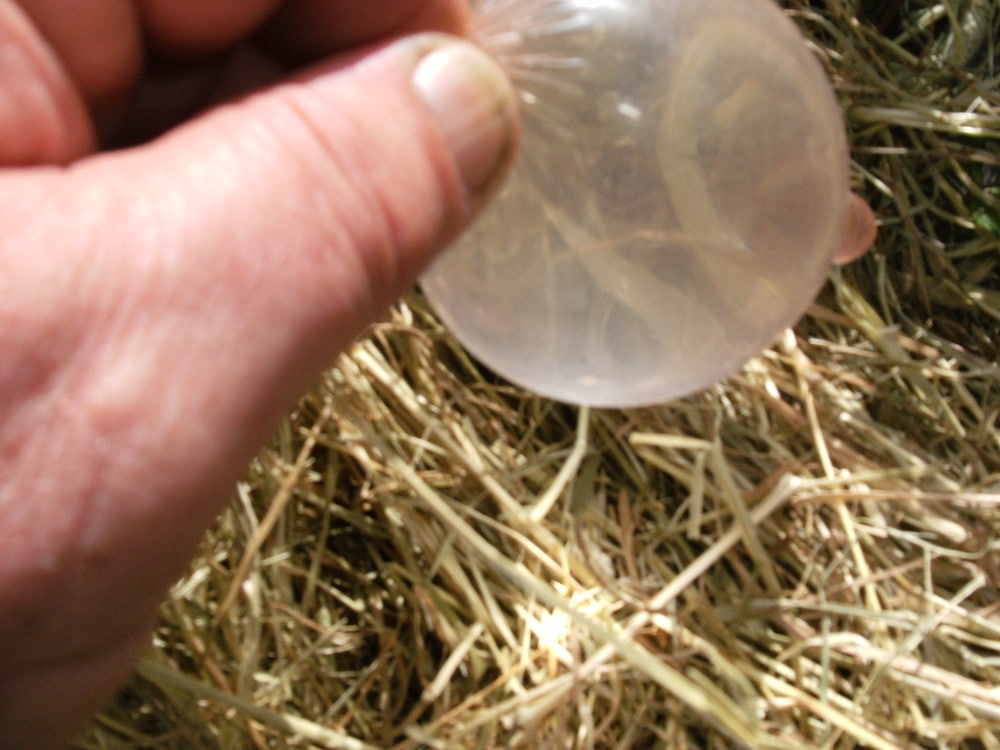
A condom filled with some plain water can make a decent lens but, in my experience, is less easy to focus finely thanks to the structure of the rubber.
Despite the warning from our parents, it is fun to play with fire – in a safe and controlled manner of course…
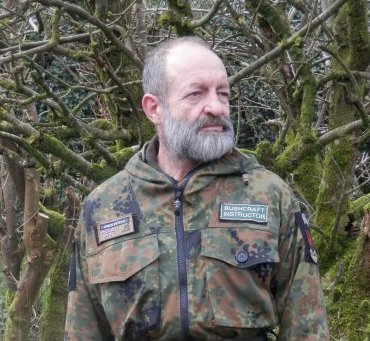
John Fenna
Over the past 40 years John has instructed Outdoor Pursuits and led expeditions tofu flung places. He’s a published author and a self confessed ‘Gear Freak’
He also likes to wear pink at the BushMoot.