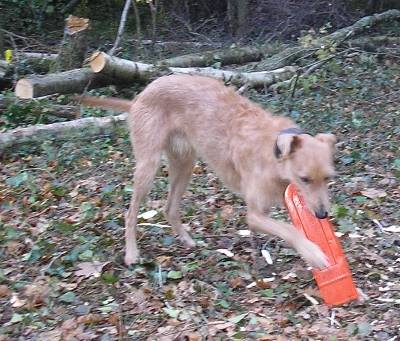
Getting the Wood I need

Dave Budd tells us about managing his woodland and harvesting the wood he needs to make tools and craft items.
Most of us think of processing wood in terms of cutting up a dead tree for firewood or felling a small live one to make camp furniture and carving projects. I do both of those too, but I also process them on a larger scale for use in and around my work.
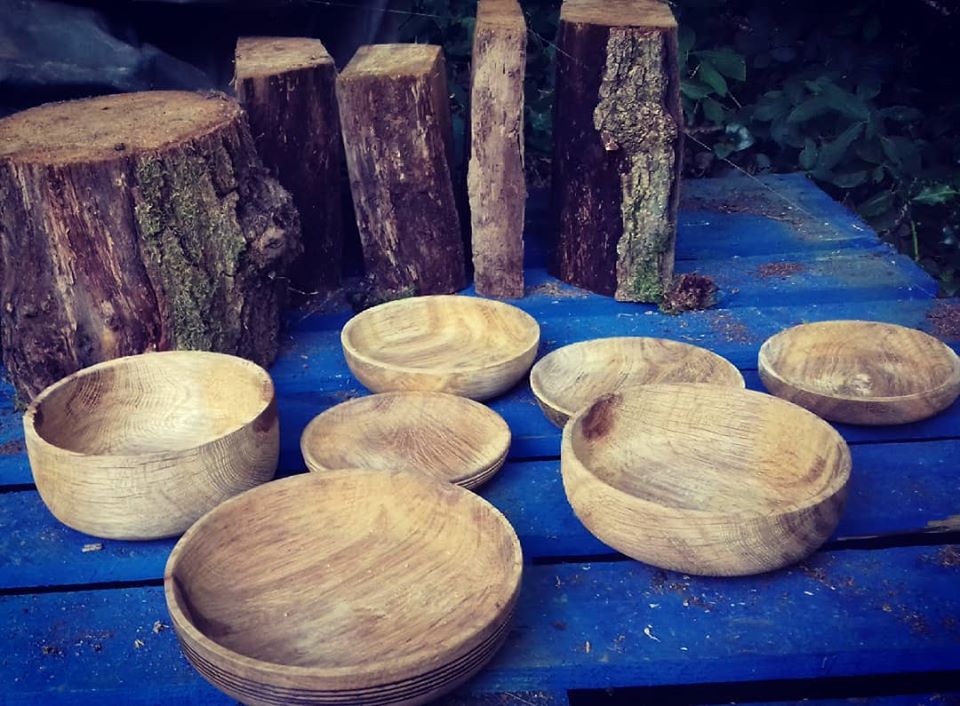
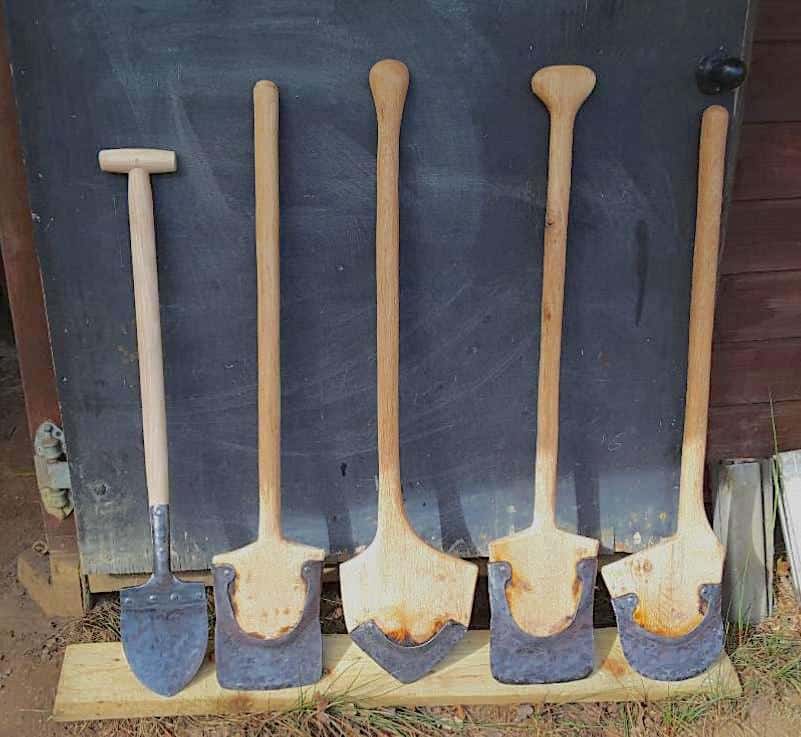
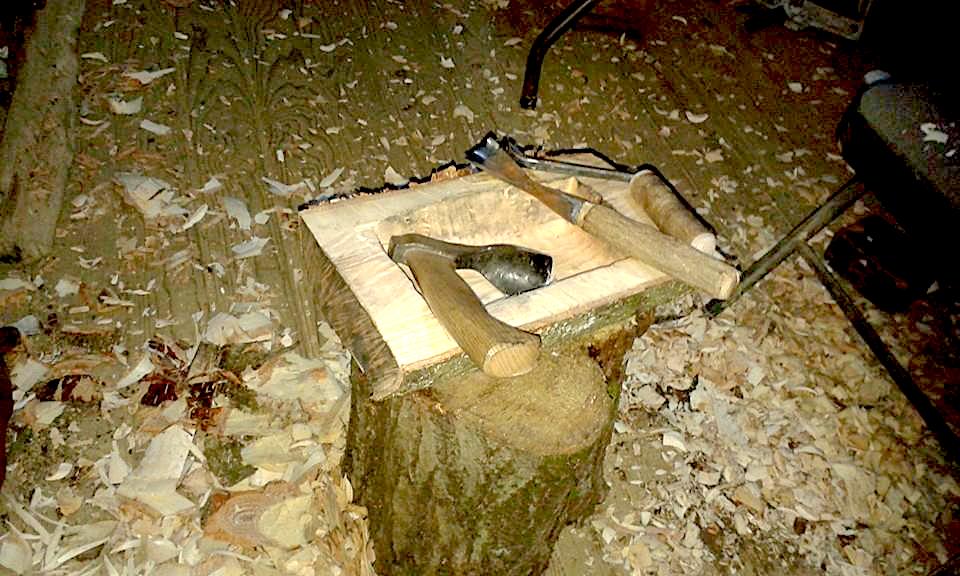
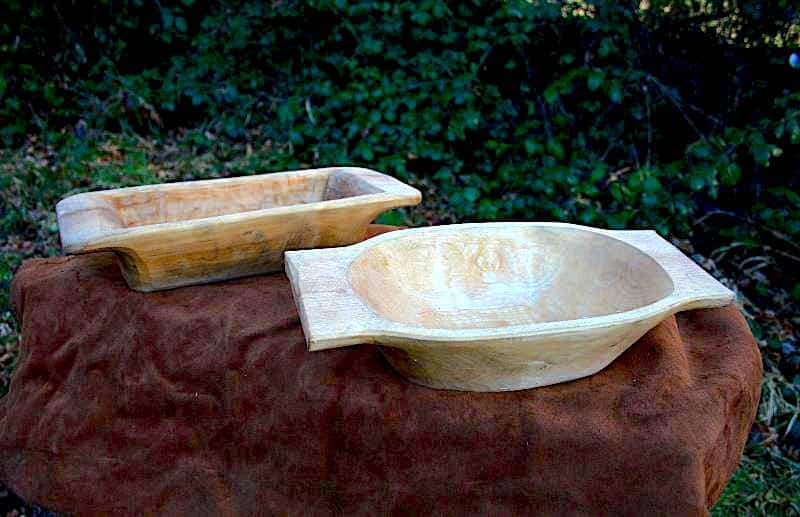
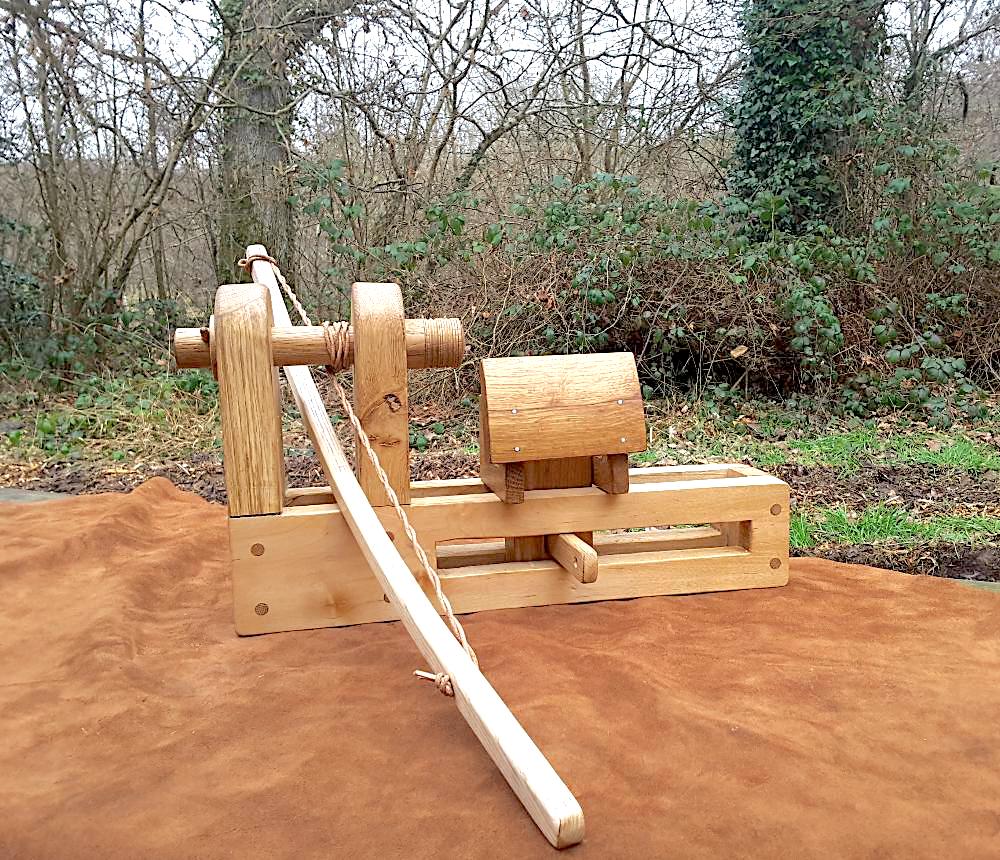
Here is a little taste of how I go about it as well as some gratuitous pictures of some toys that I have acquired along the way and some things the wood is used for.
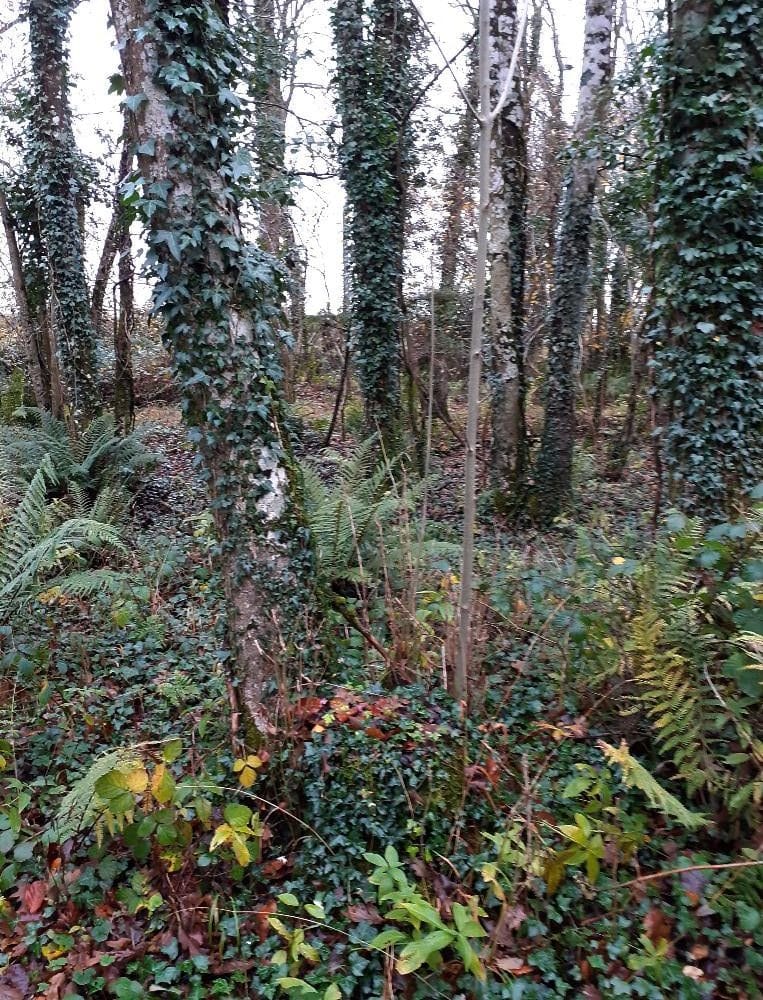
Choosing the tree
Choosing the tree is, of course, a matter of the right wood, right place. Sometimes I’m clearing an area and the trees harvested are a useful by-product of that clearing, other times I need to take a damaged tree down for safety.
It could be that taking a particular tree down aids other trees nearby (leaving space to grow) or I might be harvesting a particular tree because it is the right species, size or shape for a project.
Basically, my choice is the same as most bushcafters when needing some wood, but I’ve always got my all-important woodland manager hat on too.
Winter Cutting
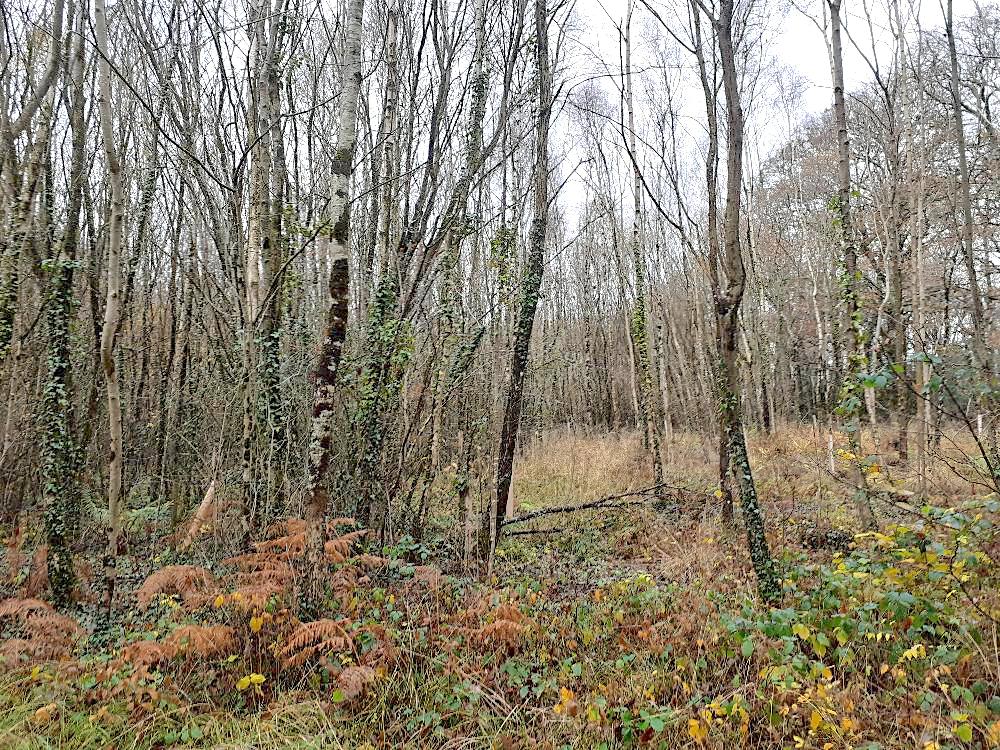
Virtually all of my cutting is done in the winter when the sap is down, leaves are off and there are no nesting birds to worry about. In addition to clearing an area for camping, a workshop or re-opening paths, I try to cut an area of over-stood coppice each year as part of the management of the woods.
Even though my woods have been a working plantation for nearly 300 years, the last 50 or so has seen very little in the way of active management and there is very little ‘good’ material there. So while there is a lot of hazel coppice, I have to select a few poles from each stool rather than cut a whole stool of good material.
Luckily I don’t need to earn a living from the woods, so I can afford to hit the rubbish with a heavy hand just to help it along for future owners.
When I took on the woods about 13 years ago, there were no clear paths around it and about a third of it never thinned out or tended. I had a lot of brash and bonfires in the early days! One of the first tools I bought was obviously a chainsaw (my dad gave me his old one and although I had used it as a kid for cutting firewood, it scared my adult eyes with NO safety features!). I went for a Husqvarna 340e, a mid-range saw with an 18” bar; basically one saw that I could cut reasonably large trees and small stuff alike, so I would never need another.
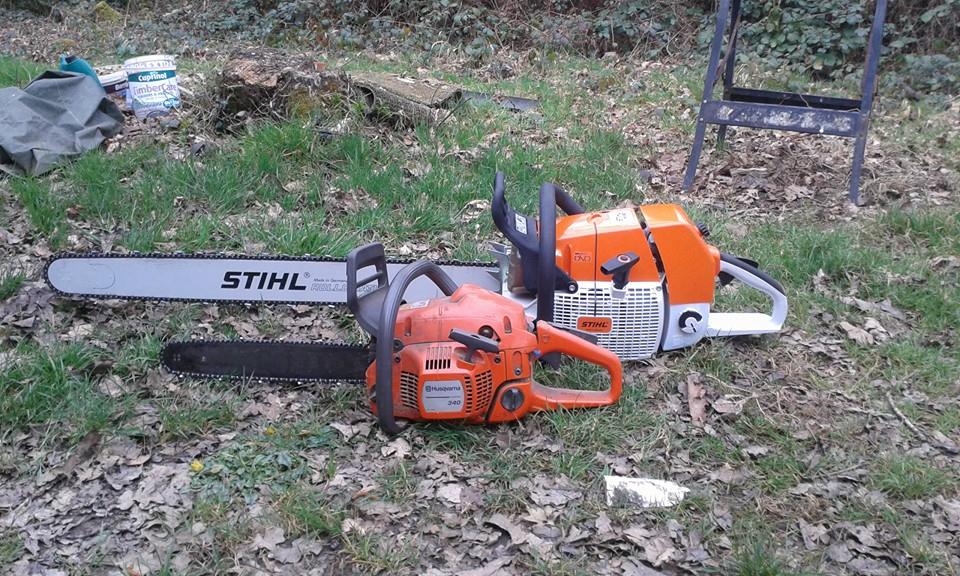
I have a weakness and now have 6 saws!
Crop trees
Normally when an area of woodland like this is planted, there are crop trees (such as oak and hazel) and nursery trees (such as birch). The idea is that rather than using lots of guards and fences to protect the crop, deer will predate on the sweet fast growing birch and when the crop has grown tall enough the rest is cut. As the crop trees grow, they are thinned to allow the better individuals to grow larger.
Unfortunately, the chap who owned my place about 40 years ago planted several acres of random species with guards on maybe 5% and never did any thinning!
When I come to thin out a ‘coup’ (like a vegetable bed, but more woody. As the planting was done so recently, the coups are easily spotted) in this area I hit it hard and just go straight in with a saw, cutting close to the ground so that I don’t leave a minefield of trip hazards.

I remove all of the birch (unless it’s a particularly nice example), dead trees and anything that isn’t a ‘good’ tree. By ‘good’ I mean a mature tree that had been planted around, or a decent crop species that is a good specimen: something like beech, ash, oak, cherry, etc and not leaning over or deformed/damaged in some way. The trees left in these areas of new planting are rarely more than 6” in diameter, but are very tall and straight thanks to the crowded start that they have had.
When an over stood area is hit hard like this, the remaining trees have a tendency to fall over because they haven’t built up resistance to the wind and are weak. I don’t worry about that, there are too many trees in that area anyway, so I just go back the following year and take out any that have fallen! I try to adopt a checkerboard approach to my thinning cycles, so the remaining trees have some protection from the wind.
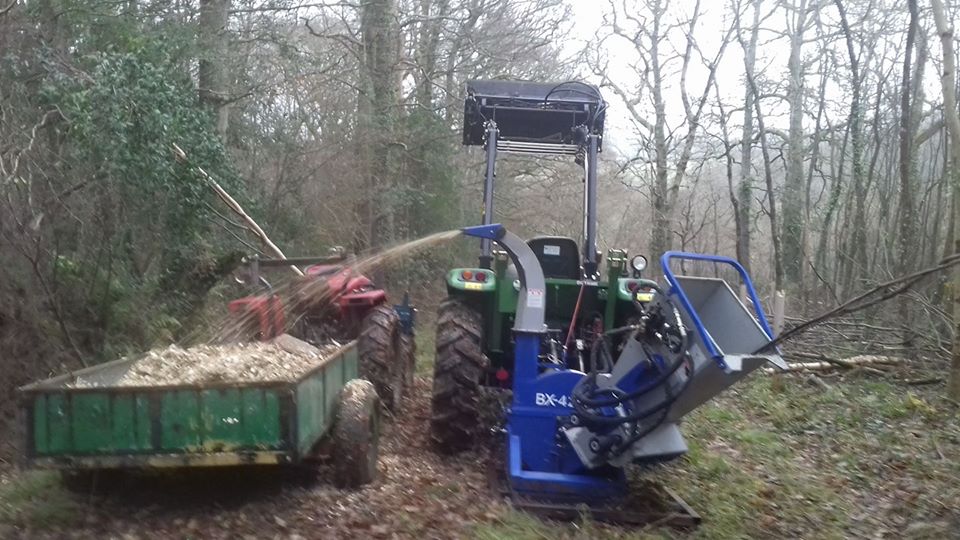
I use as much of the cut material as I can. Any straight(ish) hazel gets used for tool handles and anything over a couple of inches in diameter now gets turned into charcoal for use in my forges.
The trimmings/brash is fed into a chipper and spread on the boggy bits of path or sprayed over the freshly cleared area to mulch down. Older areas of coppice tend to have less rubbish surrounding them as they are amongst high forest of oak. In those areas the coups of hazel are hard to pick out, so I just cut an arbitrary area of hazel stools and any damaged/dead trees.
At present most of the hazel that I’m getting is poor quality, but some of the stools that I cut when I first took over here are noticeably better for it. Thinning and coppicing is full days of swinging a saw around, so I use a lightweight saw (Stihl MS190) rather than my trusty Husky as well as a billhook.
Ground clearing is done with a brushcutter: a petrol strimmer with a blade instead of a cord; this deals with anything less than an inch across without bending down.
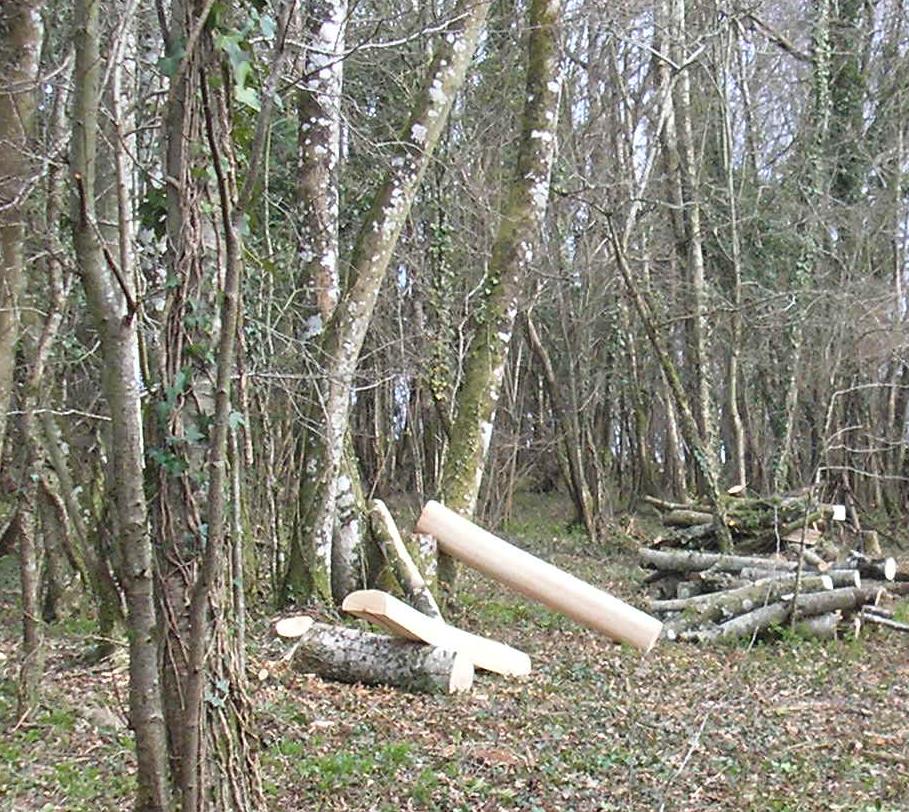
Felling a bigger tree
Occasionally I also have need to cut a proper tree down to provide the material for my wooden tools, handles, benches and any other wooden items that I might want to make. I try to select a tree that will benefit those around it or make room for something (such as a building or reinstating a ditch) as well as bearing suitable timber.
Mostly that means the trees I choose are near paths, which helps with the felling as there is a space to drop the tree into!
When I need to take a tree down in the older end of the woods (where I teach groups), it is much more difficult and the chances of getting it hung up in other trees are far greater.

I cut any coppiced stools of hazel/willow/ash that are in the path of the falling tree first so that I don’t waste that material or make the sectioning of the felled tree more hazardous than it already is.
For the same reason, I clear the area of brambles and ivy with a brushcutter. Felling a large tree involves a chainsaw, sometimes a lever or wedges, a bit of skill and a bit more luck to get it down safely and exactly where intended.
It is very satisfying when a big tree creaks and falls exactly where it is meant to with a thud! When it doesn’t go according to plan, then it can be quite stressful!
Snedding
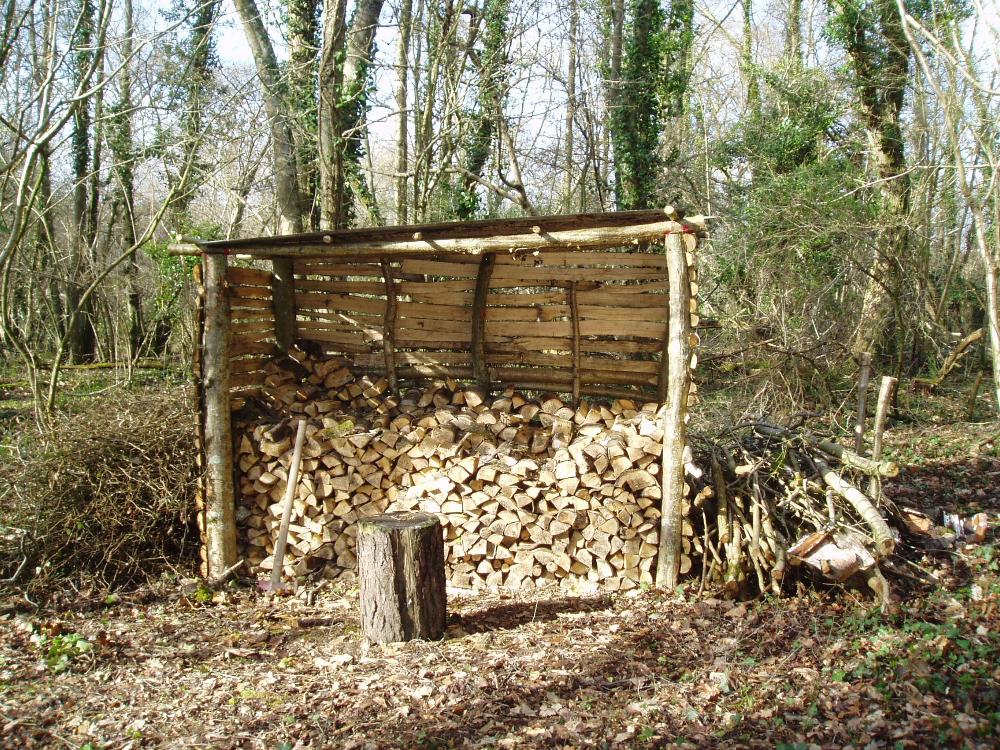
Once on the ground I go along and remove the branches (known as snedding). Mostly I do this with a chainsaw, but I always have a billhook with me for the smaller stuff as well. The small branches are put onto a brash pile and the rest is cut into lengths and piled up ready for charcoal or fire wood in the following years. Most of the brash is again chipped, but I also leave some piles (long piles being ‘drifts’) to form a habitat for birds and small beasts.
I often take dried wood from these piles in subsequent years to feed into my Kelly kettle or for lighting the kiln and any other fires (they are a good source of dry kindling even after rain).
Next, I clear the trunks of any ivy and cut it into lengths ready for milling into planks.
Planking
I have two saw mills, both use a large chainsaw (Stihl MS880). The first mill that I bought is basically a frame that bolts onto the chainsaw bar and is slid along the tree, cutting slabs as it goes. This ‘Alaskan Mill’ and a set of guide rails (or a ladder) are taken to the tree where it has fallen. It is a relatively cheap way to get into milling and will fit any sized saw (but the bigger the engine, the better).

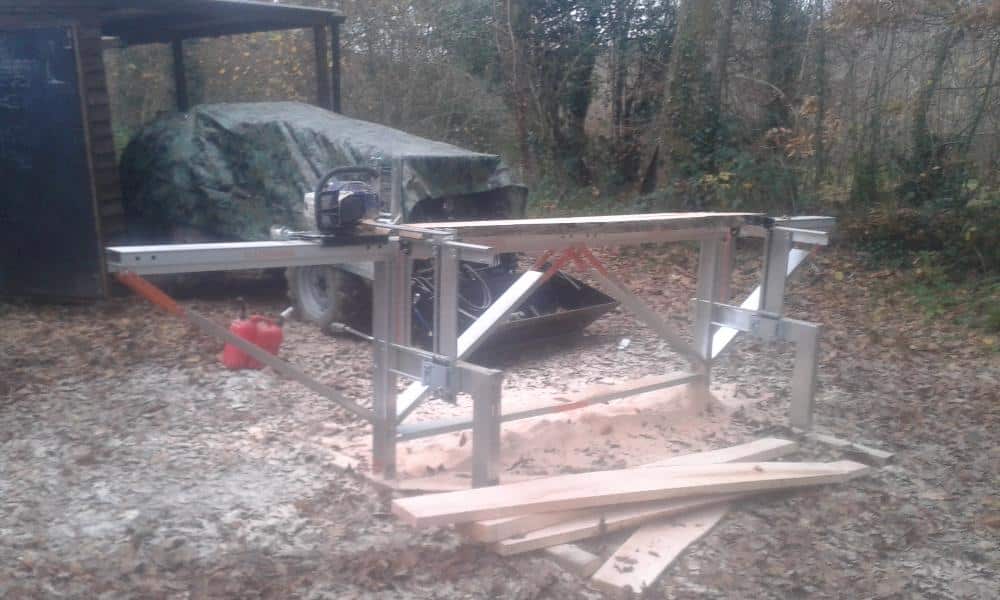
It allows me to mill trees that are otherwise too heavy to move to my other mill. The downside is that you are crawling along the ground, leaning over the saw with you head in the exhaust. My other mill is a framework with trestles that raise the log to the correct height and the saw is slid along a rail at the top.
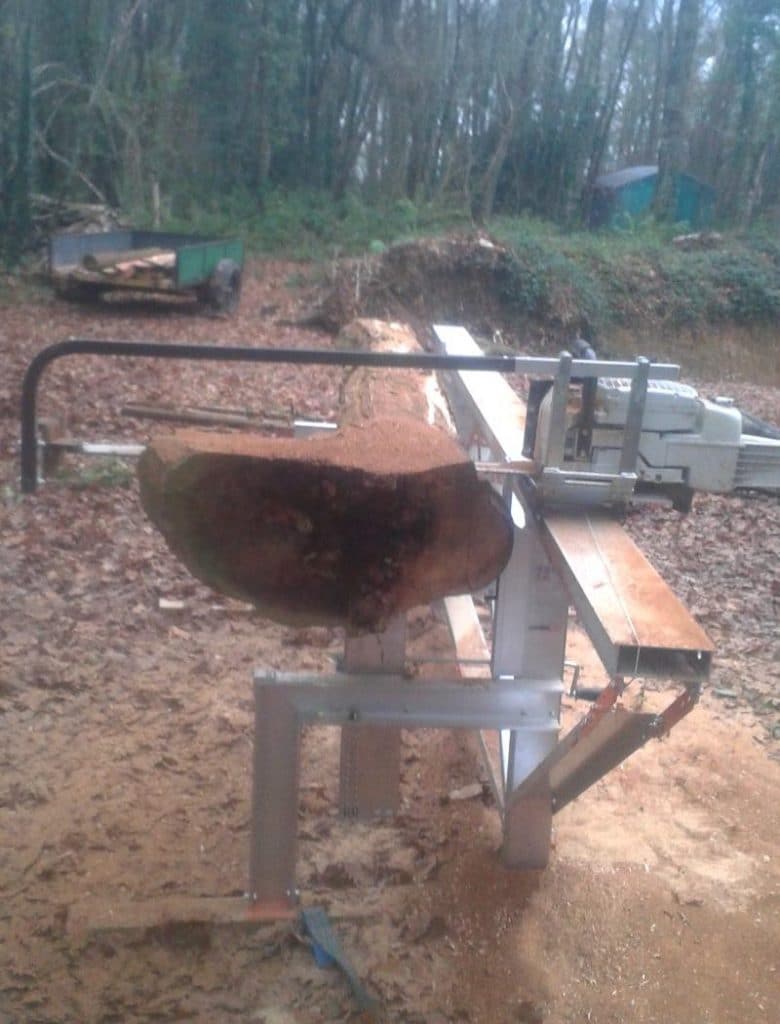
This Logosol mill is much more comfortable to use and can be used for resawing planks into dimensional lumber too (though I prefer to use a circular table saw for that as it is less wasteful). Either mill is pretty wasteful of timber, losing the kerf of the chain with every cut (about 8-10mm!). I use the waste wood trimmings for firewood and the sawdust is put on paths.
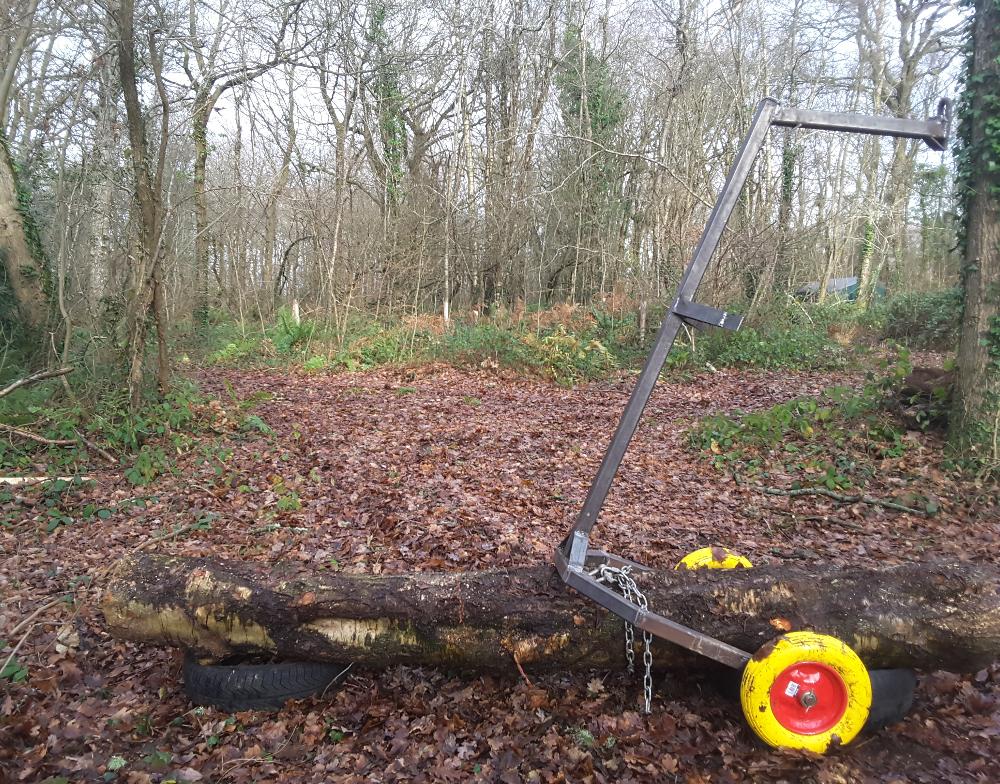
Moving the logs
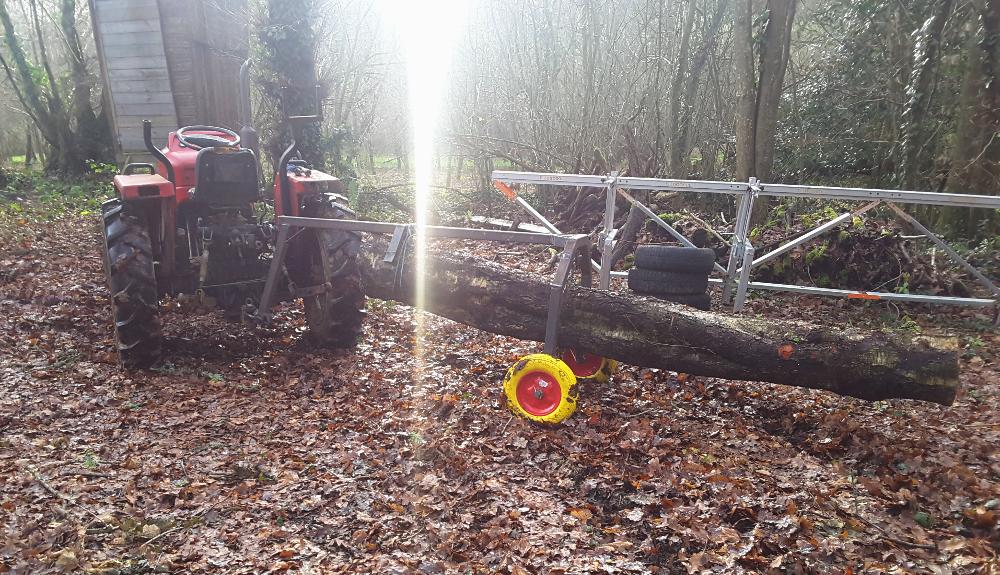
In order to get the logs to the mill I used to drag them, which makes a mess of the ground and puts chain-blunting mud onto the timber. Last year I built a logging arch to move them around more easily. The arch is placed over the log with the hitch end upwards and fixed in place using a strop or chain. The hitch end is then pulled down and hooked up to the tractor, using it as a lever to lift the log in the air. If the log is under 500kg, I use a fork lift on my tractor to lift it onto the Logsol mill.
Storing & Drying planks
Once milled, the planks are all loaded onto a trailer and taken to the drying shed. The drying shed is a pop-up garage from Machine Mart with the ends replaced by builders netting to allow air to pass through it. The shed in the shade and where there is a steady breeze to aid the drying: direct sunlight dries too fast and leads to excessive splitting, still air will dry too slowly and lead to mould and rot.
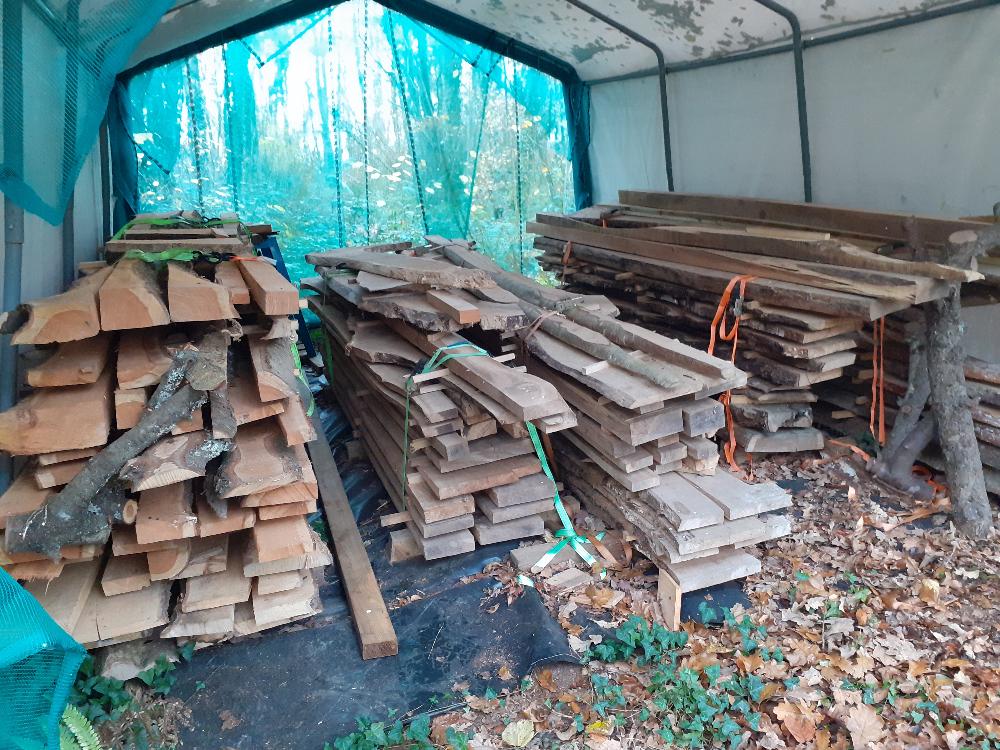
I place the planks on 3” high bearers and then batons or ‘stickers’ (cut from waste or softwood scraps) are set at intervals along the plank to ensure airflow. The stacks are strapped together with ratchets, making it much more stable and helping to keep the boards flat. How long the wood is left to season depends on a number of factors including species, thickness of plank, moisture content to begin with, desired moisture content at the end and of course weather conditions. The rule of thumb is 1 year per inch of thickness, but it is a very rough rule!
I like to leave the wood in there for at least a couple or three years before moving into my workshop where it can dry a bit more over the next year. Finally, it is cut into smaller pieces and stored in my dry workshop ready for use. Depending on what I am making, I may take the wood directly from the drying shed and not worry about having a slightly higher moisture content.

Supplying wood
I never intend to supply timber or woodland products commercially, but I am starting to build up quite a stock now. So if any of you are after something, feel free to ask, I may be persuaded to sell some of it! It’s handy to have a range of wood types at hand and knowing that the ‘food miles’ on it is measured in meters is great.
As far as possible I only use wood that I have harvested myself and if I have to buy it in (ie I don’t have that species) then it comes from a miller about 5 miles down the road.