Drainpipe sheaths

I normally use a billhook for my woodland work, but without a sheath to put it into, the hook tends to get put down and lost (last winter, I rediscovered one that I lost maybe five years before). Leather sheaths are lovely and are what I prefer for my knives, but a billhook is a large, awkwardly shaped blade which then needs a large, awkward sheath; also, a billhook is often needed when only one hand is available to extract and replace it.
Many traditional hedge layers and other billhook users might use a hook to hang the blade from their belt (leaving an exposed cutting edge dangling around!) or a flat pouch made from leather or wood, which looks like a flappy pocket). The pouch idea appealed more but being lazy, I didn’t want to spend long making it and caring for it (chances are it will be wet and muddy during use and then left in a damp workshop for months at a time).
Plastic pipe
Plastic is the obvious choice of material, and while I do have Kydex and the tools to work with it, that seemed a lot of effort. Fortunately, whilst mulling this over with a cup of tea, I spotted a bit of plastic drainpipe that I had used as an impromptu wood steamer a few years ago.
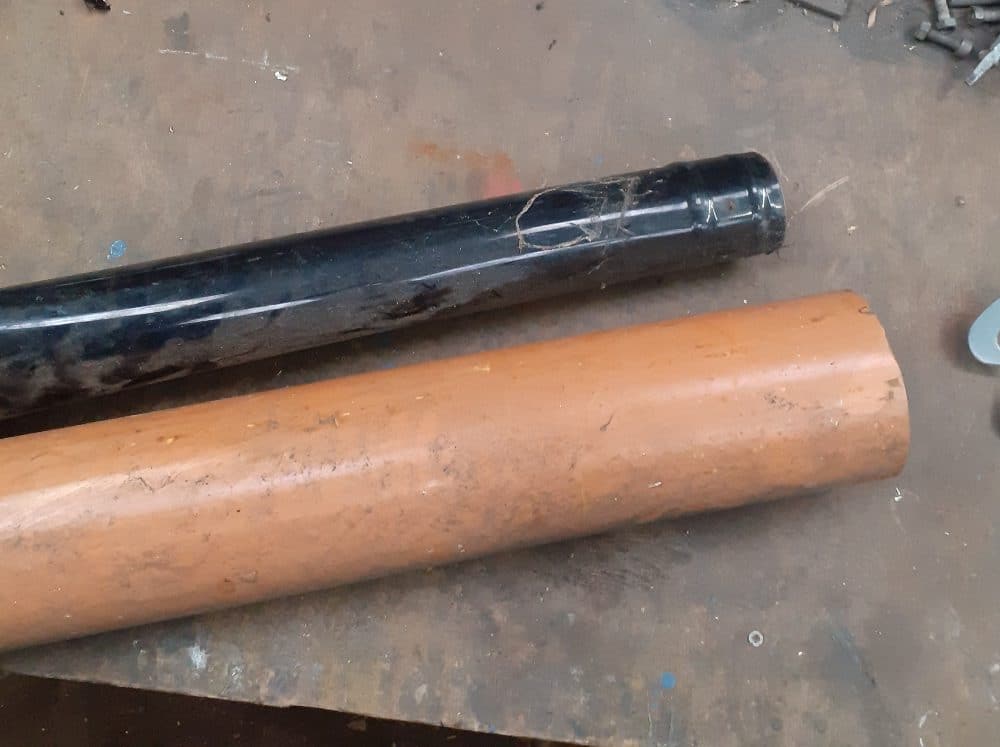
The pipe had softened with the heat of the steam and sagged into a sad-looking piece of abstract art. The sheathes made here use waste material (which could be sourced for free from a skip) and require minimal equipment. Plus, if the moulding is off, they can be reheated and reworked.
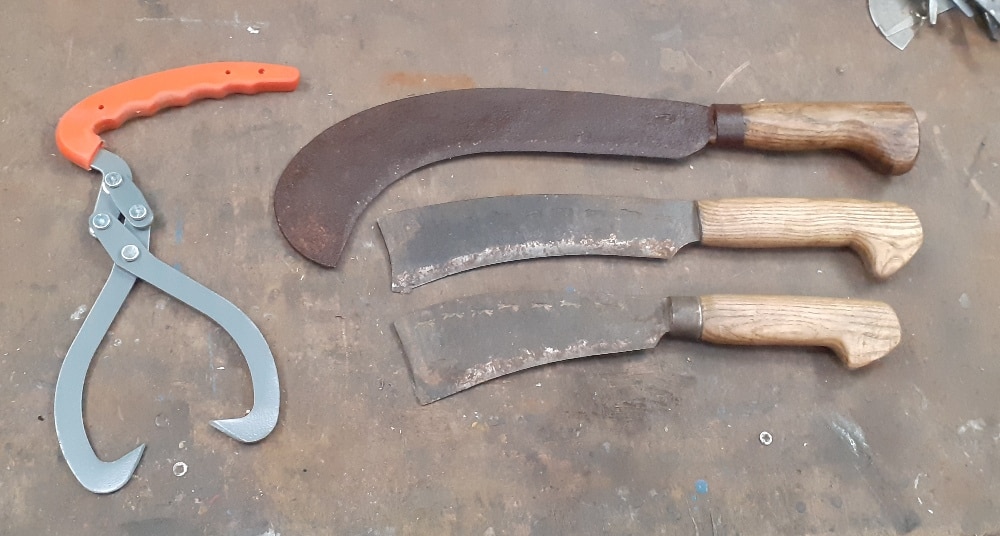
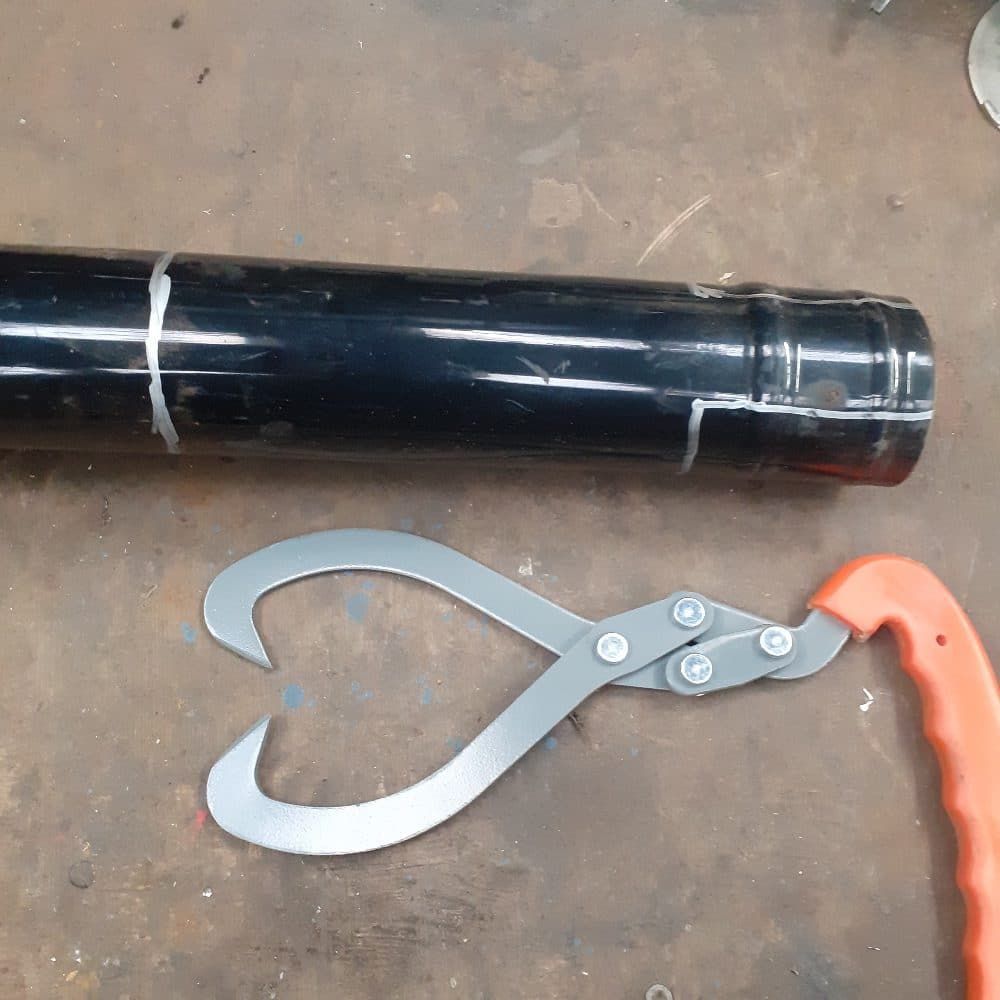
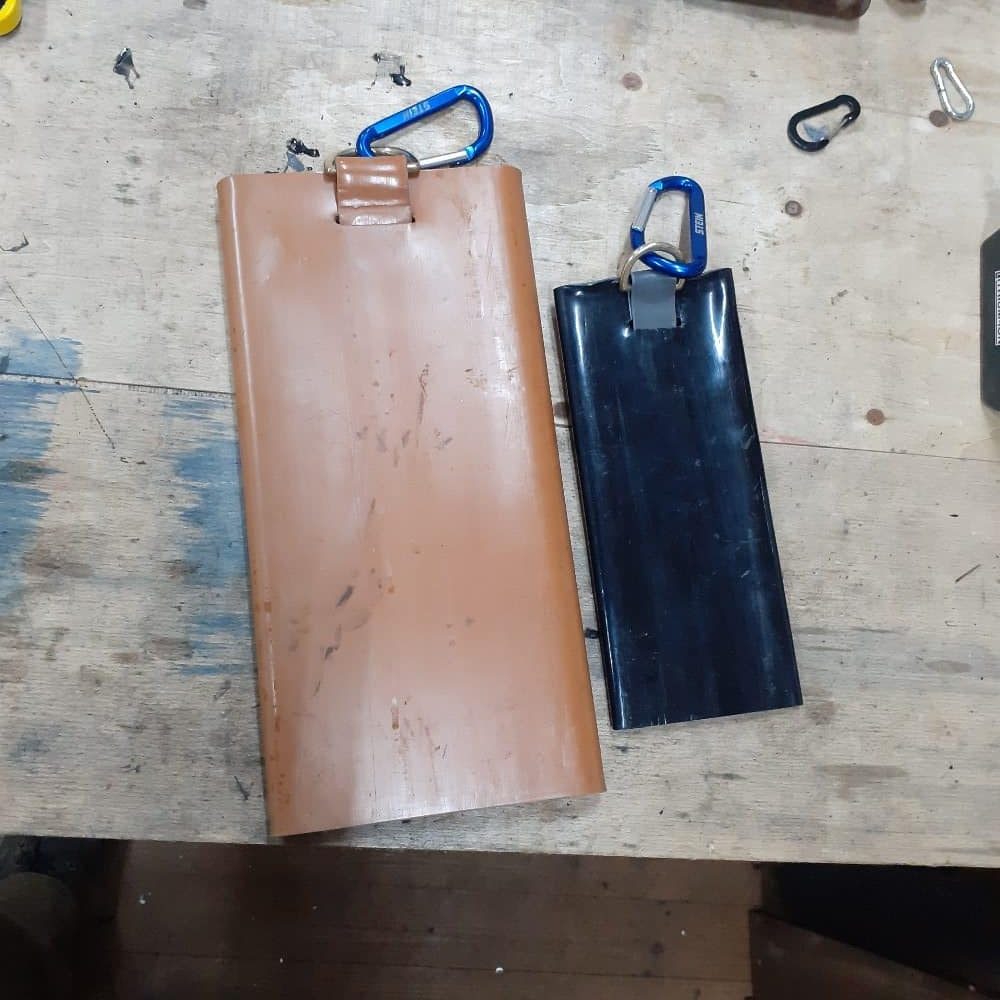
Initially, I was going to rivet the belt loop down or fit one separately, but both options seemed inelegant and would require more parts/tools. To start with I wanted a clip-on pouch to hold a pair of timber tongs and a free-hanging sheath for my bill that could clip to a carabiner on my belt. The black plastic pipe looked about right for both, but as it turned out, it was too narrow for the tongs once flattened. Fortunately, I had some brown soil pipe lying around too, which was just as well because I then decided to make a sheath for the rediscovered billhook.
Marking cuts
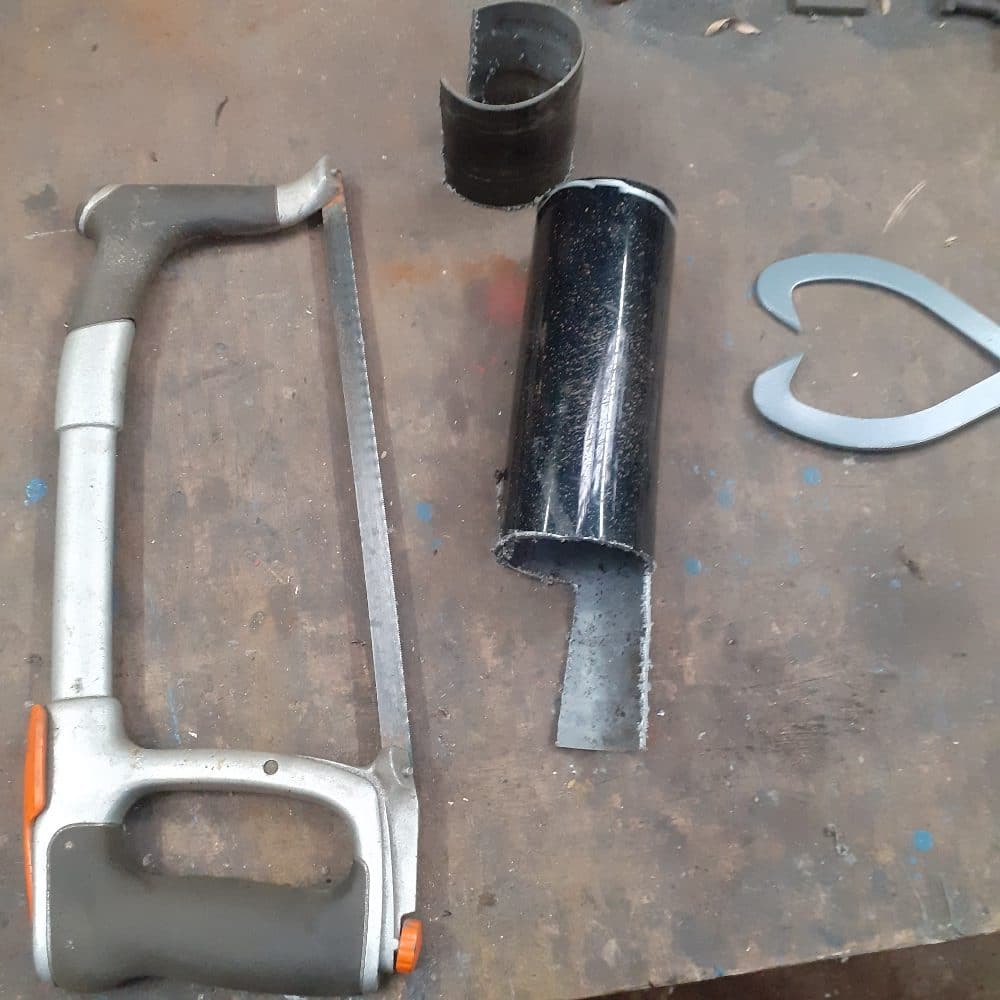
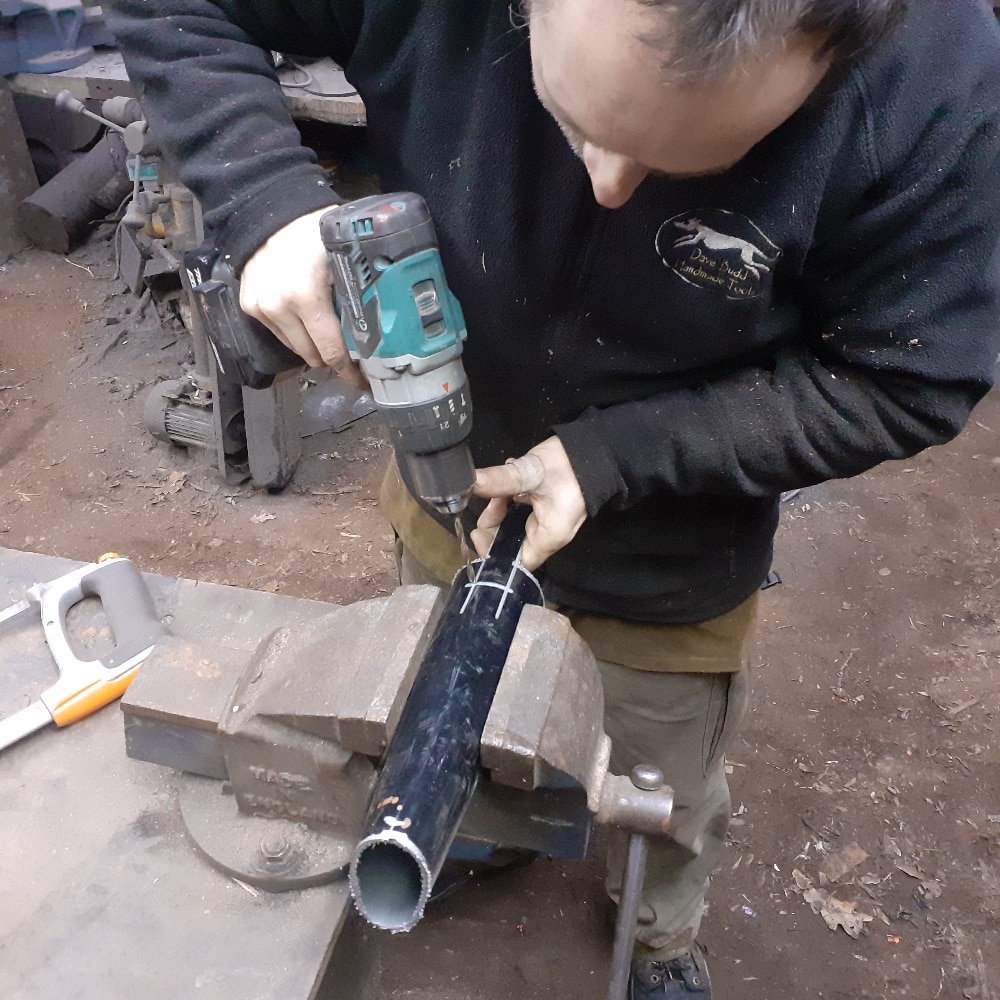
I started by drawing the length required to cover the blade/tongs and adding the belt loop, much like when making a sheath out of leather. The pipe was cut using a hacksaw and then tidied up using a file.
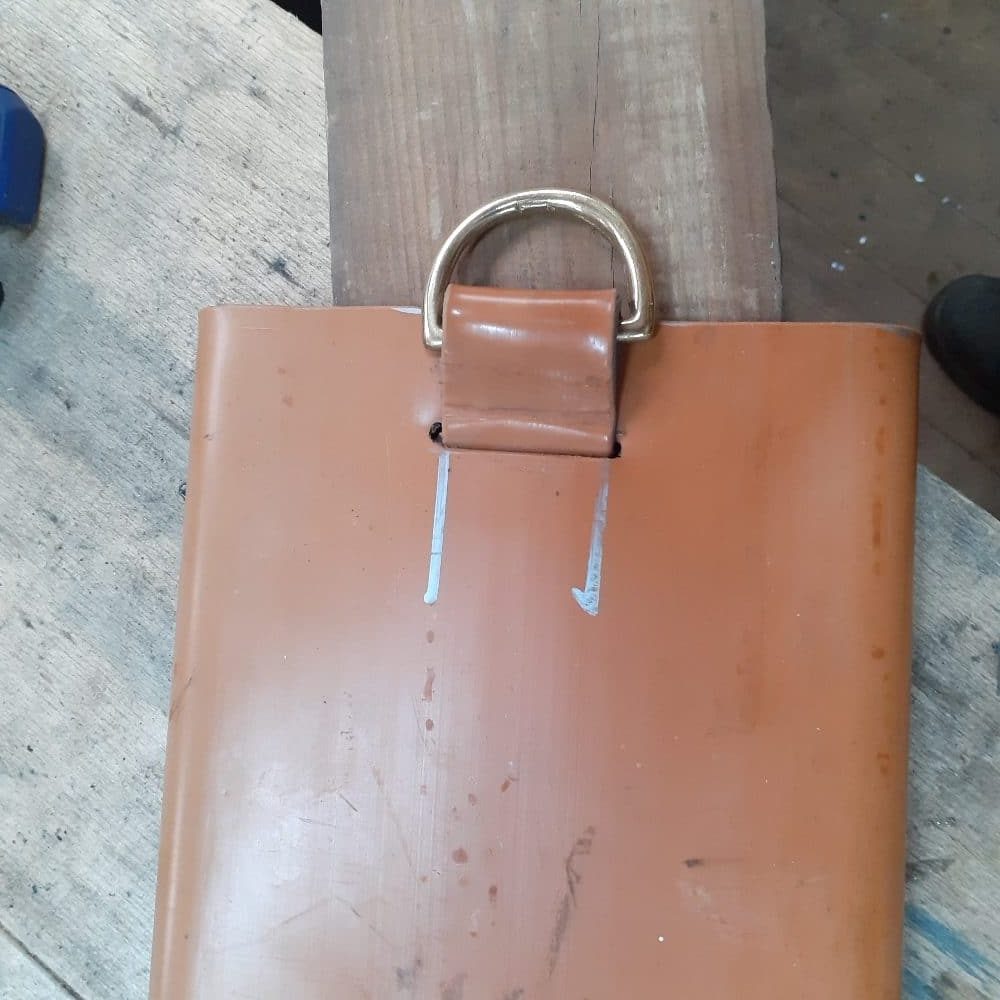
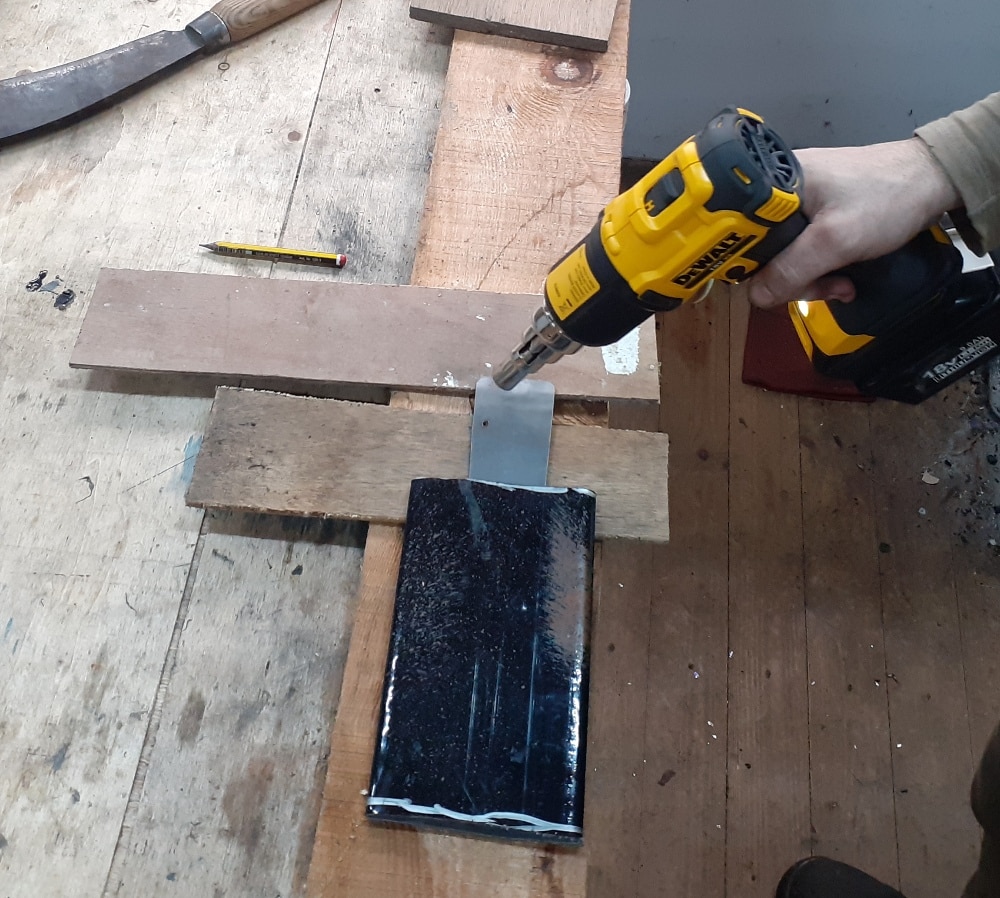
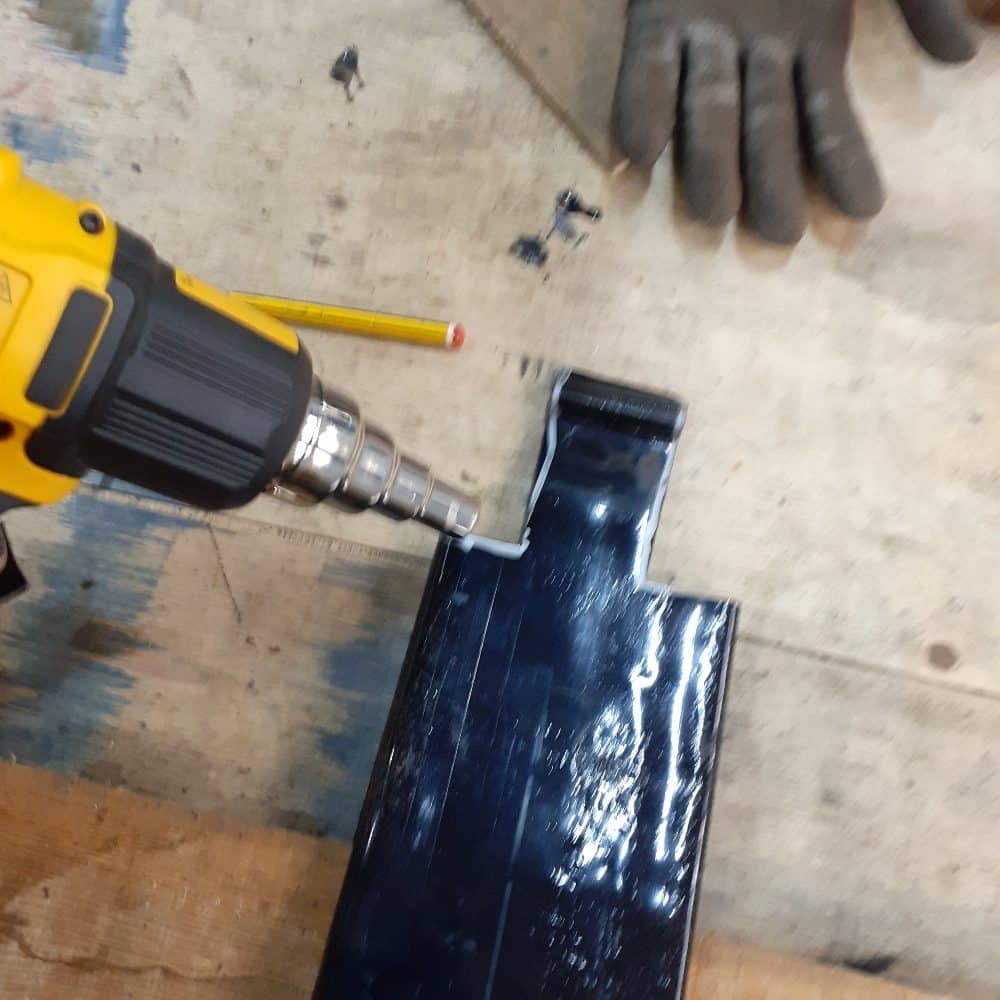
In the case of the dangling sheath, I cut the strap to fit a D-ring and then cut a slot (drill and hacksaw) for the strap to be fed through later. The plastic being too rigid to pull back out once cooled, and the tongue inside acts as a spring to hold the blade in position. Due to its shape, the blade just caught on the tongue instead, but the idea was sound and would certainly work as intended on a straight knife blade.
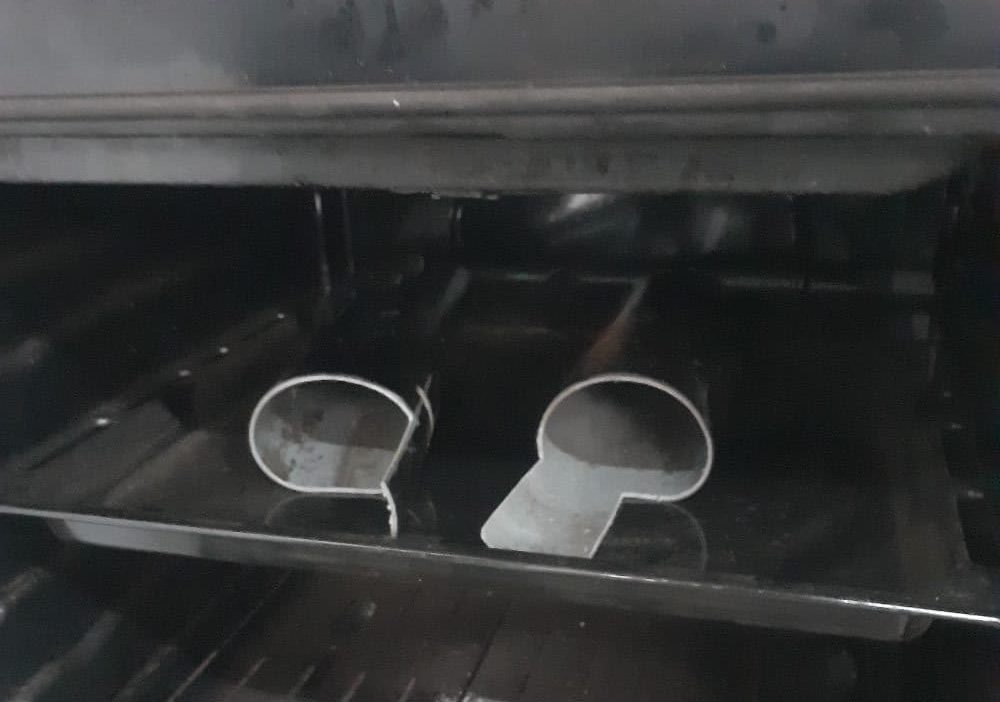
Oven
The pipes were put into the oven on the lowest setting (it’s gas, maybe 120C?) until floppy. The bubbling that you can see on the large soil pipe sheath was because I left it in there for too long, and it got too hot, d’oh!
Formers
Meanwhile, I set up the carefully prepared formers: scraps of wood/ply and quick clamps. The plywood was a bit narrower than the flattened width of the tubes and a little thicker than the thickness of the blade/tongs. The extra thickness allows the tools to be loose but can be tightened later if needed.
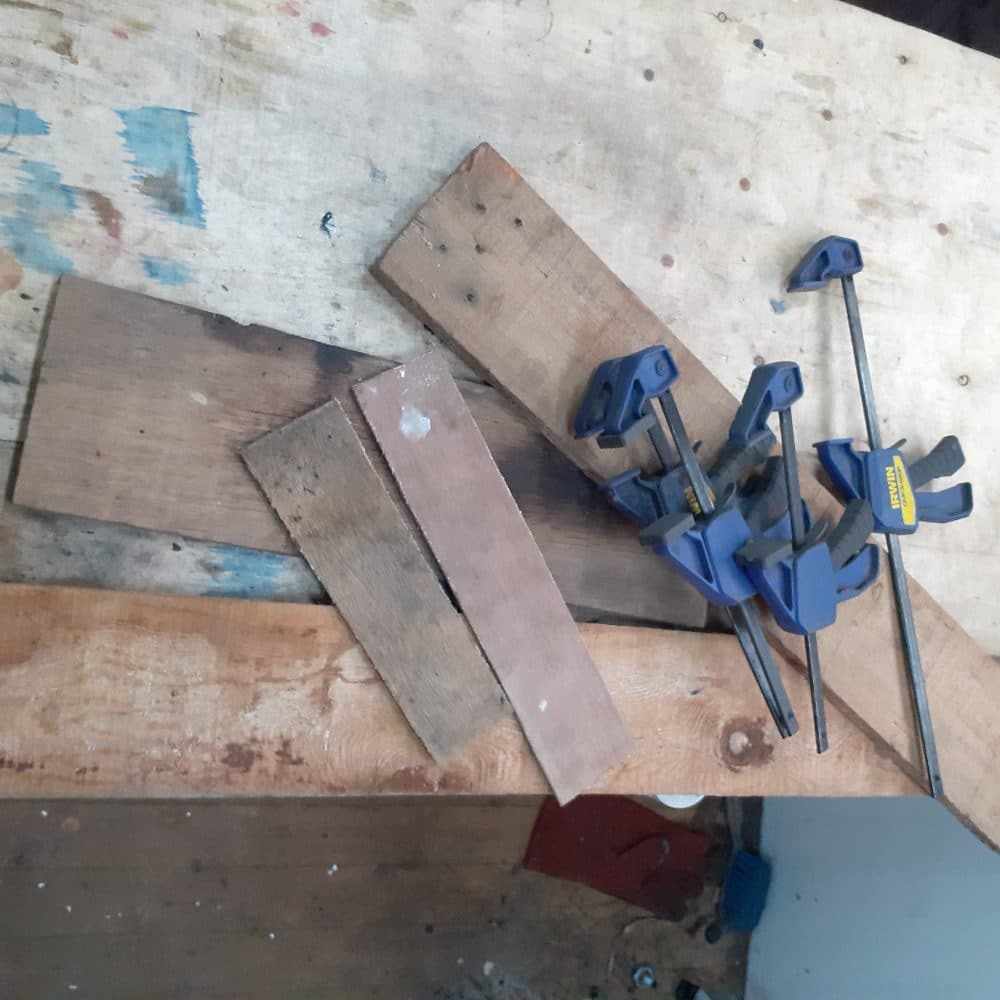
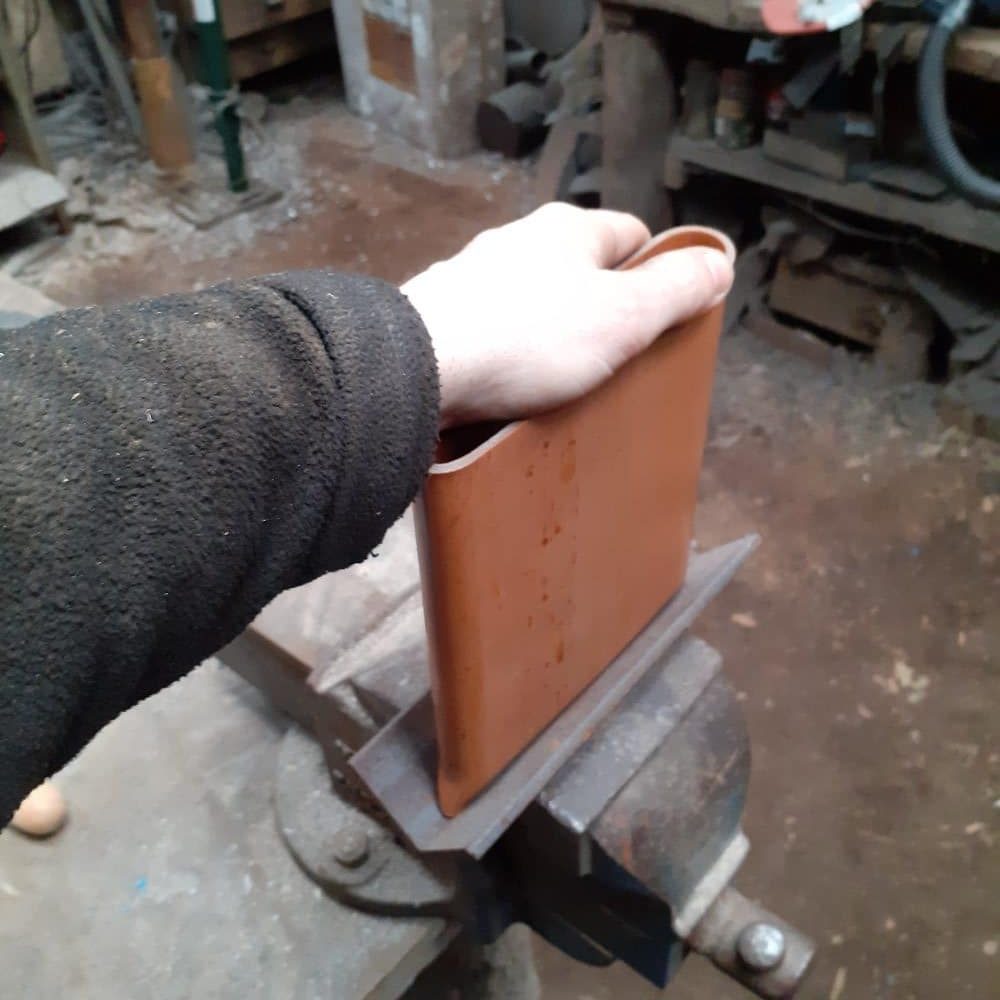
The warm tubes were taken out (one at a time), and plywood was slipped inside and clamped between two flat boards until cool. The back pipe had a good few minutes before it was too cool to mould, so no need to rush. The soil pipe, being thicker, took longer to warm up, slightly longer working time, and of course, longer to cool, but the cooling still only took 5 minutes or so.
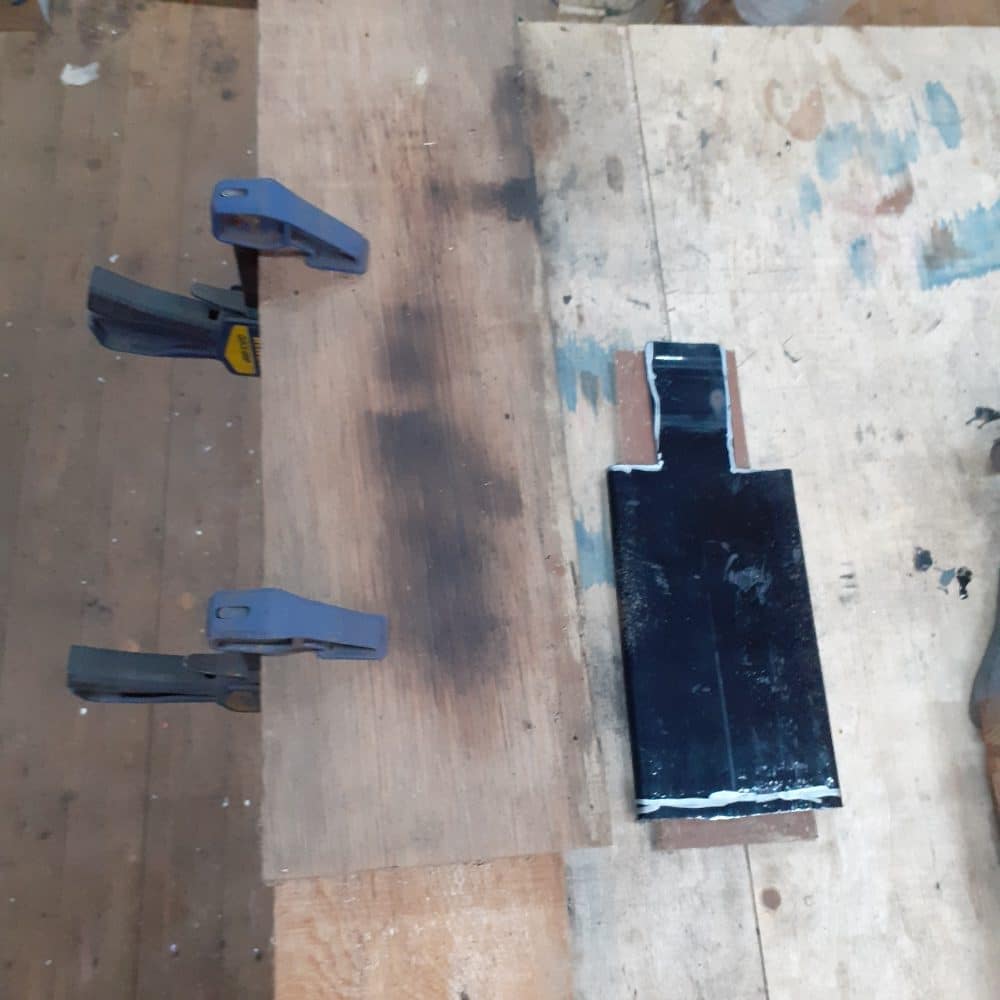
Having discovered the black pipe was too narrow for my tongs I re-moulded that sheath to the thinner ply and used it for another bill instead. I discovered that the extra width of the soil pipe gave enough space for two pairs of tongs to be carried (so I can drag two poles/logs at once!).
Belt Loop
On to the belt loops, the D ring was slipped in place, and the strap was warmed using a heat gun. Once pliable, the strap was fed into the slot and held in place until cool (wearing gloves with the black pipe, but the thicker soil pipe required a clamp). After discovering the trouble with the tongue catching on the hook, I slipped the plywood former into the sheath to hold it flush as it cooled (this would’ve been much easier to do when setting the strap initially than it was to do it afterwards!).
The clip-on belt loop required a little more manipulation. The first part to mould is the ridge of the clip, the shape and depth of this area largely determines how well it will hold onto the underside of your belt when you lift the tool out of the pouch; take a look at the pocket clips on any tool/cases you already have to see which grip best.
I made a simple jig by clamping two bits of wood to the bench, leaving a gap that was a pencil width plus about twice the thickness of the material. The area of the strap to be formed was heated up and laid across the gap, a pencil placed over the groove, and a board was pressed down on top. This whole thing would’ve been easier with a third pair of hands, but it was very simple and can be repeated if necessary (for example, if you create the groove on the wrong side of the strap!).

Once cooled, the area where the loop folds over was carefully heated (I held my gloved hand over the freshly formed groove to prevent softening), folded over and held tightly in place to generate a spring once cooled.

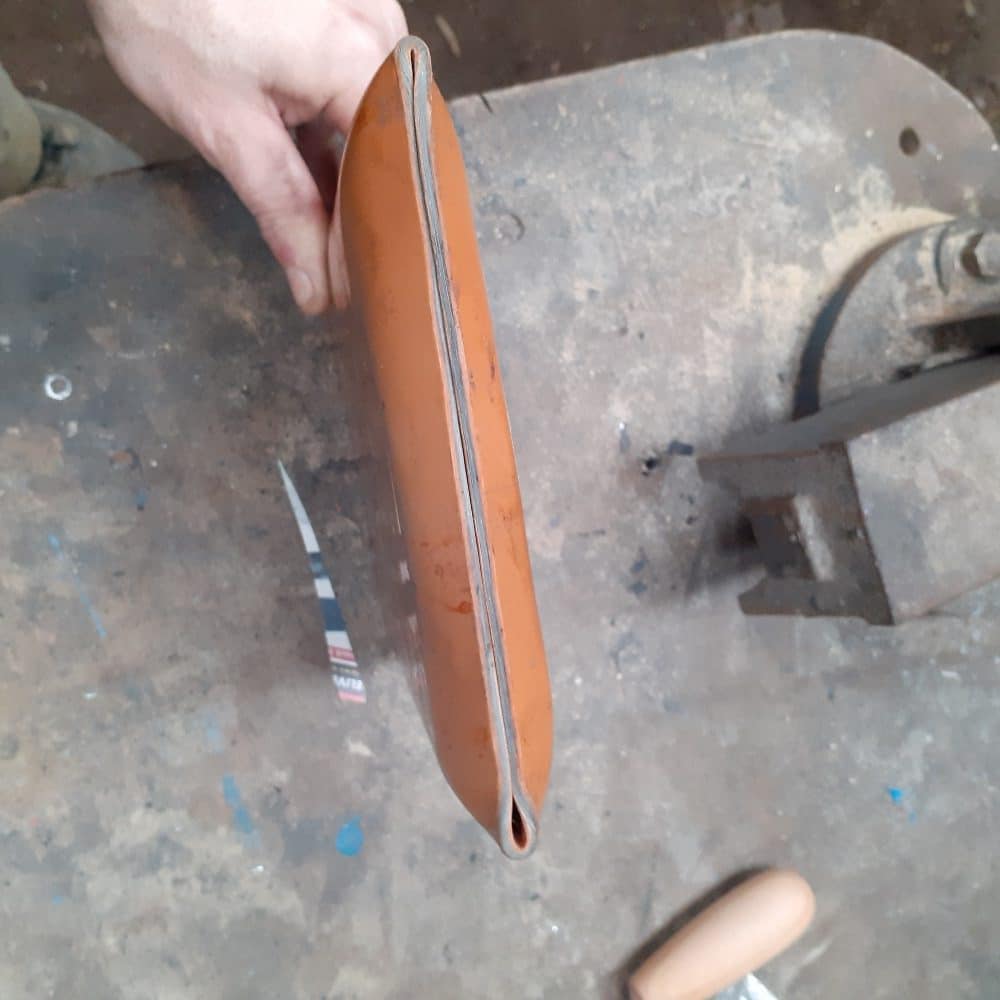
Since I’m using these tools in the cold and wet and often rushing, I wanted the sheathes to be as easy to access as possible. So, using the heat gun again I warmed up the mouth of the sheathes and moulded them open (gloved hand), being careful not to heat the folded area of the straps.
I also felt the bill in the black pipe was too loose and might fall out as I clamber through the brash, so I warmed up a patch in the middle of the sheath and squeezed it shut a little. This made the sheath grip the blade nicely. I tried the same thing on the large soil pipe hook sheath but soon took out the modification because it was too grippy and the hook got caught (I clearly didn’t learn from the belt-loop tongue!). I also found that the black pipe was too thin to give a strong enough spring to the belt clip when the small bill was fitted; I’ll likely rework it to have a D-ring later.
The pouch made for the tongs turned out to be a little short, and the hooks poked out of the bottom, which then caused them to catch when I pulled them out for use. I solved that problem by heating the bottom edge with the hot air gun and pushing it into a piece of angle iron to pinch the edges together. Apart from that modification, the pouch works really well, as do the two larger sheaths.
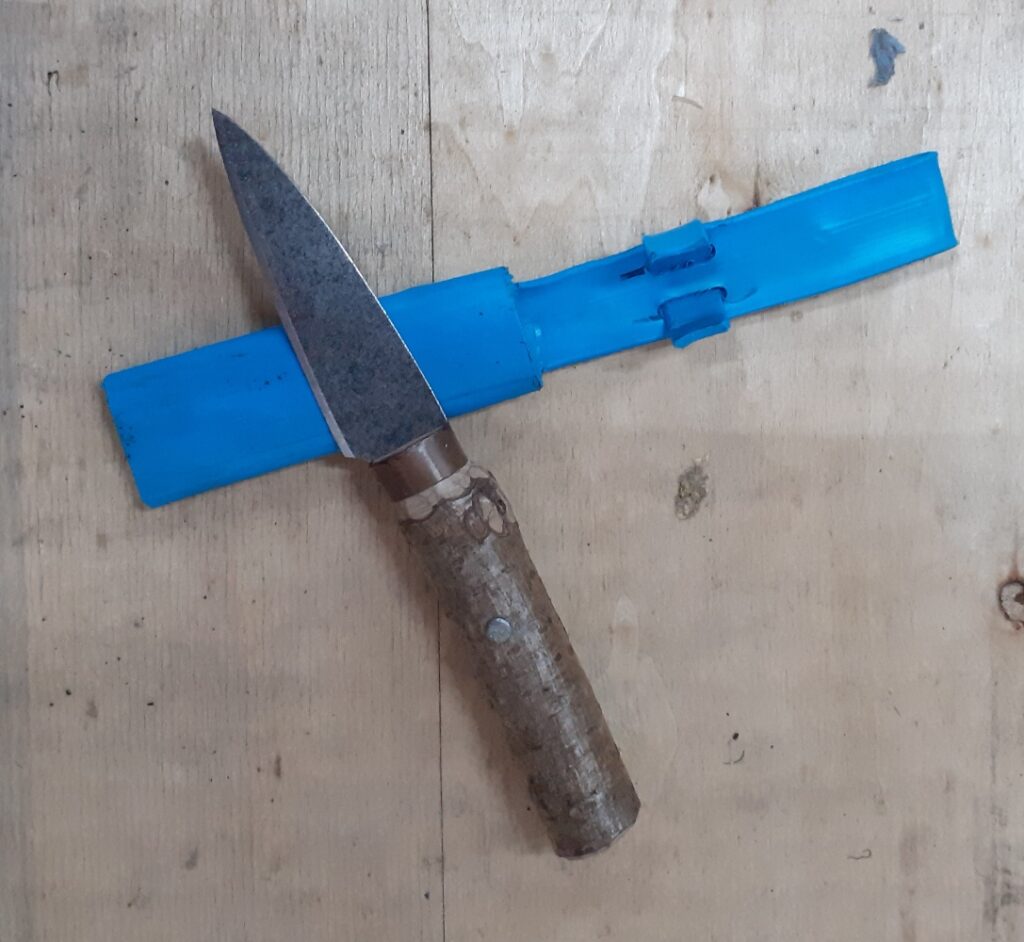
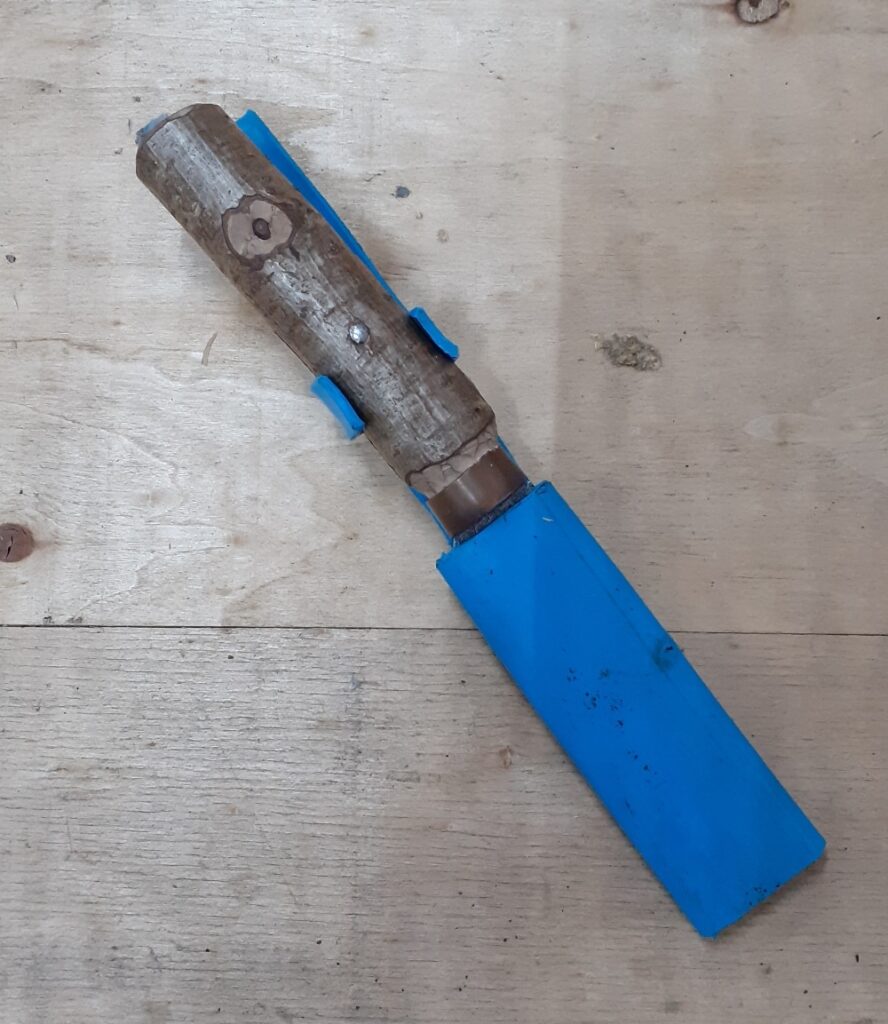
After the success of the ‘tools from old saws’ workshops at the Moot this summer, I felt that my demonstration knife should be clad in a similar fashion. Blue water pipe is amongst the junk I have kicking about too! If I did this one again, I would cut the tab at the end of the pipe off-centre so that when formed around the handle to clip it in place, it has the gap to the side where the cutting edge goes. As it appears in the picture, it is a little awkward to put away.
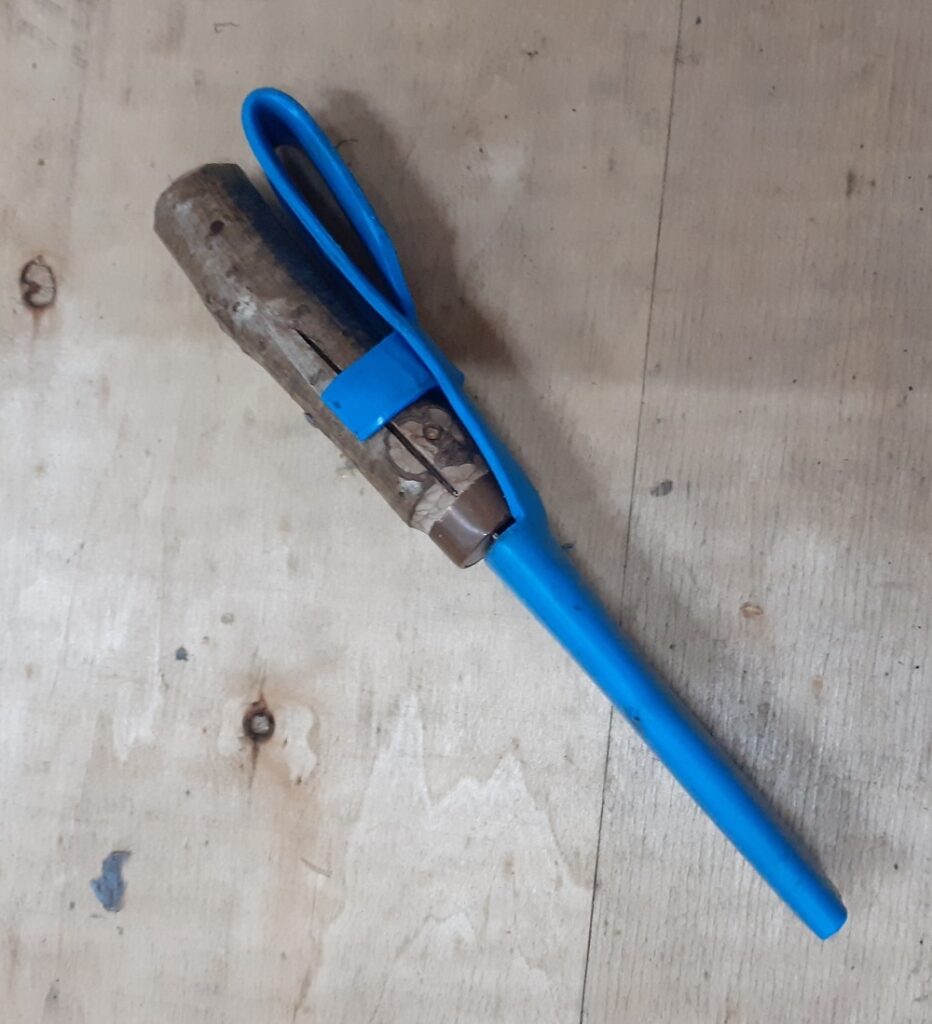
Another approach is to shorten and flatten the tabs (so they only function to hold the belt loop in place) and then pinch the blade area tight, creating a friction fit to the blade.

Dave Budd is a world renowned smith specialising in historic weapons, tools and other period steelwork, he runs knife and axe making courses amongst other things from his woodland in rural Devon.
You can see some of his work and contact him through his website DaveBudd.com