Tutiorial - Basic shoulder bag

  • Hey Guest, Early bird pricing on the Summer Moot (29th July - 10th August) available until April 6th, we'd love you to come. PLEASE CLICK HERE to early bird price and get more information.

leaky5

Maker Plus
Jul 8, 2014
752
49
Basildon
I have done a few bags now and sometimes shown the progress, but I don’t recall going through one step by step.

Lets start with the basic’s required for a small shoulder bag. This one is going to be loosely based on the Mk4 Gasmask / Indiana Jones bag.

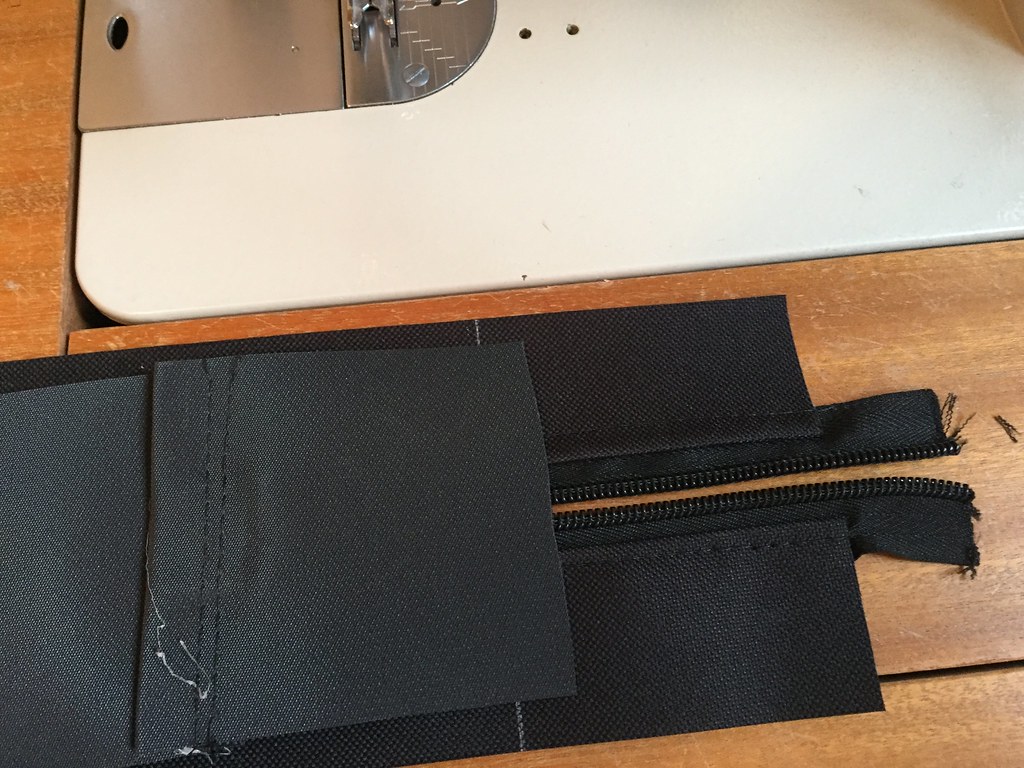
Sewing machine is a must, I started with my wifes bog standard domestic machine. It could quite happily cope with a few layers of 1000d material, so would be fine for this project.

Needles and thread. I use denim/jeans needles and Coat Nylbond 60 thread. This works well for me and I would think it is a good starting place for anyone starting. Dunelm Mills stock both and are one of the cheapest places for the thread, although a little limited on colours.

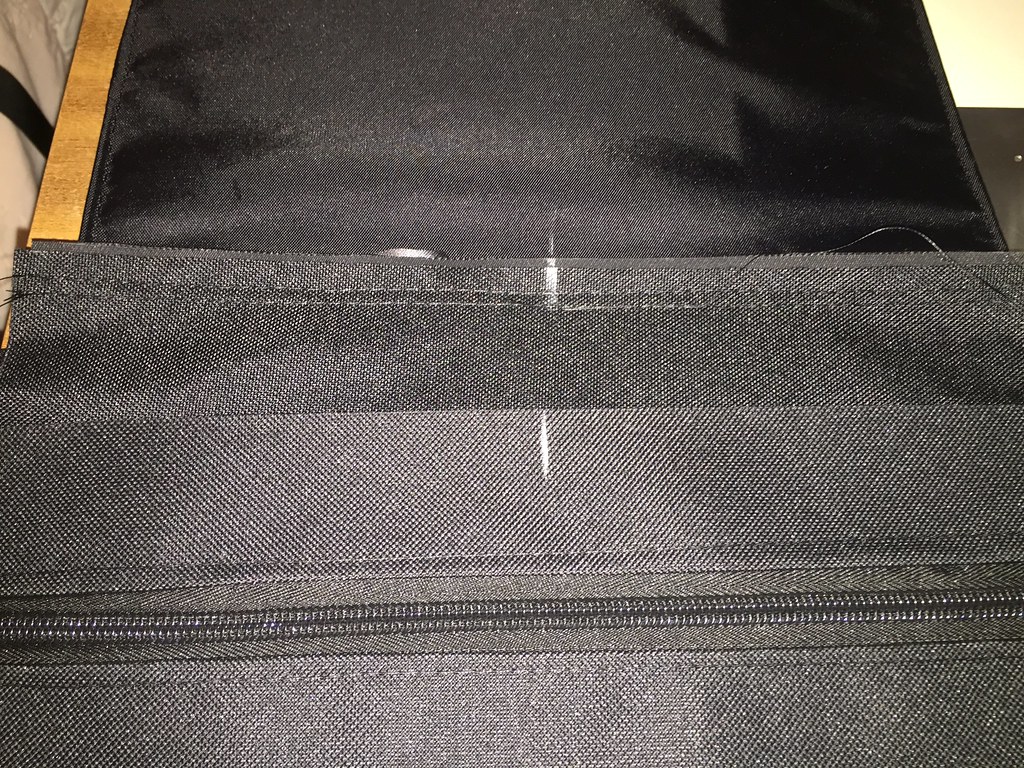
Material. I usually use 1000d or 600d material, although have also used Goretex as well. I sometimes line with a different material, but for ease you can use the same on the inside and outside of the bag.
Unless the bag is for something really special (when I will use genuine 1000d Corudra) I tend to use 600d material from Ebay.

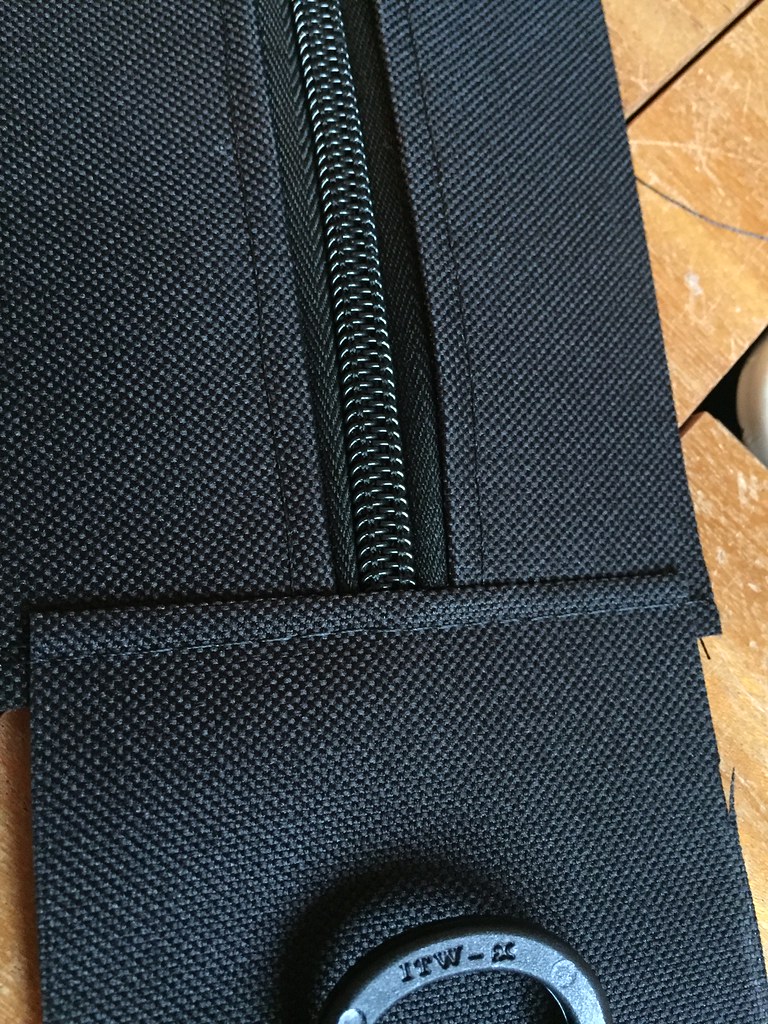
Zips. I usually buy a long piece of continuous zip and pulls. But you can also use open or closed end chunky zips, it does not matter as long as they are longer than the opening you are doing, this will become clearer later on.

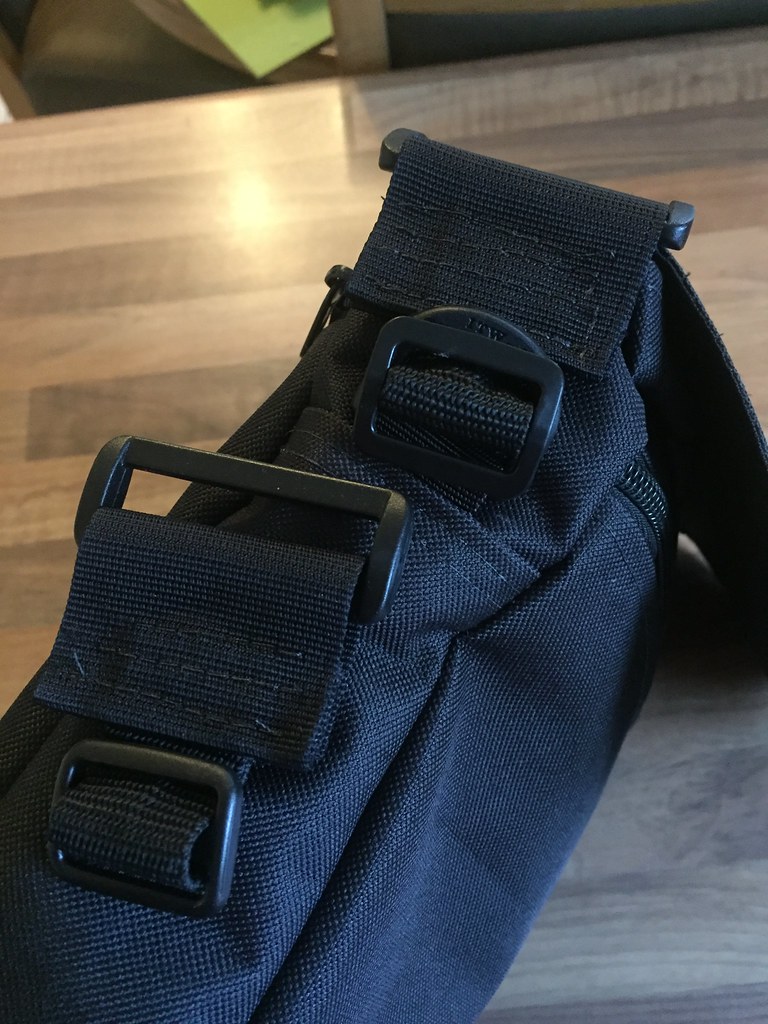
Plastic hardware. I always use ITW Nexus.

Other things I use are, tailors chalk, rulers, scissors and sail making tape.

If you need to know suppliers of various parts, please PM me and I will send you a list of who I have used in the past and am happy with their products.

Next – Basic construction
 

leaky5

Maker Plus
Jul 8, 2014
752
49
Basildon
I do all my bags in sections, each section is completed individually before sew all of them together.
So front, back, sides/base and with this one lid.


Edit- Measuring the material.

For a more complicated bag I will use thin card to test the shapes. On this one I am happy enough to work freehand.
Remember, you can always remove excess, but it is more difficult to add bits back in. So I generally cut parts a bit bigger than required.

Most parts will need an extra 2cm all around to allow for seams.


For this one I will start with the lid. This is because the way I am doing the lid will determine the exact width of the bag,

I do lids in two ways.

The way this bag is being done is inside out. So I place the two pieces of material facing each other, draw the shape I want on one side and sew the two parts together, leaving the back edge undone.
I then turn it the right way round and sew very close to the edge to give a nice finish.
The overall length at this stage is longer than required, once I have all the sections made I will work out the final length and use a Fen seam to connect it to the back of the bag.
Outside


Inside


The other way is with a bound edge. You sew the two pieces together the correct way round and then bind the edge, this takes a lot more practice

Bound edge


Next – Front and back sections
 
Last edited:

leaky5

Maker Plus
Jul 8, 2014
752
49
Basildon
Front and back sections

On this bag they are almost identical, with just a piece of loop material on the lower part of the front section.
The lower edge of the lid will come down just below the zip.

To put the zips in, I cut straight across the material, turn over about 1cm of it and secure with sail makers tape. You can use hot glue, but it is messier. I then use the same tape to hold the zip in place whilst I sew it in.
The ends of the zips will eventually be sewn into the seams and then trimmed off.

Once I have the final length of the piece I cut the internal piece of material and just secure it around the edge with a piece of tape.


Next – Top, side and base piece.
 

leaky5

Maker Plus
Jul 8, 2014
752
49
Basildon
I start by putting in the D rings, these are hot glued.

I glue the webbing to the side section and then fold the material over the webbing and sew two rows.


I then lay one side face to face with the top zip section. The zip section was made the same way as the front/back ones, I just make it longer and trim later on.

Run one row of stitches across and then unfold and run another row across the outside.


Then from the edge of the side section you just attached, mark the width of the bag and then repeat with the other side section. Making sure the zip puller is on the inside.


Once done the top section should be about the width of the front and back sections.


Next – Connecting it all up
 

leaky5

Maker Plus
Jul 8, 2014
752
49
Basildon
Connecting it all up

There are two parts of this I am extra careful with. I will explain in more details as I go along.

1st. The corners, I tend to hand wind the machine for these, they can sometimes look a bit bunched up on the outside if you don’t take your time with it.
2nd. Working out the total length of the top/side/base. In theory it is a complete loop, so I find it difficult to make as one piece exactly the right size.

I do three passes along each seam, the first is in lots of sections and is to make sure it all fits together, the second is a completely single sew all around each edge and the third is with binding tape.

For my second part above, I don’t make my tops/side/bottom as one section. I make it s the sides are separate pieces and once I have some of the seams sewn, I can see exactly where the two side pieces will meet half way along the bottom. There I just join them with a Fen seam. I have two pictures at the end of this section showing this.

I am starting with the back and top section, first I mark both in the middle and lay them face to face


I then sew from the top middle and down one side about ¾ of the way. On the first pass you must check on the outside to see if any material has not been sewn and that the corners are neat. If they are not it is much easier at this stage to fix them.


I repeat this all round on both sides and then join the side pieces at the bottom. Then I do the same for the front panel, once happy with the seams I will then bind them.


Working my way down each side


Now I have the length correct I will do a Fen seam along it and then connected the bottom edge to the back section.

 
Last edited:

leaky5

Maker Plus
Jul 8, 2014
752
49
Basildon
About 98% finished, just waiting for some matt black press studs to finish it.

I suppose it took about 3-4 hours to make and probably cost under £15.

Roughly 28Hx26Wx8D

For straps I general use the way it is shown here with a tri slide. Got the idea from the standard British Army Gas mask bag and it works quite well. I only have one black strap and it does about five different bags.

You could do a 25mm webbing with say HK clips, that works quite well.

So the bag has a full length pocket on the back, the same under the flap and a zipped main compartment.

Any questions, please pop then on here and I will try and help.


Last edited:

BCUK Shop

We have a a number of knives, T-Shirts and other items for sale.

SHOP HERE