Books are great aids in learning the different tracks that birds and animals make. But because they have to cover such a large amount of information, they fail to show tracks as you find them in the wild. The pictures and drawings you find in these books are often of perfect prints, examples of which you rarely, if ever, find in reality.
Over the years I've found the best way of referencing wild animal tracks, is to build up a collection of casts which can help you far much more in learning about how animals behave naturally, than any book that can only ever be two dimensional.
I used to have an amazing collection of bird and mammal track casts that I started when I was about eight years old. The whole collection covered exotic as well as native animals. Unfortunately, I lent these out a few years ago, and never got them back. So I am back to square one.
Hopefully this small tutorial in casing tracks will help some people start a new aspect of bushcrafting. It's great fun for the kids too and keeps them quiet for a good half hour, sometimes.
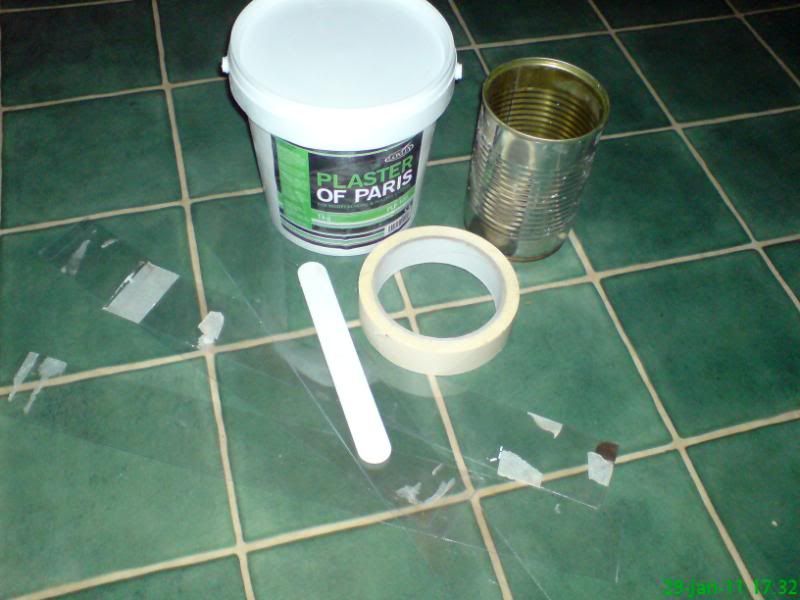
What you need is simple and costs next to nothing:
A mixing container
A mixing stick
Some cardbord or plastic strips about 30cm long and 3cm high
Couple of paperclips or masking tape
Plaster of Paris
Before I go out I like to pre measure out and bag the plaster of paris as it makes things easier in the field. Four heaped tablespoons per bag is enough for one cast...
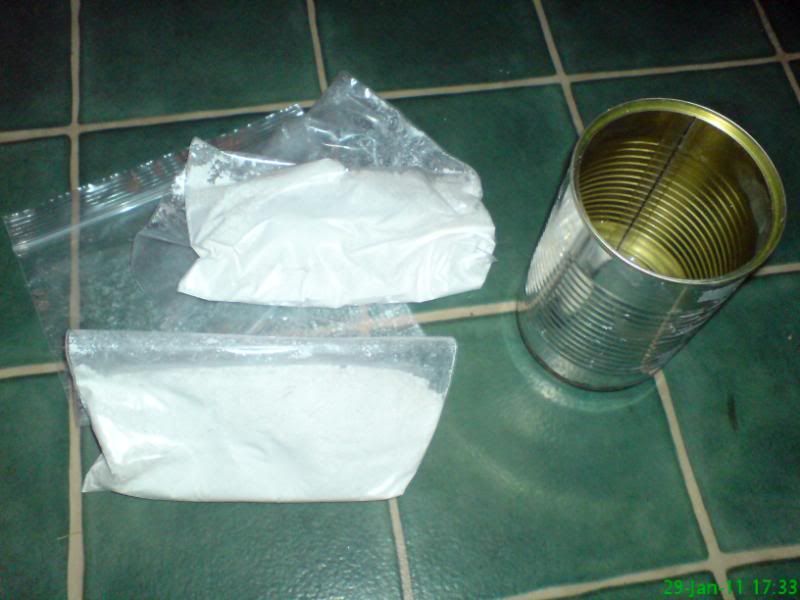
It'll be interesting the day I'm stopped by the police and they ask to look inside my rucksack and find my knife and those bags.
Anyway, next thing to do is to find your track. I was after the local otters today and I found some older tracks. Not as fresh or as ideal as I would have liked, but as rare as they are, I'm lucky to find these this time of year.
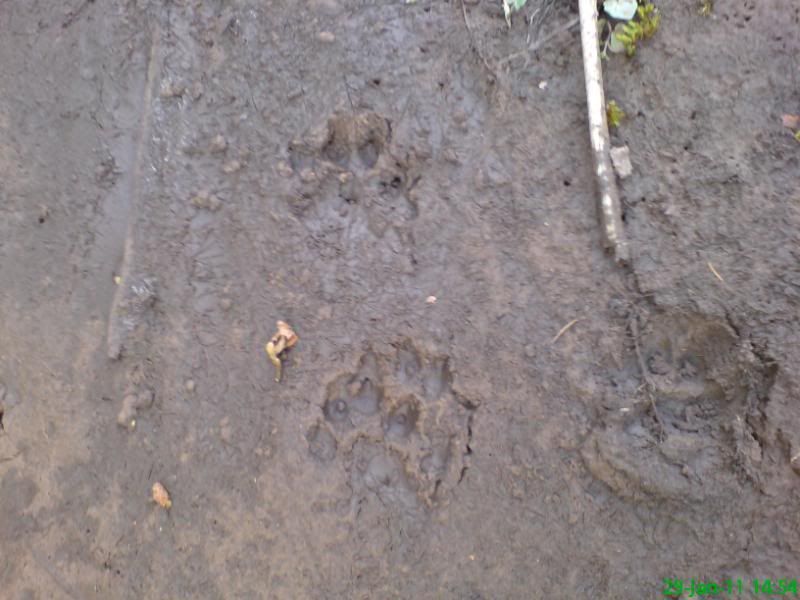
The best substrate to get a cast is fine silt or mud, still damp but not saturated. Sand is possibly the worst as detail is lost. But if you find a nice cast in fine substrate, it is possible to see details like segmentation, claw shape and tubercules on toes, which isn't possible to see in the tracks themselves until you make a cast.
Next thing you need to do is grab one of those lengths of plastic or cardboard and make a hoop that is at least 2cm bigger than the track around its edge. Tape or clip that and sink it slowly around the cast, leaving plenty of height to make a nice base when you pull the cast out again...
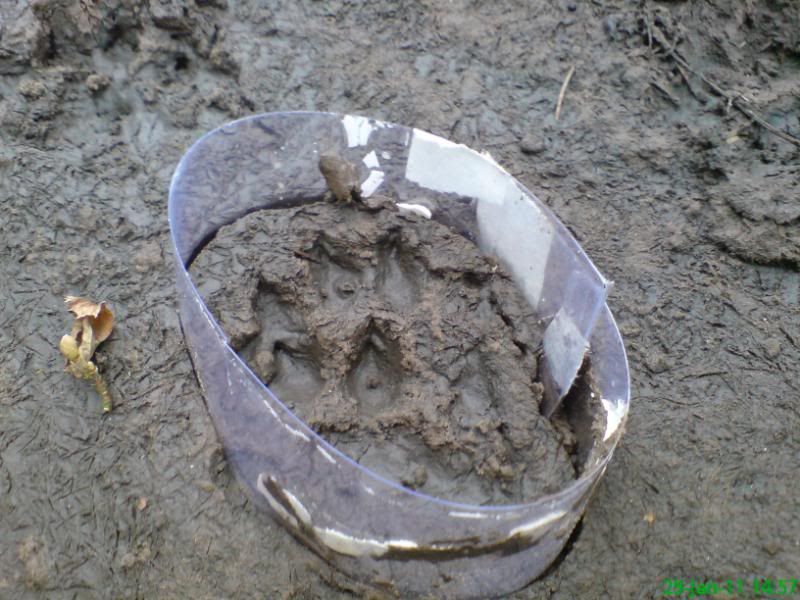
Next thing to do is mix your plaster of paris. I use roughly an equal amount of each in volume. Put the water in the mixing container first and then add the plaster. It will seem quite watery at first, but mix for a good five minutes and you should get the consistency of thin single cream. Pour this into your cast...
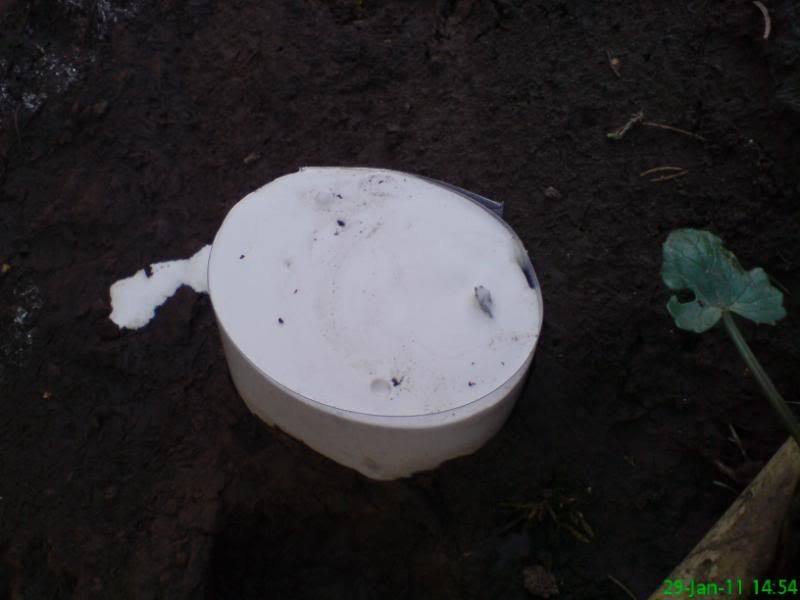
I like to tap the sides slightly to encourage air bubbles to rise. You then need to occupy yourself for about half an hour. When you come back, it should be hard and ready to pull out...
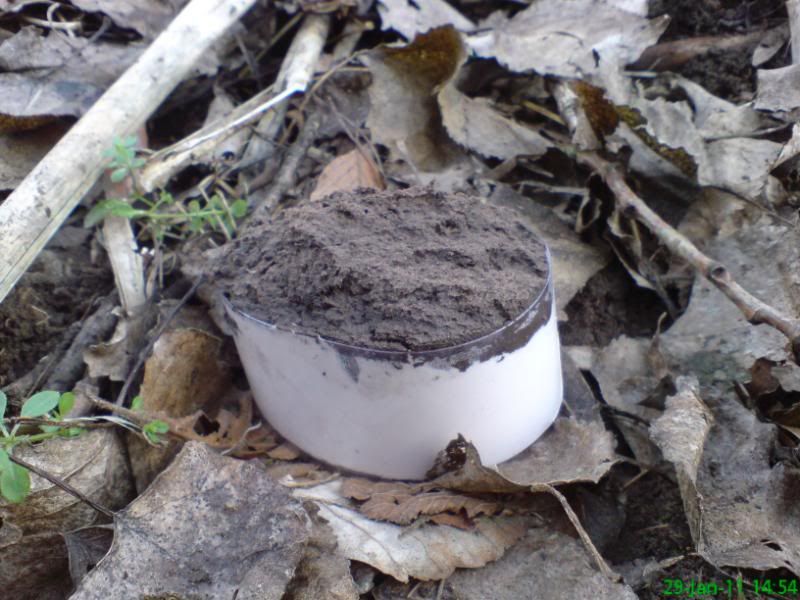
I usually scrape the excess mud off and then wrap it in newspaper to keep it safe in my pack. It also absorbs the moisture too.
After a couple of hours, you can pop it under a running tap and gently clean off the rest of the mud. Be careful as it is still wet and if you scrub, you can lose valuable detail. Ideally you should wait a couple of days for the plaster to dry, but I'm too impatient. Plus if you have the kids with you, waiting is not possible if you want some peace.
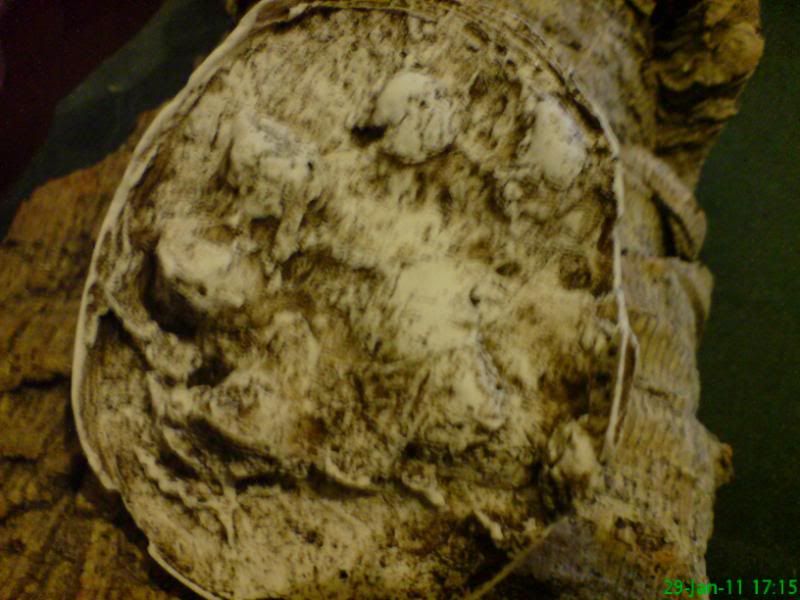
Taking pictures doesn't show the cast detail at all well, but it gives you some idea. This is the otter I pulled today (never thought I'd be typing those words)...
And here are some badgers I pulled yesterday...
Rear feet...
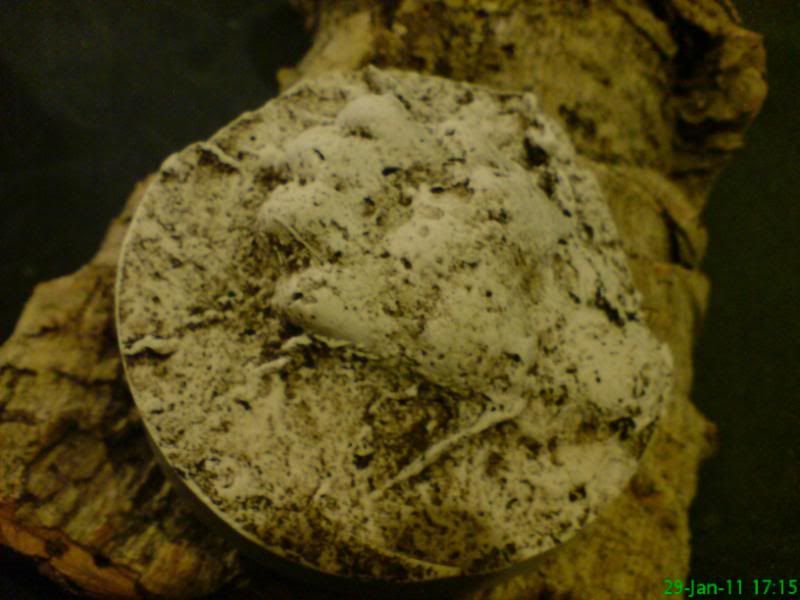
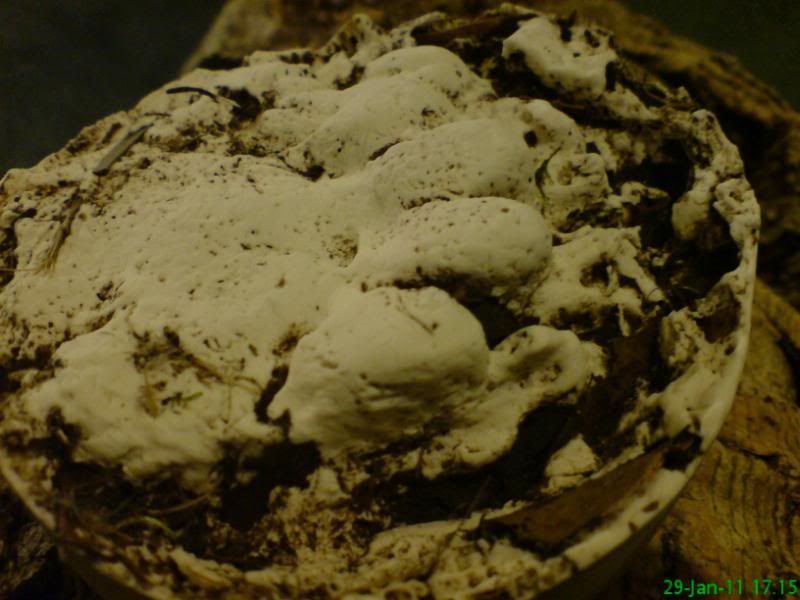
and forefoot showing the long claws...
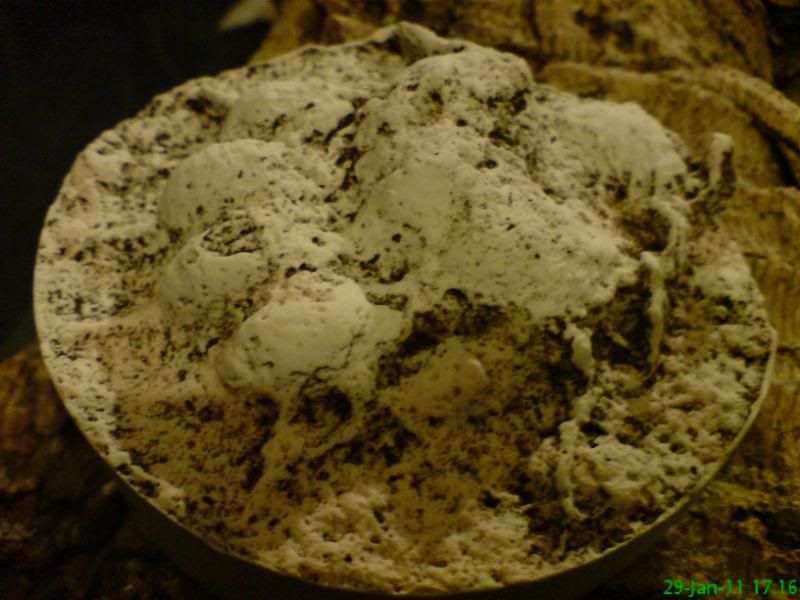
When fully dry I'll highlight the track itself with some ink.
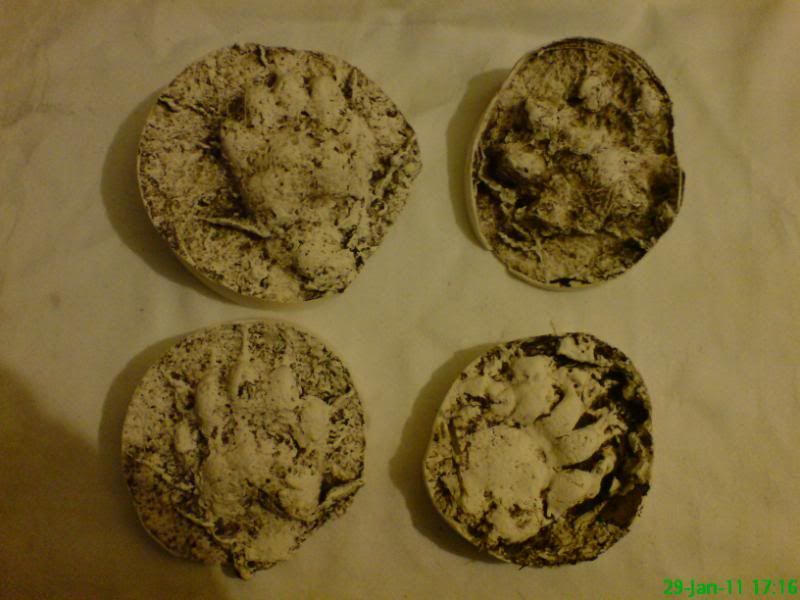
Doing this gives you a much better working knowledge of animal tracks, and will allow you to identify partial prints much easier than any book or manual.
Over the years I've found the best way of referencing wild animal tracks, is to build up a collection of casts which can help you far much more in learning about how animals behave naturally, than any book that can only ever be two dimensional.
I used to have an amazing collection of bird and mammal track casts that I started when I was about eight years old. The whole collection covered exotic as well as native animals. Unfortunately, I lent these out a few years ago, and never got them back. So I am back to square one.
Hopefully this small tutorial in casing tracks will help some people start a new aspect of bushcrafting. It's great fun for the kids too and keeps them quiet for a good half hour, sometimes.
What you need is simple and costs next to nothing:
A mixing container
A mixing stick
Some cardbord or plastic strips about 30cm long and 3cm high
Couple of paperclips or masking tape
Plaster of Paris

Before I go out I like to pre measure out and bag the plaster of paris as it makes things easier in the field. Four heaped tablespoons per bag is enough for one cast...

It'll be interesting the day I'm stopped by the police and they ask to look inside my rucksack and find my knife and those bags.
Anyway, next thing to do is to find your track. I was after the local otters today and I found some older tracks. Not as fresh or as ideal as I would have liked, but as rare as they are, I'm lucky to find these this time of year.

The best substrate to get a cast is fine silt or mud, still damp but not saturated. Sand is possibly the worst as detail is lost. But if you find a nice cast in fine substrate, it is possible to see details like segmentation, claw shape and tubercules on toes, which isn't possible to see in the tracks themselves until you make a cast.
Next thing you need to do is grab one of those lengths of plastic or cardboard and make a hoop that is at least 2cm bigger than the track around its edge. Tape or clip that and sink it slowly around the cast, leaving plenty of height to make a nice base when you pull the cast out again...

Next thing to do is mix your plaster of paris. I use roughly an equal amount of each in volume. Put the water in the mixing container first and then add the plaster. It will seem quite watery at first, but mix for a good five minutes and you should get the consistency of thin single cream. Pour this into your cast...

I like to tap the sides slightly to encourage air bubbles to rise. You then need to occupy yourself for about half an hour. When you come back, it should be hard and ready to pull out...

I usually scrape the excess mud off and then wrap it in newspaper to keep it safe in my pack. It also absorbs the moisture too.
After a couple of hours, you can pop it under a running tap and gently clean off the rest of the mud. Be careful as it is still wet and if you scrub, you can lose valuable detail. Ideally you should wait a couple of days for the plaster to dry, but I'm too impatient. Plus if you have the kids with you, waiting is not possible if you want some peace.
Taking pictures doesn't show the cast detail at all well, but it gives you some idea. This is the otter I pulled today (never thought I'd be typing those words)...

And here are some badgers I pulled yesterday...
Rear feet...


and forefoot showing the long claws...

When fully dry I'll highlight the track itself with some ink.

Doing this gives you a much better working knowledge of animal tracks, and will allow you to identify partial prints much easier than any book or manual.

