Polytunnels.... some questions

  • BushMoot: Come along to the amazing Summer Moot 31st July - 5th August (extended Moot : 27th July - 8th August), a festival of bushcrafting and camping in a beautiful woodland PLEASE CLICK HERE for more information.

GreyCat

Full Member
Nov 1, 2023
534
676
53
South Wales, UK
OK, now I'm at the new place, I want to sort out a polytunnel.

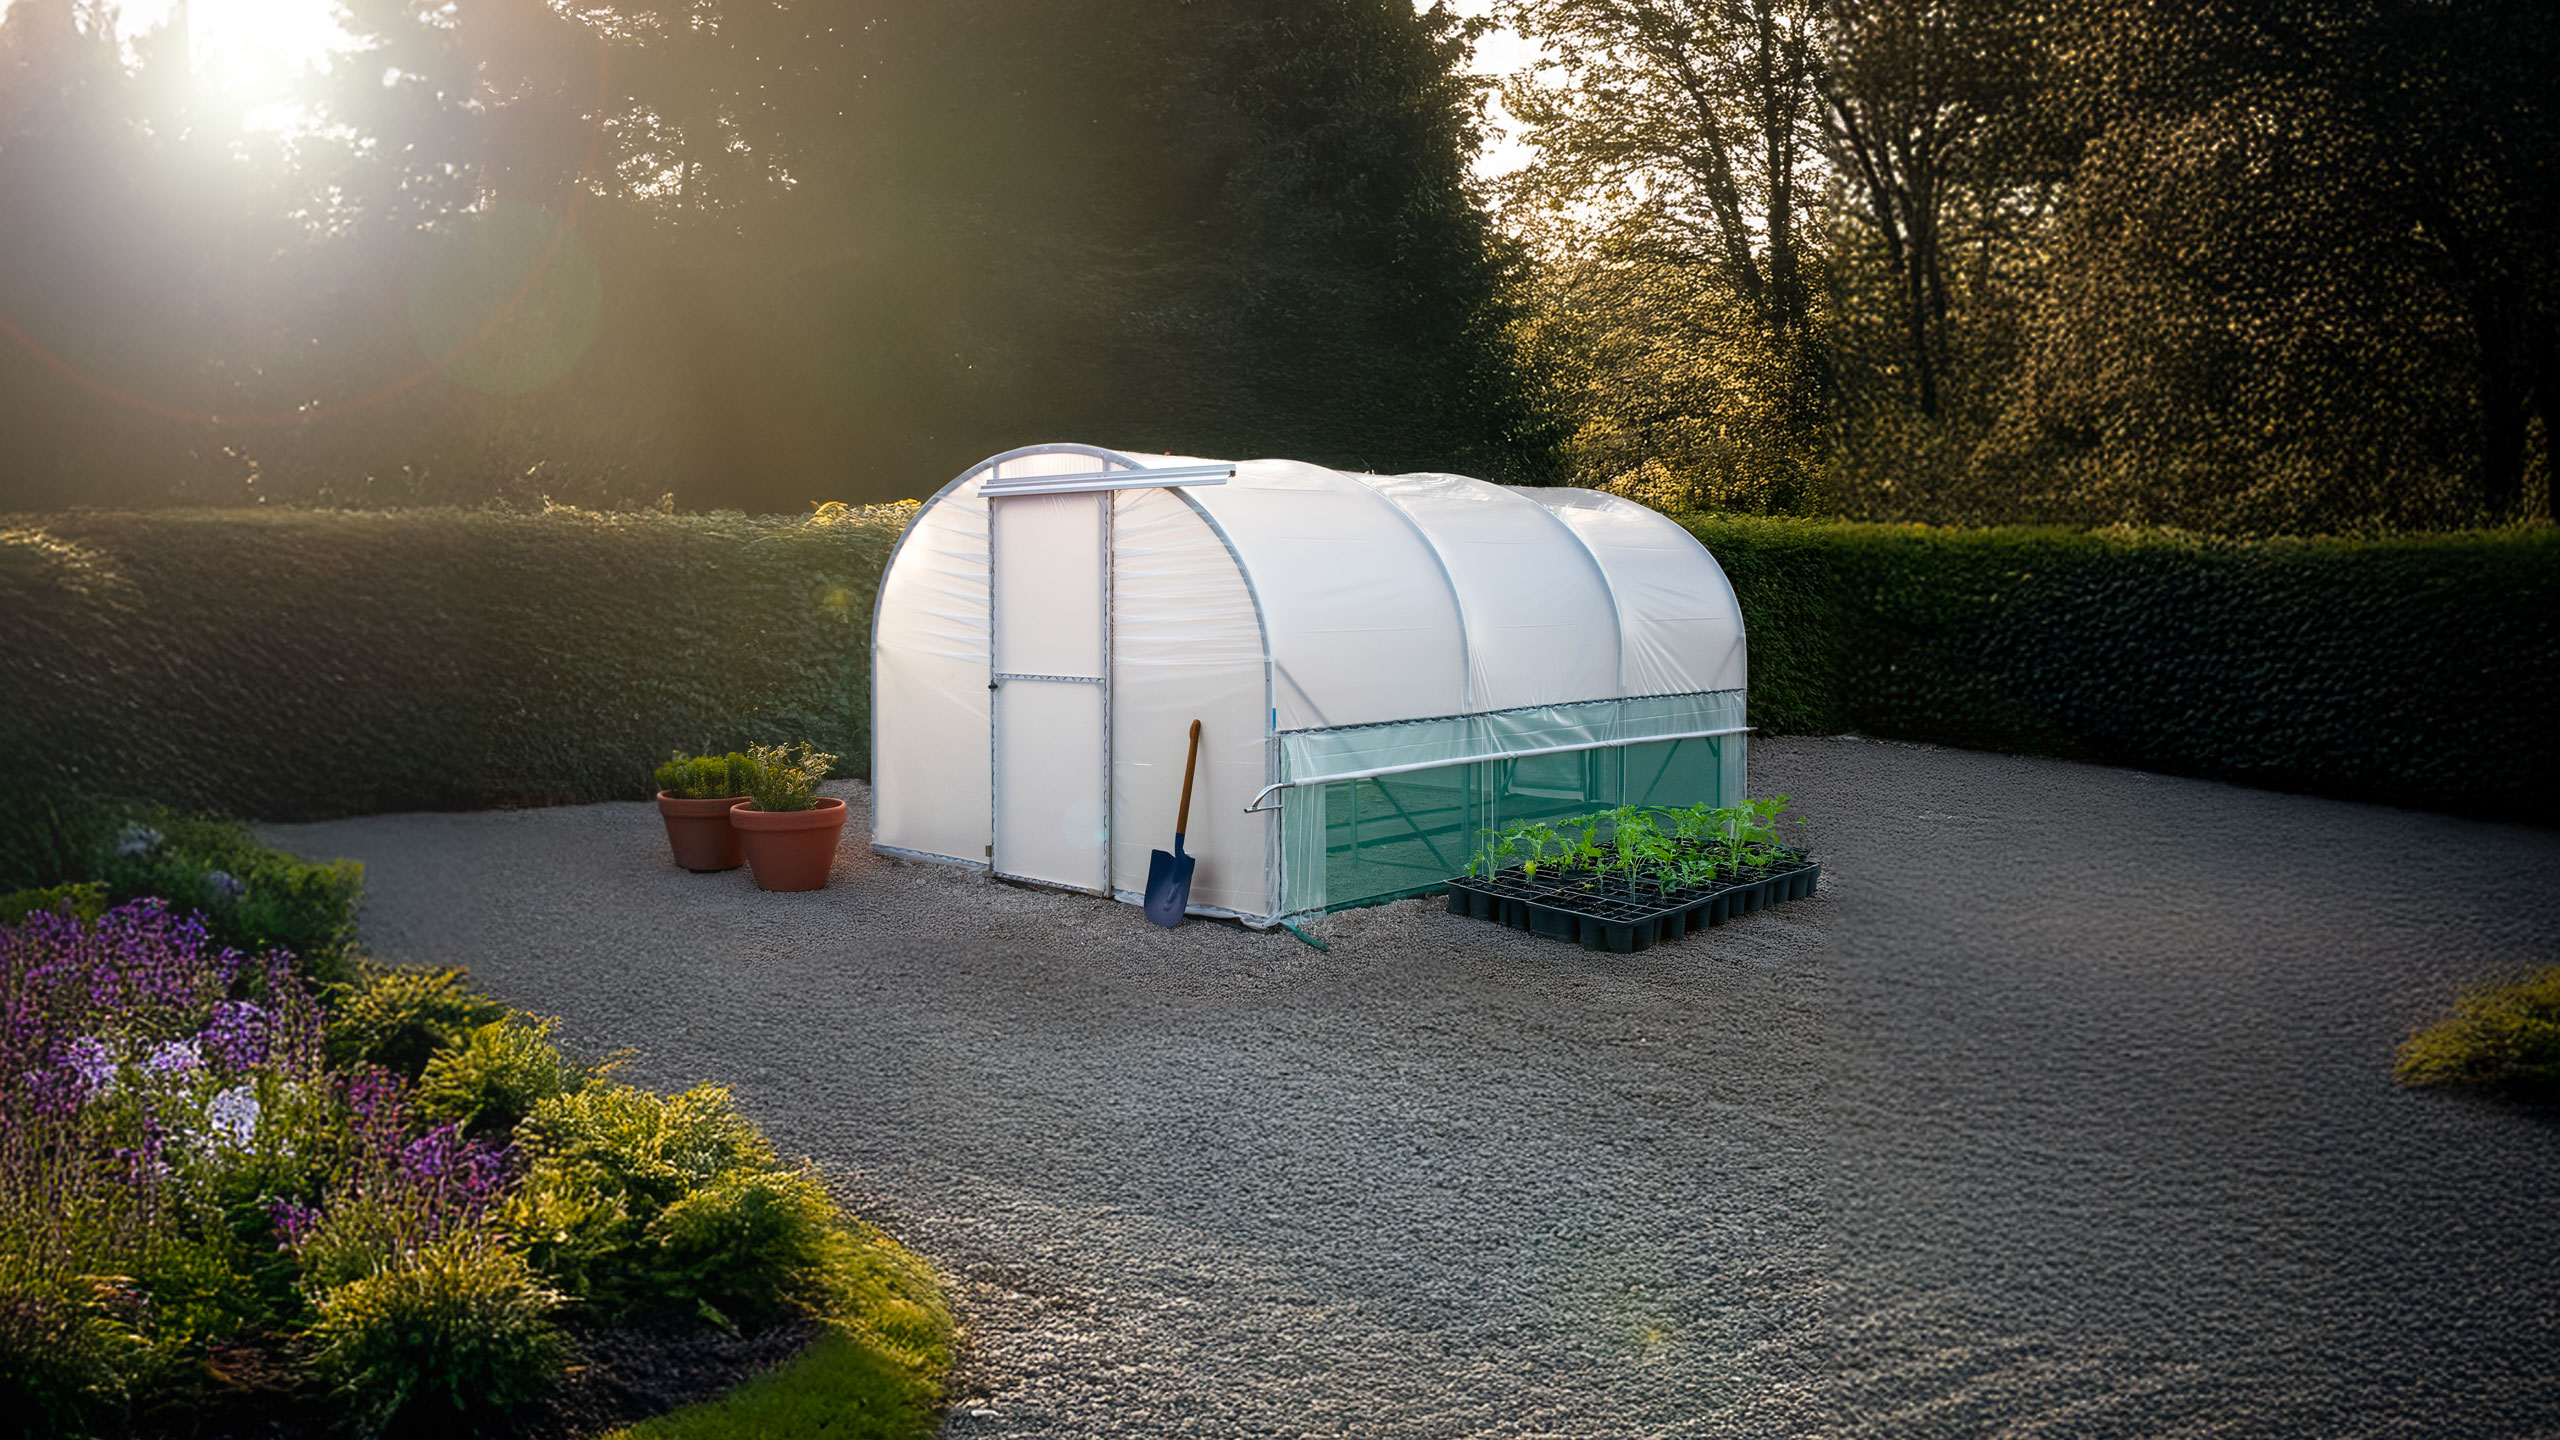
Back when I had an allotment at the old place, I had a small (2m by 4m) tunnel, brilliant thing...... not big enough...... and eventually I managed to make it strong enough not to blow away in winter. I say eventually because I bought cheap, and following the advice of the old hands, it needed a lot of extra wind bracing (I used pallets to build side walls) and I replaced the cheapo cover (lasted 2 summers only before ripping) with proper horticultural plastic.

So, at th enew place I have a decent flat space where I can put for a tunnel of up to 9 metres/30 foot by 4.5 metres/14 foot and have a good space around it for maintenance/build. (The whole of the ~1 acre plot is designated "garden" by the planning authorities and it's well back from the road and house). Also I have a couple of kiwis and a grapevine which really need to live in a polytunnel all year around, and my small Morello cherries do much better under cover- they are currently in a large trough hogging my little greenhouse- and my quince trees also prefer shelter, so they may need to go in there. so even before considering veg planting, I have a bunch of things to live in the tunnel all year around- hence the proposed size. The permanent stuff can live in a bed down the centre, with the side beds for seasonal growing- veg and also some herbs that don't really like the wet climate.

So. My thoughts are to buy a good quality tunnel from somewhere like Northern Polytunnels, First Tunnels or Highland Polytunnels- wondered if anyone had any experience of them, and how they compare to cheapo tunnels for strength? With the price difference, I would expect a much stronger structure- is that the case?

It's SW Wales so it's wet and windy for much of the year. Theres a big wind farm on the top of the hill, although thankfully we are in a dip, so relatively sheltered compared to the folks further up the road... but still a windy location.

Then there's the installation. I can do it myself, with some minimal assiatance on a good day from the other half.... or the retailers of the tunnels I mention offer an option of having someone come and build it. I know from the challenges of my previous allotment tunnel that it's a chore, and it's not easy to do the essential part of getting the plastic tight enough. Much as I like to DIY and do a lot, sometimes I need to be realistic- and in truth I'd rather be growing than building (nor am I getting any younger...). A good build in the warmer weather should help optimum tunnel life.....

If the costly tunnels are not worth it, the other option is buying a couple of el cheapo 3m by 6m tunnels and putting them at right angles, then (1) reengineering them to be strong and (2) getting proper horticultural plastic to cover them. At the end of that, I wouldn't save much money and it's a lot of work in the (inevitable) rain, so I'd rather just get a decent strong tunnel in the first place.

I'd be interested in thoughts of folk on here- any experience of particular types/sizes of tunnel? DIY build vs have it built ofr a tunnel of the size I am considering?

Thanks in advance....

GC
 
Have you talked to local horticulturalists who have tunnels?

Without question I would have it built by the supplier. That way you should get some warranty.
I helped build one at Pershore College long ago and watched my mate lifted off the ground in a light breeze.

All the reports say that UV is your worst enemy but in my limited experience a badly fitting cover that can rub against the frame shortens it’s life quicker.

Very best of luck with your venture.
 
Funny I just read this as I am looking for the same thing too, I am downsizing my allotment plot and losing a polytunnel in the process. A good idea to keep it from blowing about too much is to put garden netting over it and peg that firmly into the ground.
 
Twenty + years ago I bought a Rion polycarbonate 8 x 6 greenhouse....cost me all of £200.
It's still sound.

I don't know what it'd cost now, but honestly, I'd think about it.
It's not glass, it's been through horrendous gales, three foot of snow, torrential rain, baking sunshine, and it's still sound.
It doesn't owe me a ha'penny.

I laid down old slabs and the base is bolted onto those. It hasn't moved in all those years.
I had a neighbours polytunnel lift off and land on my allotment having flown all the way over a tall hedge. That neighbour never had any luck with any structure on his plot, he had a greenhouse before that and all the glass broke and a bolt together aluminium shed which fell apart whereas my erzatz shed built out of spare bits of corrugated iron and old doors has withstood storm and tempest over these past 12 years since I built it.
 
  • Like
Reactions: GreyCat and Toddy
Northern polytunnels are good. If it's windy buy fatter steelwork and have smaller spacings on the hoops. Fitting the sheet is not a one man job, particularly if it's windy! Expect the plastic sheet to last around 7 years although ours managed 9 years and was still going strong when we moved. Reserve an area for sitting. They get really warm inside and its great chilling in one whilst its raining outside.
 
  • Like
Reactions: GreyCat and Toddy
100% agree on getting the manufacturer to install - I've seen two polytunnels turn into giant-sized plastic-wrapped kerplunk games by the wind, with one of them having been declared by the maker to be Scottish Highland / Island rated, and in both cases the buyer decided to do the install themselves. It may seem expensive to pay for the installation, but it could easily be worth it if something goes wrong, even if it's just the skin getting torn / nicked during the install.

Trying to get rid of the mess of the most recent one has meant the owner having to wait until someone can come and get the metal poles out and cut up to take them away too, so they've had no tunnel all of this year meaning a loss of the growing season.
 
  • Like
Reactions: Toddy
Northern polytunnels are good. If it's windy buy fatter steelwork and have smaller spacings on the hoops. Fitting the sheet is not a one man job, particularly if it's windy! Expect the plastic sheet to last around 7 years although ours managed 9 years and was still going strong when we moved. Reserve an area for sitting. They get really warm inside and its great chilling in one whilst its raining outside.

That's really good to know as I was looking at their stuff. I was looking at the ones with fatter tubes (the 35mm tubes).

I have come to the conclusion that paying for installation and concreting in the ground anchors is the way to go. Yes, it's costly, but so is the time and heartache of re-doing everything. For a smaller tunnel I'd probably to it myself, but i am looking at a 9 metre by 4.5 metre tunnel.....

Not sure yet whether I'd need to prep the ground anchors in advance, I will call the chosen retailers and ask for more info. The area of ground is a mix of stone and earth, so I suspect the ground anchors (at least for the 4 corners) will need concreting in at least a day before the tunnel goes up. That's not a biggie, I can happily do that.

GC
 
  • Like
Reactions: Toddy
I had a neighbours polytunnel lift off and land on my allotment having flown all the way over a tall hedge. That neighbour never had any luck with any structure on his plot, he had a greenhouse before that and all the glass broke and a bolt together aluminium shed which fell apart whereas my erzatz shed built out of spare bits of corrugated iron and old doors has withstood storm and tempest over these past 12 years since I built it.
Yeah, I had a shed like that on my allotment. I inherited it in a poor state, fixed it up with scraps and painted it with left-over Cuprinol Colours (a fetching sea green!). The other allotmenteers reckoned it wouldn't last 12 months, but it survived 5 years of storms- and I passed it onto the next person.... I never locked the door, just bolted it shut, didn't keep anything of value in it, so when thieves visited the allotment, mine was the only undamaged door- they opened it easily, saw nothing of value, and moved on....

GC
 
  • Like
Reactions: Toddy
Hi @GreyCat Alex from Northern Polytunnels here. I just wanted to chip in and offer some advice if you're still considering this.

A 4.5m x 9m polytunnel would fall under our EasyBuild range of polytunnels https://northernpolytunnels.co.uk/the-easybuild-polytunnel/

To address some of your concerns:

Regarding anchoring, you mentioned that you're unsure about the ground. An Easybuild would be provided with screw anchors as standard which can either be manually screwed into the ground, or concreted in. So you can try it out before committing to concrete if you'd like.

In terms of hoop strength, the EasyBuild is actually now 50mm oval tube profile which is significantly stronger than the 35mm round tube. And the hoop spacings are a standardised at 1.5m. If you're really concerned about the wind you can add brace bars across the width of the tunnel (which also act as crop bars - I have them in mine and they're very useful).

We don't use any timber in our EasyBuild, so it'll last - especially against particularly wet climates.

For cover longevity, it's all about getting the polythene properly tensioned (any flapping causes weak spots). The EasyBuild has a tensioning system built in which is really easy to use. You can even easily add tension at a later date if you find the poly has loosened - this can happen if the poly is installed in the colder months.

And we do offer a construction service if required.

We have an online configurator so you can design your EasyBuild to your own spec. I've started one here for you it's 4.5m x 9m with a sliding door on one end and a zip up on the other.


If you use this link it'll act as a starting point - you can then play around with options such as doors, vents, irrigation etc. as you require.

I hope this is helpful. Feel free to ask me any questions here, or you can speak to our team on 01282 873120.

Alex
 
@alex_northern_polytunnel : Thanks for coming on and taking the time to respond.

One of the retailers I had been looking at was Northern Polytunnels, so it's heartening that you have made the effort to join and reply. I'd played with the configurator and already decided that I wanted to use extra braces and crop bars; although we are in a relatively sheltered dip, there's a reason why we have a large windfarms on top of the hill!

I had come to the conclusion is already that I will need my planned tunnel constructed.

The ground is a challenge because where I am putting it, some of the area was made up/levelled with a mix of excavated soil and stone rubble from recent building works..... and other parts of that area were some hardcore as well as mud.... When I put a little greenhouse up on a similar patch a couple of years ago, I had to use a post digger to break out holes, then put the ground spikes in with postcrete, so I'm expecting to need to postcrete the ground anchors into pre-dug holes.

(Growing in the tunnel will be in deep raised beds anyway as the ground isn't worth trying to grow directly into).

I probably need to call the team, I have a few queries not least of which is about how ground anchors are needed and whether they need concreteing in before the construction team arrives....... The location is marked out and I have been watching the sun and light in the area, there is some wiggle room.

GC
 
  • Like
Reactions: Toddy
@alex_northern_polytunnel : Thanks for coming on and taking the time to respond.

One of the retailers I had been looking at was Northern Polytunnels, so it's heartening that you have made the effort to join and reply. I'd played with the configurator and already decided that I wanted to use extra braces and crop bars; although we are in a relatively sheltered dip, there's a reason why we have a large windfarms on top of the hill!

I had come to the conclusion is already that I will need my planned tunnel constructed.

The ground is a challenge because where I am putting it, some of the area was made up/levelled with a mix of excavated soil and stone rubble from recent building works..... and other parts of that area were some hardcore as well as mud.... When I put a little greenhouse up on a similar patch a couple of years ago, I had to use a post digger to break out holes, then put the ground spikes in with postcrete, so I'm expecting to need to postcrete the ground anchors into pre-dug holes.

(Growing in the tunnel will be in deep raised beds anyway as the ground isn't worth trying to grow directly into).

I probably need to call the team, I have a few queries not least of which is about how ground anchors are needed and whether they need concreteing in before the construction team arrives....... The location is marked out and I have been watching the sun and light in the area, there is some wiggle room.

GC
No problem at all @GreyCat

The crop bars are a great addition, even if just for peace of mind.

With the uncertainty around the ground it probably would be worth (as you say) speaking to one of our team, they'll be able to advise you properly - and you can decide between you the best course of action. Concreting can be factored into the construction if if you don't fancy doing it yourselves, but I'll let you discuss that with our team.

Best,
Alex
 
  • Like
Reactions: Toddy
I was wondering whether to chip in or not as my reply won't likely be helpful, but why not.

I was in a a similar position last year with my new place- wondering whether to buy a good quality or el cheapo polytunnel. In the end I obtained two large greenhouses- 10x8 and 12x8'- from freecycle and marketplace for free, and have joined them together into one big glasshouse. I may extend it further in future. I didn't bother with any sort of foundation, just levelled the ground, amazingly no glass breakage after 14 months.

Advantages- free, rock solid, will last forever apart from some broken glass from ground movement, no plastic to deteriorate and blow all over the place before binning, easy to bolt together. If I want to move them, just a case of unclipping the class and dragging the frame elsewhere. When I no longer want them somebody else will dismantle and collect for free.

Disadvantages- A day to collect, a day to put up, trailer required. I did them both single handed but a friend would have reduced to half a day.
That sound like a cracking setup, @Glow_worm and nice work making the most of what's available locally! Can’t argue with free, and those old greenhouses can be seriously solid if looked after.

We often see people weighing up options like this, and it really depends on space, budget, and how exposed the site is. For anyone without the time or tools to hunt and rebuild glass, a decent polytunnel can be a simpler and more flexible option (especially for awkward or sloping sites).

We've actually done something similar ourselves in the past - our main issue was that the greenhouse didn't dismantle very well, so we were competing with out of shape parts when we came put it up again. It wasn't much fun!

That said, you’ve done what a lot of people aspire to, repurpose, reuse, and create something bespoke. Hats off
 
  • Like
Reactions: Toddy
I’ve had a small polytunnel before and know how frustrating it can be when it’s not strong enough, especially in windy, wet places like yours. From my experience and what I’ve heard, those companies you mentioned, Northern Polytunnels and Highland, do make a sturdier frame and use better plastic, which really helps with durability. The price difference is noticeable, but it usually means less time spent patching things up or replacing covers every couple of years. I’d also recommend seriously thinking about getting it professionally installed if that’s an option, because getting the plastic tight and the frame secure is a real pain, especially on your own or with just one helper. For a tunnel as big as you’re planning, a solid build upfront will probably save you a lot of hassle later, letting you focus on growing rather than fixing. If you went cheap and tried to reinforce yourself, you’d end up doing almost as much work anyway, so I’d lean toward investing in quality from the start.
 
@Gabri - Yeah, that was my thought.

Having been through the circus of "getting the el-cheapo polytunnel to stay put" on an allotment, with the worry and stress every tie it's windy, I want to get this right from the start.

By the time I accounted for my time to repair and strengthen it and the amount I spent on a new cover it wasn't really a cheap option.... and that was just a little 4m x 2m tunnel.

I don't go on holidays, my garden is my recreation...... and it's getting more difficult building things on my own as i get older.

GC
 
  • Like
Reactions: Toddy
Decided to go for a pair of 3m x 6m tunnels from Northern Polytunnels in the end. (That was actually my original layout, 2 smaller tunnels set at right angles to create a sheltered area for outside stuff).

The smaller ones I am comfortable I can build myself, having spoken to Northern Polytunnels about installation, the ground being unpredictable/difficult means that realistically I would need to do all the ground prep myself anyway to make sure costs remain in budget.

The ordering has not been a simple thing to do as "verify by visa" for some card issuers does not work with wifi calling..... basically you do not receive the text with the verification code until you are back onto the mobile mast directly, and of course by the time I have gone outside and run up the hill to get a signal the transaction has timed out and declined........ and further attempts to pay then block the card :banghead::banghead::banghead: (the verification process similarly doesn't work for TfL either). Being in a rural location and depending on wifi calling (via fibre to the door or Starlink), that's an issue for me. So needed to arrange payment in a more "traditional" manner- which makes being able to speak to a Real Human highly valuable.

Fingers crossed the rest goes smoothly...... watch this space........

GC
 
  • Like
Reactions: bobnewboy and Toddy
Update on The Polytunnel Saga.....

Well, I received the 2 tunnels (each 6 metres by 3 metres) OK, and stacked the parts undercover. Read the instructions, watched the videos, checked the parts all there.

Then I began.....

(1) No way on this planet could I get the ground anchors in. Too many rocks. Not happening.

(2) Purchase base plates and get the local builder (who worked on our renovation pre move) in to use a machine to dig out trenches and pour concrete base strips.

(3) Buy a corded SDS drill to do the the holes for the baseplate anchors (much cheaper than getting someone in and the drill has been so ever useful since).

(4) Get the frames up (except the door frames which need more holes dug).

It's now the end of October. Wait until the winter storms have passed......

(5) Doorframes. Use the SDS drill (spade attachment) plus the digging bar to make holes for the bottom of the doorframes into place, erect/attach door frames. (That was a couple of days of two of us swearing and sweating).

Wait for the right weather to put the plastic on. In the mean time, due to the ground and alignment, realise that the sliding doors ain't gonna work, and obtain the simple zip doors. Also obtain rolls of much meatier foam padding tape for hotspot prevention.

(6) Finally, with the recent warm, calm, sunny weather, put the hotspot tape on the hoops, then the covers on, then add the doors. Cue much swearing with the "wiggle wire", ingenious stuff but not as easy to use as it looked on the video. The second tunnel went much faster than the first one mind you so practice is clearly an important factor.

(7) Although the cover was clipped down, also trench the cover into the gravel and/or add rock weights so the wind won't get under it.

(8) Decant all overwintering plants from old greenhouse into tunnels.

Blew a hooley this past week. Tunnels both OK, but a panel in the old greenhouse blew out, not surprised as the panels are life-expired and need replacing.

Conclusion.

The Northern Polytunnels are a heavy duty design and worthwhile- but don't believe the "two people can erect one over a weekend" thing unless (a) the ground is lovely and level and no rocks; (b) its two or three fit younger people who are used to working on such stuff together; (c) it is nice weather with no/minimal wind.

We had to make several tweaks to make the tunnels work on our plot. But they are in a good spot and feel solid.

The tunnels are very good, but they are a long-term investment. Be prepared to be patient, do the install over a period of time, and make sure you have enough help.

I am putting things like grape vines and citrus in mine, so I want longevity.

Looking forward to getting the inside sorted now!

GC
 
  • Love
  • Good job
Reactions: Pattree and Toddy

BCUK Shop

We have a a number of knives, T-Shirts and other items for sale.

SHOP HERE