I've made a few of these up and given them away mostly, I've just made another one tonight for a member so thought I'd take some pics along the way. There's some good variations on this stove but this is how I make mine, a lot of it's done by eye but there's a few measurements which will help from the start.
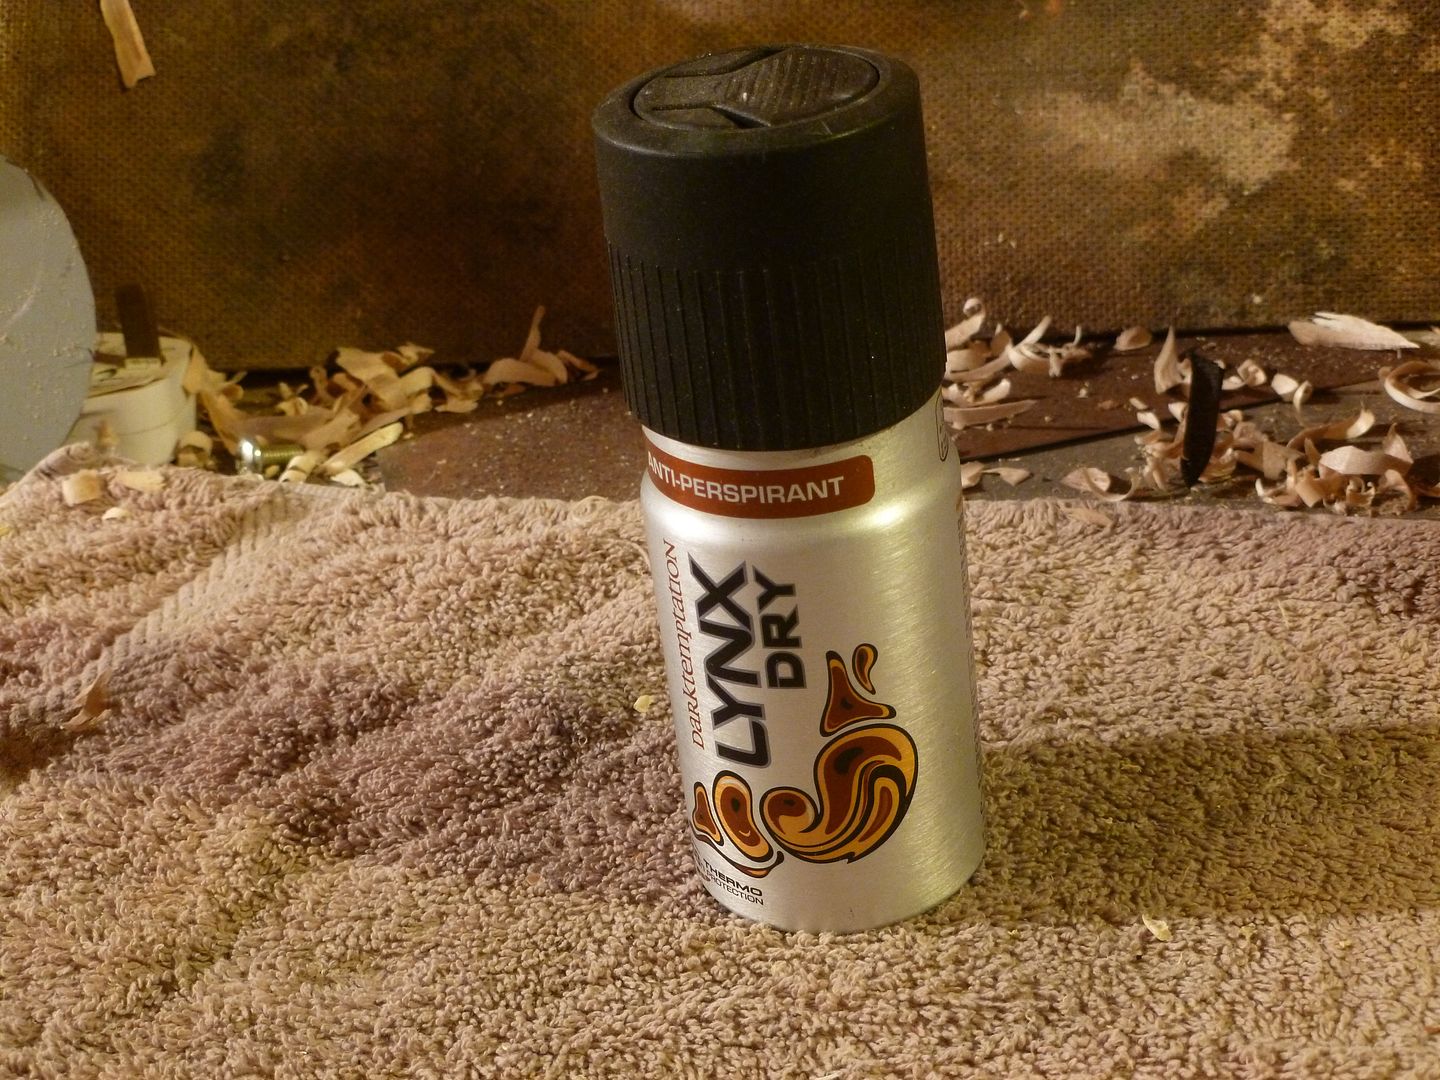
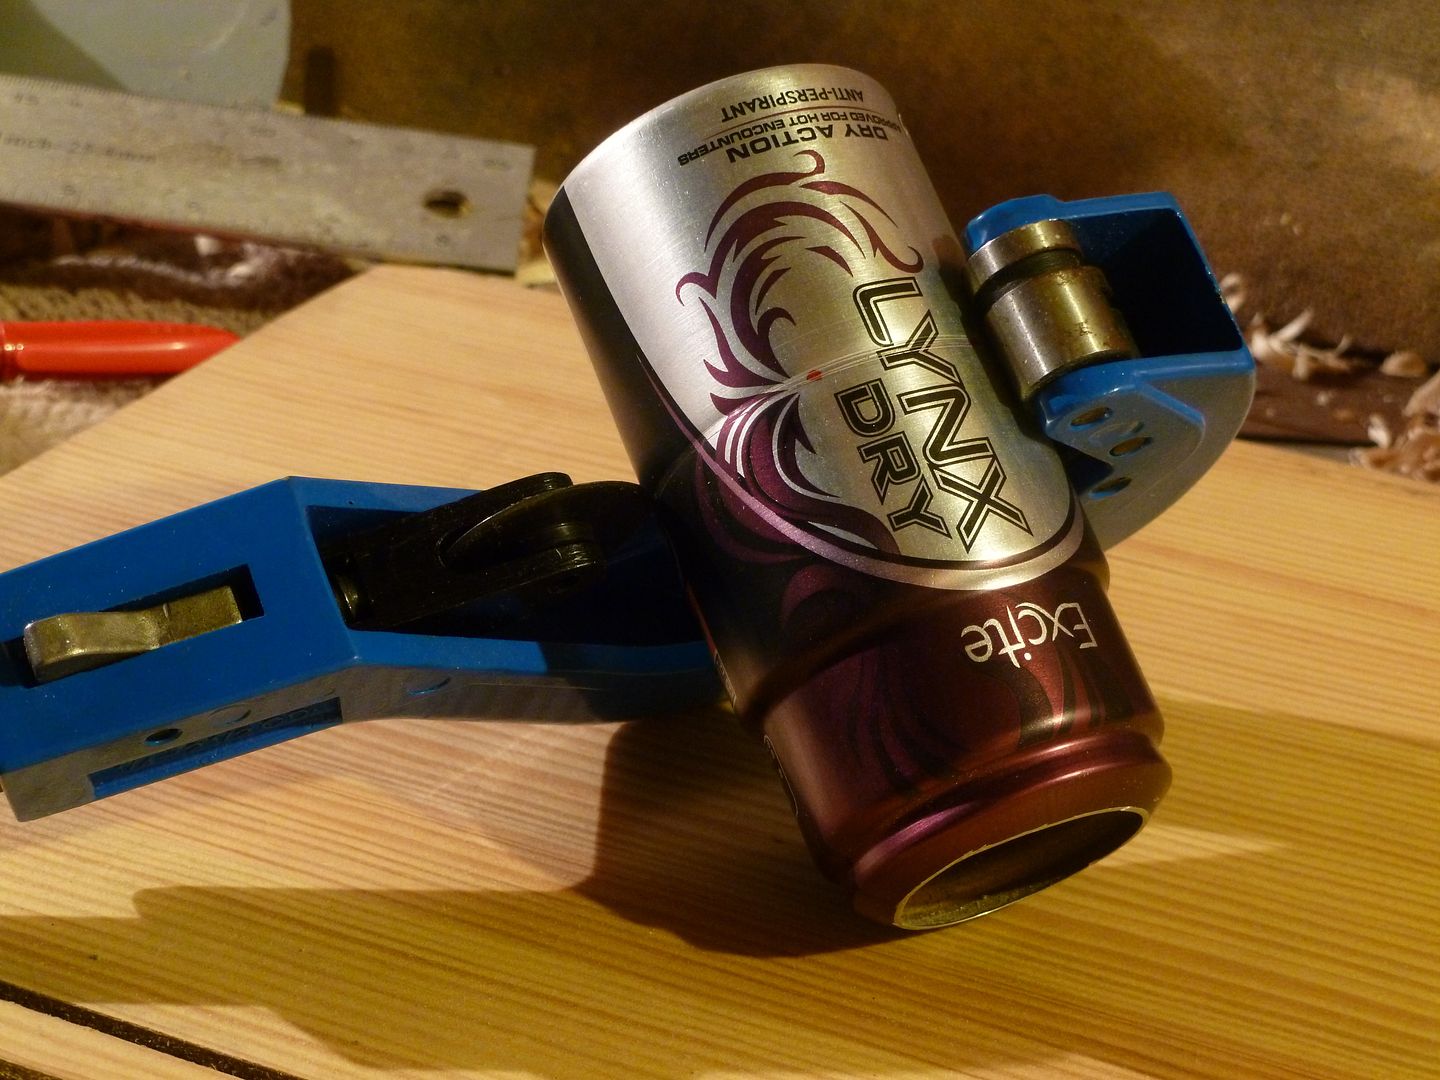
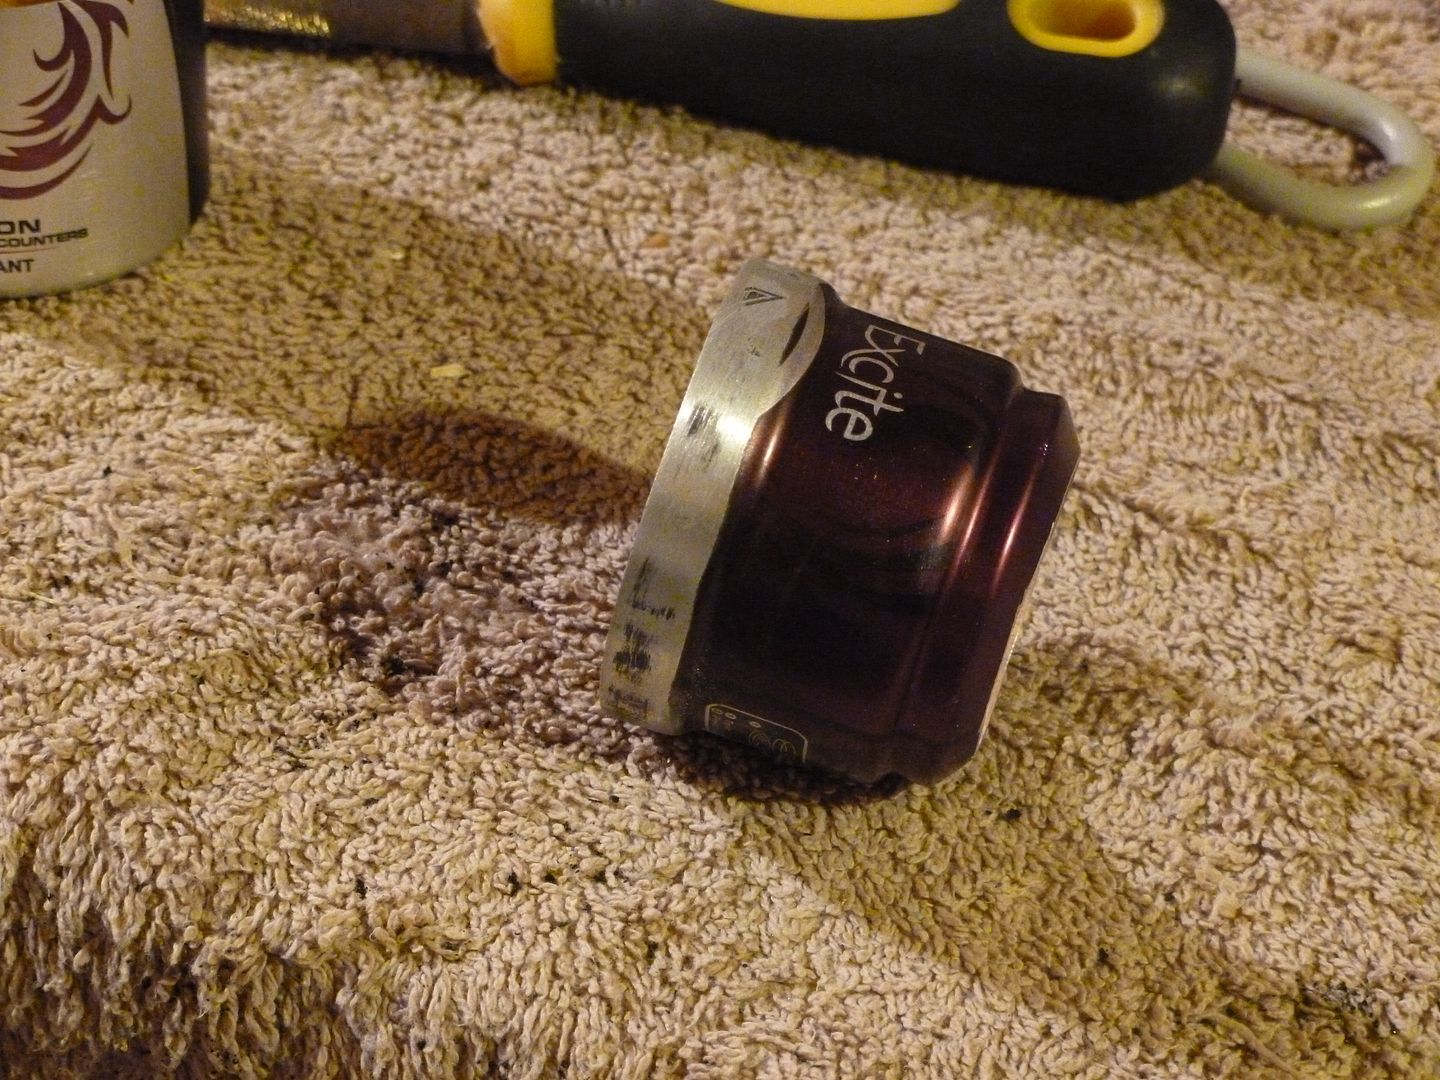
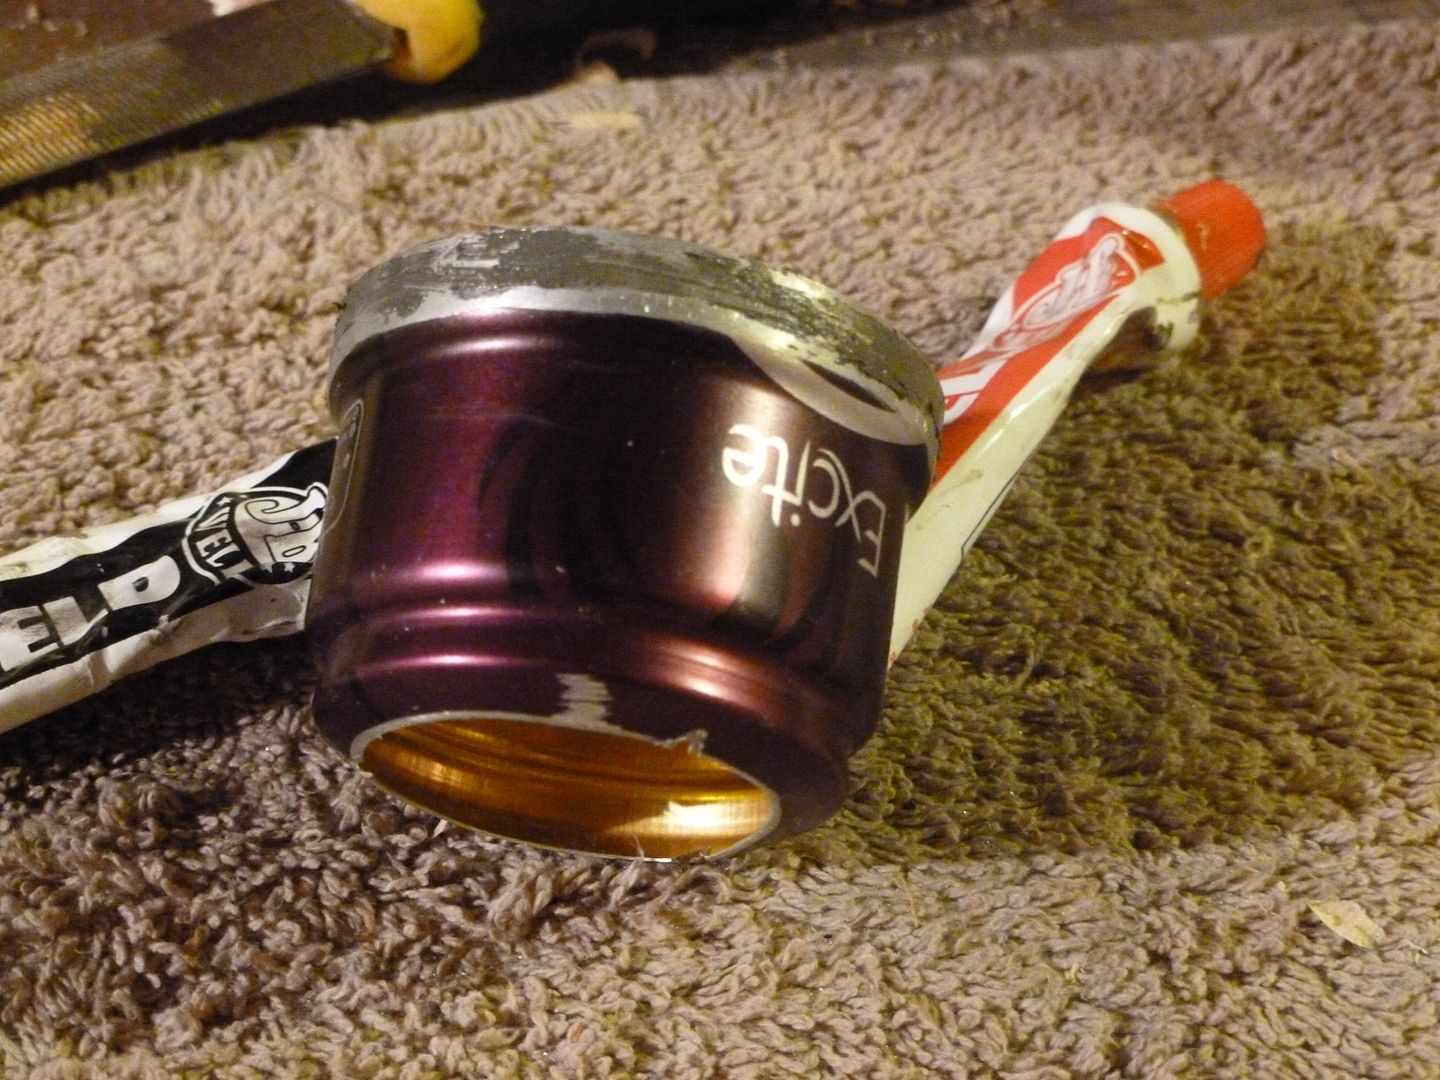
Take one empty can of Lynx, expel all the remaining gas out
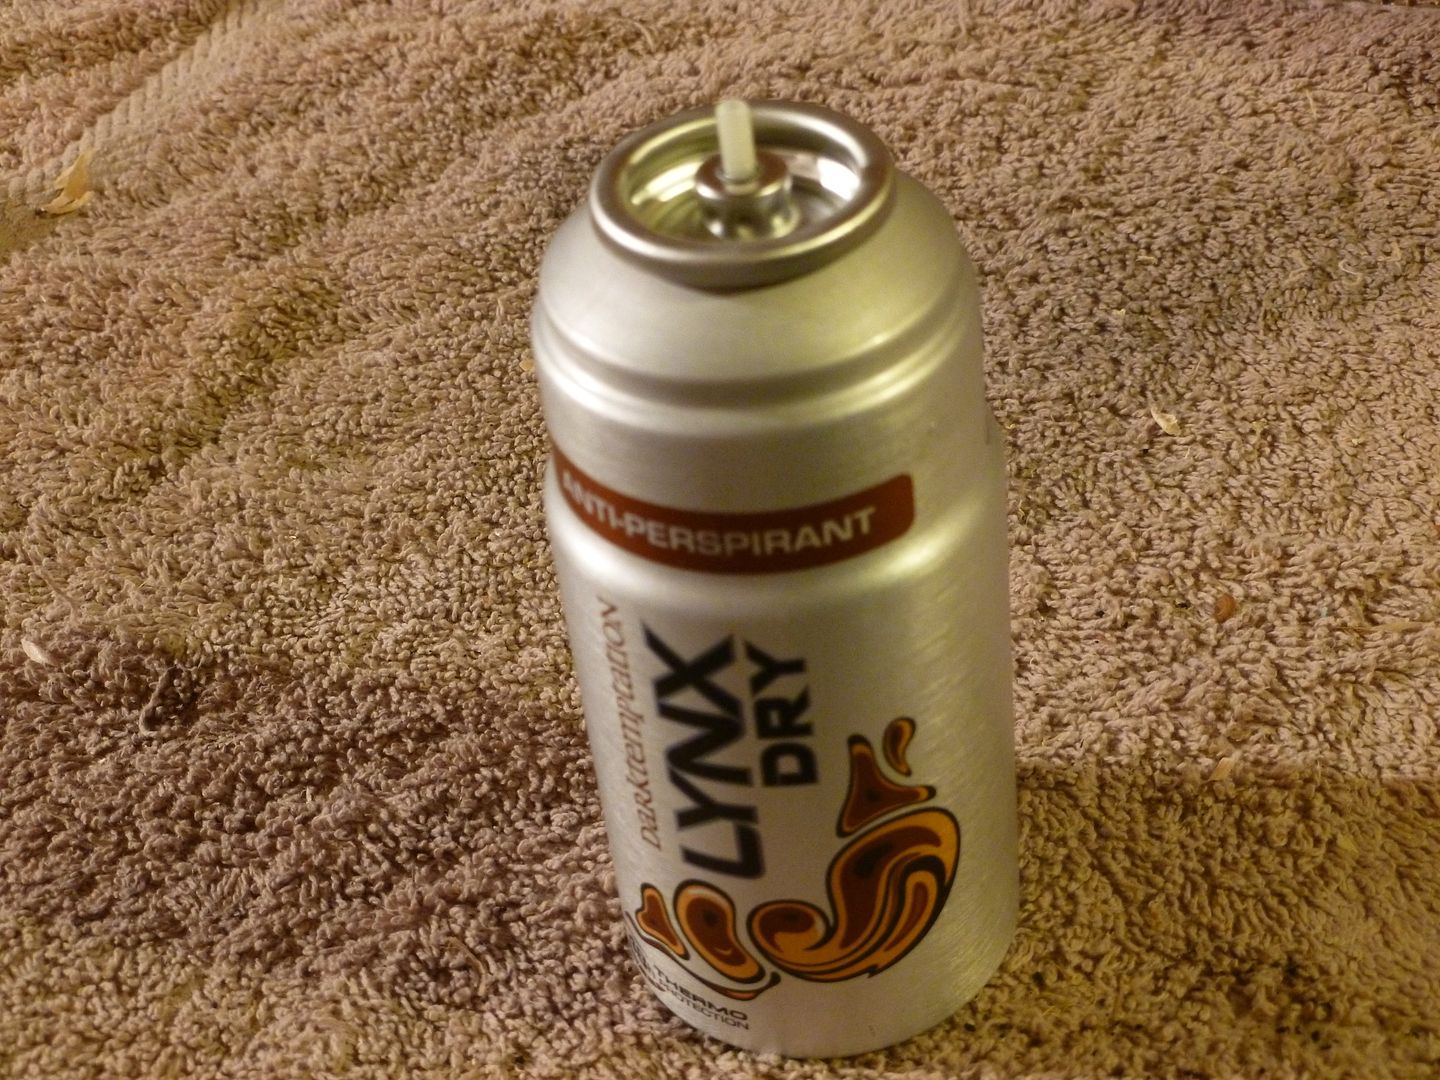
Pull the plastic top off and use pliers to get any gas remains out by squeezing the nozzle until the hissing stops
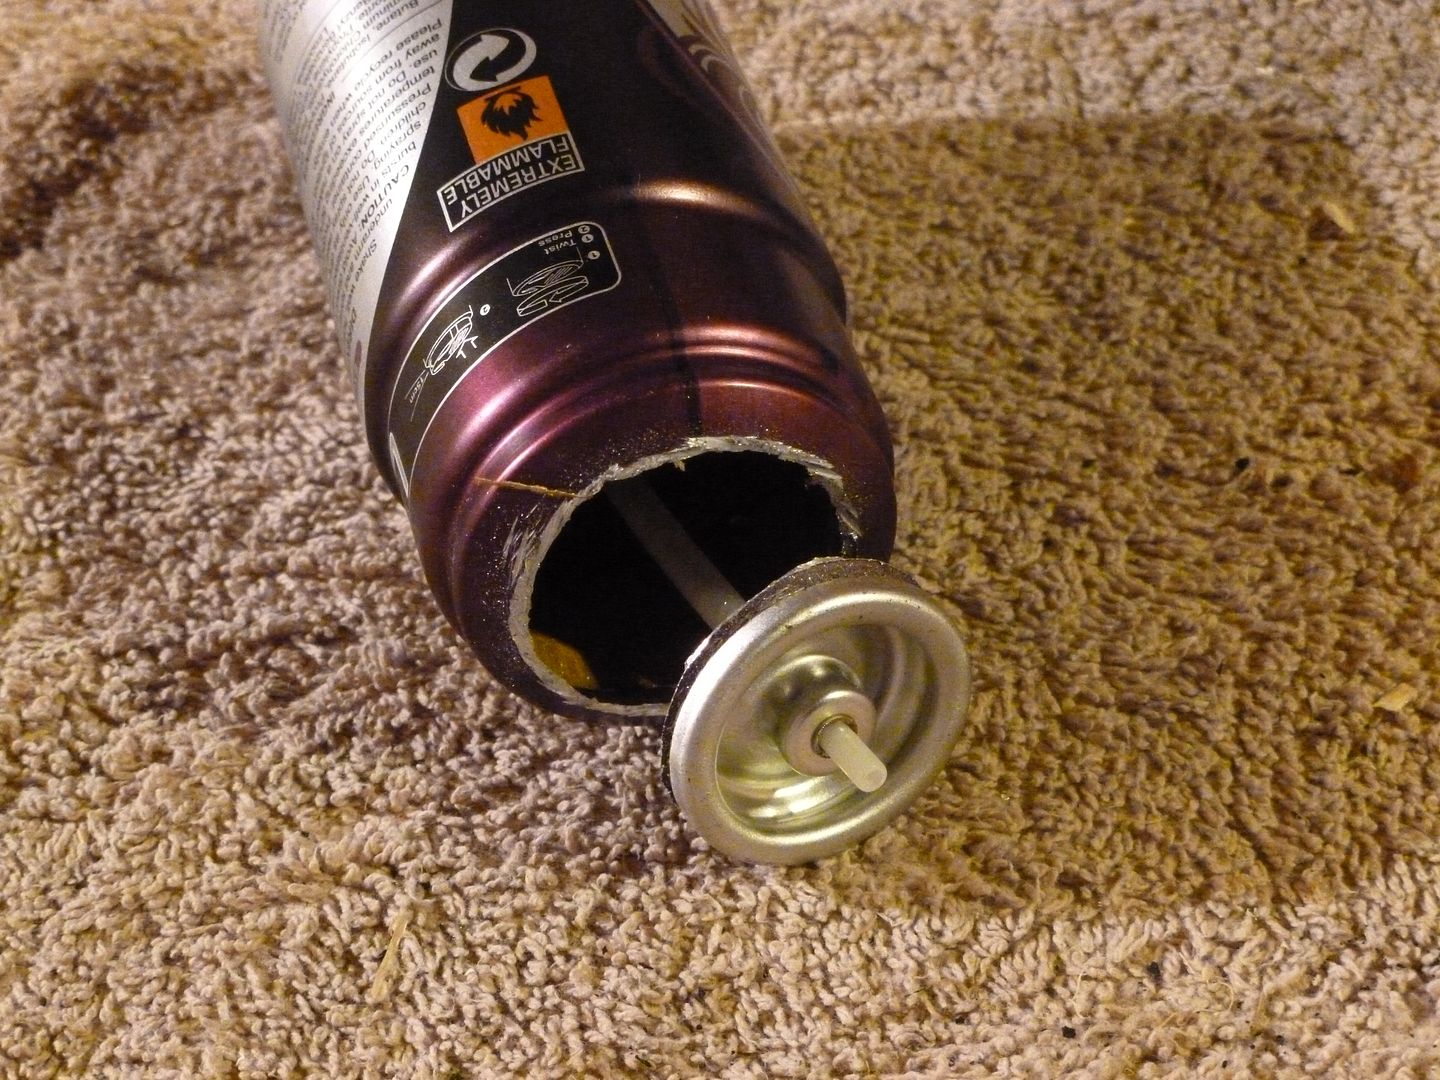
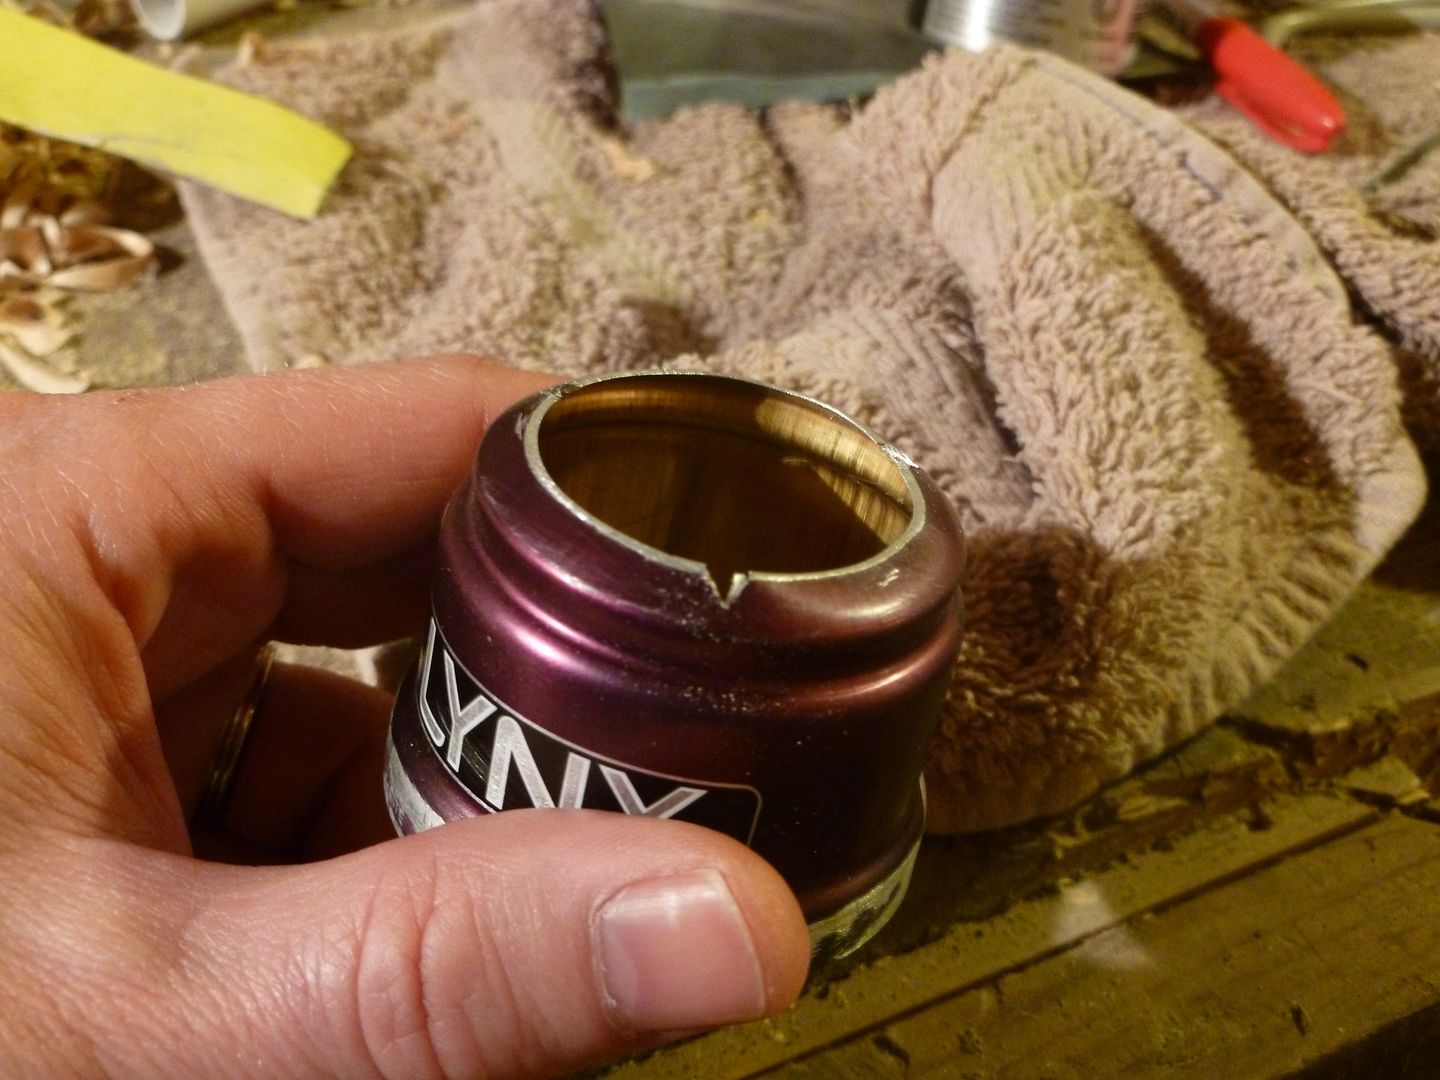
Using a junior hacksaw I start to cut away the metal cap, roughly 2-3mm behind it, just go nice and steady and let the saw do the work, if you force the saw too much the soft ally can tends to bend if the cut bites.
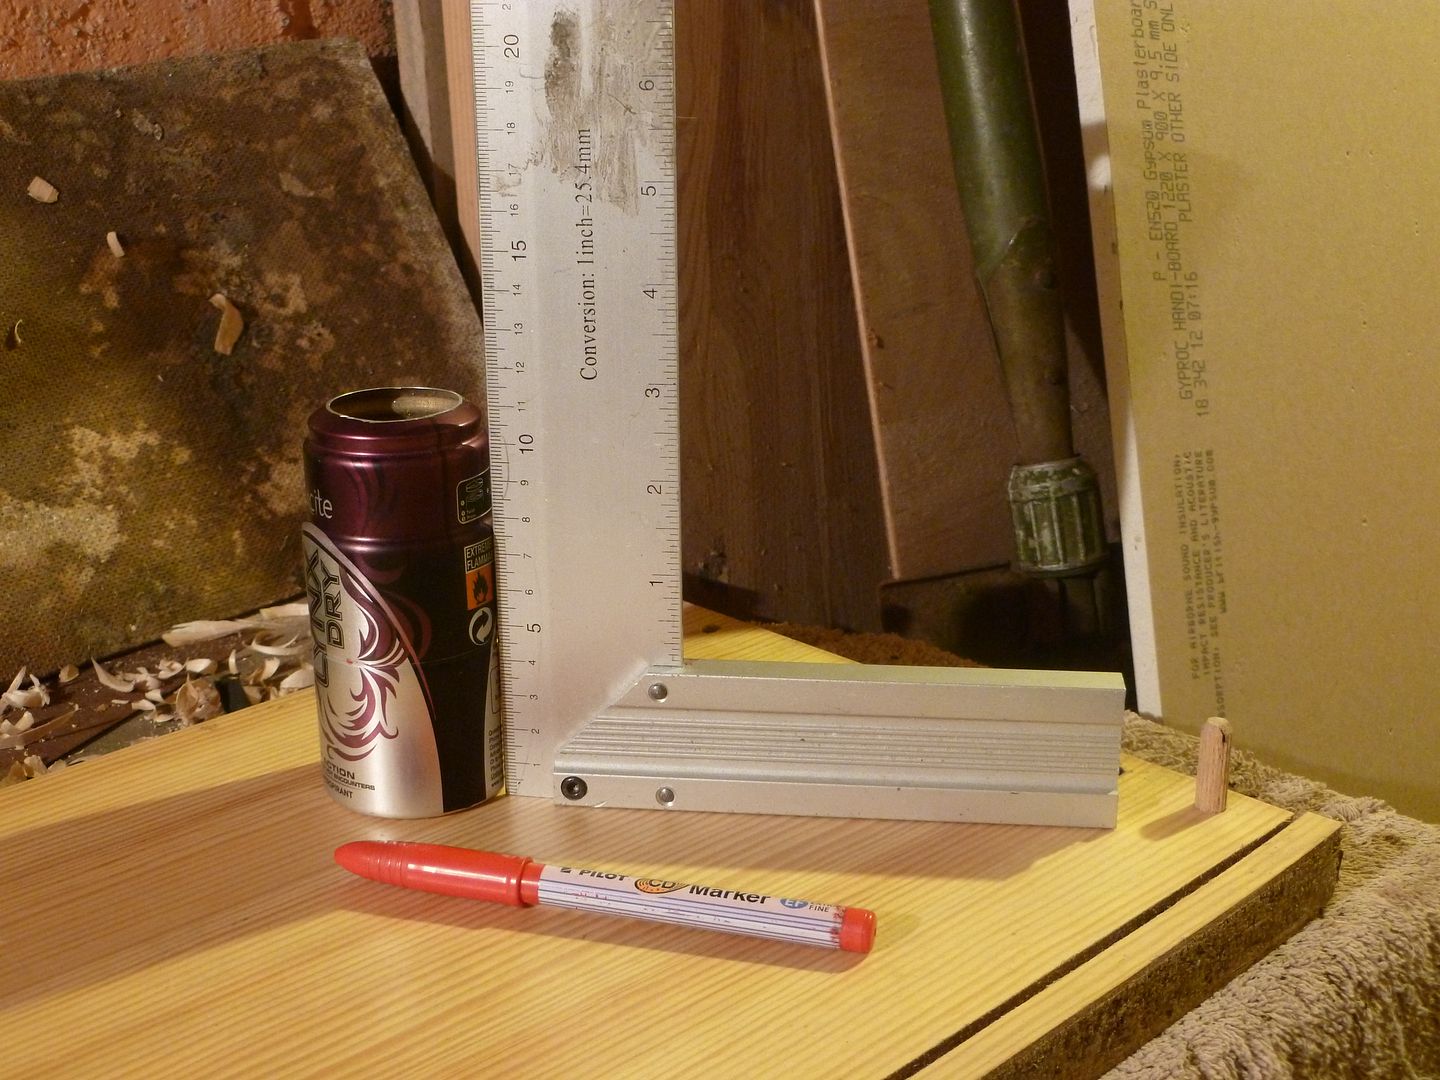
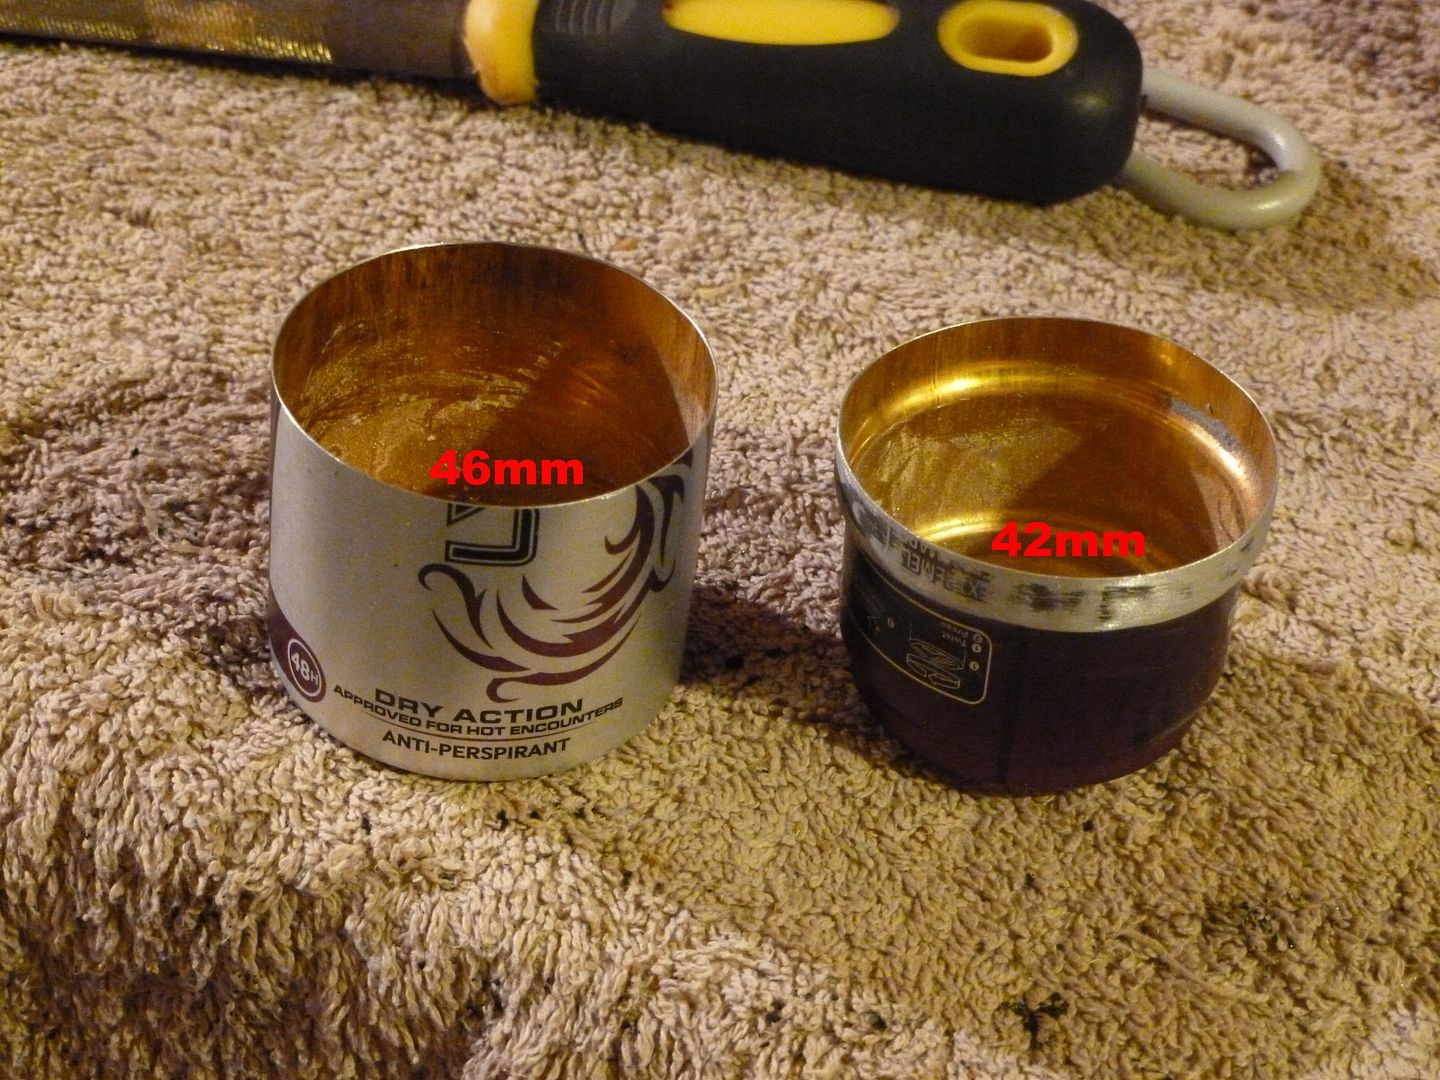
Using a mitre square I measure 46mm from the base of the can and mark four or five times around the circumference
A pipe cutter helps to mark a good line around the can, unfortunately the cans are too soft to cut right through. Filling with water and freezing might be an option if you don't want to do the next stage.
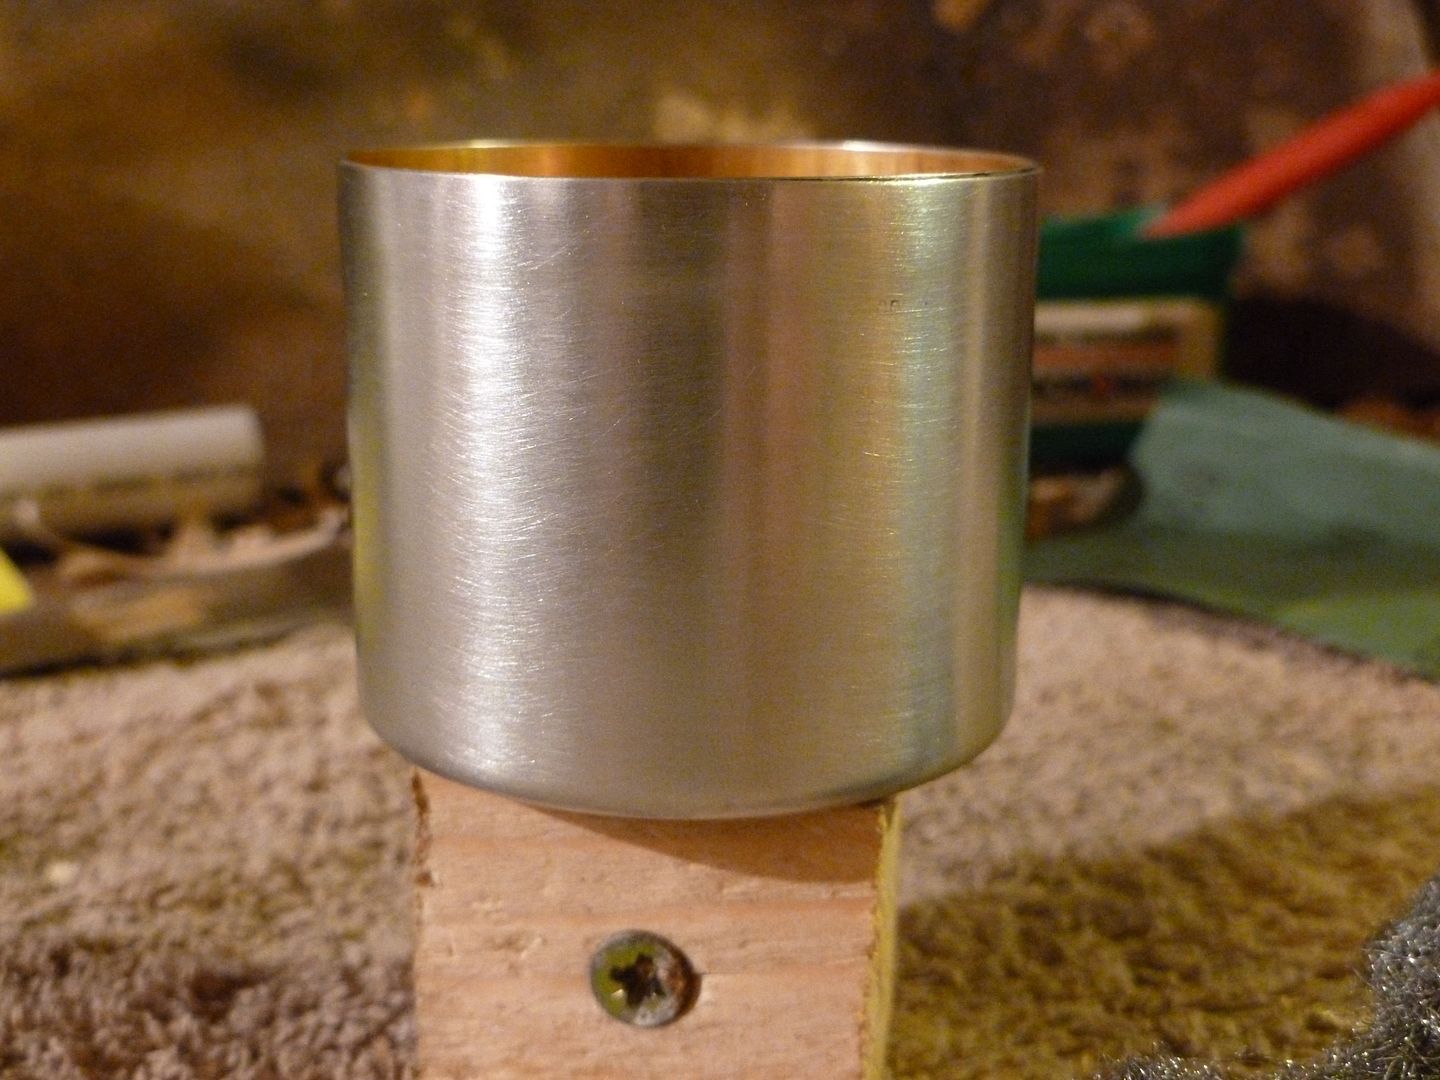
Back to the hacksaw and I cut through the can all the way round following my line
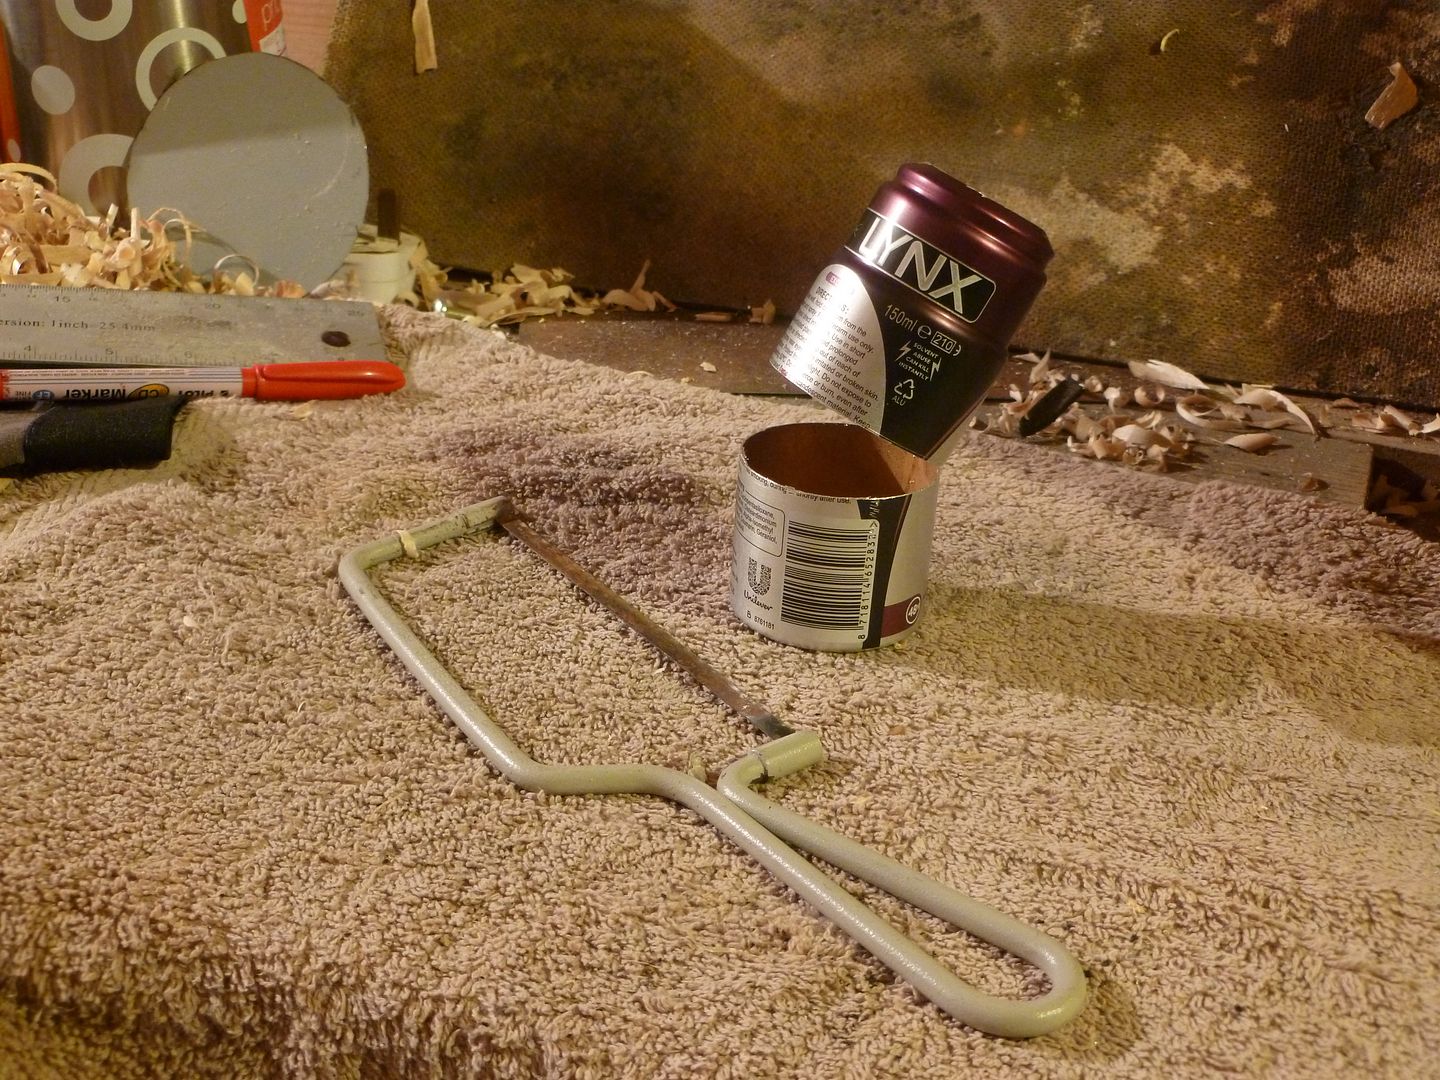
Giving you this, the piece on the left will be the outer and the piece on the right the inner
I forgot to photograph this stage, take the inner piece and file the nozzle end lightly to even up the previous cut, turn the inner onto it's nozzle end, mark and measure 42mm and cut off.
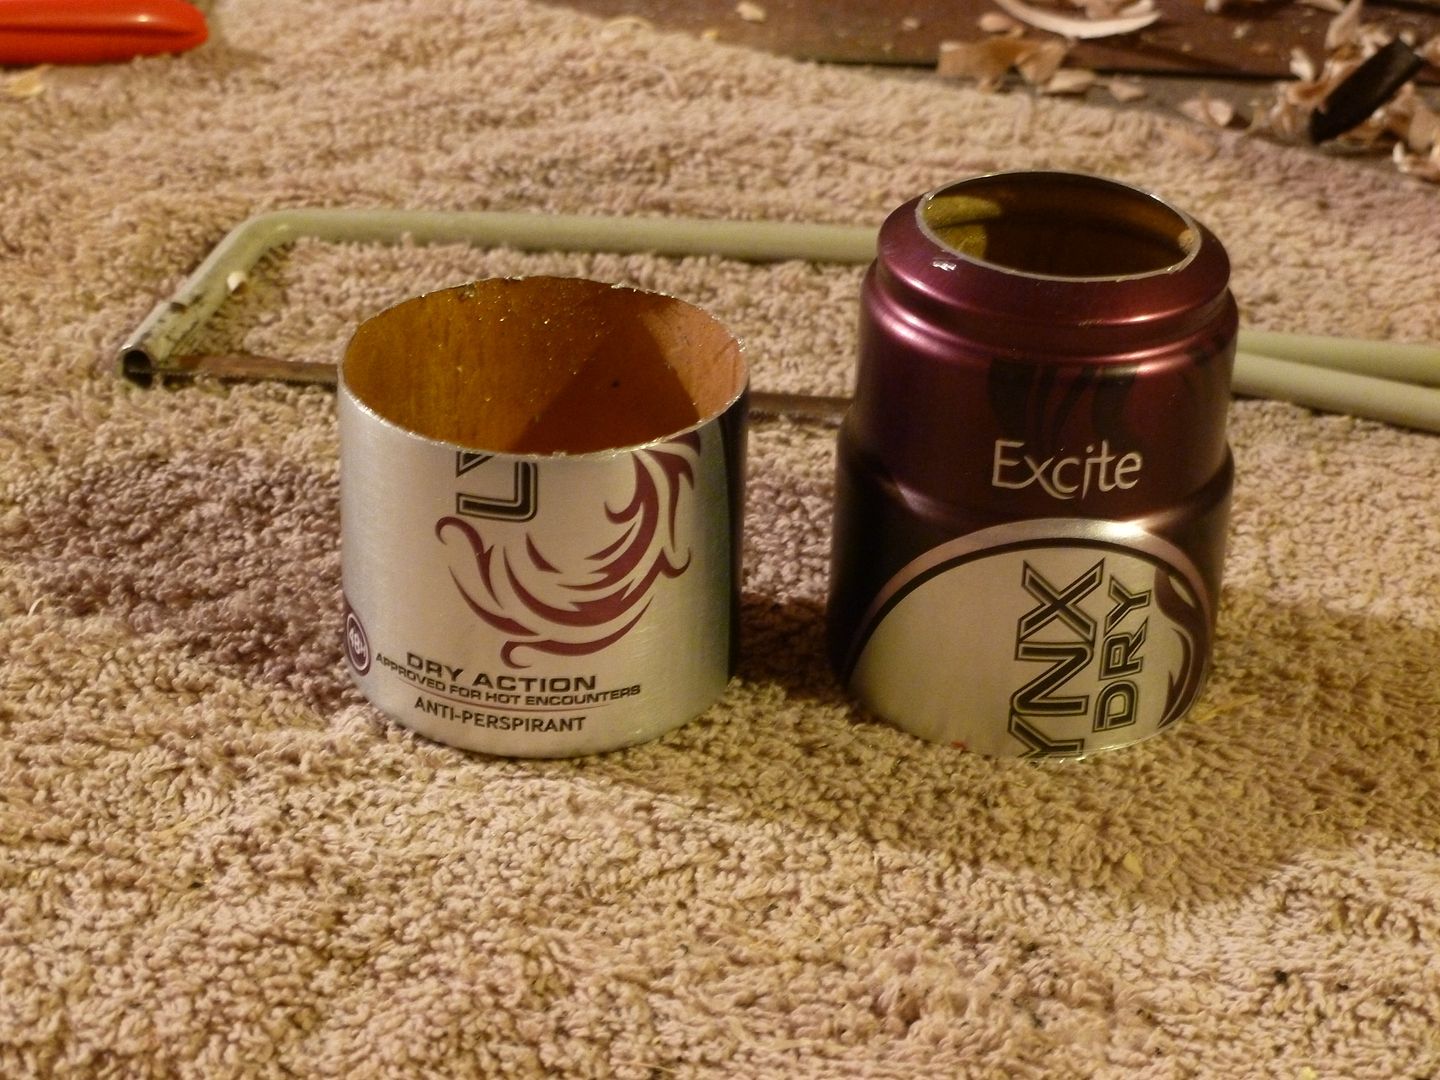
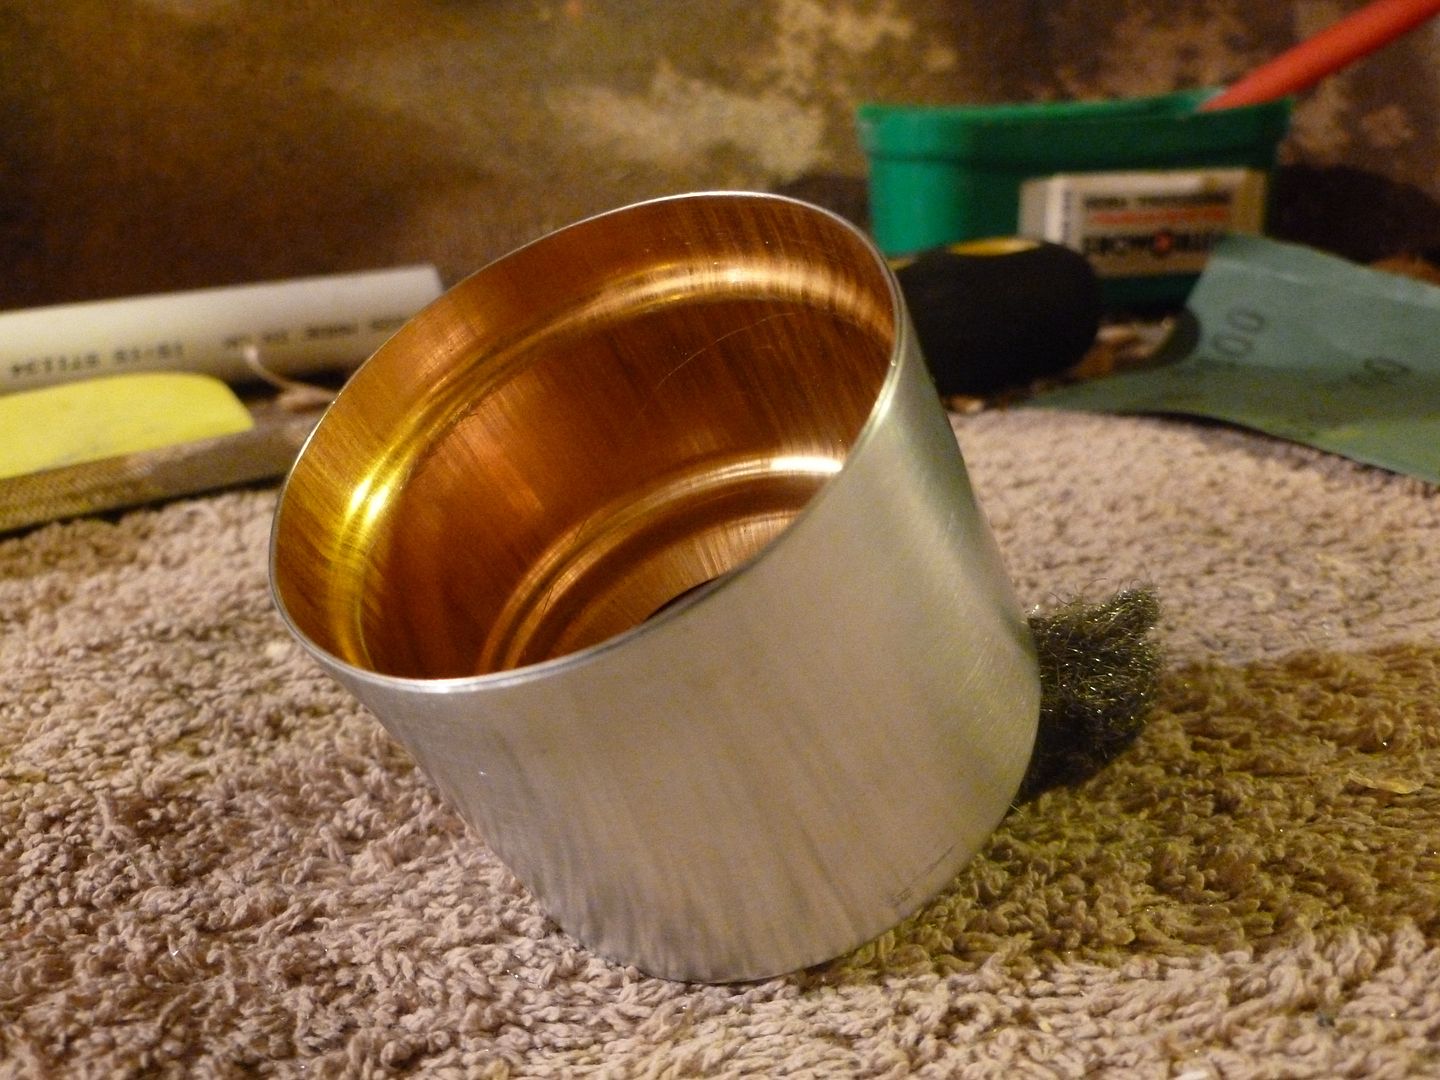
Tidy up the cuts with files and emery paper

Giving you this, I've sanded off some paint on the inner piece
This will allow the JB Weld to bond better
Use a triangular file and make three evenly spaced grooves around the nozzle end
Slide the two pieces together and place in a vice, time for a dry run. If you don't have a vice you can use a hammer and piece of wood if you go gently.
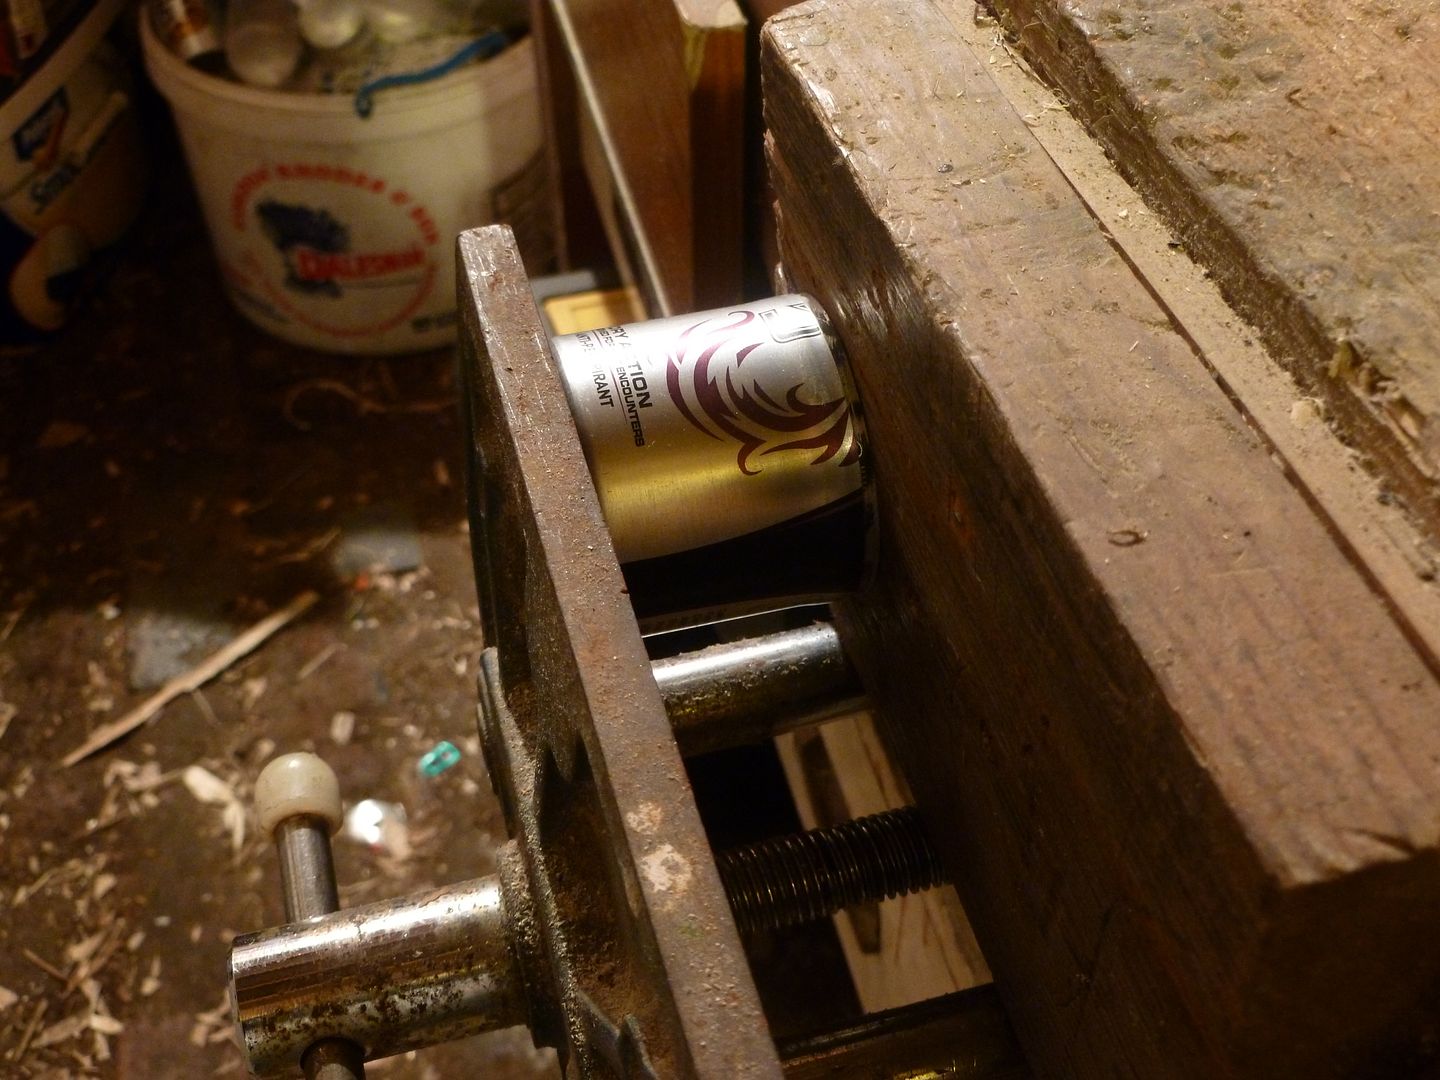
Keep rotating in the vice to make sure the inner presses in evenly. Stop when the inner and outer come together at the bottom.
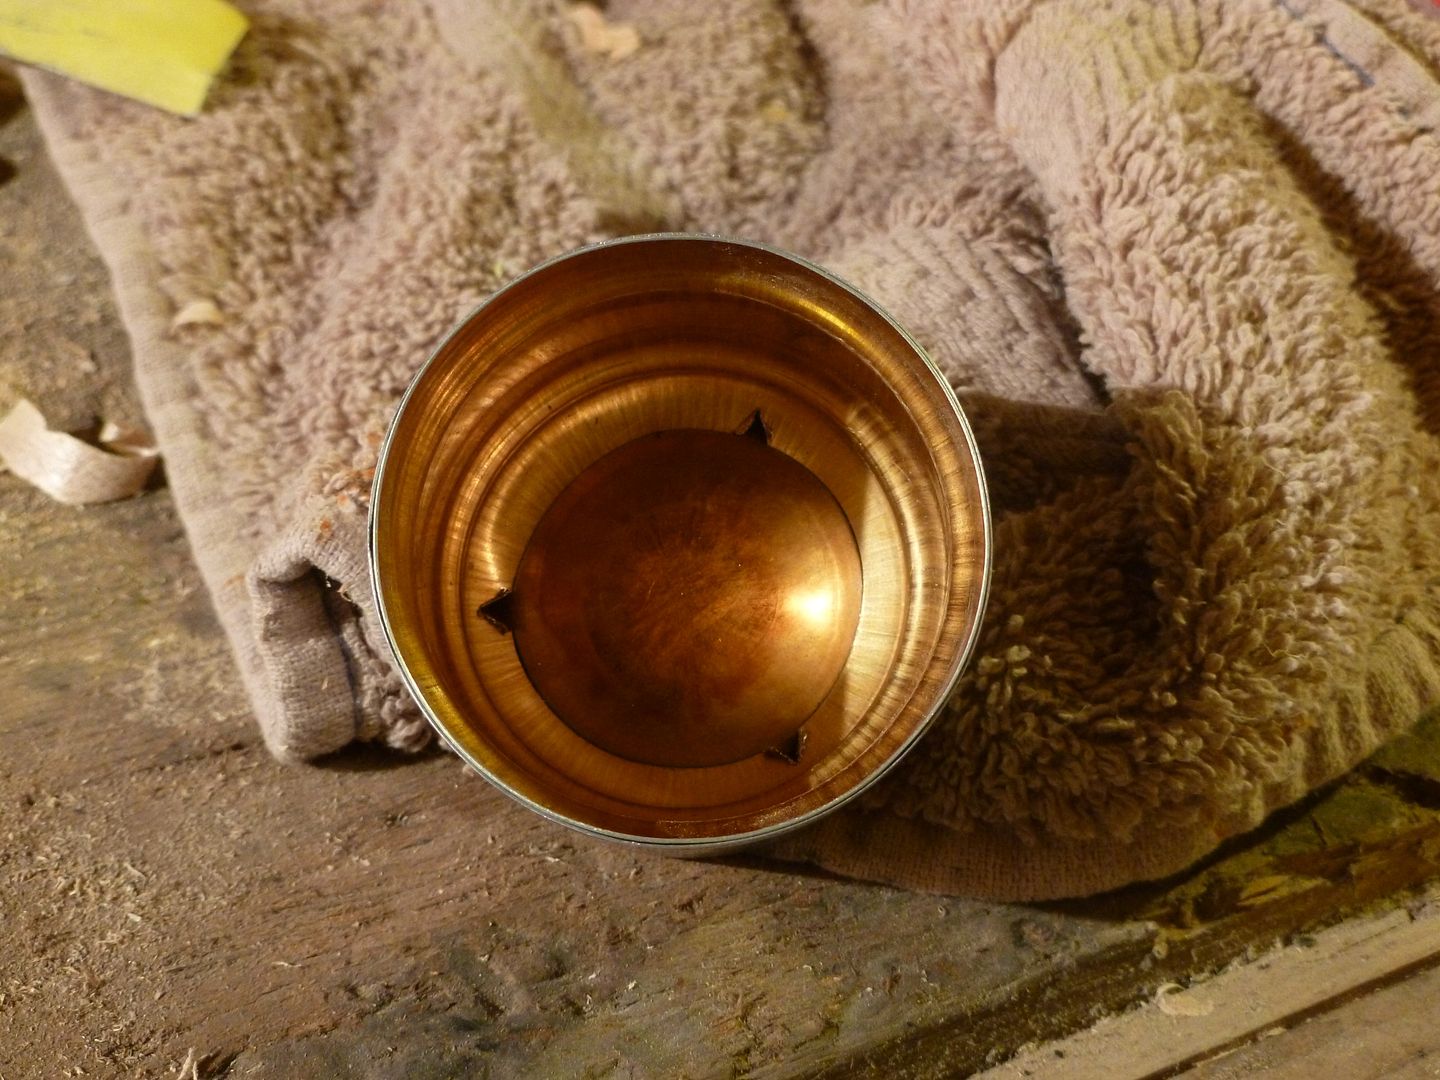
This is a chance to see how the two pieces will look when finished, try and leave around 1mm of the inner rim extruding from the outer, this will be finished later.
I use JB Weld on my stoves, the friction fit is very good when the two pieces are pressed together so it might not be necessary. I prefer to be safe if other people are using my stoves")

A thin layer is applied to the sanded area on the inner then back into the vice, slowly pressing the two pieces together making sure it's even all the way round, rotating in the vice if necessary.
Whilst the JB is going off it's time to remove the paint on the stove, Nitromors used to work really well on Lynx cans but they've changed their printing ways recently, I've found it doesn't touch the print now so it's out with the wire wool.
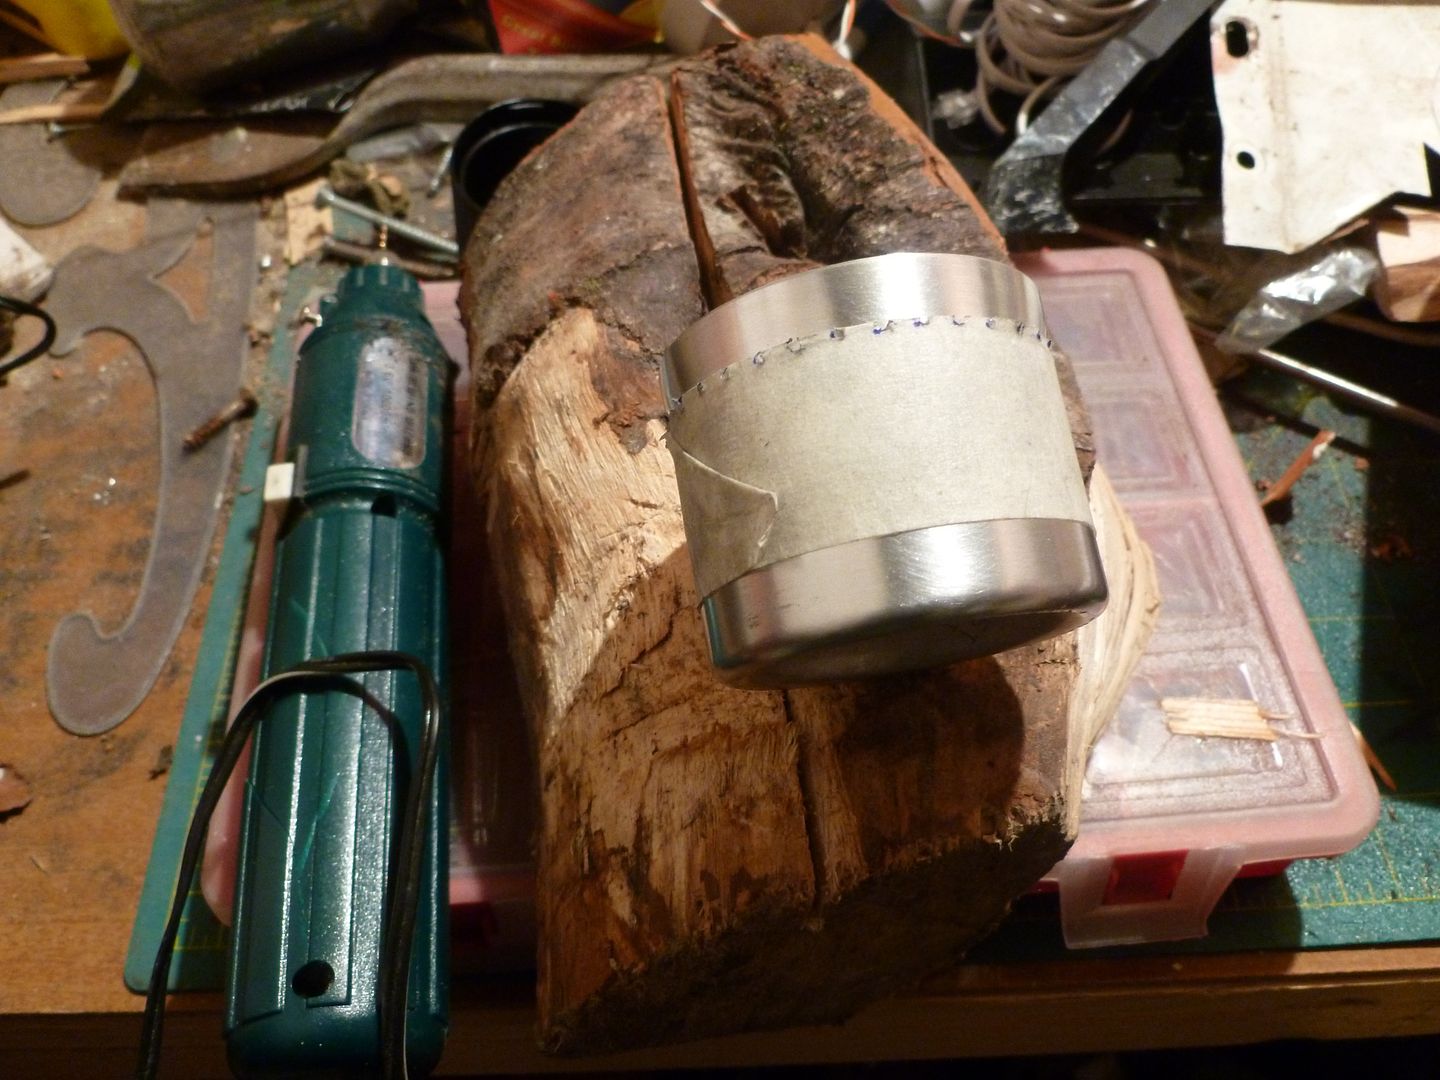
I mark 5mm intervals along the edge of a piece of masking tape and then wrap this around the stove, try and get the edge of the tape about 2mm below the bulge line
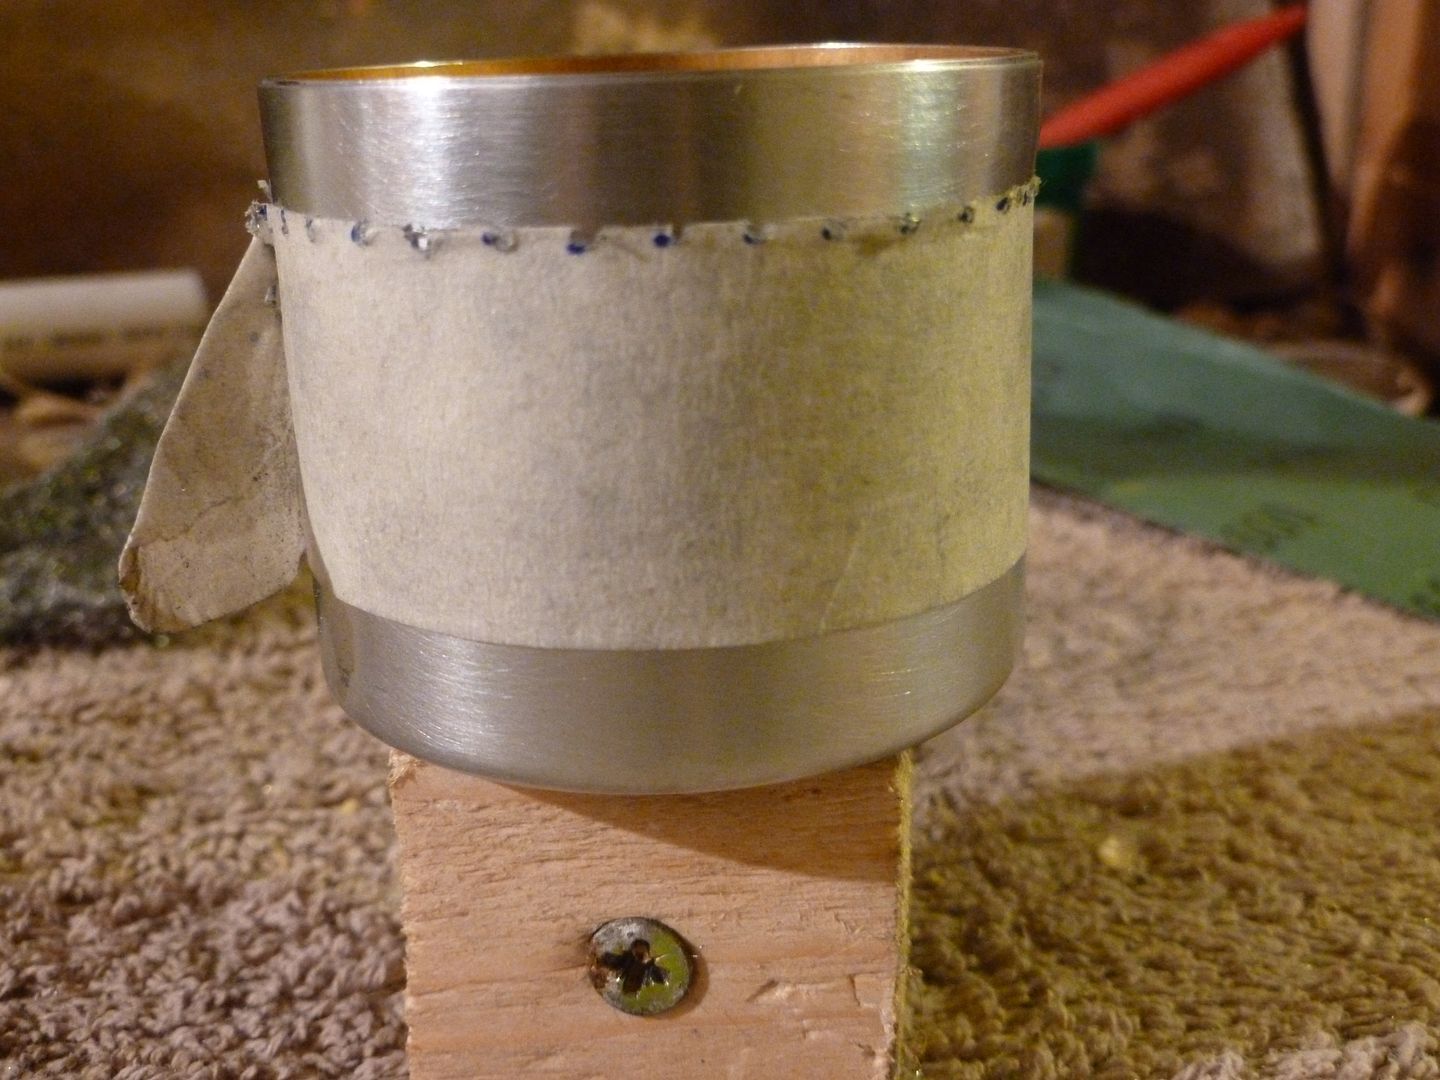
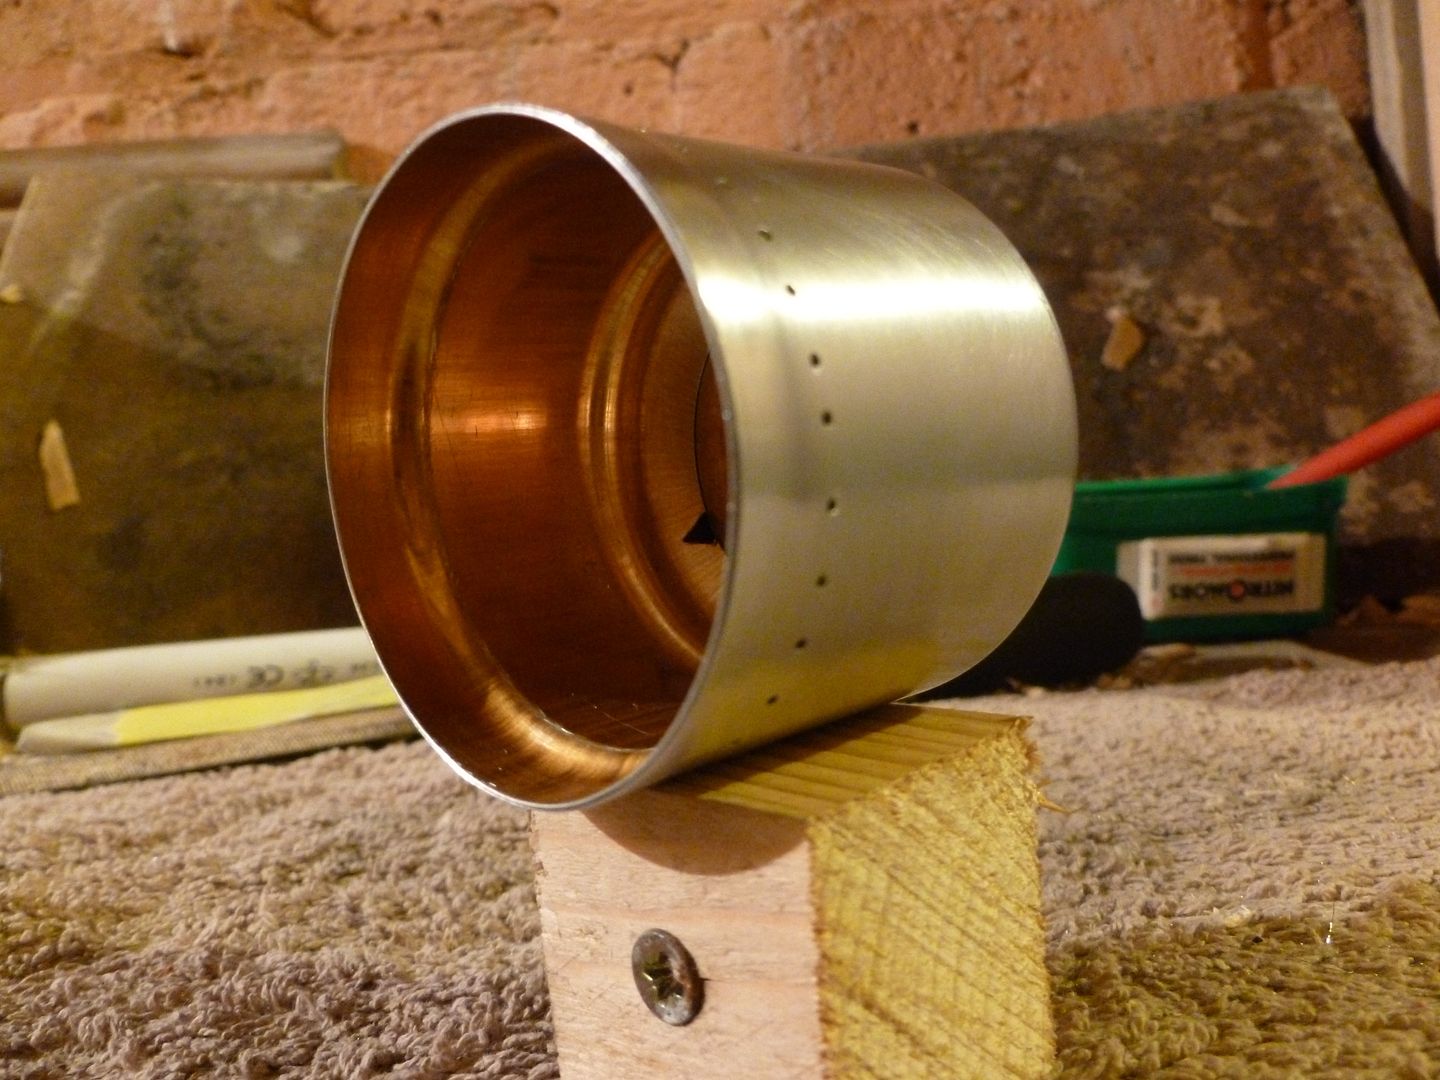
I use my mighty Whirlwind Wizard and a 0.7mm bit to drill holes all the way round following the tape, being careful to only drill through the outer layer of can.
Once all the holes are drilled, remove the tape and wire wool over the holes, let the JB Weld go off over night the stove is good to go the next day.
If there's any inner piece standing proud along the rim take a file to it and bring the two edges together. If there's any buckle or dings around the rim use a piece of dowel and a hard surface to roll them out.
The numbers ...
500ml (2cups) of cold tap water
30ml (1oz) meths
Priming took almost 1 minute, I put this down to the stove and fuel being sat in a cool cellar all day. Once the stove had bloomed I put the pot on to boil.
Boil time for 500ml was just shy of 7 minutes, once the pot had boiled I removed the lid and left it to boil until the fuel ran out, which was at 15 and a half minutes.
Here's a vid as promised, I'm still experimenting with the GoPro and didn't realise it needed to be much closer, at least I know for next time. Stick it on 1080p and full screen for a better view.
[video=youtube;yb5fHSUeLOM]http://www.youtube.com/watch?v=yb5fHSUeLOM&feature=youtu.be[/video]
Take one empty can of Lynx, expel all the remaining gas out

Pull the plastic top off and use pliers to get any gas remains out by squeezing the nozzle until the hissing stops

Using a junior hacksaw I start to cut away the metal cap, roughly 2-3mm behind it, just go nice and steady and let the saw do the work, if you force the saw too much the soft ally can tends to bend if the cut bites.

Using a mitre square I measure 46mm from the base of the can and mark four or five times around the circumference

A pipe cutter helps to mark a good line around the can, unfortunately the cans are too soft to cut right through. Filling with water and freezing might be an option if you don't want to do the next stage.

Back to the hacksaw and I cut through the can all the way round following my line

Giving you this, the piece on the left will be the outer and the piece on the right the inner

I forgot to photograph this stage, take the inner piece and file the nozzle end lightly to even up the previous cut, turn the inner onto it's nozzle end, mark and measure 42mm and cut off.
Tidy up the cuts with files and emery paper

Giving you this, I've sanded off some paint on the inner piece

This will allow the JB Weld to bond better

Use a triangular file and make three evenly spaced grooves around the nozzle end

Slide the two pieces together and place in a vice, time for a dry run. If you don't have a vice you can use a hammer and piece of wood if you go gently.

Keep rotating in the vice to make sure the inner presses in evenly. Stop when the inner and outer come together at the bottom.

This is a chance to see how the two pieces will look when finished, try and leave around 1mm of the inner rim extruding from the outer, this will be finished later.
I use JB Weld on my stoves, the friction fit is very good when the two pieces are pressed together so it might not be necessary. I prefer to be safe if other people are using my stoves

A thin layer is applied to the sanded area on the inner then back into the vice, slowly pressing the two pieces together making sure it's even all the way round, rotating in the vice if necessary.

Whilst the JB is going off it's time to remove the paint on the stove, Nitromors used to work really well on Lynx cans but they've changed their printing ways recently, I've found it doesn't touch the print now so it's out with the wire wool.


I mark 5mm intervals along the edge of a piece of masking tape and then wrap this around the stove, try and get the edge of the tape about 2mm below the bulge line

I use my mighty Whirlwind Wizard and a 0.7mm bit to drill holes all the way round following the tape, being careful to only drill through the outer layer of can.

Once all the holes are drilled, remove the tape and wire wool over the holes, let the JB Weld go off over night the stove is good to go the next day.

If there's any inner piece standing proud along the rim take a file to it and bring the two edges together. If there's any buckle or dings around the rim use a piece of dowel and a hard surface to roll them out.
The numbers ...
500ml (2cups) of cold tap water
30ml (1oz) meths
Priming took almost 1 minute, I put this down to the stove and fuel being sat in a cool cellar all day. Once the stove had bloomed I put the pot on to boil.
Boil time for 500ml was just shy of 7 minutes, once the pot had boiled I removed the lid and left it to boil until the fuel ran out, which was at 15 and a half minutes.
Here's a vid as promised, I'm still experimenting with the GoPro and didn't realise it needed to be much closer, at least I know for next time. Stick it on 1080p and full screen for a better view.
[video=youtube;yb5fHSUeLOM]http://www.youtube.com/watch?v=yb5fHSUeLOM&feature=youtu.be[/video]
Last edited:

 It works very, very well indeed
