This method does not have the space requirements of the long set up
http://www.bushcraftuk.com/forum/showthread.php?t=73160
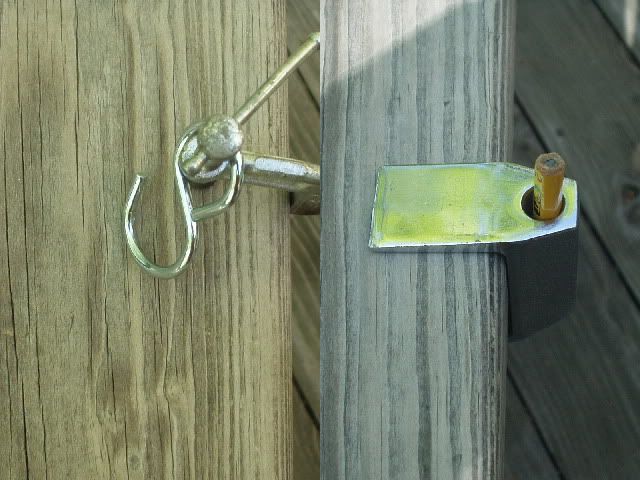
but does require more time to set up. You will need 3 "S hooks in addition to the hook at the fixed point (left picture) and the hook in the hand drill. Place the hand drill about about 25% farther from the fixed point than the finished rope will be (experience will guide you). Place a moveable upright support (right photo) near the finished point.
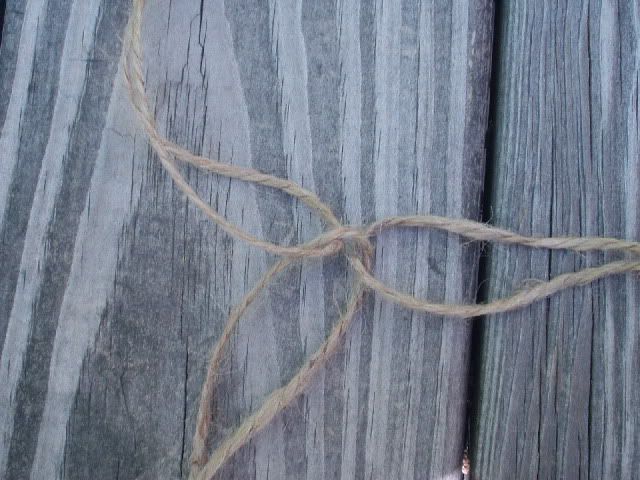
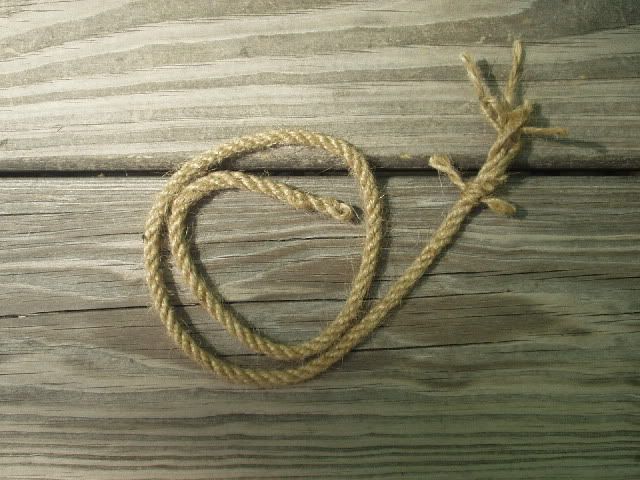
1. Tie 3 (or 2, 4 . . .) loops EXACTLY the same size. One loop should be placed through the others.
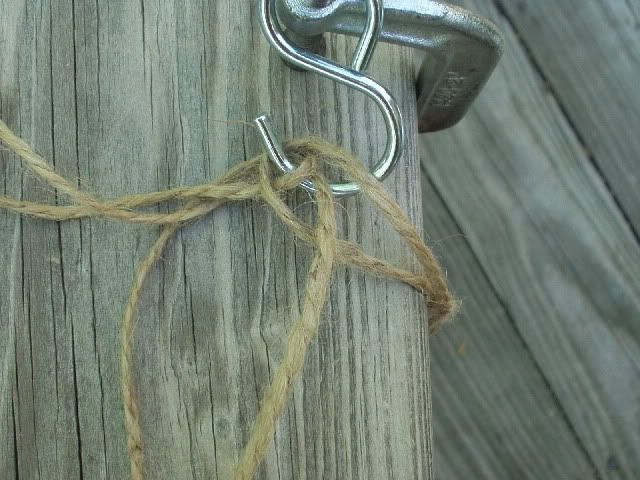
2. Place all 3 loops over the fixed hook (unknotted end).
3. Take your first "S" hook and place it on the hook of the hand drill. Put the knotted end of the first loop over the other end of the "S" hook and turn the handle CLOCKWISE. Keep track of the number of turns you make. When a kink develops when tension is released put the "S" hook on the upright support. Repeat with second and third loop.
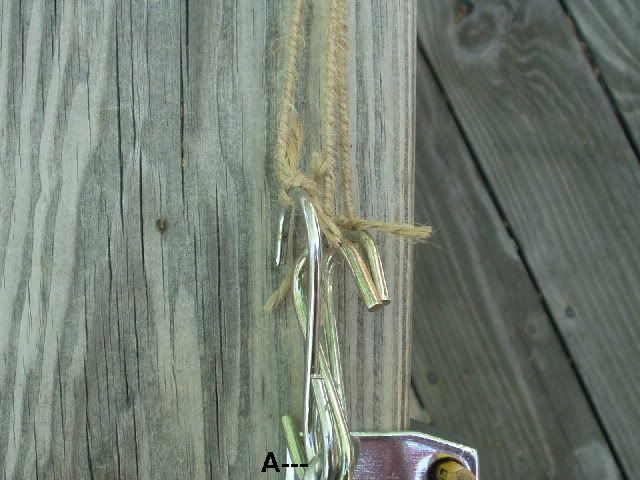
4. Put hook of hand drill through all 3 "S" hooks. See A below.
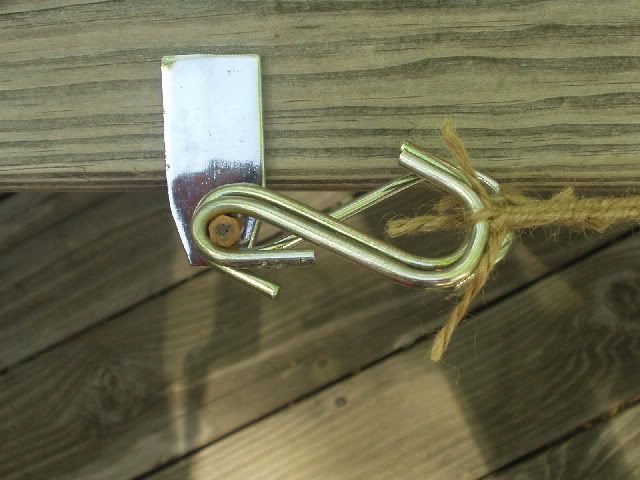
5. Turn the drill handle COUNTER-CLOCKWISE. Over-twist this a little. Sieze the end with the 3 "S" hooks (clove hitch, constrictor knot . . .) There is no need to sieze the other end.
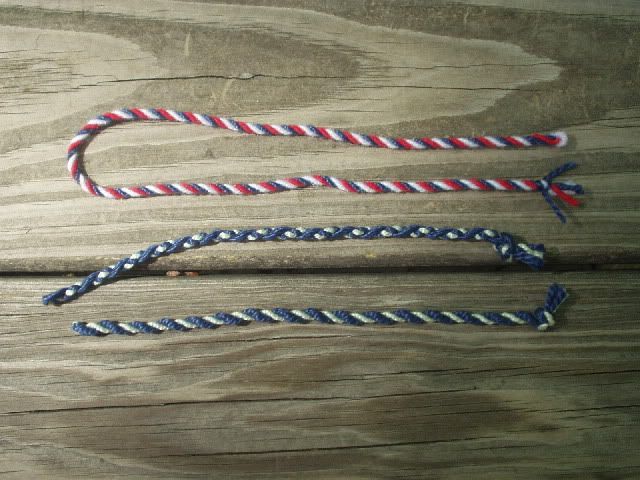
Changing the colors and thickness and number of the loops will produce attractive variations. You can also combine already twisted strands with untwisted strands. Experiment. Tony
http://www.bushcraftuk.com/forum/showthread.php?t=73160
but does require more time to set up. You will need 3 "S hooks in addition to the hook at the fixed point (left picture) and the hook in the hand drill. Place the hand drill about about 25% farther from the fixed point than the finished rope will be (experience will guide you). Place a moveable upright support (right photo) near the finished point.
1. Tie 3 (or 2, 4 . . .) loops EXACTLY the same size. One loop should be placed through the others.
2. Place all 3 loops over the fixed hook (unknotted end).
3. Take your first "S" hook and place it on the hook of the hand drill. Put the knotted end of the first loop over the other end of the "S" hook and turn the handle CLOCKWISE. Keep track of the number of turns you make. When a kink develops when tension is released put the "S" hook on the upright support. Repeat with second and third loop.
4. Put hook of hand drill through all 3 "S" hooks. See A below.
5. Turn the drill handle COUNTER-CLOCKWISE. Over-twist this a little. Sieze the end with the 3 "S" hooks (clove hitch, constrictor knot . . .) There is no need to sieze the other end.
Changing the colors and thickness and number of the loops will produce attractive variations. You can also combine already twisted strands with untwisted strands. Experiment. Tony
Last edited: