A couple of months ago I bought a very cheap sewing machine - about £25 quid from one of those shops that sell lots of cheap stuff made by obscure brands - so I could have a try and see if it is worth eventually getting something more expensive or perhaps just learn more about them so I can get a bargain at a car-boot sale.
I made a couple of stuff sacks and a little hanging pocket for the ridgeline of my hammock but then, after much research on this forum, I took the plunge and made and underquilt. The material was from "fabrics'n'stuff", the insulation is primaloft from "extremtextil" (the usual - no affiliations just good reviews/recommendations from this site).
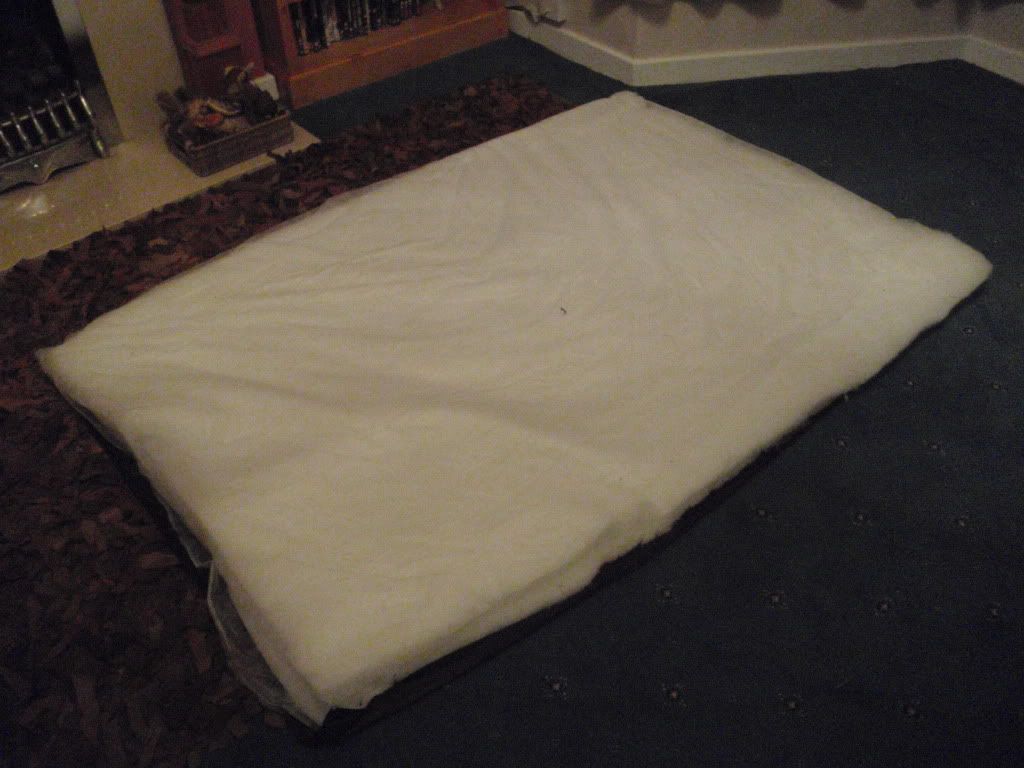
I made a few drawings but to be honest a lot of it was made up as I went along and ran into problems I hadn't foreseen.
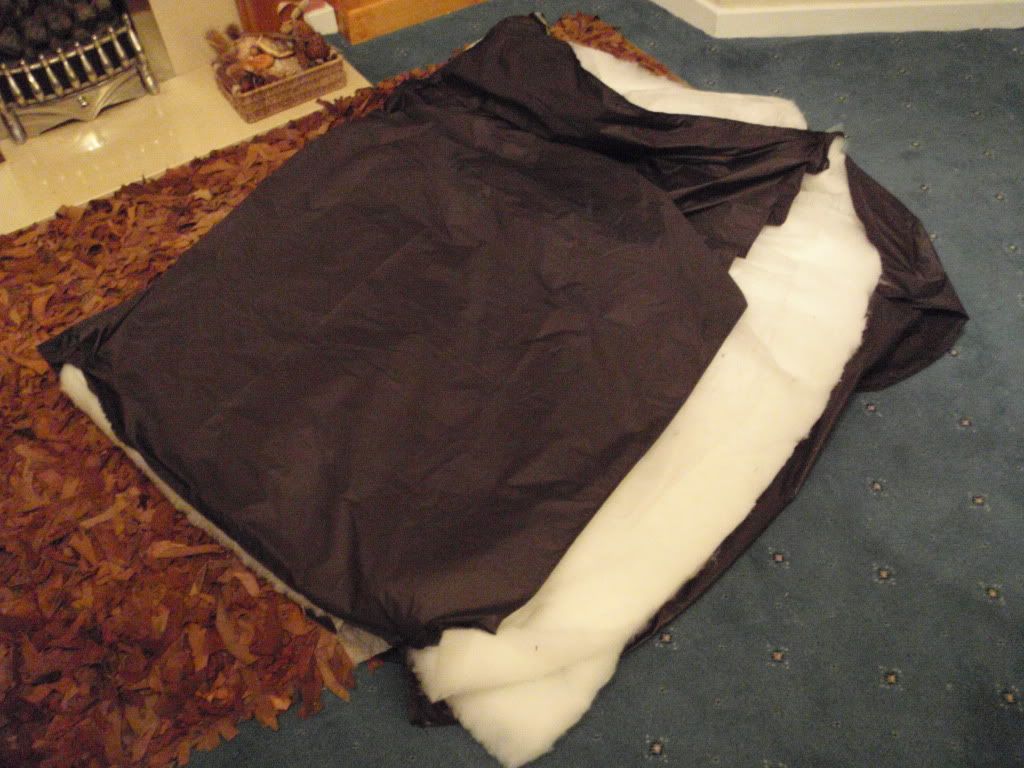
I tried to make the underneath wider than the upper so that the insulation wouldn't be compressed too much when the quilt was curved around me. In the end this has "sort of" worked but could be done much better.
The photos below (sorry about the quality) show the various stages. It will attach using the shockcords hung over the gathered ends of my hammock. The ends can be gathered up to keep cold air out - I'll need to play with it a bit to get the optimum "gathered in-ness". The seams were finished with black grosgrain.
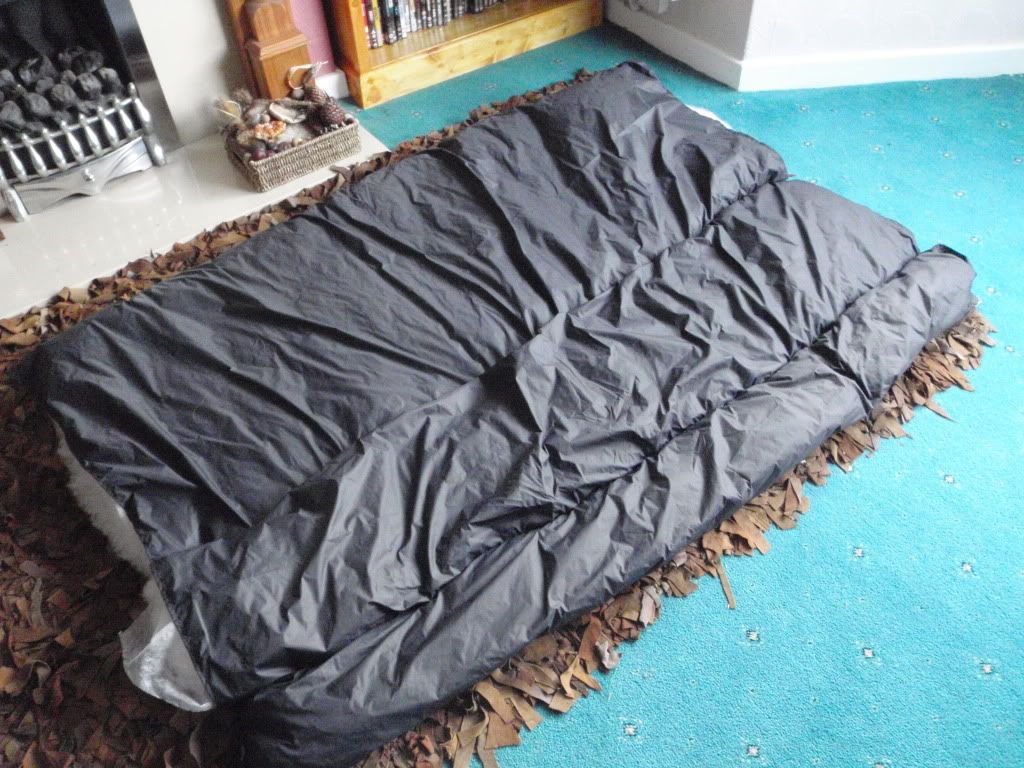

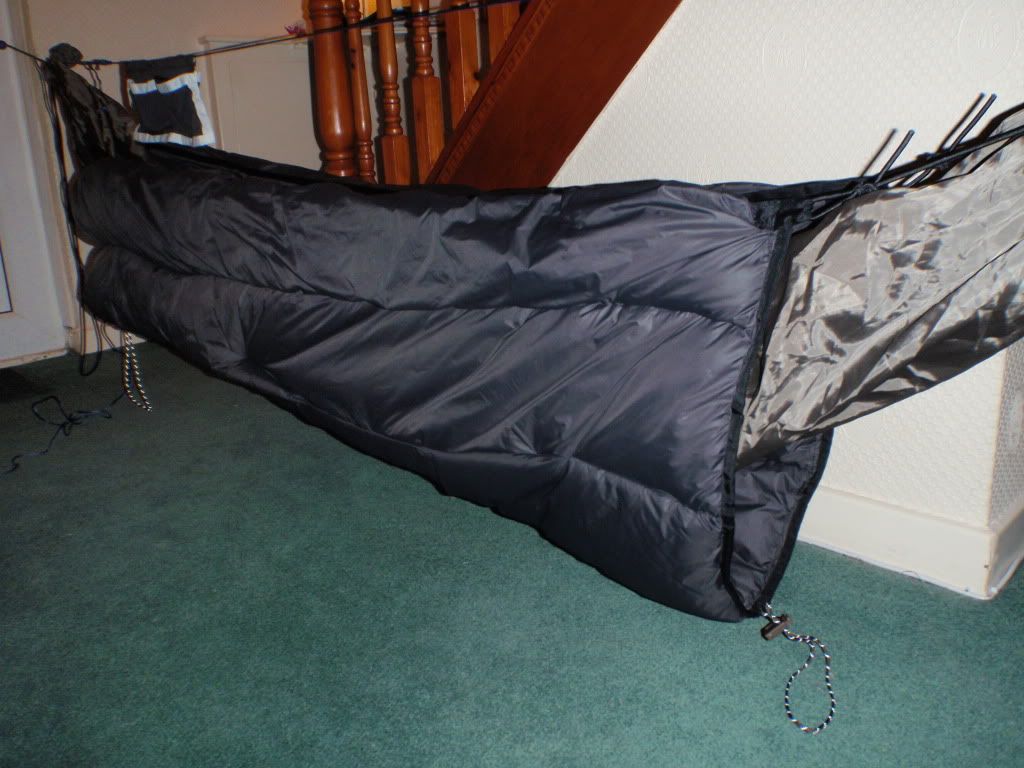
The seams and quilting stitchlines are very wonky, it will never win any prizes for beauty - but I think it will work. It is certainly very warm (I used it as an extra duvet last weekend when my boiler broke). I know it is a bad workman that blames his tools but I don't really think I could make it any better than this without a signifcant upgrade to my sewing machine. Until then I'm quite happily making my own ugly yet functional gear for much less than it would cost to buy it ready made and having tremendous fun doing it.
The next step is to make a "weather shield" for it, to stop splashes of water hitting it from below and add another layer of wind resistance.
I made a couple of stuff sacks and a little hanging pocket for the ridgeline of my hammock but then, after much research on this forum, I took the plunge and made and underquilt. The material was from "fabrics'n'stuff", the insulation is primaloft from "extremtextil" (the usual - no affiliations just good reviews/recommendations from this site).
I made a few drawings but to be honest a lot of it was made up as I went along and ran into problems I hadn't foreseen.
I tried to make the underneath wider than the upper so that the insulation wouldn't be compressed too much when the quilt was curved around me. In the end this has "sort of" worked but could be done much better.
The photos below (sorry about the quality) show the various stages. It will attach using the shockcords hung over the gathered ends of my hammock. The ends can be gathered up to keep cold air out - I'll need to play with it a bit to get the optimum "gathered in-ness". The seams were finished with black grosgrain.
The seams and quilting stitchlines are very wonky, it will never win any prizes for beauty - but I think it will work. It is certainly very warm (I used it as an extra duvet last weekend when my boiler broke). I know it is a bad workman that blames his tools but I don't really think I could make it any better than this without a signifcant upgrade to my sewing machine. Until then I'm quite happily making my own ugly yet functional gear for much less than it would cost to buy it ready made and having tremendous fun doing it.
The next step is to make a "weather shield" for it, to stop splashes of water hitting it from below and add another layer of wind resistance.

")