Back in 2009, I read a recommendation from Sandbender to get the DVD of "The Victorian Kitchen Garden". In this superb series (originally shown in the 80s), Harry Dodson (an ex-head gardener in a proper, walled kitchen garden) showed many of the tricks to providing a diet of fresh vegetables and fruit to the "big house" all year round - without supermarkets or imports.
One of the techniques shown was the "hot frame"
I had never heard of such a thing until I bought the DVD. It is, in effect, a small, self heating greenhouse.
We try to experiment with new things each year and this year, we have been inspired to try to recreate the hot frame.
Now please bear in mind that my knowledge of them extends to a brief segment explaining how they work. But that's not the same as detailed plans and a management regime. So this "recreation" may well involve a great deal of trial, error and failure.
So, in the original Victorian garden the hot frames were large, brick built, rectangles about waist high, with sloping glass roofs. In late Autumn, the bottom of these frames was filled at least a couple of feet deep with fresh manure from the stables of the stately home. This would begin to rot. The rotting generates a lot of heat (ever seen a manure pile steaming)? On top of the manure was sieved a thick layer of top soil. In this soil, vegetables and even fruit could be planted. The soil was heated from below by the rotting manure and the plants could be protected and warmed well into the depths of Winter.
This is what I wanted to recreate (initially in a small way).
Given my ongoing discussions with Goatboy on recycling and waste reduction, it seemed appropriate that to make this that I should use scrap. The wood came from some rubbish shelves that were in the cottage prior to restoration (the white is swallow poop).
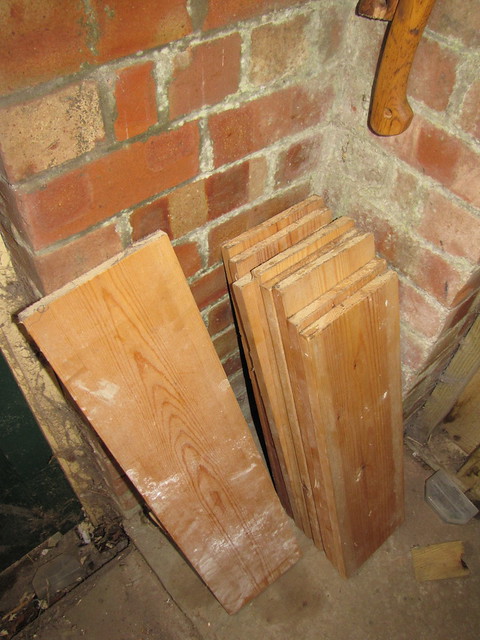 Scrap pine shelves by British Red, on Flickr
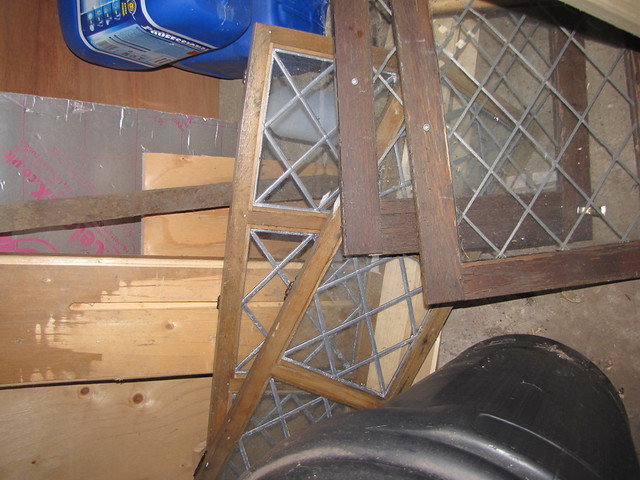
I also have some glazed cupboard doors that I saved from going into the skip at the gun range
Some offcuts of tanalised 2x2 were the other needed wood
 tanalised 2 by 2 by British Red, on Flickr
So, step 1 I picked out a glazed door and checked that the shelves were long enough to make a box to the same dimensions
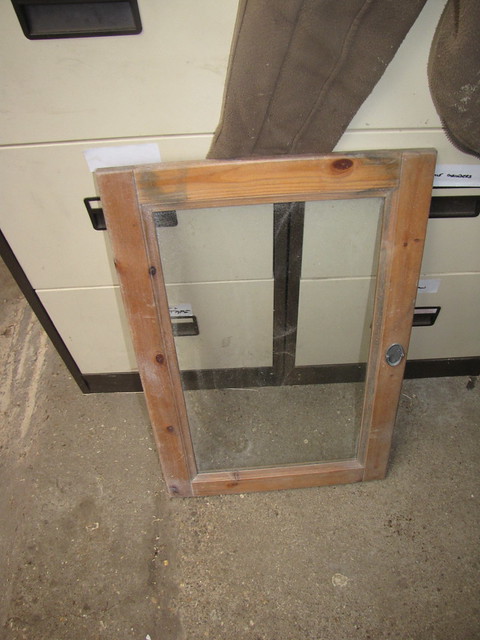 Glazed cupboard door by British Red, on Flickr
Using the table saw I made an "angled box" the same length and width as the door
 Angled Box by British Red, on Flickr
It really helps in doing this to have a table saw where you can angle the blade
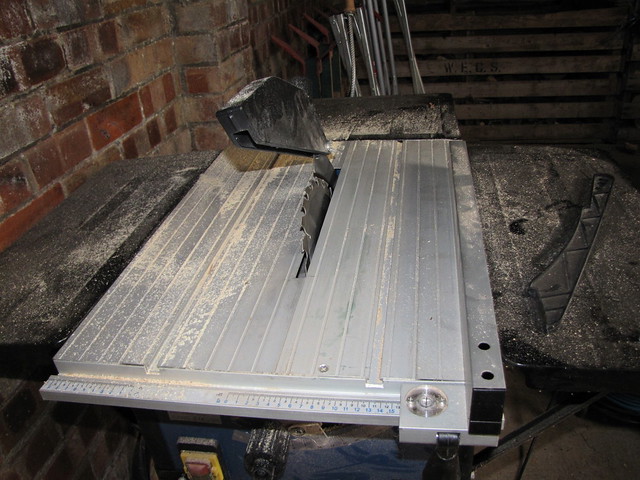 Table saw by British Red, on Flickr
The cupboard door fitted neatly on top
 Angled Box with cupboard door by British Red, on Flickr
I used a hammer and chisel to chase out room for an old pair of butt hinges to secure the glazed door
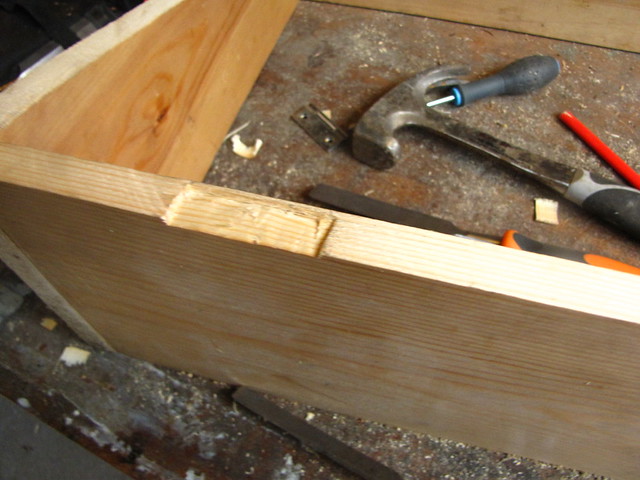 Rebate or butt hinge by British Red, on Flickr
Then I made a series of "frames" to the same dimensions. A set of mitre clamps really helped with holding them together whilst I drilled and screwed
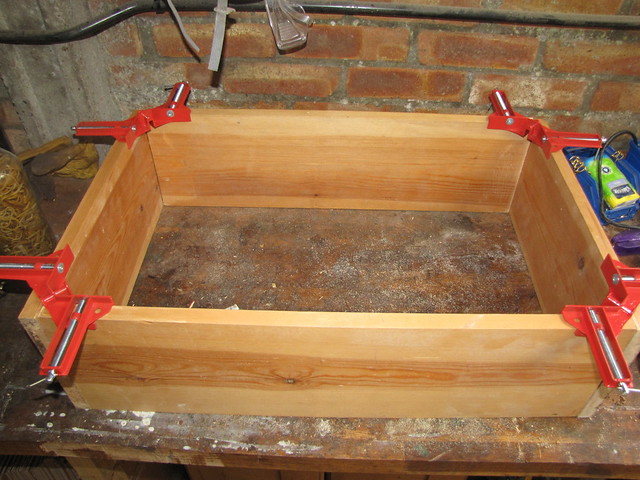 Mitre clamps by British Red, on Flickr
These frames would be stacked on top of each other to contain the manure.
I was concerned though that they would fall over so I decided to add a projecting "stud" to lock each frame to the one above.
I didn't have any material thin enough so used the table saw to rip down the 2x2 to thin batten
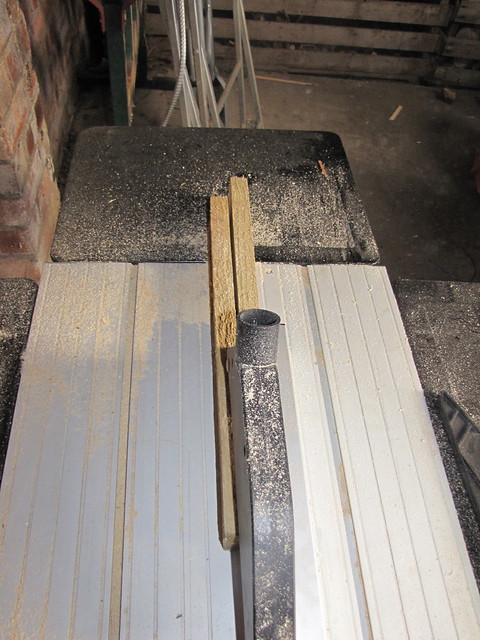 ripping down wood by British Red, on Flickr
The studs were then installed in the frames.
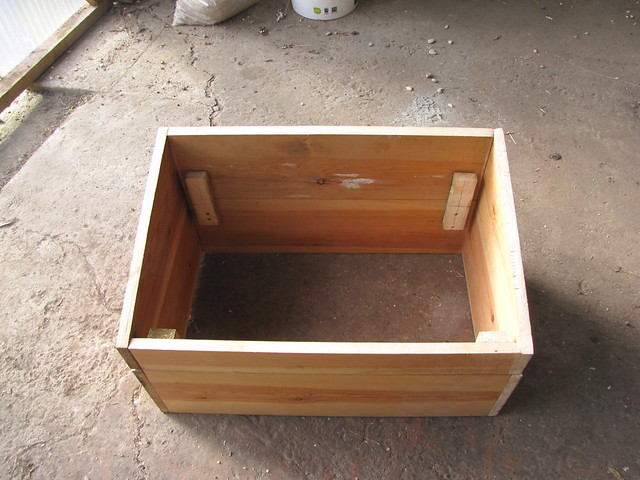 Stacking up frames by British Red, on Flickr
Remember to allow room for the studs coming from below when the frames are stacked and also that they do not project so high that the fouled the glazed door on the lower side.
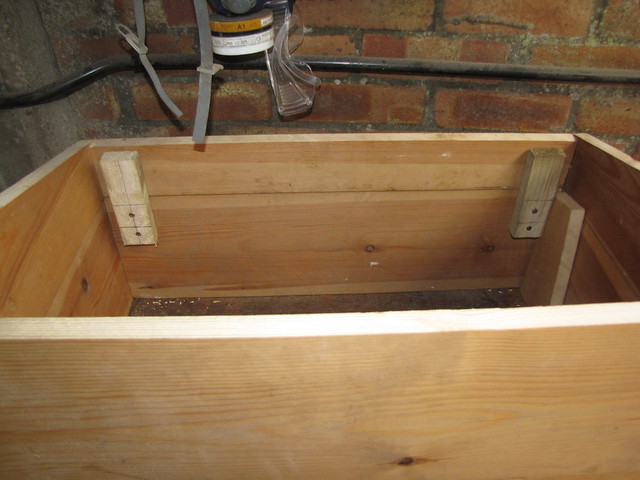 Studs in place by British Red, on Flickr
[lie] Naturally I remembered this [/lie].
A chop saw really makes short work of turning out all these identical lengths - but, as with the rest of this project, no power tools are really needed.
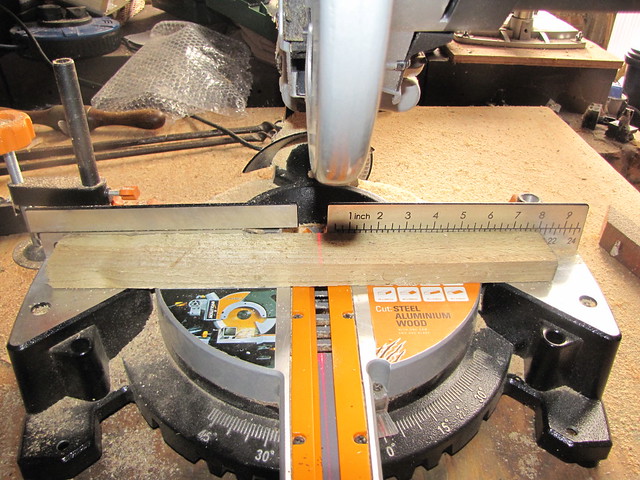 cross cutting wood by British Red, on Flickr
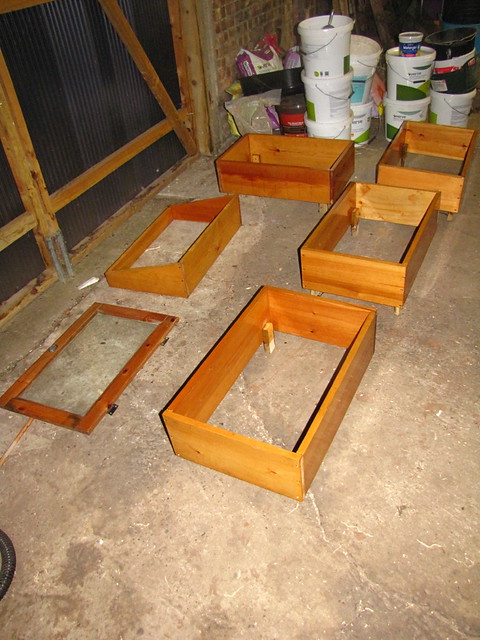
In total I built four of the square frames and the sloping top piece
 Five frames deep by British Red, on Flickr
 Roughly assempled hot frame by British Red, on Flickr
I then took the pieces apart and treated them with exterior varnish to protect against rot
 Hot frame sections being varnished by British Red, on Flickr
That's the basic construction done
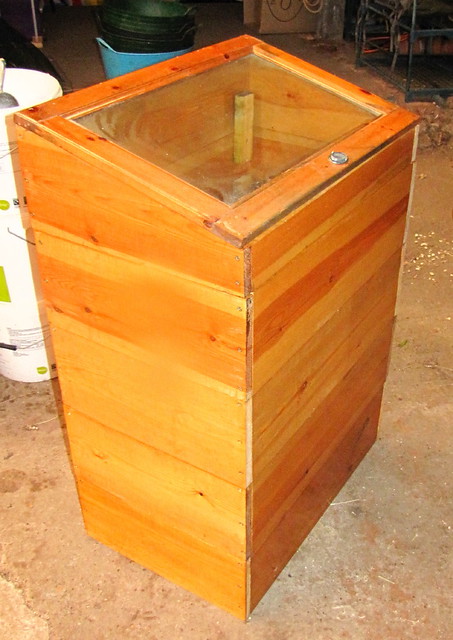 Hot Frame with Exterior Varnish by British Red, on Flickr
So, of to the stables to collect a barrow of the very freshest of horse poo")
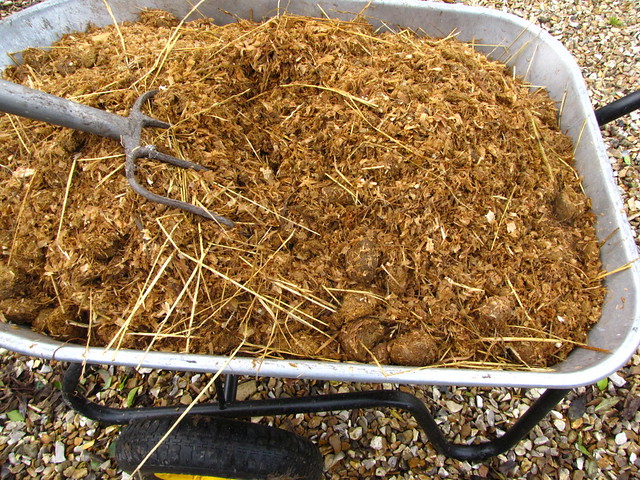 Fresh Horse Poo by British Red, on Flickr
I placed three stacked frames inside an unheated greenhouse
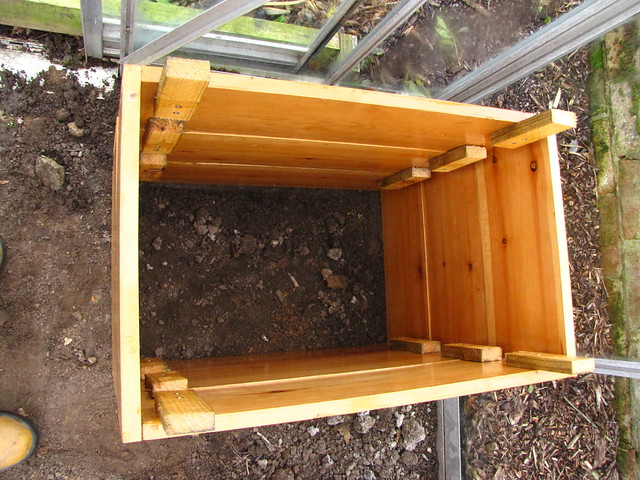 Three Stacked sections by British Red, on Flickr
This left the lid and one section
 Cold Frame section by British Red, on Flickr
It occurs to me that, in the Spring, the stacking frames would be brilliant for growing new potatoes in and the lid and one section make a good cold frame. Multi purpose pleases me
Anyway I started shoveling manure into the stacked frames, stopping every few inches to water well. This packs the manure and wood shavings together and eliminates air pockets. Should I do this? No idea!
 Wash in manure by British Red, on Flickr
That barrow full (160 litres) only filled two frames (which surprised me). When I do this on a large scale, I'll need a lot of manure. Not that that is a problem - its all free for the taking.
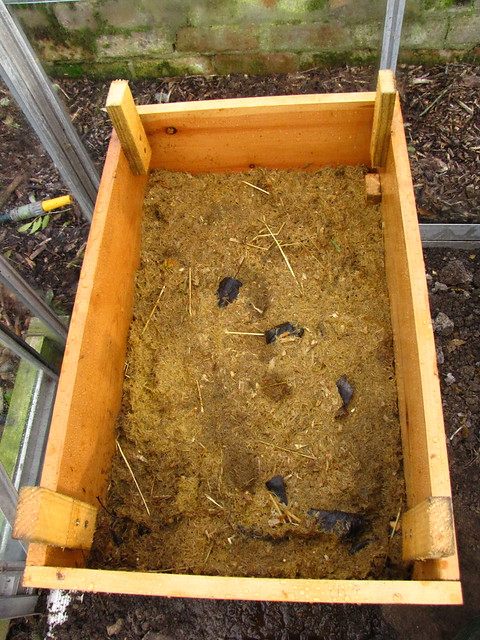 Two sections of manure by British Red, on Flickr
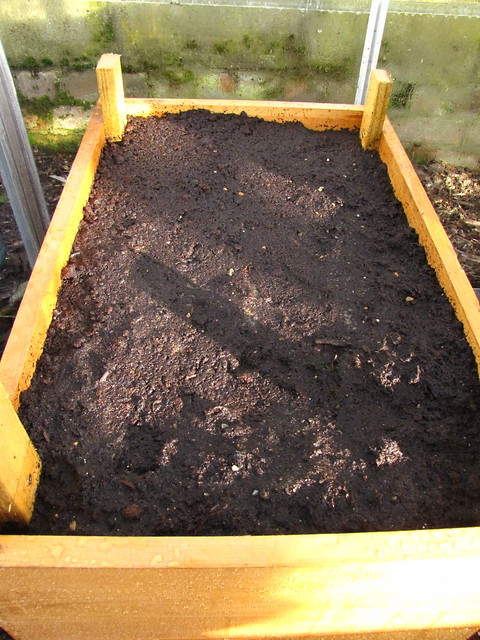
So, that's the manure done. Clearly plants cannot grow in this so I got some top soil and sieved it on top of the manure
 Soil Sieve by British Red, on Flickr
 Sieved Soil by British Red, on Flickr
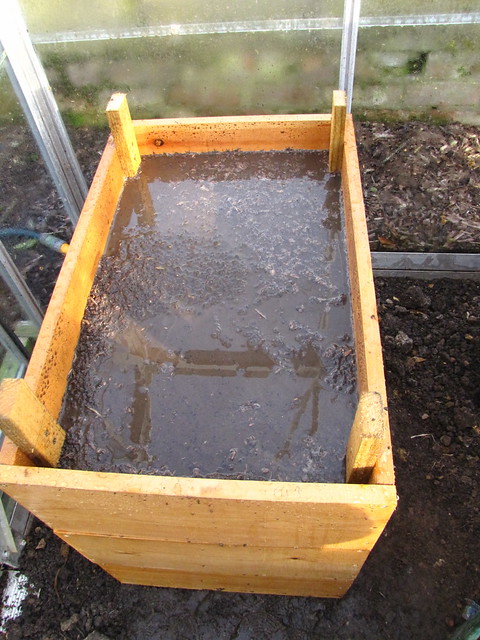 Watered Soil by British Red, on Flickr
On top of that I put a light mix of compost and sand
 Potting Mix by British Red, on Flickr
I planted four varieties of seed in this - coriander, radish, spring onion and salad leaves
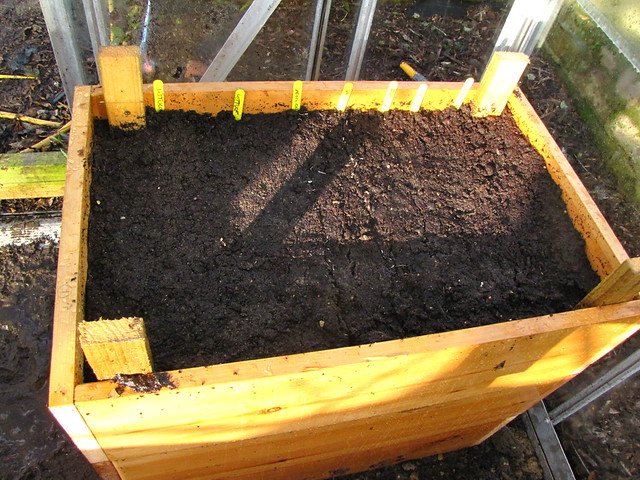 Labelled Seeds by British Red, on Flickr
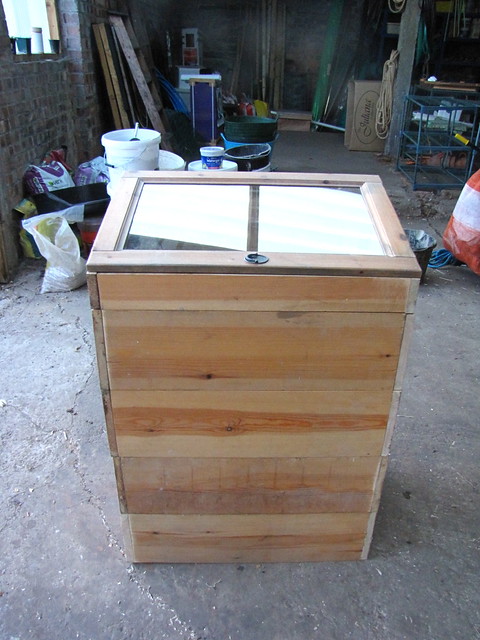
I popped a thermometer into the frame to monitor the temperature and put the lid on
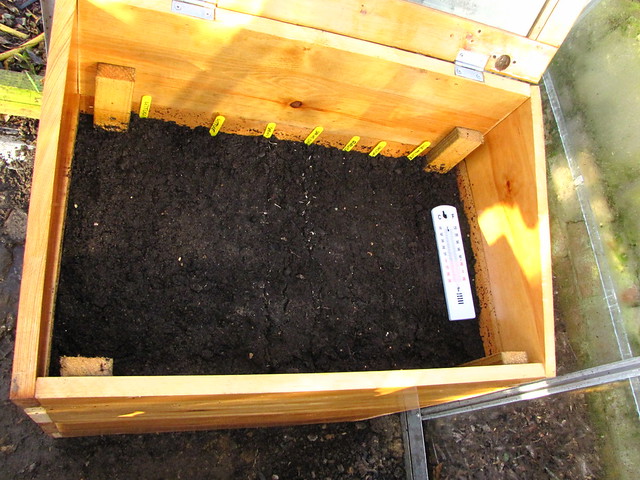 Thermometer in Hot Frame by British Red, on Flickr
 Top Section of Hot Frame by British Red, on Flickr
I have one frame left which I will add to give the plants room to grow - but not until they have germinated as adding it now would only create air space that would need to be heated.
In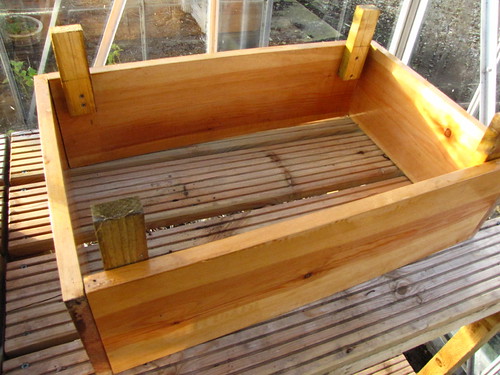 Spare Section for Growth by British Red, on Flickr
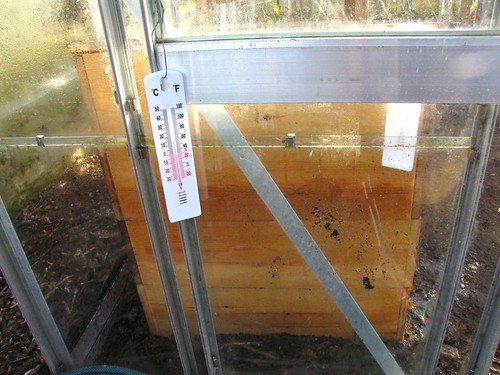
order to check what temperature improvement (if any) we are gaining I have also hung a thermometer beside the frame inside the greenhouse
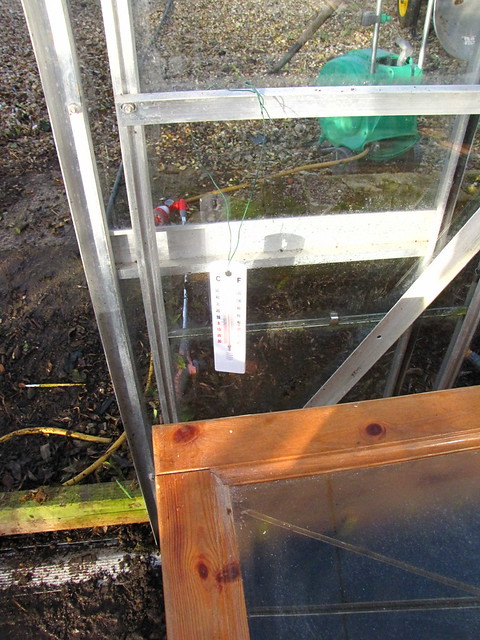
and one outside the greenhouse to monitor against air temperature.
 Thermometer Outside Greenhouse by British Red, on Flickr
How well will it work? No idea. Its cost me nothing but some scrap wood and time and I'll be intrigued to find out.
Hope this was interesting - even if, for now, its all guesswork.
Red
One of the techniques shown was the "hot frame"
I had never heard of such a thing until I bought the DVD. It is, in effect, a small, self heating greenhouse.
We try to experiment with new things each year and this year, we have been inspired to try to recreate the hot frame.
Now please bear in mind that my knowledge of them extends to a brief segment explaining how they work. But that's not the same as detailed plans and a management regime. So this "recreation" may well involve a great deal of trial, error and failure.
So, in the original Victorian garden the hot frames were large, brick built, rectangles about waist high, with sloping glass roofs. In late Autumn, the bottom of these frames was filled at least a couple of feet deep with fresh manure from the stables of the stately home. This would begin to rot. The rotting generates a lot of heat (ever seen a manure pile steaming)? On top of the manure was sieved a thick layer of top soil. In this soil, vegetables and even fruit could be planted. The soil was heated from below by the rotting manure and the plants could be protected and warmed well into the depths of Winter.
This is what I wanted to recreate (initially in a small way).
Given my ongoing discussions with Goatboy on recycling and waste reduction, it seemed appropriate that to make this that I should use scrap. The wood came from some rubbish shelves that were in the cottage prior to restoration (the white is swallow poop).
Scrap pine shelves by British Red, on FlickrI also have some glazed cupboard doors that I saved from going into the skip at the gun range
Some offcuts of tanalised 2x2 were the other needed wood
tanalised 2 by 2 by British Red, on FlickrSo, step 1 I picked out a glazed door and checked that the shelves were long enough to make a box to the same dimensions
Glazed cupboard door by British Red, on FlickrUsing the table saw I made an "angled box" the same length and width as the door
Angled Box by British Red, on FlickrIt really helps in doing this to have a table saw where you can angle the blade
Table saw by British Red, on FlickrThe cupboard door fitted neatly on top
Angled Box with cupboard door by British Red, on FlickrI used a hammer and chisel to chase out room for an old pair of butt hinges to secure the glazed door
Rebate or butt hinge by British Red, on FlickrThen I made a series of "frames" to the same dimensions. A set of mitre clamps really helped with holding them together whilst I drilled and screwed
Mitre clamps by British Red, on FlickrThese frames would be stacked on top of each other to contain the manure.
I was concerned though that they would fall over so I decided to add a projecting "stud" to lock each frame to the one above.
I didn't have any material thin enough so used the table saw to rip down the 2x2 to thin batten
ripping down wood by British Red, on FlickrThe studs were then installed in the frames.
Stacking up frames by British Red, on FlickrRemember to allow room for the studs coming from below when the frames are stacked and also that they do not project so high that the fouled the glazed door on the lower side.
Studs in place by British Red, on Flickr[lie] Naturally I remembered this [/lie].
A chop saw really makes short work of turning out all these identical lengths - but, as with the rest of this project, no power tools are really needed.
cross cutting wood by British Red, on FlickrIn total I built four of the square frames and the sloping top piece
Five frames deep by British Red, on FlickrRoughly assempled hot frame by British Red, on FlickrI then took the pieces apart and treated them with exterior varnish to protect against rot
Hot frame sections being varnished by British Red, on FlickrThat's the basic construction done
Hot Frame with Exterior Varnish by British Red, on FlickrSo, of to the stables to collect a barrow of the very freshest of horse poo
Fresh Horse Poo by British Red, on FlickrI placed three stacked frames inside an unheated greenhouse
Three Stacked sections by British Red, on FlickrThis left the lid and one section
Cold Frame section by British Red, on FlickrIt occurs to me that, in the Spring, the stacking frames would be brilliant for growing new potatoes in and the lid and one section make a good cold frame. Multi purpose pleases me
Anyway I started shoveling manure into the stacked frames, stopping every few inches to water well. This packs the manure and wood shavings together and eliminates air pockets. Should I do this? No idea!
Wash in manure by British Red, on FlickrThat barrow full (160 litres) only filled two frames (which surprised me). When I do this on a large scale, I'll need a lot of manure. Not that that is a problem - its all free for the taking.
Two sections of manure by British Red, on FlickrSo, that's the manure done. Clearly plants cannot grow in this so I got some top soil and sieved it on top of the manure
Soil Sieve by British Red, on FlickrSieved Soil by British Red, on FlickrWatered Soil by British Red, on FlickrOn top of that I put a light mix of compost and sand
Potting Mix by British Red, on FlickrI planted four varieties of seed in this - coriander, radish, spring onion and salad leaves
Labelled Seeds by British Red, on FlickrI popped a thermometer into the frame to monitor the temperature and put the lid on
Thermometer in Hot Frame by British Red, on FlickrTop Section of Hot Frame by British Red, on FlickrI have one frame left which I will add to give the plants room to grow - but not until they have germinated as adding it now would only create air space that would need to be heated.
In
Spare Section for Growth by British Red, on Flickrorder to check what temperature improvement (if any) we are gaining I have also hung a thermometer beside the frame inside the greenhouse
and one outside the greenhouse to monitor against air temperature.
Thermometer Outside Greenhouse by British Red, on FlickrHow well will it work? No idea. Its cost me nothing but some scrap wood and time and I'll be intrigued to find out.
Hope this was interesting - even if, for now, its all guesswork.
Red

")