Blacksmith tool question

spader

Native
Dec 19, 2009
1,330
102
Scotland
Heating with the MAPP torch, quenching in water and annealing at 300 degrees for 20 minutes done. After cleaning and a bit of sanding with wet and dry, it still looks rough. But it would be OK for an EDC. Being carbon steel, it will get rusty soon too.

51880694647_a19142cfcb_z.jpg


51881665011_aa9b2af6f1_z.jpg


Working good for opening parcels, opening plastic packagings, and as an awl (for quickly making holes for drilling screws into the woods and walls).

Looking forward to making more simple tools / objects using proper forging (next time) :)
 
Last edited:

C_Claycomb

Moderator staff
Mod
Oct 6, 2003
7,619
2,677
Bedfordshire
Post quench treatment is called tempering, not annealing. I am guessing you mean 300degF, not 300degC? Tempering is usually done for at least an hour. Better to do for two or three one-hour sessions with cooling to room temperature in between. 300F is pretty cool, I used to use 350F (175C) for my O-1 and that only worked because I was not getting maximum hardness out of the quench.
 
  • Like
Reactions: spader

spader

Native
Dec 19, 2009
1,330
102
Scotland
Thanks for your info and advice. That's right. Tempering it was. I am not sure where I picked up annealing from - probably from Youtube.

The temperature was between 200 - 300 C using the variable temperature setting blower for paint stripping. I didn't want to put it into the oven for 2 hours when the dinner was going to be put in the oven soon.

And time was running out for my shed DIY session, hence the tempering had to be stopped at around 30 minutes.

Maybe it is not tempered properly, and in need of another session of tempering. But it was just a practice piece from a twisted rusty scrap metal found in the shed. I was just meaning to test the GAS torches in the 4x BBQ brick set up temporary forge, to see if they can heat up the metal piece to red and yellow in the bricks. So the end product is purely accidental due to also the fact that I happened to have a grinder (McAllister) from ScrewFix for £20 bought sometime last year, which was really useful for this practice.

I will see how it will perform through time. If it shows sign of problem, then will do another session of proper tempering.

So far it seems working OK. It is also a good scriber for cutting timber to square, and working best as an awl.

Next project would be hopefully more proper, and I will have a proper anvil and some form of forge set up.
 
Last edited:

spader

Native
Dec 19, 2009
1,330
102
Scotland
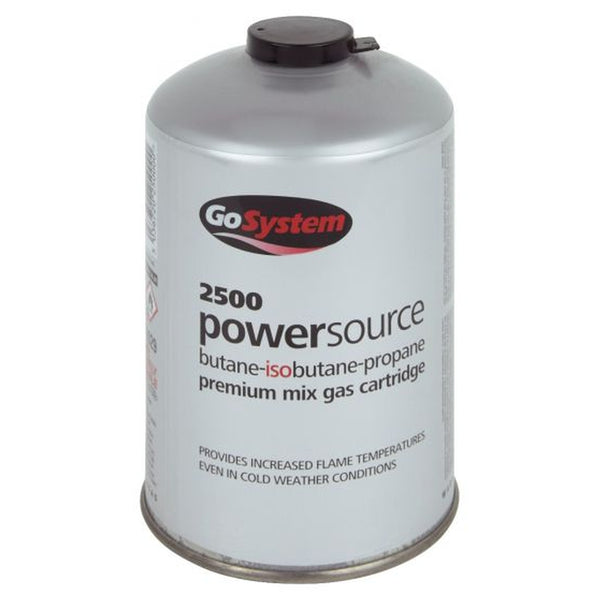
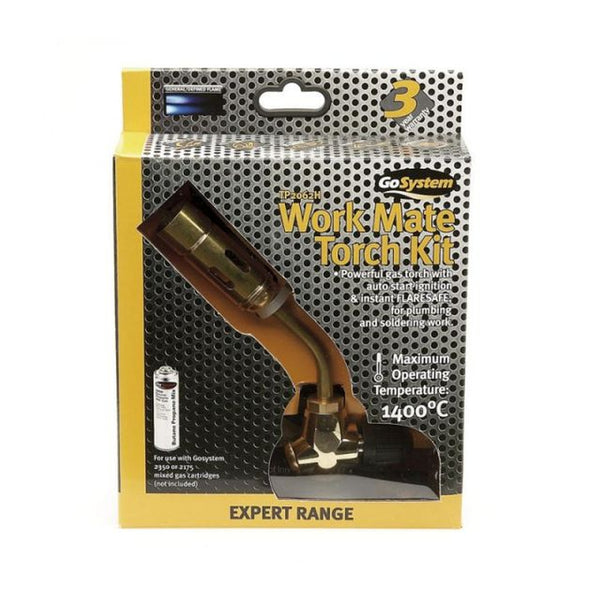
I checked out my weed burning torch today, and it was butane gas, not propane as initially thought. It was also almost empty gas can, so heat was very weak. Replaced with a new gas can, and the torch was a lot stronger. But it failed to change colour of the metal it was heating to red or yellow even after 10 minutes.

It is good to start wood stove, and burn garden weeds, but not good for forging metal. MAPP gas torch is the best, and maybe propane gas will work ok too. I have never tried propane torch.
 

Billy-o

Bushcrafter (boy, I've got a lot to say!)
Apr 19, 2018
2,039
1,027
Canada
If you just heat the back of the blade (with the edge facing upwards) you can get the colours to change close to the edge ... a differential heat treat. I remember seeing this done on a kitchen stove with a slightly bigger piece than you have there. At least, I think that's what was going on. I was like fifteen at the time.
 
  • Like
Reactions: spader

spader

Native
Dec 19, 2009
1,330
102
Scotland
Will try that next time. I still have 2x more new butane gas cans in the shed. They are cheaper than MAPP gas. If Butane gas works heating the metals for forging, it would be good saving. Thanks for your info.
 

C_Claycomb

Moderator staff
Mod
Oct 6, 2003
7,619
2,677
Bedfordshire
This stuff works fine for tiny projects and little blade heat treats.


spader

Native
Dec 19, 2009
1,330
102
Scotland
Yeah, maybe it also depends on the size of the work piece. Yesterday, I was trying to heat 1 ft. old lawn mower blade. It wasn't even blinking its eyes after 10 minutes heating.
 

spader

Native
Dec 19, 2009
1,330
102
Scotland
I still have not finished making a proper forge. But yesterday, I used an old small cast iron made woodstove without flue, as an impromptu forge. Inside the stove, I put 4x BBQ bricks making bed and wall. The stove is a commercial one called "WilDo" made in Norway. Will take photo and upload.
 
Last edited:

spader

Native
Dec 19, 2009
1,330
102
Scotland
As promised, my temporary forge.
It is an old wood stove, and 4 bricks put in and the torches. Simple !!

51901368777_186d32bac9_z.jpg


In 5 minutes of heating with the MAPP torch, the 4mm spine old rusty file gets red hot.
51902330241_43097e58a1_z.jpg


51902331716_1a577ff7af_z.jpg
 
Last edited:

spader

Native
Dec 19, 2009
1,330
102
Scotland
With old files for work piece, anvil was not really needed. Just grinder, files for metal work and sand paper did the work for making usable tools.

51906044480_657a596c4e_z.jpg
 

Michael73

Member
May 23, 2022
14
7
50
The Netherlands
With old files for work piece, anvil was not really needed. Just grinder, files for metal work and sand paper did the work for making usable tools.

51906044480_657a596c4e_z.jpg
Hi.
Just came across this conversation and I'd like to contribute a bit, that is, if you don't mind.
Soon enough you'll run out of gas and I think solid fuels (wood, coal, charcoal) are cheaper then gas. At least over here (Netherlands) they are.
Now, building a solid fuel forge is easy as abc, all you need is a good imagination. My first 'forge' was a steel bucket filled with sand and a couple of patio bricks, charcoal and an electric weedburner for air suply. Worked perfectly!
A bit of luck is also helpfull, haha.
A small trench in the ground is a start, for example. On the web and on youtube are tons of ideas on that. Use your imagination. Big chance all the materials you'll need are allready on site (how about that old cast iron wok from your mother-in-law's kitchen? I promise, I won't tell anyone! ).
Next, forced air suply: RULE NR 1: it's not about air pressure, it's all about volume. The more, the better, that's what makes a fire burn. For example: I use 60mm steel pipe for air suply to my coal forge and when I put my 'bellows' to work that fire realy starts roaring, it's almost scary!
Check google and youtube. I myself built a 'chinese bellows'. Works perfect and didn't cost me a penny! Again: you might allready have all materials at hand.
As for an anvil: ANYTHING that will take a beating from a hammer will do, even a piece of rock!!! Preferably a body of steel with a flat surface and a little mass. More mass is always better. More mass means you'll need less energy to strike your workpiece.
Most important is that you have fun!
Good luck and happy forging!
 

BCUK Shop

We have a a number of knives, T-Shirts and other items for sale.

SHOP HERE