Manufacturers blurb:
The most significant redesign of hammocks since sailors plied the seven seas sleeping in remnants of sail cloth gathered at the ends and suspended from the belly beams of wooden sailing ships hundreds of years ago.
Description: The Jacks R Better Bear Mountain Bridge Hammock is a true lay flat, sleep straight hammock. It achieves these notable results by departing from the common gather end design to utilize a suspension bridge technique. The hammock takes its name from the suspension bridge over the Hudson River that carries the Appalachian Trail. When the Bear Mountain Bridge was completed in 1924 it was the largest suspension bridge in the world. This is the lowest point of the entire Appalachian Trail at 127 feet above sea level.
The JRB Bear Mountain Bridge Hammock is constructed of 70D rip stop nylon material and high strength polypropylene webbing. It will comfortably accommodate individuals up to 6 foot 3 inches tall and up to 275 pounds (19.6 St or 124.7kg).
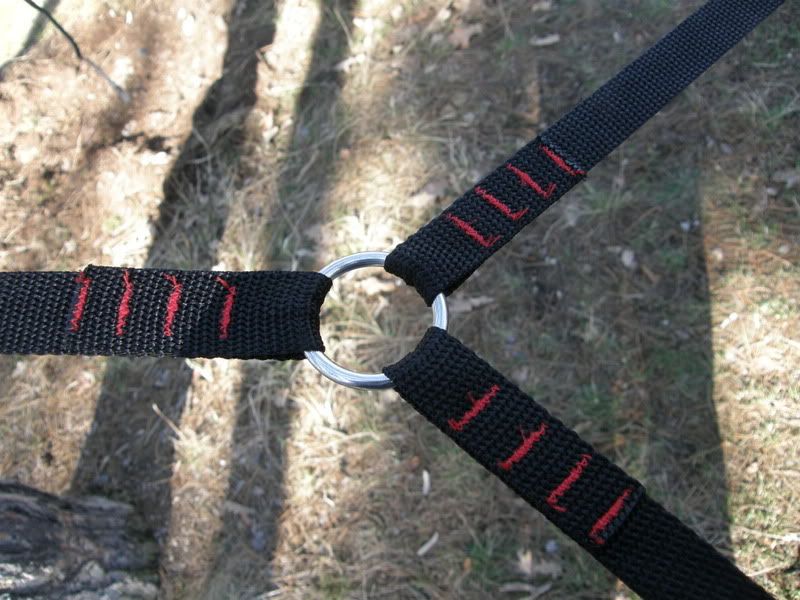
The primary suspension lines are 1 inch polypropylene webbing and include
the unique JRB Tri-Glide for quick, easy, knot free, no hassle hanging.
The hammock comes complete with an attached bug net made of no-see-um netting that is zippered on three sides with a double pull zipper. It can be unzipped and tied back if desired when there is no bug threat.
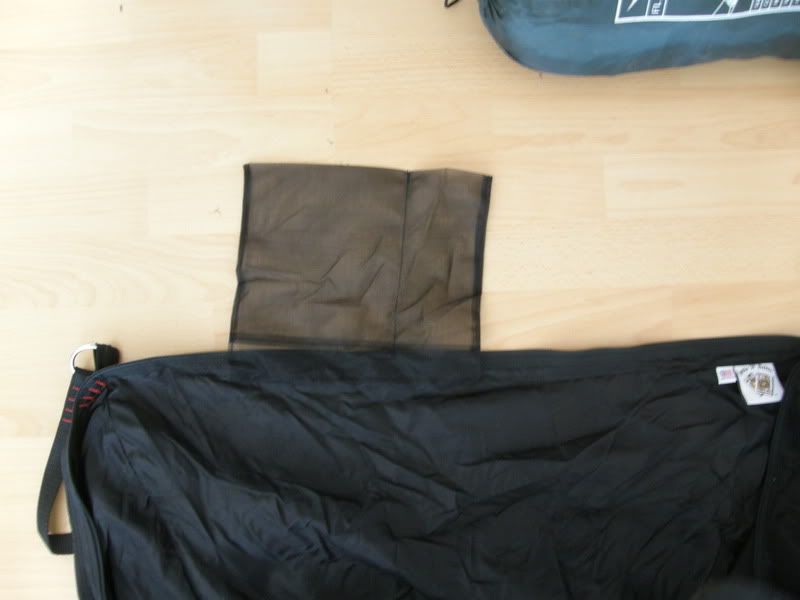
There are two personal gear pockets, one on each end wall of the hammock.
Finally, for bottom insulation, use the loops on each corner to attach any of the standard (78"x48") JRB quilts as an under quilt ( attachment instructions); or the hammock is designed with a 26 inch wide pad pocket that will accommodate most camping pads.
And for added comfort we've included a re-usable, 14" x 10", 0.6 ounce, inflatable pillow.
The hammock with spreader bars and suspension lines weighs 37 ounces total (a knats proverbial over a kilo).
Review:
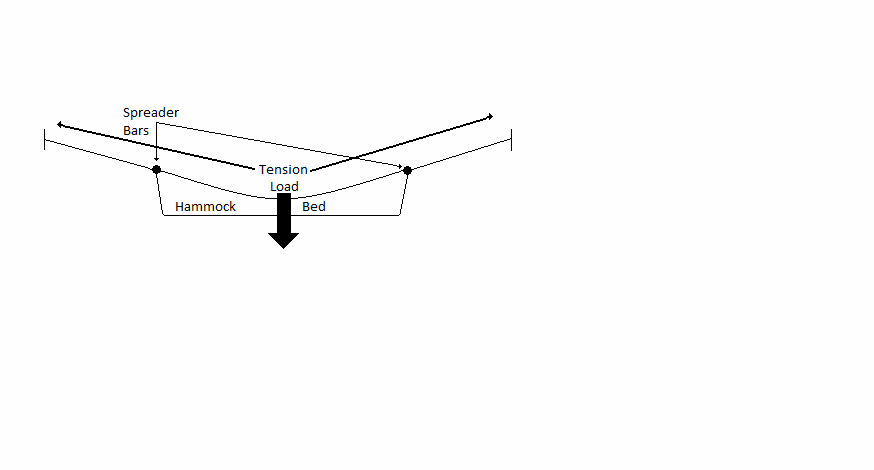
The idea behind bridge hammocks: In a gathered end hammock the entire of the hammock takes more or less an equal amount of the pressure a bridge hammock on the other hand works more like this (sorry for the rubbish drawing):
The buying experience: One word Great, clear communications and they even put their last 2 on hold whilst I shuffled some cash around to pay for them.
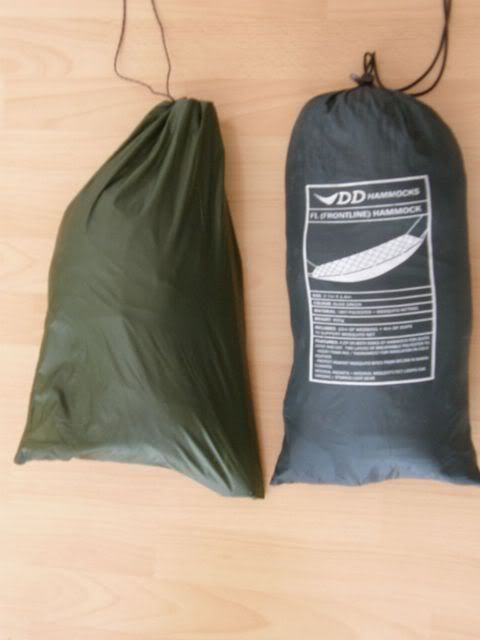
What's in the bag:
Pictured next to my DD Frontline for size comparison
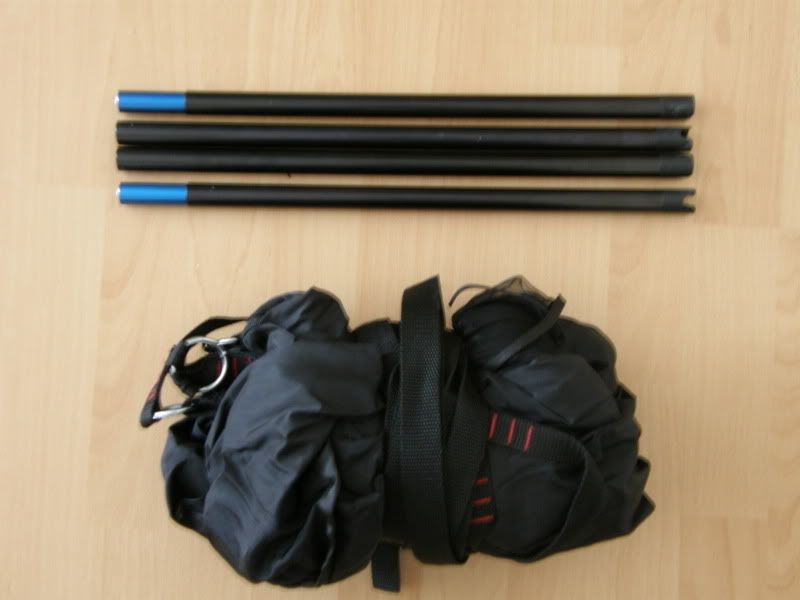
Hammock and spreader bars
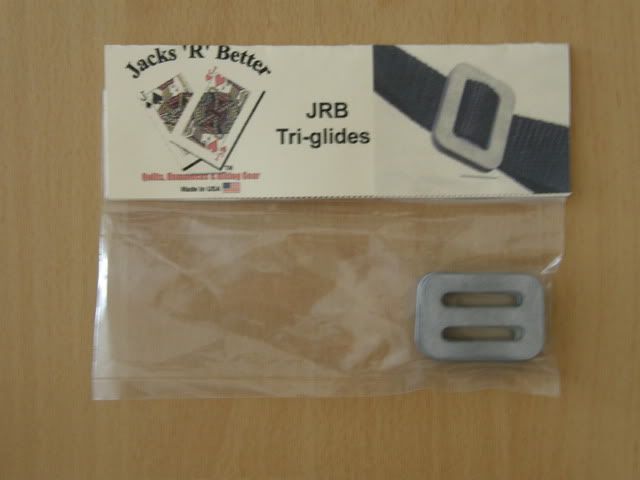
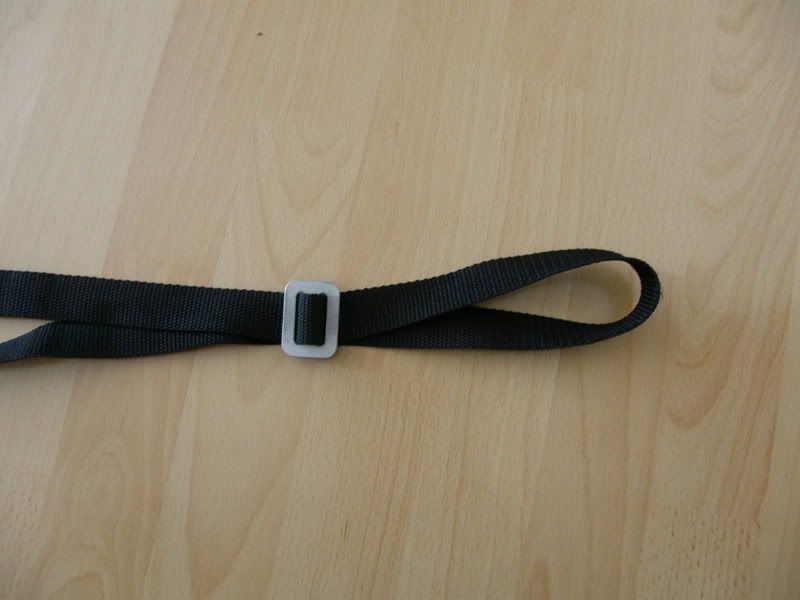
Triglides
joint from suspension to spreader bars
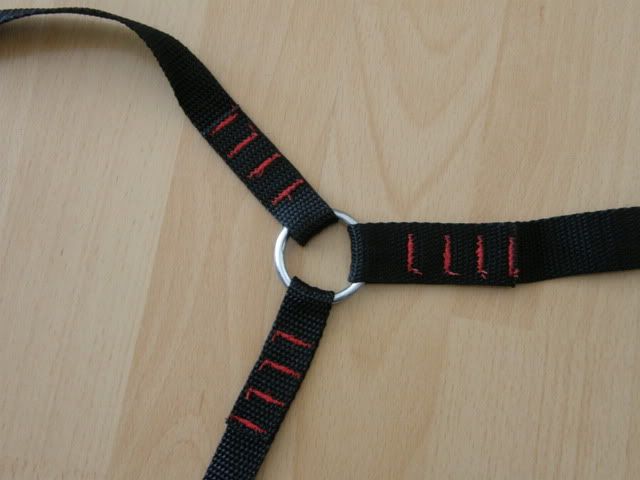
Attachment points for spreader bars
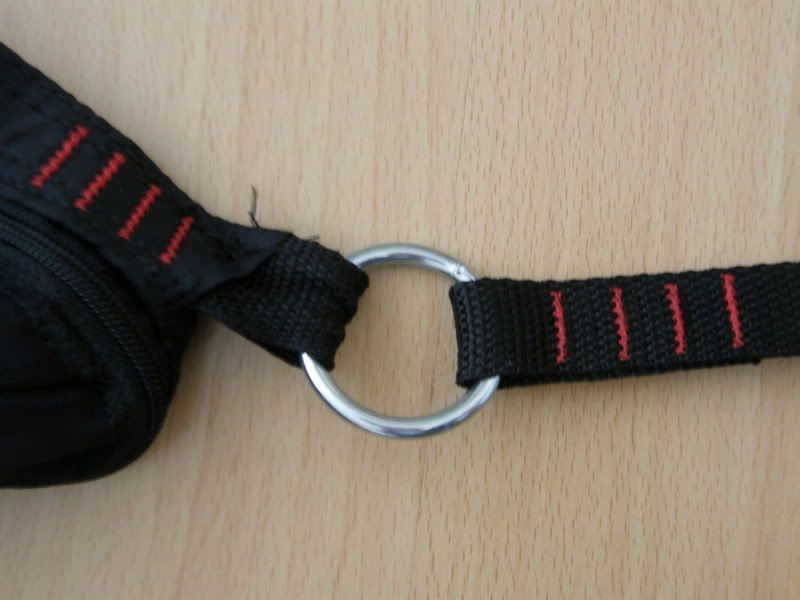
Triglide attached to suspension lines
Gear Pocket
Out on the balcony to test for First impressions:
I didnt get any photos of this as my balcony is a mite too short to do a real test, I did however try it with my ground mat which is a pacific outdoor traditional wide and measures 25x75x3 (63x190x7.6cm) it was a bit of a pain to get in but I presume that was more to do with the lack of space on my balcony rather than anything else.
Very impressed with the build quality, there are a couple of things however. Length of the 1 straps for attachment could be longer, I intend to put some whoopie slings on it so its not really a problem for me. I have a few reservations about the insect netting; the fact that it only opens on one side could turn out to be a bit of a pain as you have to check the hammock prior to stringing it up so to make sure it opens in the right direction. The included Tri glides I love the idea of but from a practical point this would lessen the suspension length of the whole system.
Down the woods to have a play:
I chose two trees roughly six paces apart, this was right on the edge of what I think is feasible with the factory attached lines.
All set up
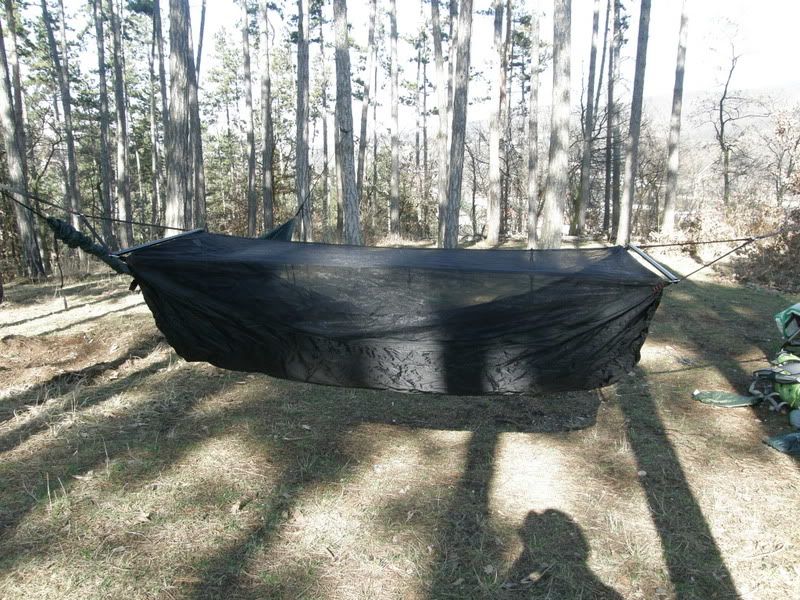
(I set it up the wrong way round the first time, I knew that 3 sided zip for the mozzie net was going to bother me)
Some close ups
Suspension to spreader bars
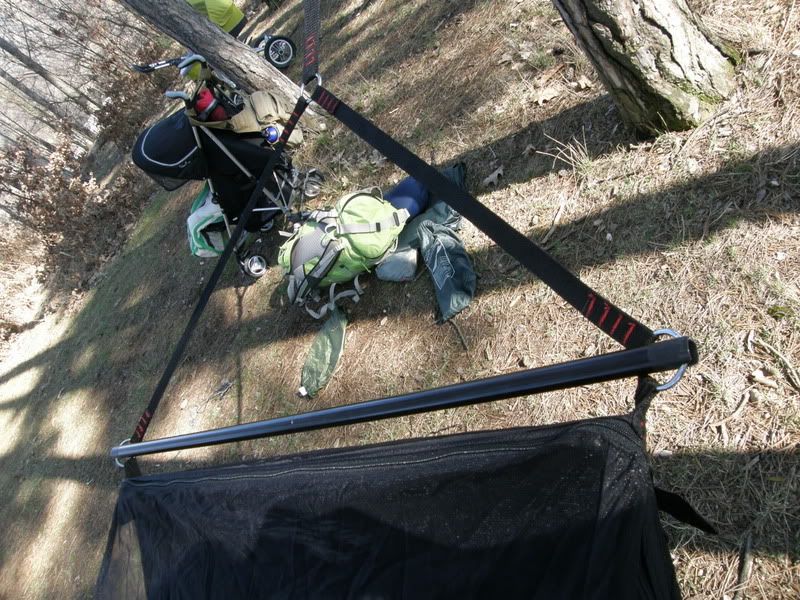
Suspension to spreader junction
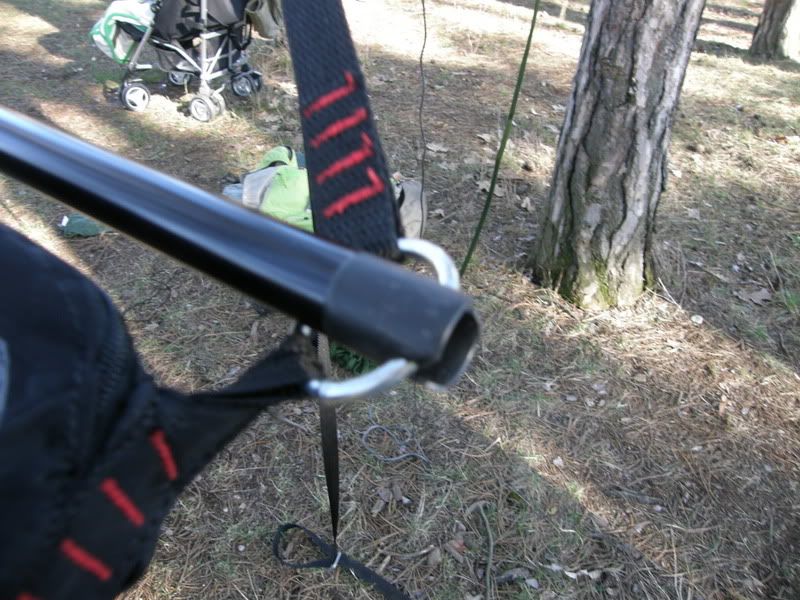
Spreader bar attachment: nice touch powder coating the ends
Triglide in action
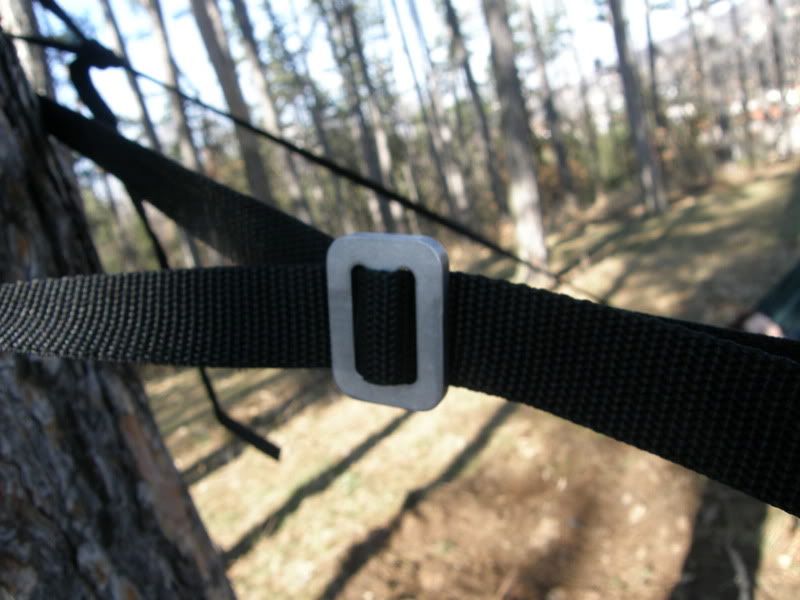
Attachment point for underquilt
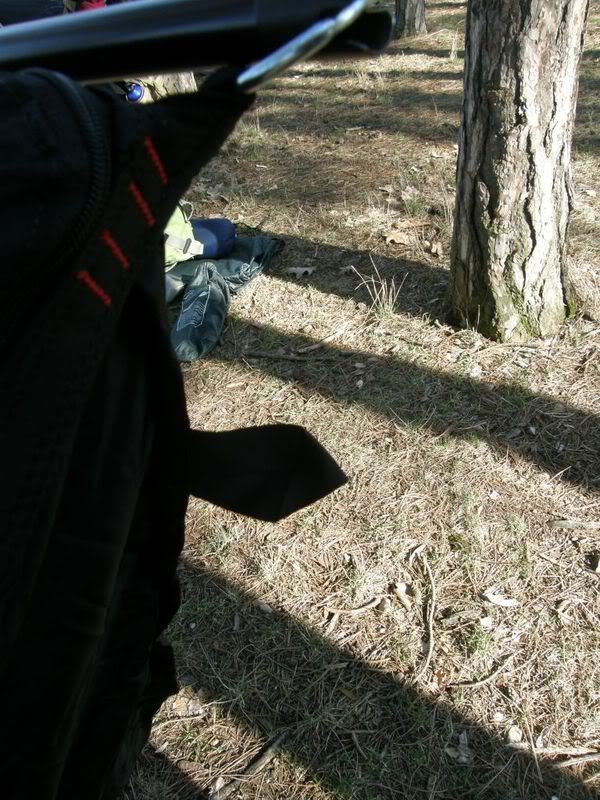
Endview
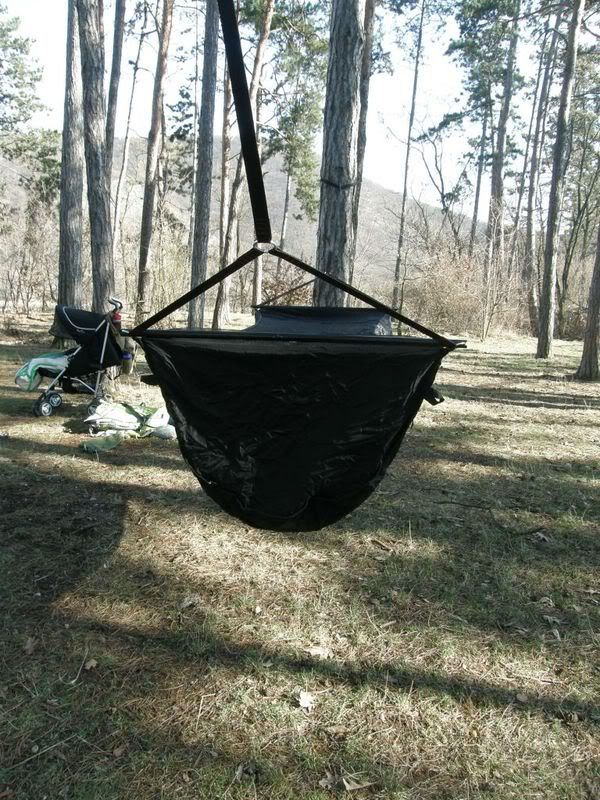
Time to stick on the whoopie slings and see if that makes a difference.
Whoopies attached
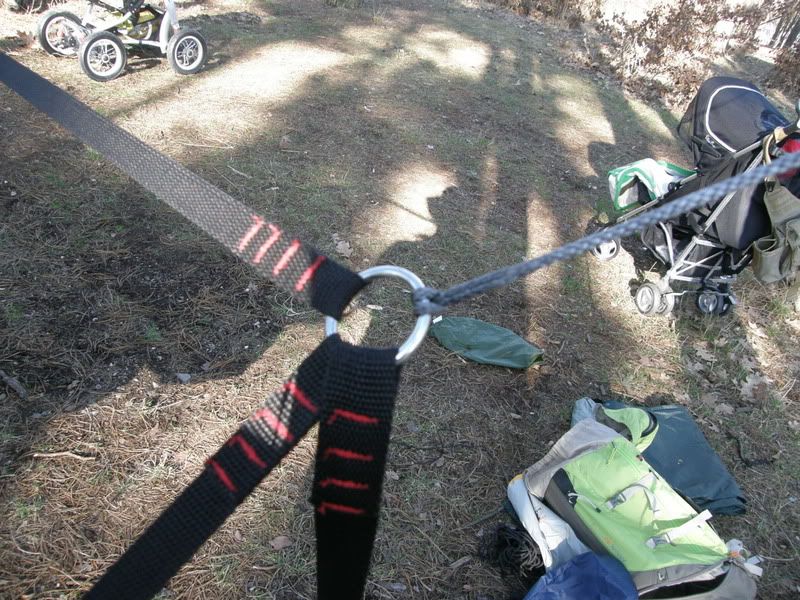
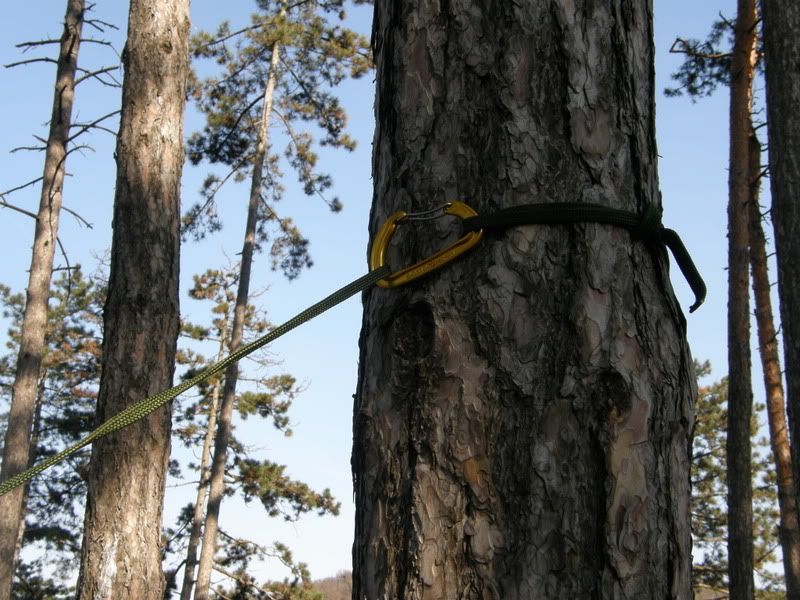
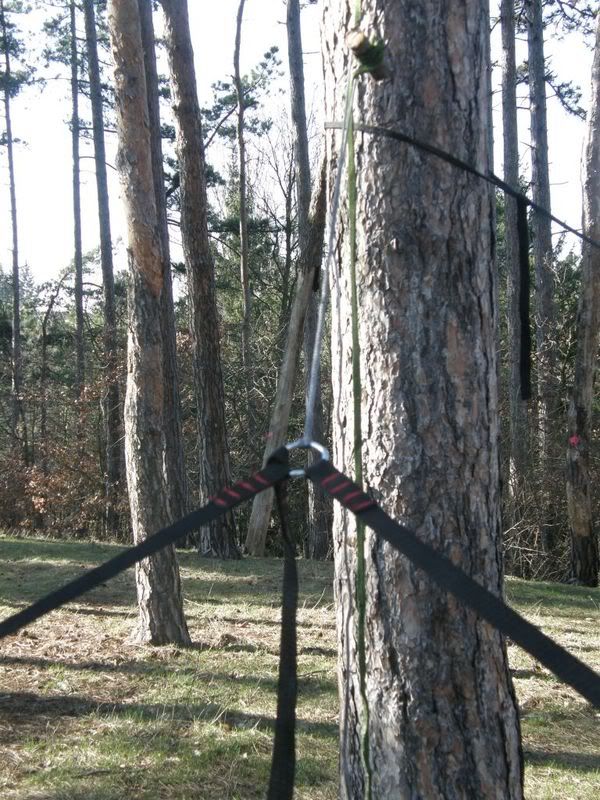
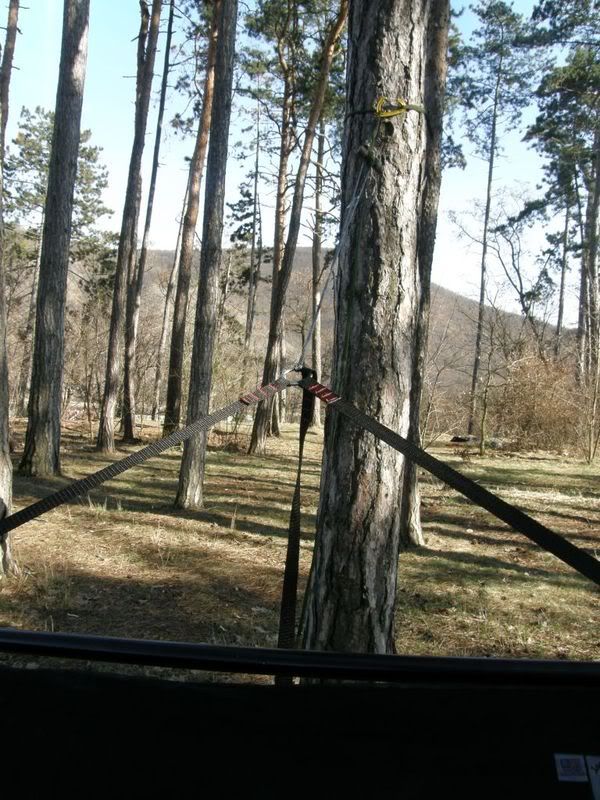
Usual suspension system
Attaching the underquilt
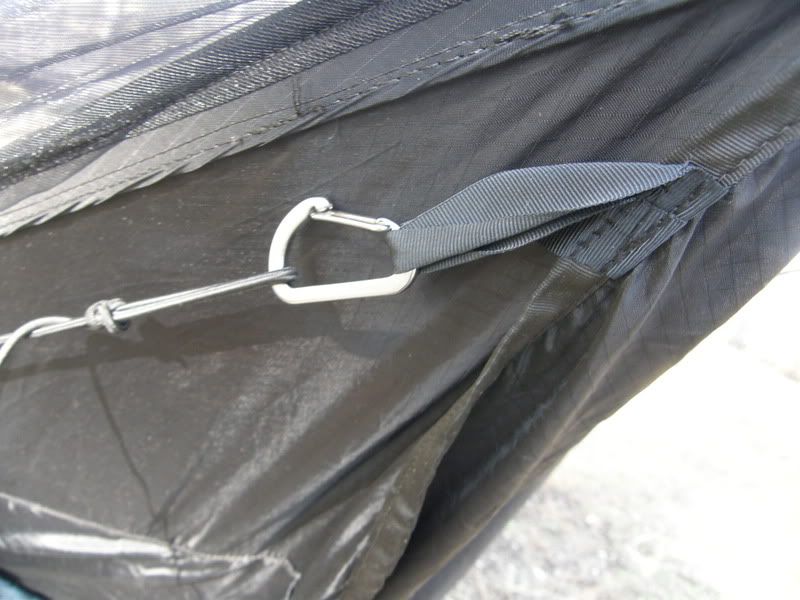
If you're not going to be using an UQ then you have the option of sliding a mat in the bottom. I think this is a great bit of design I had my mat in it when it was up on the balcony. What I failed to mention at the time is that this gives the hammock a lot more shape when not being used. I'll giver it a real test with the ground mat in later and then think about adding a bit about it.
Nice size velcro closer for the sleeping mat
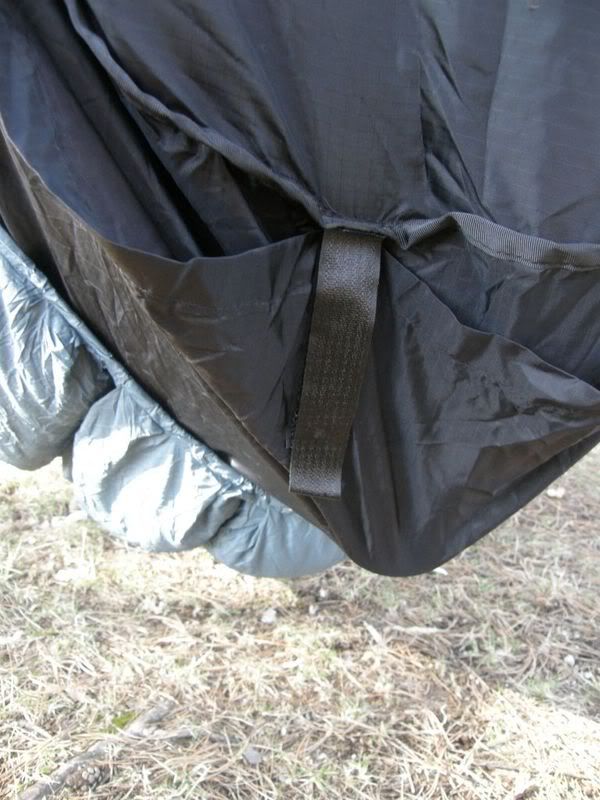
Underquilt attached
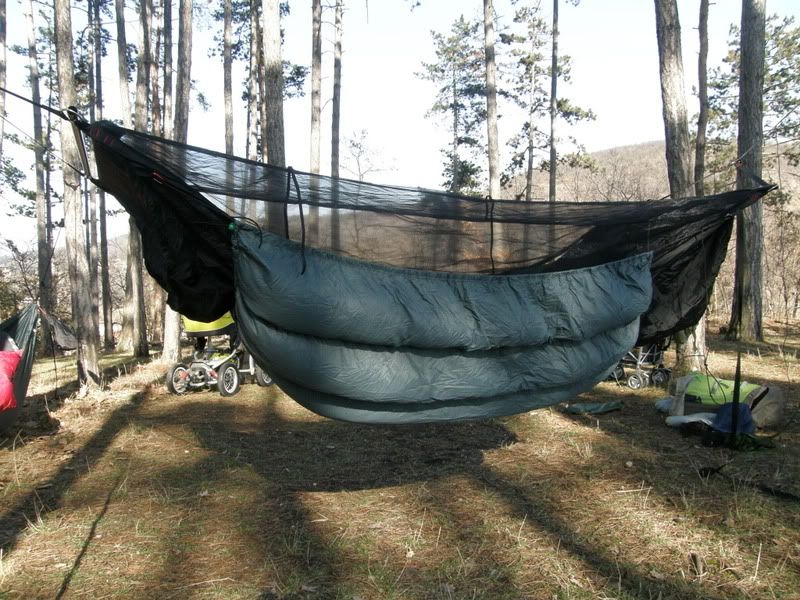
Someone having a kip
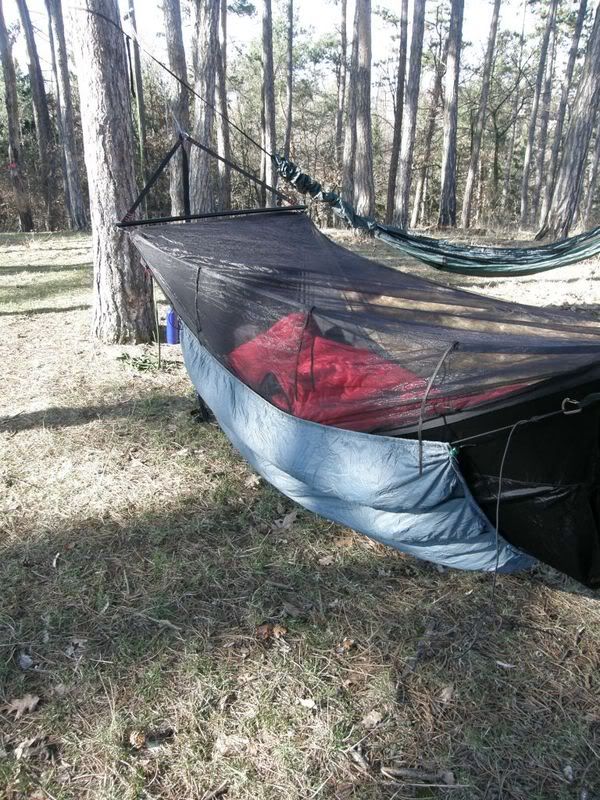
Final impressions:
Very high quality work and great attention to some details.
Not impressed with the bug net - if you set the hammock up a little too tight you can't close the zips as they are under too much tension - I think I'd rather have the bug net set up from my DD hammock (personal preference).
Suspension straps not long enough - I'll be cutting them off as I've added my whoopie slings.
Triglides - love the idea, pants in practice as I rarely use trees that are 6paces or less apart.
Gear pockets that are made from no see um netting, well I'll let you know when they fall apart.
The above points are more about my personal preference rather than any real issues, let's put it this way I won't be sending it back.
Thanks for sticking with me on this, hope it's of help for someone.
Cheers
Simon
The most significant redesign of hammocks since sailors plied the seven seas sleeping in remnants of sail cloth gathered at the ends and suspended from the belly beams of wooden sailing ships hundreds of years ago.
Description: The Jacks R Better Bear Mountain Bridge Hammock is a true lay flat, sleep straight hammock. It achieves these notable results by departing from the common gather end design to utilize a suspension bridge technique. The hammock takes its name from the suspension bridge over the Hudson River that carries the Appalachian Trail. When the Bear Mountain Bridge was completed in 1924 it was the largest suspension bridge in the world. This is the lowest point of the entire Appalachian Trail at 127 feet above sea level.
The JRB Bear Mountain Bridge Hammock is constructed of 70D rip stop nylon material and high strength polypropylene webbing. It will comfortably accommodate individuals up to 6 foot 3 inches tall and up to 275 pounds (19.6 St or 124.7kg).
The primary suspension lines are 1 inch polypropylene webbing and include
the unique JRB Tri-Glide for quick, easy, knot free, no hassle hanging.
The hammock comes complete with an attached bug net made of no-see-um netting that is zippered on three sides with a double pull zipper. It can be unzipped and tied back if desired when there is no bug threat.
There are two personal gear pockets, one on each end wall of the hammock.
Finally, for bottom insulation, use the loops on each corner to attach any of the standard (78"x48") JRB quilts as an under quilt ( attachment instructions); or the hammock is designed with a 26 inch wide pad pocket that will accommodate most camping pads.
And for added comfort we've included a re-usable, 14" x 10", 0.6 ounce, inflatable pillow.
The hammock with spreader bars and suspension lines weighs 37 ounces total (a knats proverbial over a kilo).
Review:
The idea behind bridge hammocks: In a gathered end hammock the entire of the hammock takes more or less an equal amount of the pressure a bridge hammock on the other hand works more like this (sorry for the rubbish drawing):

The buying experience: One word Great, clear communications and they even put their last 2 on hold whilst I shuffled some cash around to pay for them.
What's in the bag:
Pictured next to my DD Frontline for size comparison

Hammock and spreader bars

Triglides

joint from suspension to spreader bars

Attachment points for spreader bars

Triglide attached to suspension lines

Gear Pocket

Out on the balcony to test for First impressions:
I didnt get any photos of this as my balcony is a mite too short to do a real test, I did however try it with my ground mat which is a pacific outdoor traditional wide and measures 25x75x3 (63x190x7.6cm) it was a bit of a pain to get in but I presume that was more to do with the lack of space on my balcony rather than anything else.
Very impressed with the build quality, there are a couple of things however. Length of the 1 straps for attachment could be longer, I intend to put some whoopie slings on it so its not really a problem for me. I have a few reservations about the insect netting; the fact that it only opens on one side could turn out to be a bit of a pain as you have to check the hammock prior to stringing it up so to make sure it opens in the right direction. The included Tri glides I love the idea of but from a practical point this would lessen the suspension length of the whole system.
Down the woods to have a play:
I chose two trees roughly six paces apart, this was right on the edge of what I think is feasible with the factory attached lines.
All set up

(I set it up the wrong way round the first time, I knew that 3 sided zip for the mozzie net was going to bother me)
Some close ups
Suspension to spreader bars

Suspension to spreader junction

Spreader bar attachment: nice touch powder coating the ends

Triglide in action

Attachment point for underquilt

Endview

Time to stick on the whoopie slings and see if that makes a difference.
Whoopies attached

Usual suspension system


Attaching the underquilt

If you're not going to be using an UQ then you have the option of sliding a mat in the bottom. I think this is a great bit of design I had my mat in it when it was up on the balcony. What I failed to mention at the time is that this gives the hammock a lot more shape when not being used. I'll giver it a real test with the ground mat in later and then think about adding a bit about it.
Nice size velcro closer for the sleeping mat

Underquilt attached

Someone having a kip

Final impressions:
Very high quality work and great attention to some details.
Not impressed with the bug net - if you set the hammock up a little too tight you can't close the zips as they are under too much tension - I think I'd rather have the bug net set up from my DD hammock (personal preference).
Suspension straps not long enough - I'll be cutting them off as I've added my whoopie slings.
Triglides - love the idea, pants in practice as I rarely use trees that are 6paces or less apart.
Gear pockets that are made from no see um netting, well I'll let you know when they fall apart.
The above points are more about my personal preference rather than any real issues, let's put it this way I won't be sending it back.
Thanks for sticking with me on this, hope it's of help for someone.
Cheers
Simon

 , first dibs buddy or i,m going back to
  camping lol.