I found this link recently, to a wood burning stove with a difference, so I thought I would try it. (trying to find it again, will link it promise)
Impressed I'll say, 30 mins burn on a handful of pencil sized branches, would'nt you be ?
I used a catfood tin, I guess anything similar in size will do. I wrapped a peice of paper around the can to get a farily accurate circumference, and used it to lay out the various cuts as shown on the site.
I also used a coat hanger for the bits and bobs, and some kitchen foil for the windshield.
Anyway the results;
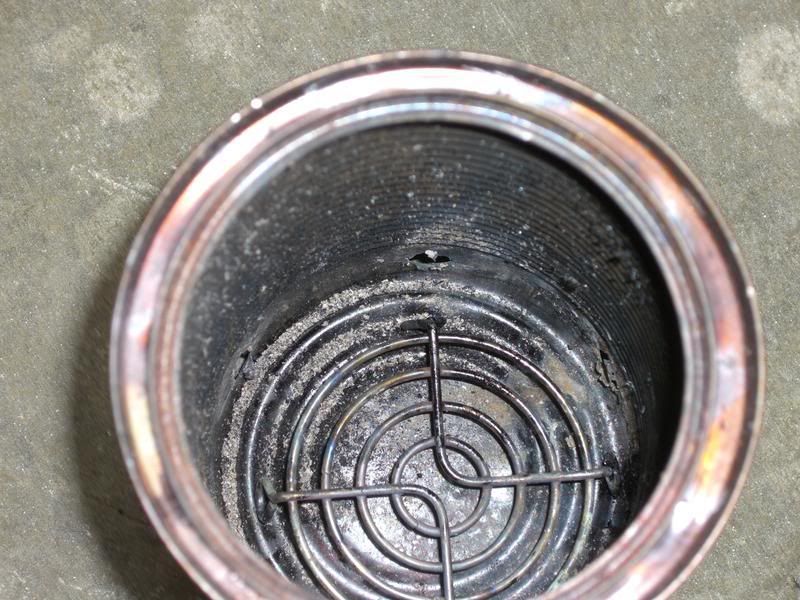
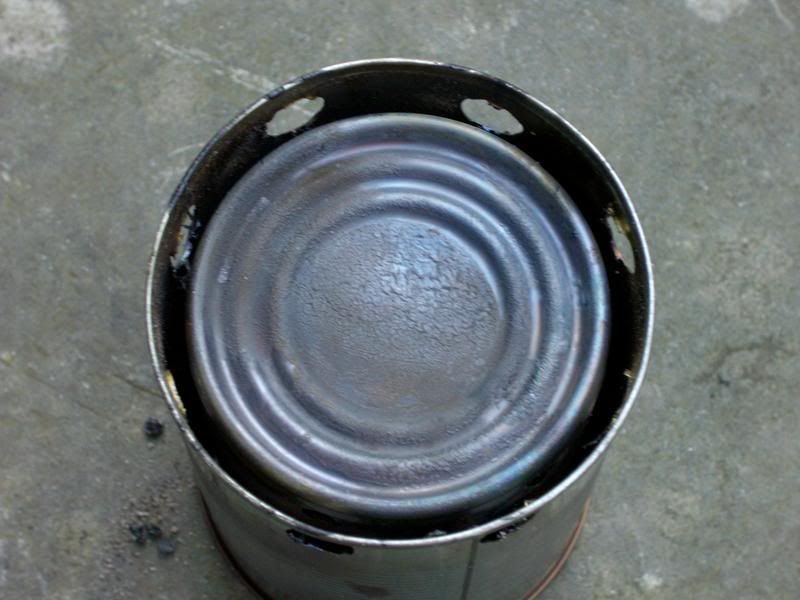
The components
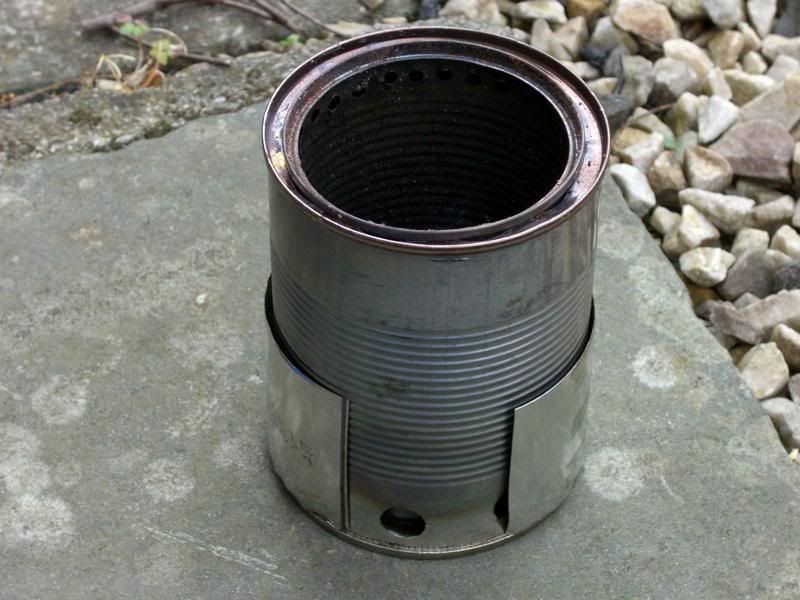
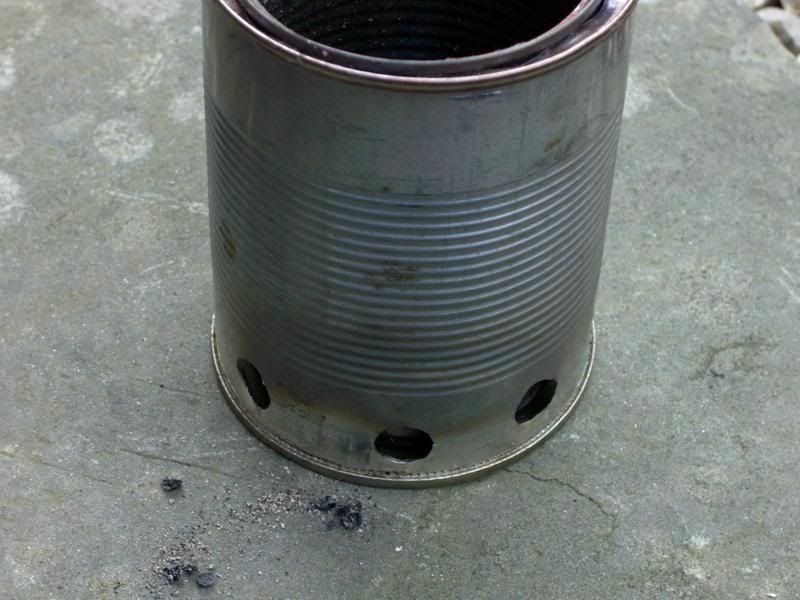
Fitted together
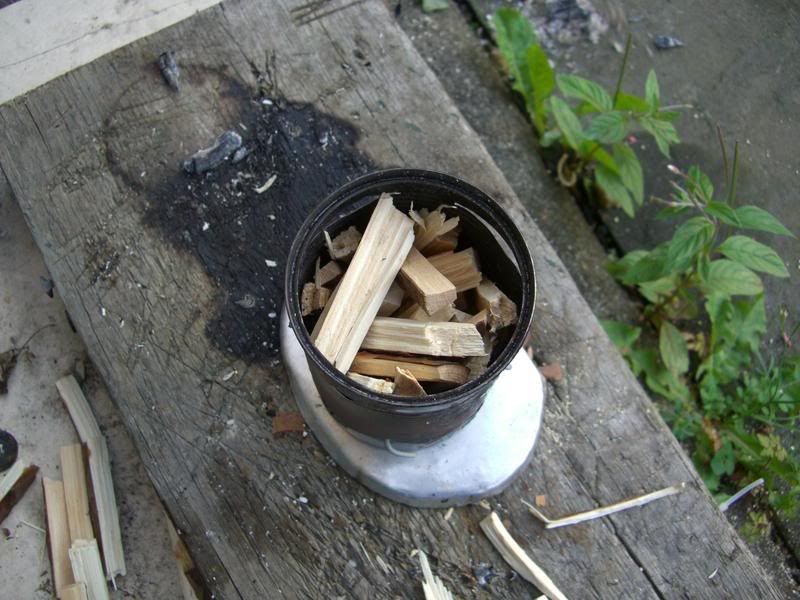
Packed with small wood
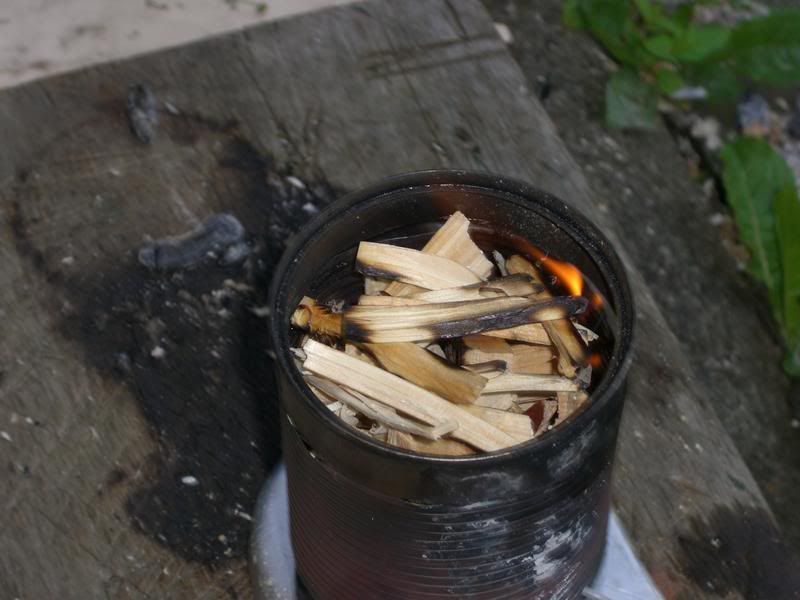
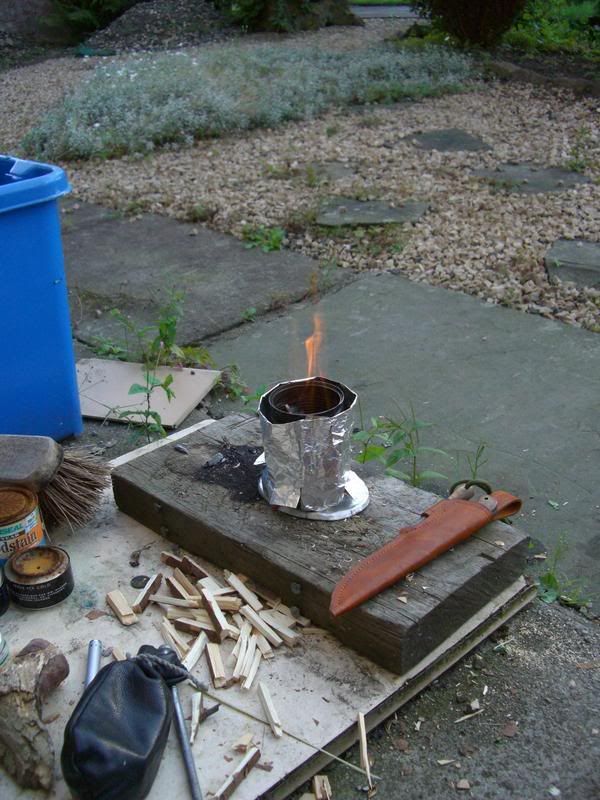
Fire started 0 mins (used paraffin as indicated in the plans, not much is needed tho)
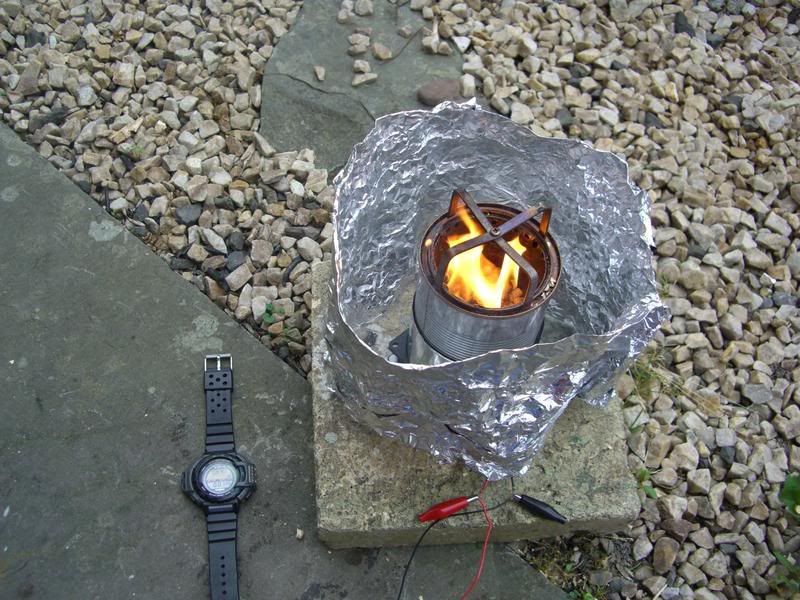
Windshield added
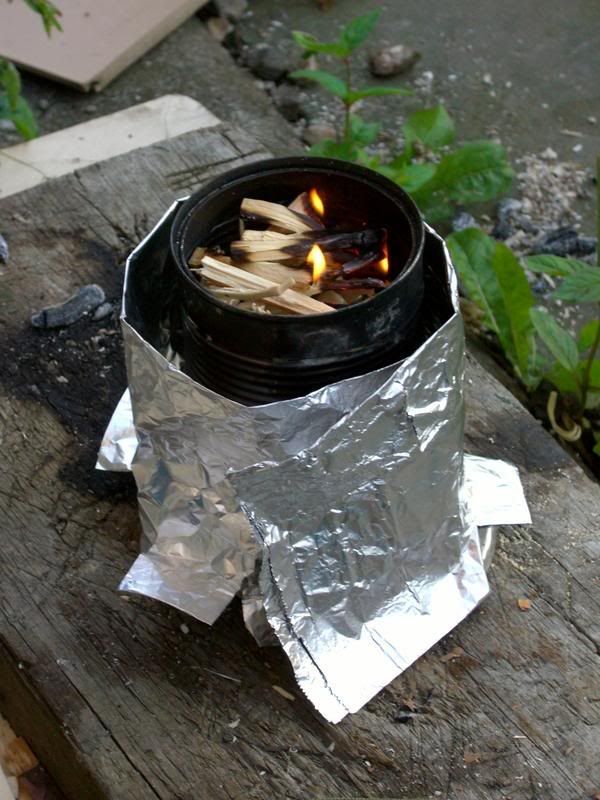
At 5 mins
At 10 mins, (windshield sorted )
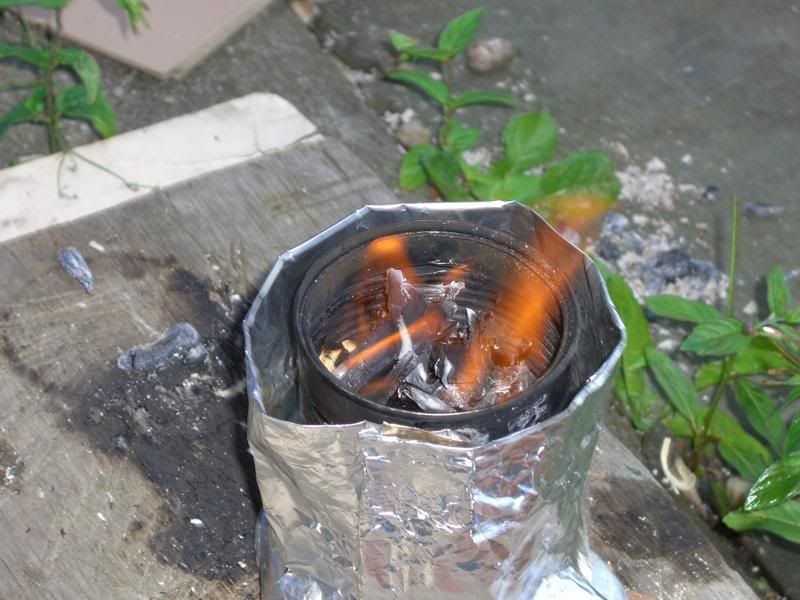
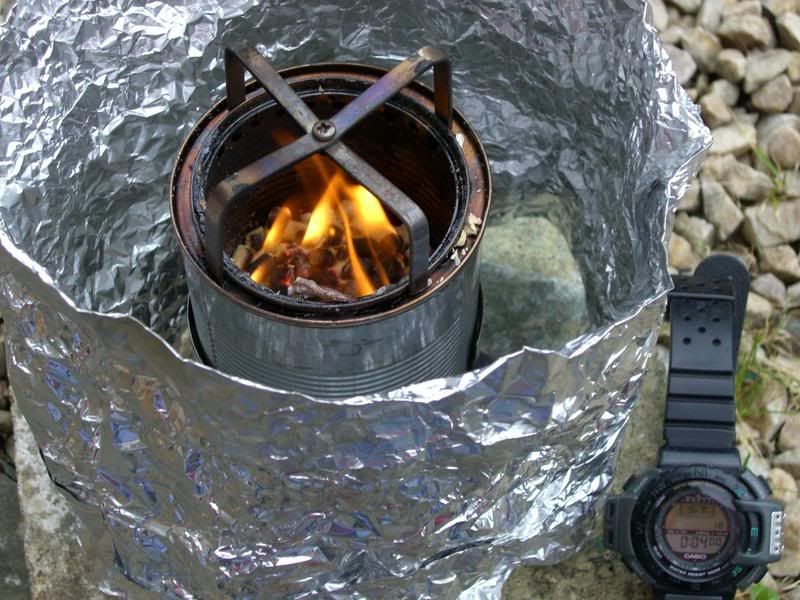
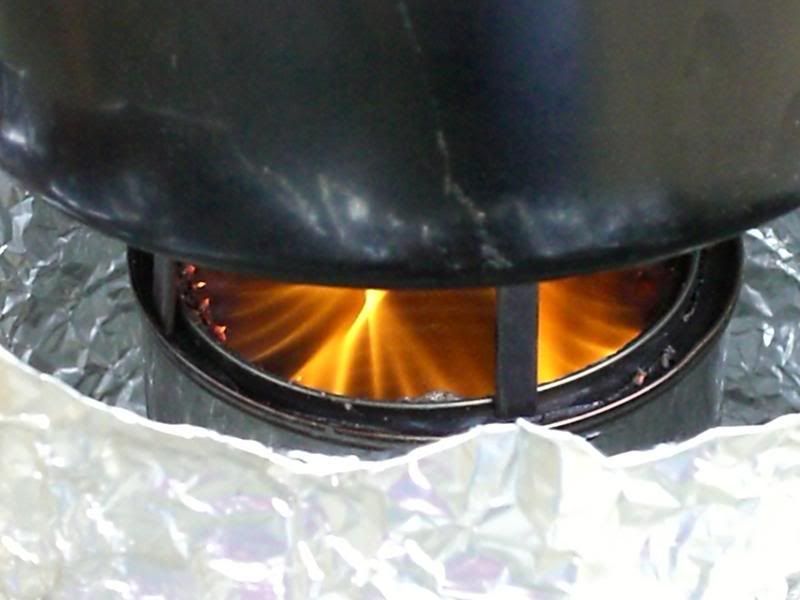
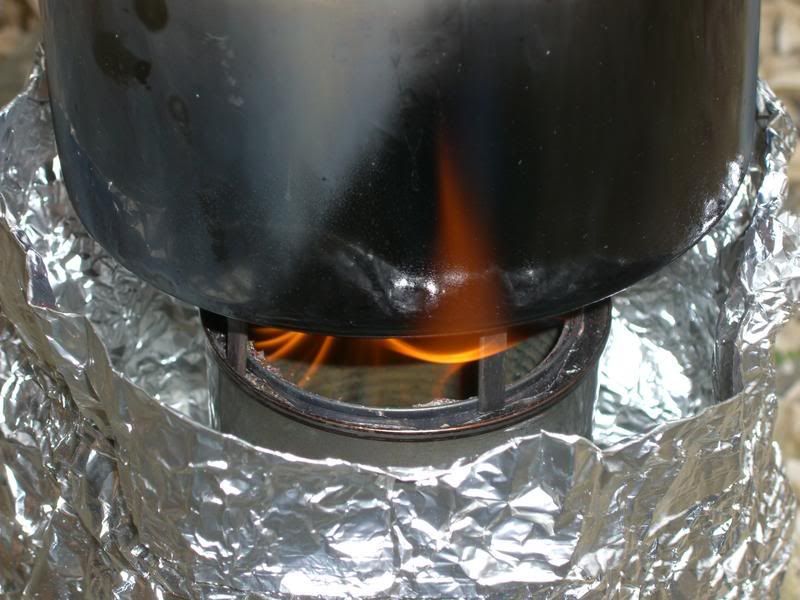
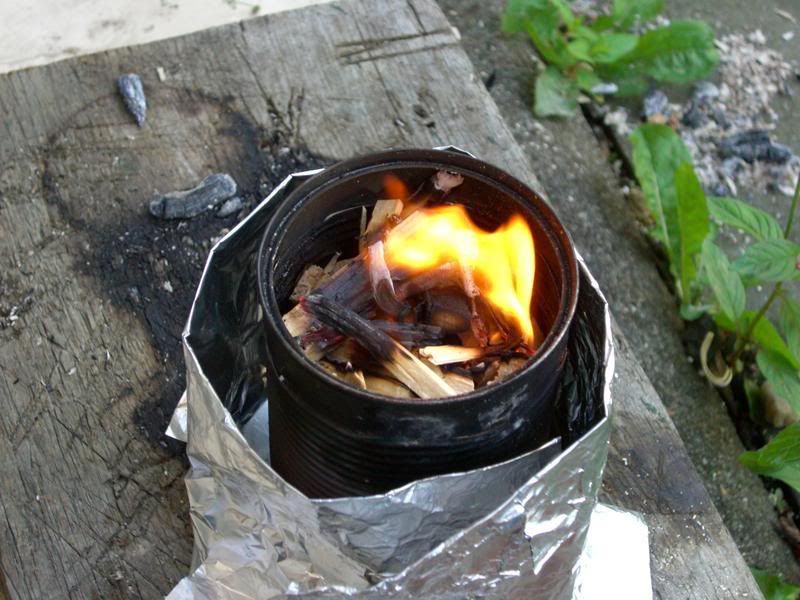
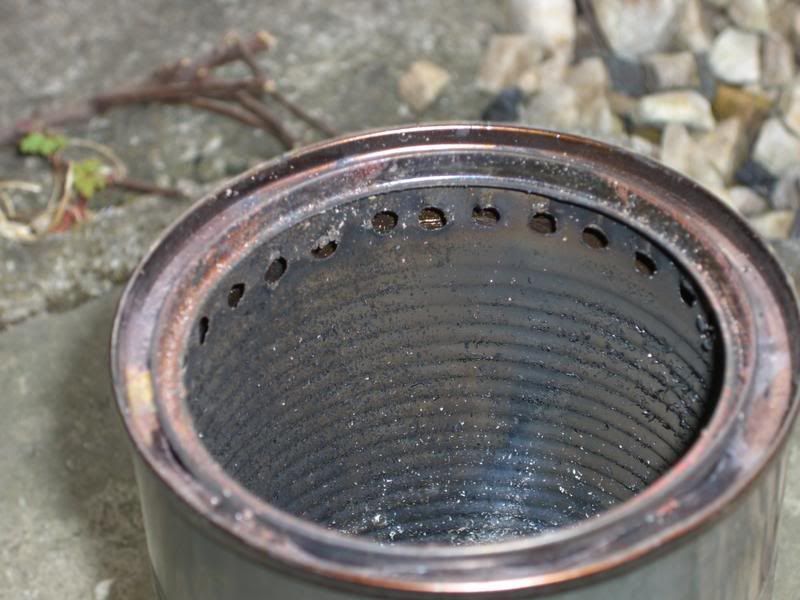
At 15 mins, here you can clearly see the secondary slots supplying air
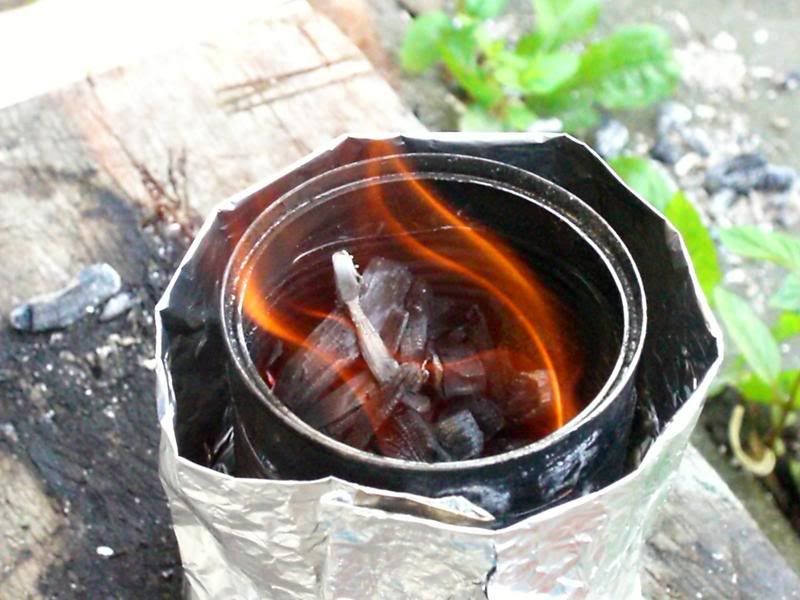
At 20 mins, notice how little smoke there is
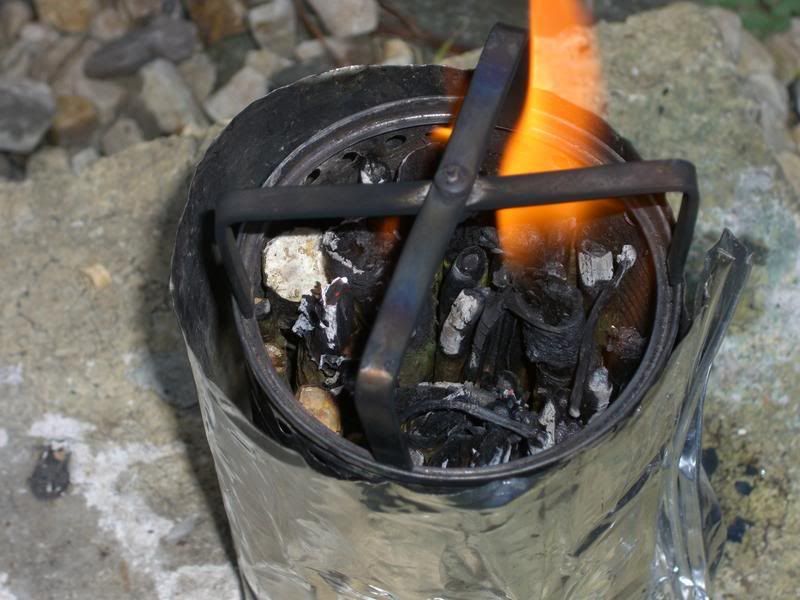
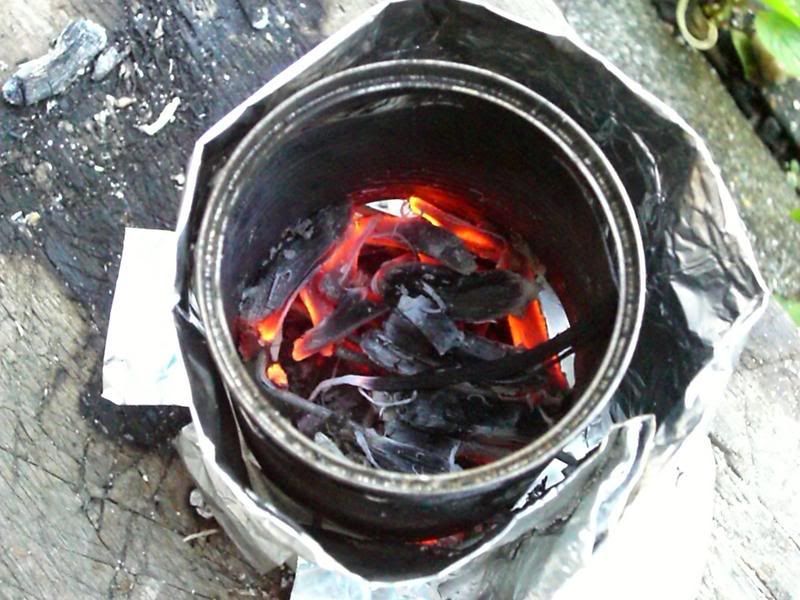
At 25 mins, flames gone, but charcoal still providing a lot of heat
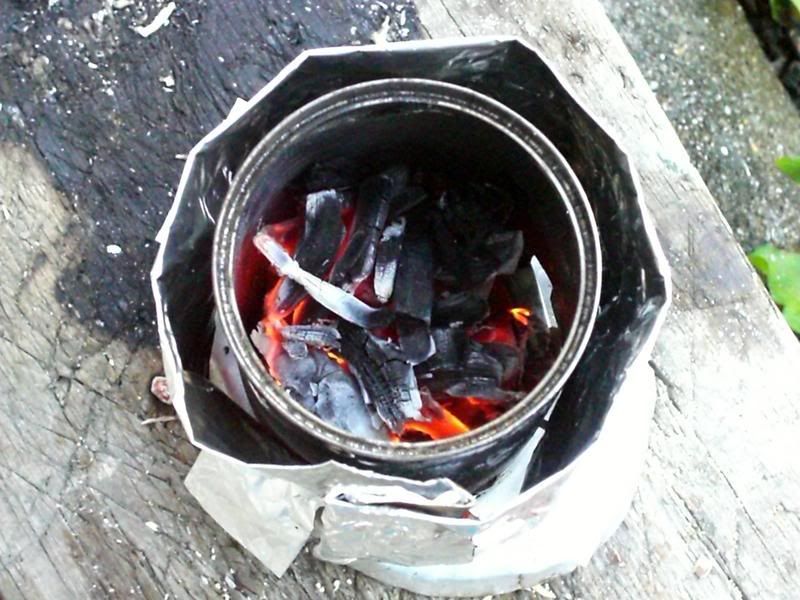
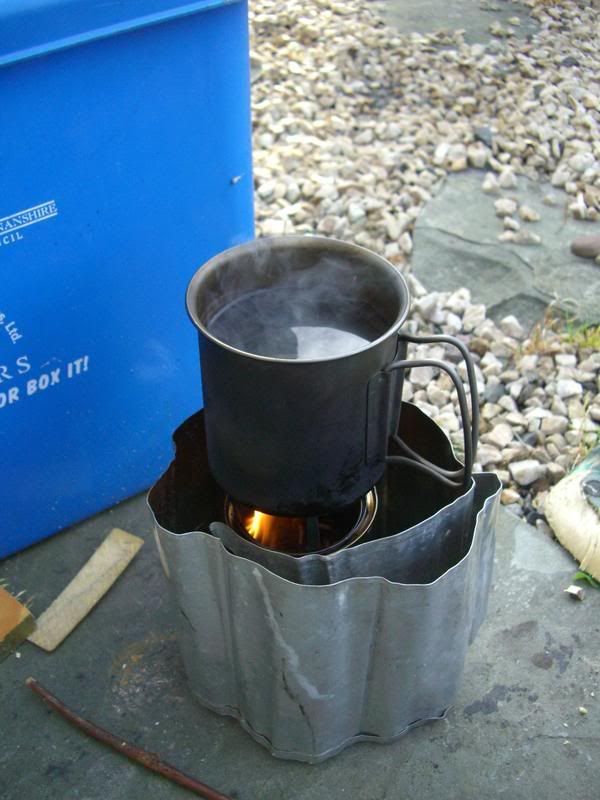
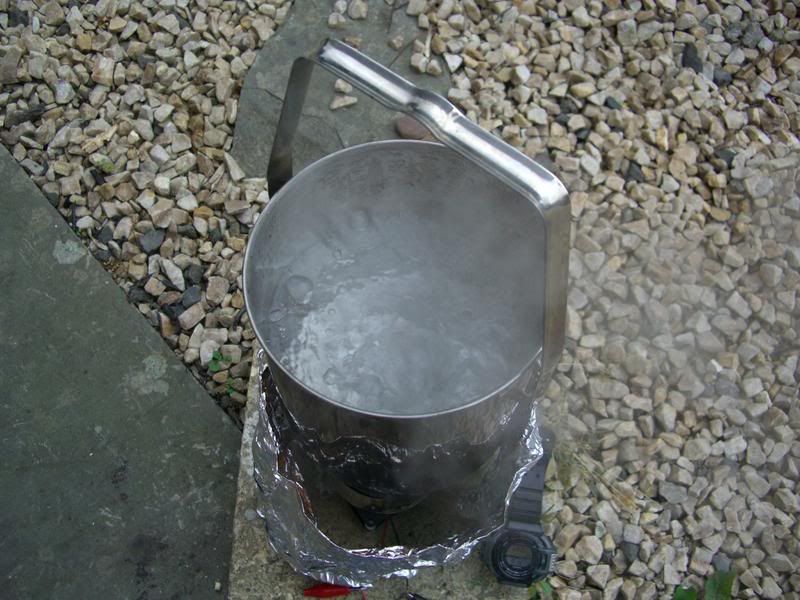
At 30 mins, heat still more than enough to keep a simmer going
It burns from the top down. which is surprisingly hard to get your head around, but damn can you dispute the results, give it a go, you will be impressed, trust me.
Stephen
Impressed I'll say, 30 mins burn on a handful of pencil sized branches, would'nt you be ?
I used a catfood tin, I guess anything similar in size will do. I wrapped a peice of paper around the can to get a farily accurate circumference, and used it to lay out the various cuts as shown on the site.
I also used a coat hanger for the bits and bobs, and some kitchen foil for the windshield.
Anyway the results;
The components
Fitted together
Packed with small wood
Fire started 0 mins (used paraffin as indicated in the plans, not much is needed tho)
Windshield added
At 5 mins
At 10 mins, (windshield sorted )
At 15 mins, here you can clearly see the secondary slots supplying air
At 20 mins, notice how little smoke there is
At 25 mins, flames gone, but charcoal still providing a lot of heat
At 30 mins, heat still more than enough to keep a simmer going
It burns from the top down. which is surprisingly hard to get your head around, but damn can you dispute the results, give it a go, you will be impressed, trust me.
Stephen

 , small bubbles yes, but no more.