You have a psychotic sander, best get another one!they got it today
They got claret today as I tried to sand my finger down on the belt sander, then the sander fell off the bench onto my foot, then onto the shed floor where it proceeded to scoot across the floor like a rabid rc car, was quite funny really.
Next Knife Build
- Thread starter Kepis
- Start date
-
Hey Guest, Early bird pricing on the Summer Moot (29th July - 10th August) available until April 6th, we'd love you to come. PLEASE CLICK HERE to early bird price and get more information.
You are using an out of date browser. It may not display this or other websites correctly.
You should upgrade or use an alternative browser.
You should upgrade or use an alternative browser.
Got the knife build finished this afternoon, only one small error that i made and that is the lanyard tube is not straight, but considering my lack of dexterity and the fact it's drilled by hand and not in a drill press it's not too bad.
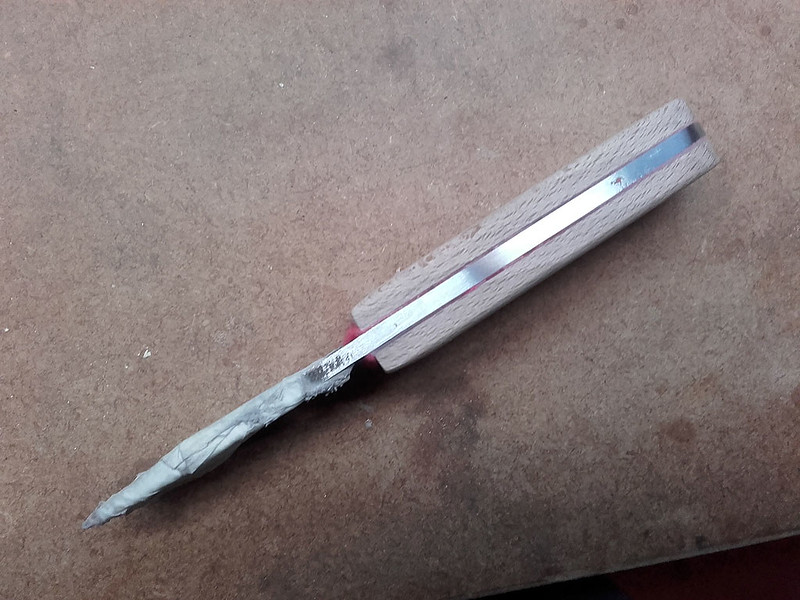
Glued up and cured ready for sanding to begin
 20171222_145349 by Mark D Emery, on Flickr
 20171222_145341 by Mark D Emery, on Flickr
Shape coming along nicely
 20171222_154748 by Mark D Emery, on Flickr
You can see the wonky rear tube, adds character")
 20171222_154802 by Mark D Emery, on Flickr
top down view
 20171222_154815 by Mark D Emery, on Flickr
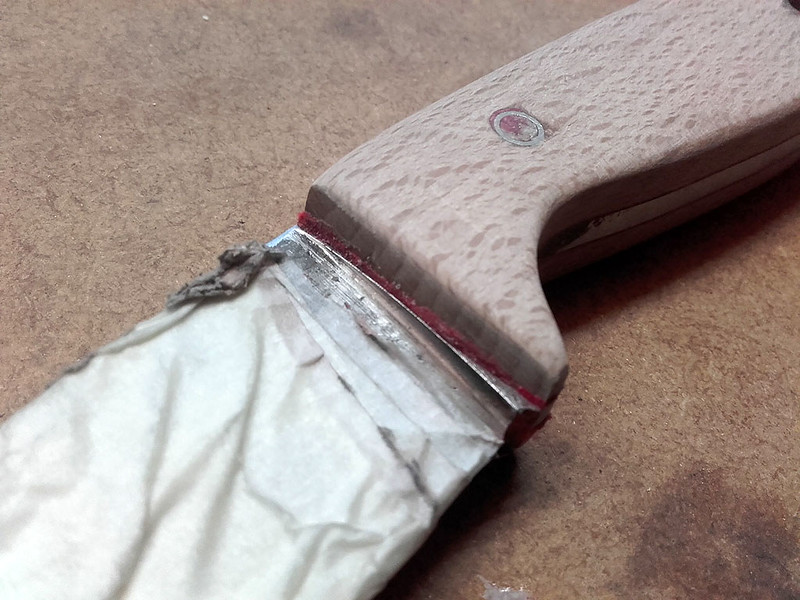
Tidying up the front of the scales and trimming the excess epoxy impregnated felt away
 20171222_155309 by Mark D Emery, on Flickr
The felt works quite well, being a soft material when it clamps up it fills any imperfections in the scales/tang
 20171222_155318 by Mark D Emery, on Flickr
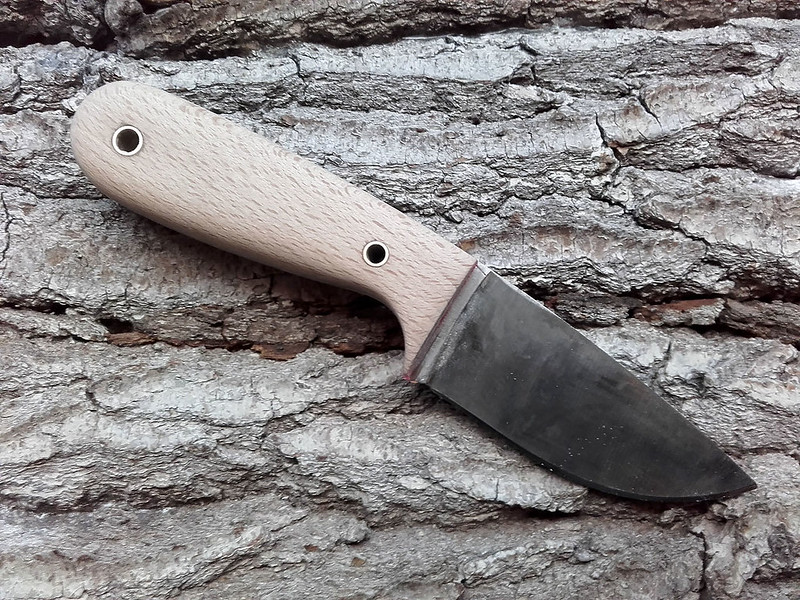
Finished for the time being, all bar cleaning out the front tube.
 20171222_160155 by Mark D Emery, on Flickr
 20171222_160216 by Mark D Emery, on Flickr
Im happier on this one as the top of the handle is flush with the tang, ie i didnt go mad with shaping and sanding this time, the handle is a bit thicker and slab sided at present, i may do some more shaping on it over time but will see how i get on with it first, the keen eyed amongst you will have noticed i pulled the scales a few mm further forward on this build too as i wanted try a slightly longer handle compared to last time.
Been an enjoyable build again, well apart from the argument with the belt sander yesterday.
Glued up and cured ready for sanding to begin
20171222_145349 by Mark D Emery, on Flickr20171222_145341 by Mark D Emery, on FlickrShape coming along nicely
20171222_154748 by Mark D Emery, on FlickrYou can see the wonky rear tube, adds character
20171222_154802 by Mark D Emery, on Flickrtop down view
20171222_154815 by Mark D Emery, on FlickrTidying up the front of the scales and trimming the excess epoxy impregnated felt away
20171222_155309 by Mark D Emery, on FlickrThe felt works quite well, being a soft material when it clamps up it fills any imperfections in the scales/tang
20171222_155318 by Mark D Emery, on FlickrFinished for the time being, all bar cleaning out the front tube.
20171222_160155 by Mark D Emery, on Flickr20171222_160216 by Mark D Emery, on FlickrIm happier on this one as the top of the handle is flush with the tang, ie i didnt go mad with shaping and sanding this time, the handle is a bit thicker and slab sided at present, i may do some more shaping on it over time but will see how i get on with it first, the keen eyed amongst you will have noticed i pulled the scales a few mm further forward on this build too as i wanted try a slightly longer handle compared to last time.
Been an enjoyable build again, well apart from the argument with the belt sander yesterday.
Good going what's next!, as for your sander I don't know what you did but I think its angry with you
Good going what's next!, as for your sander I don't know what you did but I think its angry with you
Got to wait and see whats under the tree come Monday i guess
If your lucky, its a rusty old file! they can make a very fine knife.Got to wait and see whats under the tree come Monday i guess
If your lucky, its a rusty old file! they can make a very fine knife.
Fingers crossed, but i do know there is Japanese Ryoba saw there for starters
Great job!
I have a table top drill, and even that one can not drill absolutely straight!
I discovered this: after the last sanding, but before oiling, I infuse the cloth with super glue. Some gentle sanding of that with 1500 grit paper and oiling produces a very nice looking "infill" !
If you want a more "show quality' surface, get some Beretta Stock Oil, made by Birchwood Casey. Maybe sold in UK under the Birchwood Casey name?
It produces a very glossy, but NOT slippery surface that gives an incredible depth to the wood/grain.
Put your belt sander aside for the time being and don't be too quick to prune that handle.
Your blade profile reminds me of an old Kershaw folder that I have buried in some kit.
Just to say that it's very useful in shape.
Size:
Palm up, in a fist-grip of the handle, the tips of your middle 2 fingers should just touch
the fat ball part of your thumb. I learned this for wood carving tool handles, elbow and D adzes as well (Kestrel Tool.)
For my big hands and long fingers, any handle blank of 7/8" x 7/8", rounded off, will be very comfortable for me to hold.
3/4" is the lower limit ( arthritis pains) and 1" just seems fat and unwieldy. Yeah, I was surprised, too.
I like that! you know how some knives just look 'useable' - that one does.
I may copy that shape sometime if you don't mind
I may copy that shape sometime if you don't mind
I like that! you know how some knives just look 'useable' - that one does.
I may copy that shape sometime if you don't mind
fil yer boots, shape is an ESEE izula, loads of profile pics on Google Images if you want a template
If I may do a 'users suggestion' do not cut out the inside of the tang like they did. Leave more steel where you want the brass/bronze pins /lanyard tube and drill through the tang. This will make the scales sit stronger. Glue AND pins/tube will hold them solidly fixed!.
If I may do a 'users suggestion' do not cut out the inside of the tang like they did. Leave more steel where you want the brass/bronze pins /lanyard tube and drill through the tang. This will make the scales sit stronger. Glue AND pins/tube will hold them solidly fixed!.
I haven't got the patience to remove that much metal
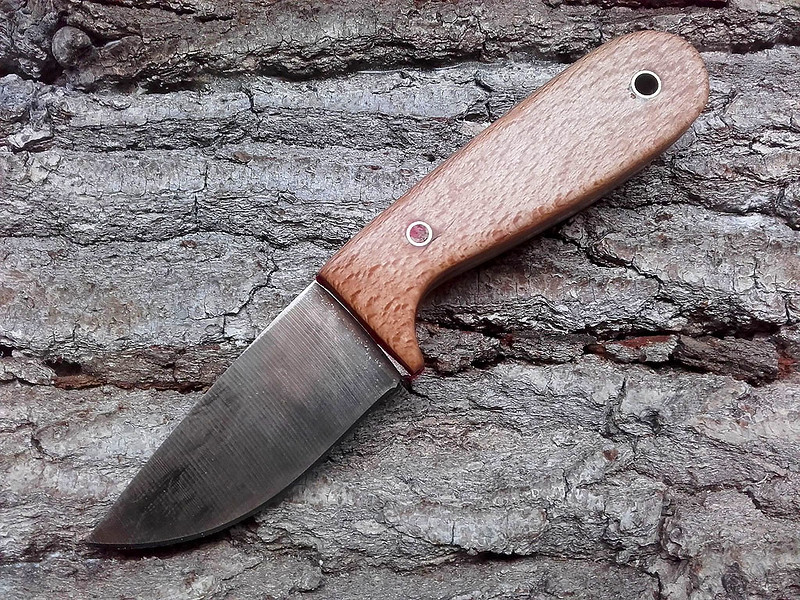
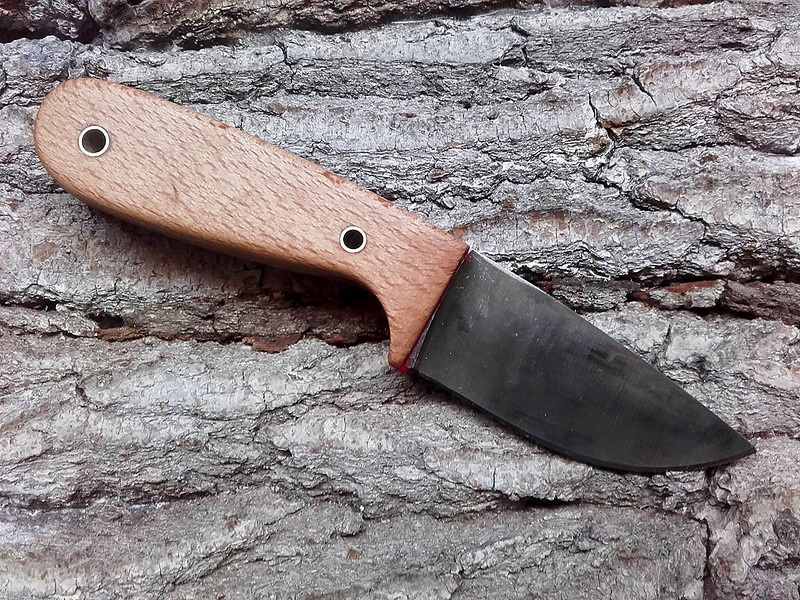
Did a bit more on the knife build this afternoon, the shape and style of it were just not sitting right, so back to the work shop it was.
After a bit of hand sanding i got the shape refined and it now feels so much better in the hand, plus it doesn't look "slabby" any more, the other thing i changed was the front of the scales, it just didn't look right to me with the scales that far forward, so clamped the knife up and very carefully trimmed just a couple of mm off the front of each scale with a flush cut saw, looks much better now.
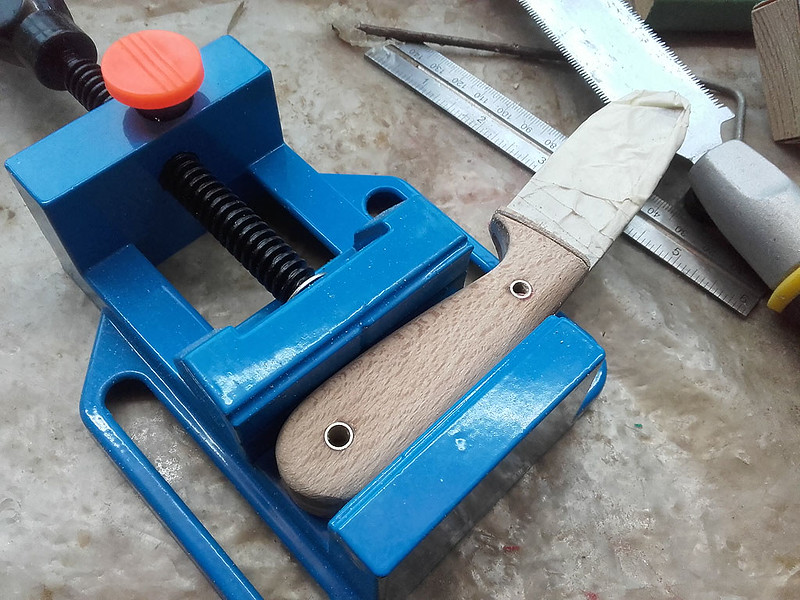 20171223_144752 by Mark D Emery, on Flickr
 20171223_152117 by Mark D Emery, on Flickr
 20171223_152133 by Mark D Emery, on Flickr
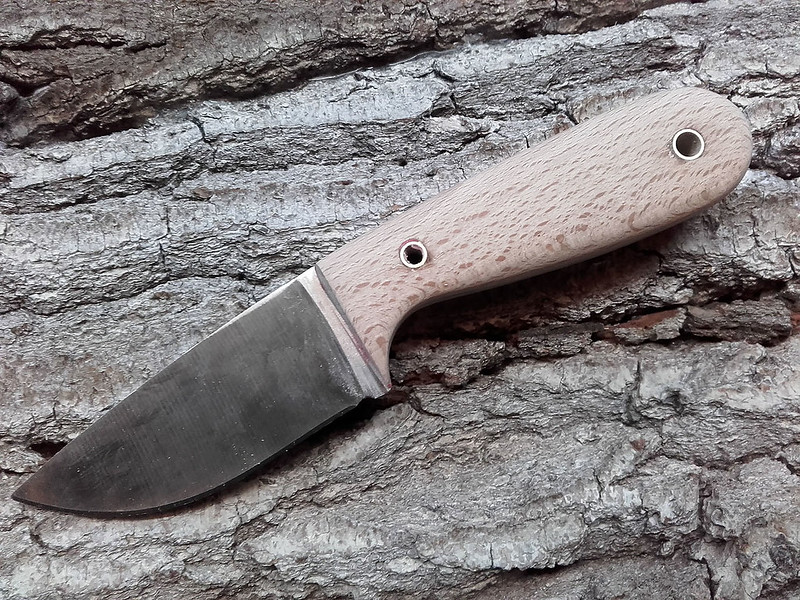
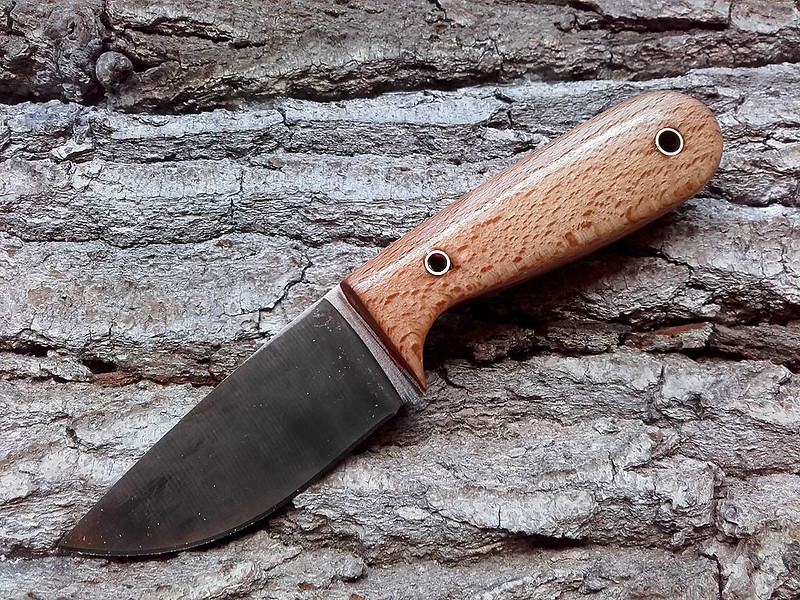
Gave it all a final rub down with 600 grit paper and then oiled it with a good dose of boiled linseed oil,
 aa20171223_152845 by Mark D Emery, on Flickr
just the sheath to make for it now, but that might have to wait until next week.
After a bit of hand sanding i got the shape refined and it now feels so much better in the hand, plus it doesn't look "slabby" any more, the other thing i changed was the front of the scales, it just didn't look right to me with the scales that far forward, so clamped the knife up and very carefully trimmed just a couple of mm off the front of each scale with a flush cut saw, looks much better now.
20171223_144752 by Mark D Emery, on Flickr20171223_152117 by Mark D Emery, on Flickr20171223_152133 by Mark D Emery, on FlickrGave it all a final rub down with 600 grit paper and then oiled it with a good dose of boiled linseed oil,
aa20171223_152845 by Mark D Emery, on Flickrjust the sheath to make for it now, but that might have to wait until next week.
Similar threads
- Replies
- 3
- Views
- 435
- Replies
- 14
- Views
- 1K