BAKING BREAD IN A ZEBRA POT USING A KELLY HOBO STOVE
(Oh yes you can!) by Pattree
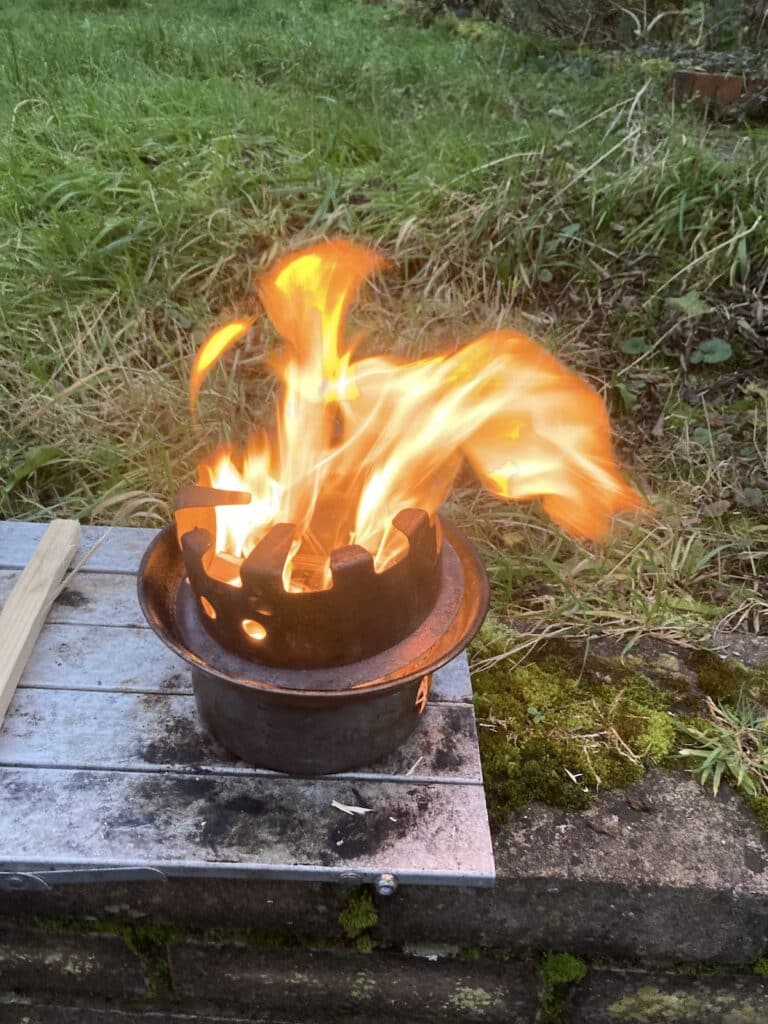
Tony had asked me to expand my post about baking bread on a Hobo stove.I’d like to show you how I do it outdoors but it’s December and making yeast bread at low temperatures rarely works well.
Maybe when I next make bread in camp I’ll add a video to this article.
I’ll be using the Kelly Kettle system with an unmodified Zebra pot but I’ll add notes about doing it on a conventional open camp fire as well. It’s not so different.
I’ll do all the prep/proving indoors using the outdoor equipment and I’ll try to play fair with techniques – like no table and the tools that I would normally have in camp.
I’ll do the cooking on the Kelly system outside in the garden.
Yeah – I’ll be in the dark, in a frost. What could possibly go wrong?
Prep:
Have all the fuel that you are going to need cut up ready. These two buns can be baked using less than two quarter logs cut up to fit.
Have all your ingredients close to hand with packets open and caps loostened.
Have everything where you can reach it without moving from where you are sitting/squatting by your fire.
Equipment:
I like all my camp cooking gear in stainless steel.
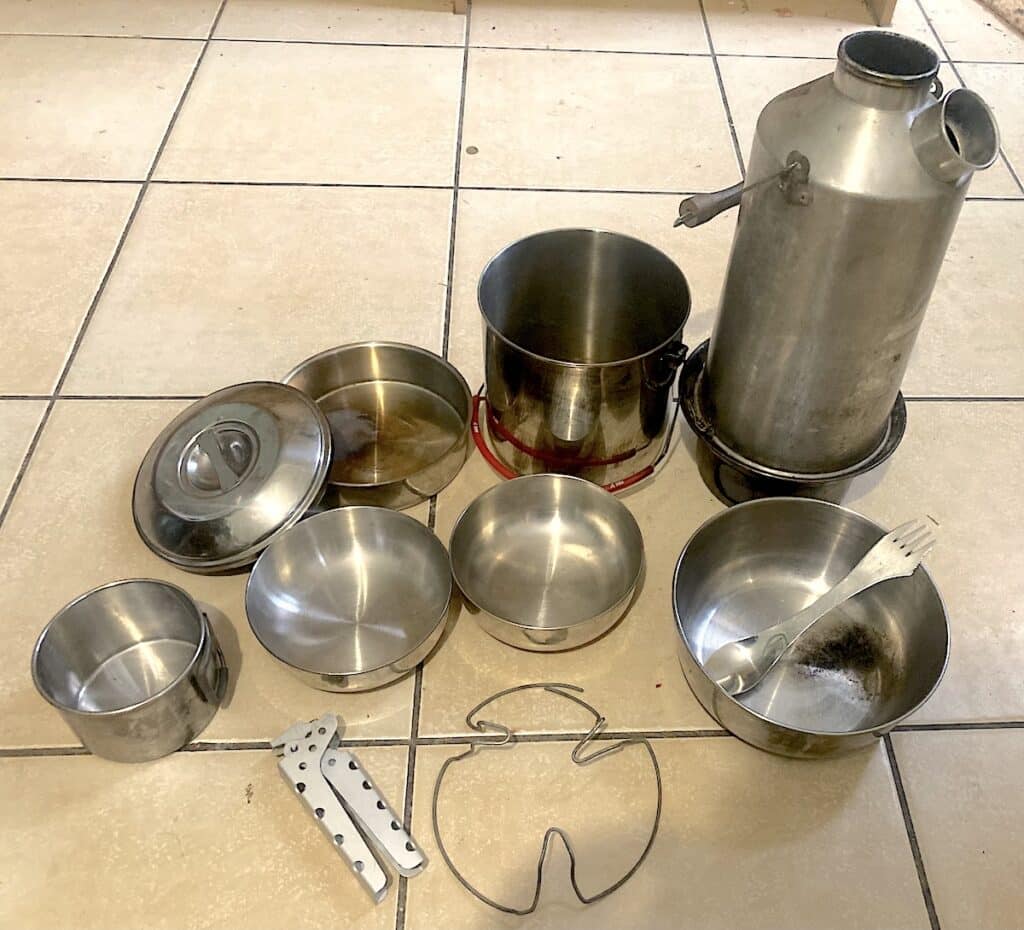
- Base Camp Kelly Kettle and Hobo. (An open fire and a kettle is OK)
- 16cm Zebra pot including the top tray. You will need to remove the plastic clips and either have a mechanism that holds the handle up while the pot is on the fire or have pot grippers for when the handle gets hot.
- Trivet to go inside the Zebra pot but anything that keeps the baking bowl off the base by 25mm will do. Three stones would be fine if they take the heat without exploding (granite just might). This trivet took less than five minutes to bend from 12 gauge fence wire.
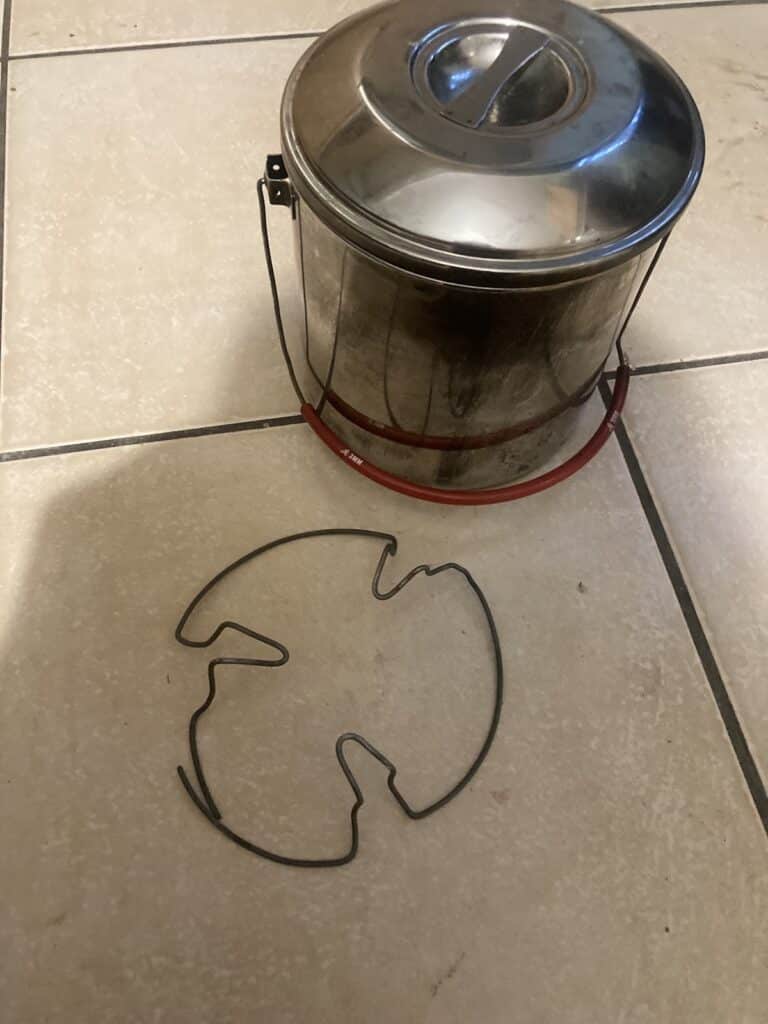
- Summit 14cm stainless steel bowls. These slide easily into the Zebra pot. They are used one at a time but this recipe makes two buns .
- Mixing (dog) bowl. (20cms)
- Spatula/Spork/thing cut from a piece of wood.
- Pot gripper
- Mug. For water and making coffee while you wait!
Recipe:
Bum! You are going to want quantities and I do it by appearance. Bear with me and I’ll weigh the dog bowl.
Right!
Strong White Flour 400gm
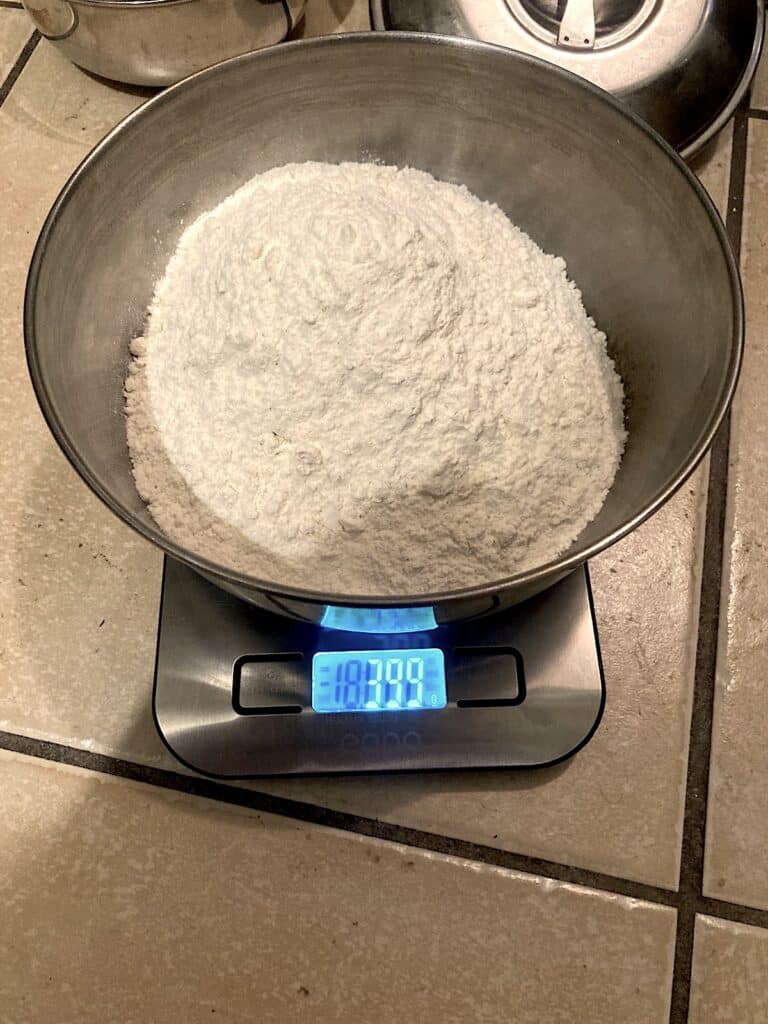
Once you know your bowl you won’t need scales.
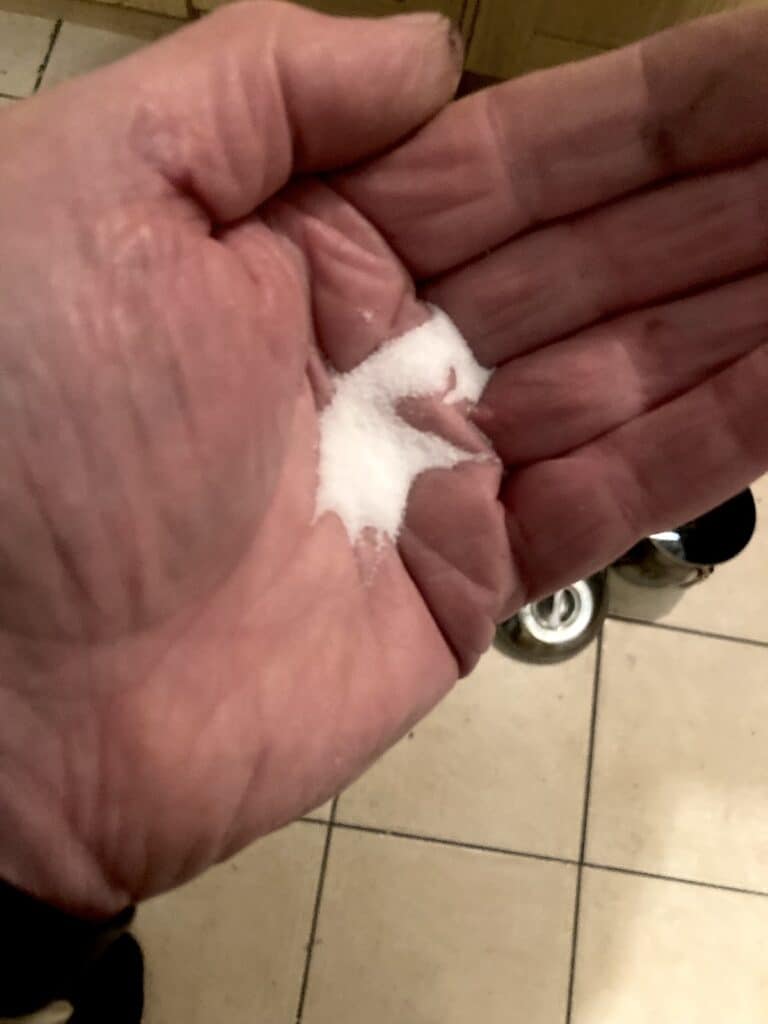
Salt – small teaspoon (ish)
Instant yeast – one sachet.
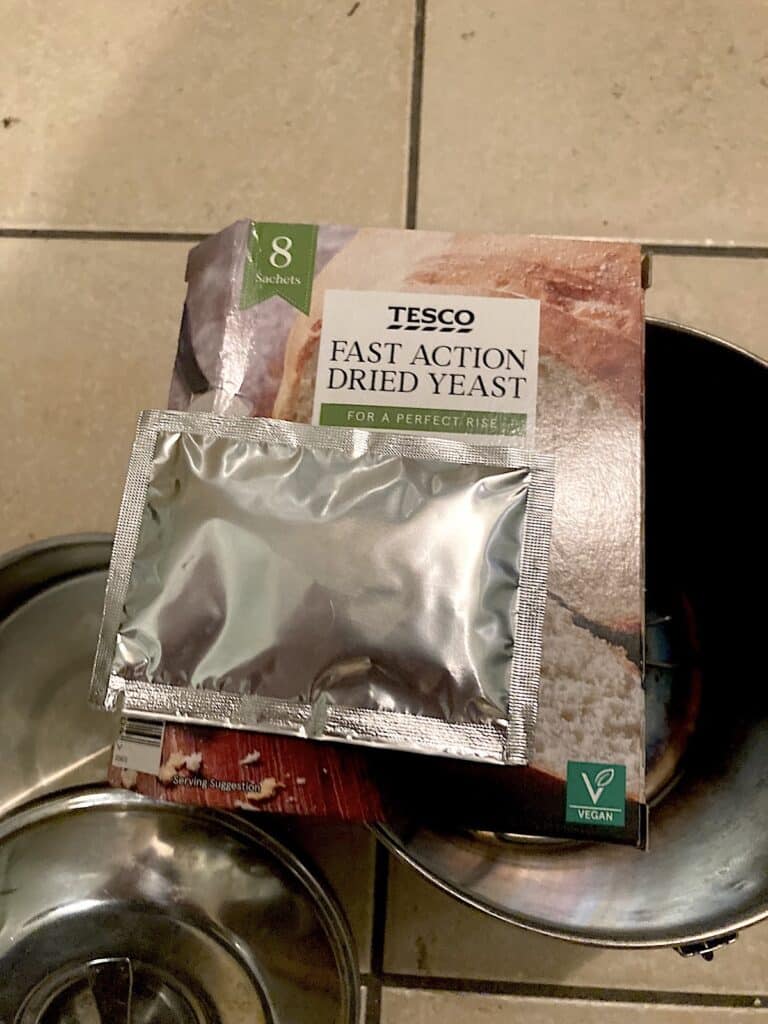
Instant yeast goes straight into the mix. The alternative is just called“Dried Yeast” but it needs to be woken up with warm water separately and messes up the water quantities. I use it at home but always use instant yeast in camp.
Water – luke warm. 300ml. Make it 2/3 cold water mixed with 1/3 boiling water.
Olive oil – 30ml = three glugs from the bottle.
Wash your hands. If they aren’t clean when you start they will be by the time you finish
Method:
Boil a Kettle full. It’ll be ready for your mix and you’ll want a coffee/brew while you are waiting for things to happen.
Tip flour into dog bowl.
Stir in a flat teaspoon full of salt. This is done first in order to cover the salt grains with flour and reduce contact between salt and yeast as this deactivates it.
Stir in the sachet of yeast. I chuck the empty sachet straight on the fire. You might not want to.
Mix in luke warm water – Pour in small quantities at a time and stir thoroughly each time. After each addition check until you cannot see dry flour at the bottom of the bowl. Stop when the mixture looks “raggy”. There is just one splash of water between a dough that you can work and a sticky dough that is much harder to knead. It doesn’t matter if you have water left over, texture is more important than recipe quantities.
Pour in oil – three glugs. Stir/slice it into the mix.
Now leave the dough for eight to ten minutes. It should just start to swell but not much. This isn’t a “proving” it’s just to create and relax the gluten. Go and do something else but watch the time.
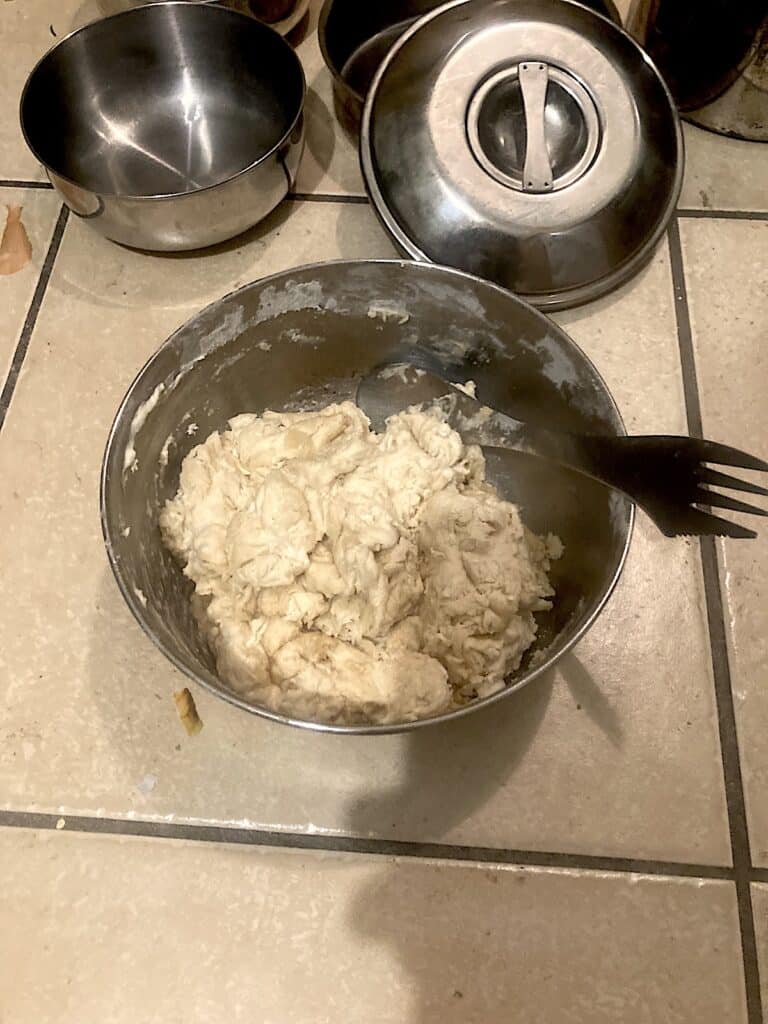
As I’m in a “camp” I have no work table. Kneading is done in the mixing bowl. I hold the bowl in one hand and knead with the other in mid air.
Start by pulling the dough towards you……
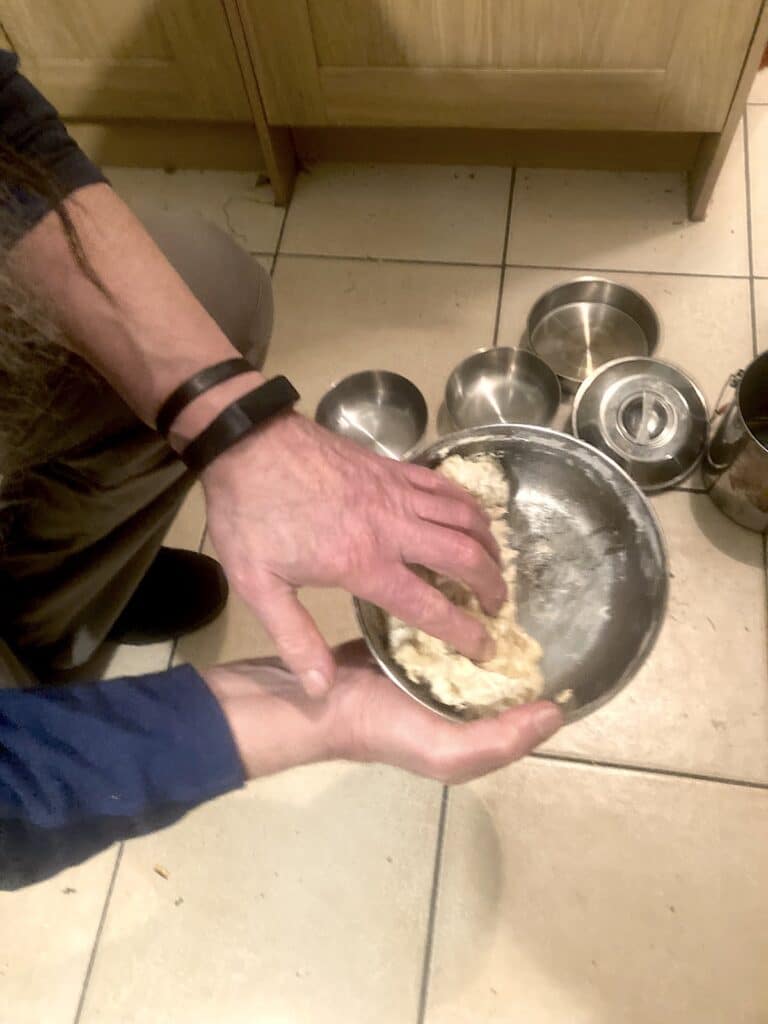
….then using your knuckles smear the dough away from you, pushing hard against the bowl.
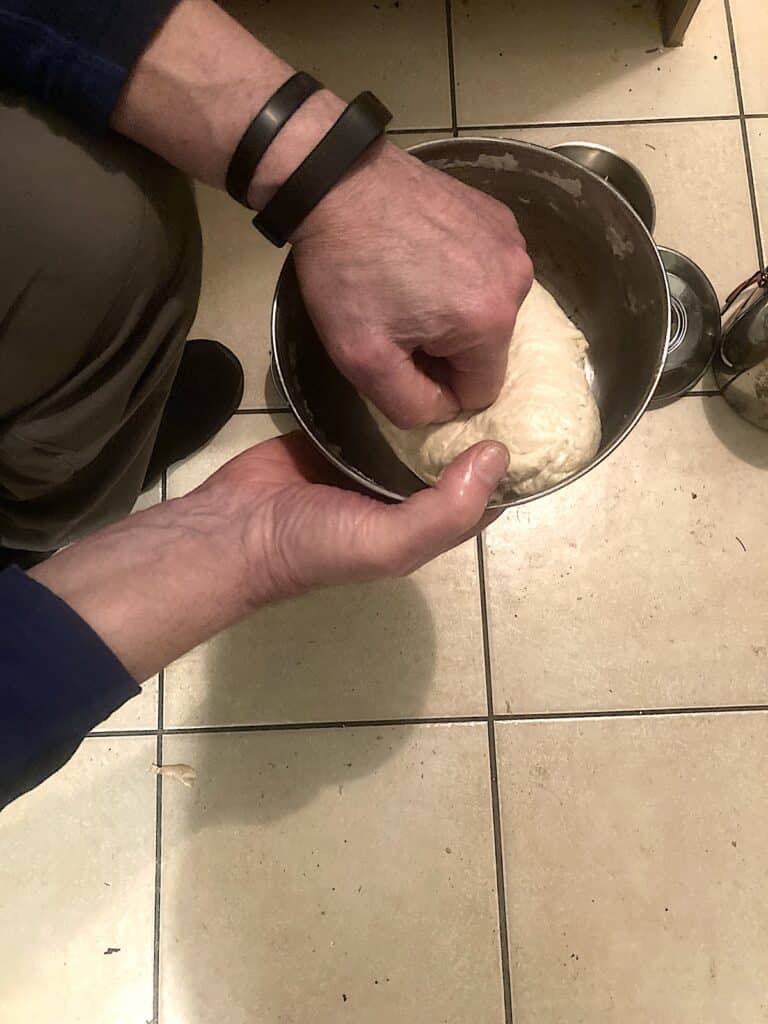
Repeat a couple of times , pulling and smearing till you have a fat sausage of dough. Now turn the bowl through ninety degrees and pull/fold the sausage towards you and smear again as you did before and produce another sausage. Again turn through 90 degrees, fold towards you and repeat. If you do this twenty times you will have produced over a million (2^20) layers. Damascus steel makers know this already.
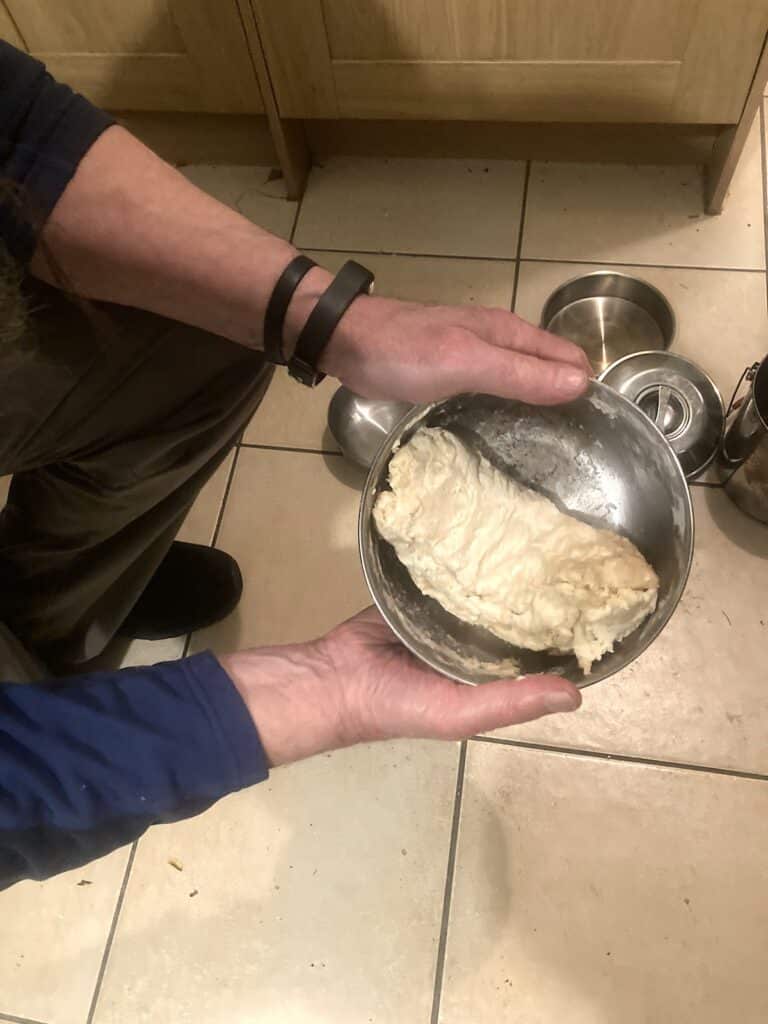
Twist the dough into two parts and drop into the two Summit bowls. Put one in a warm place (I perch it on top of a recently boiled Kelly Kettle and cover with a tea cloth but it’s not exactly stable!)
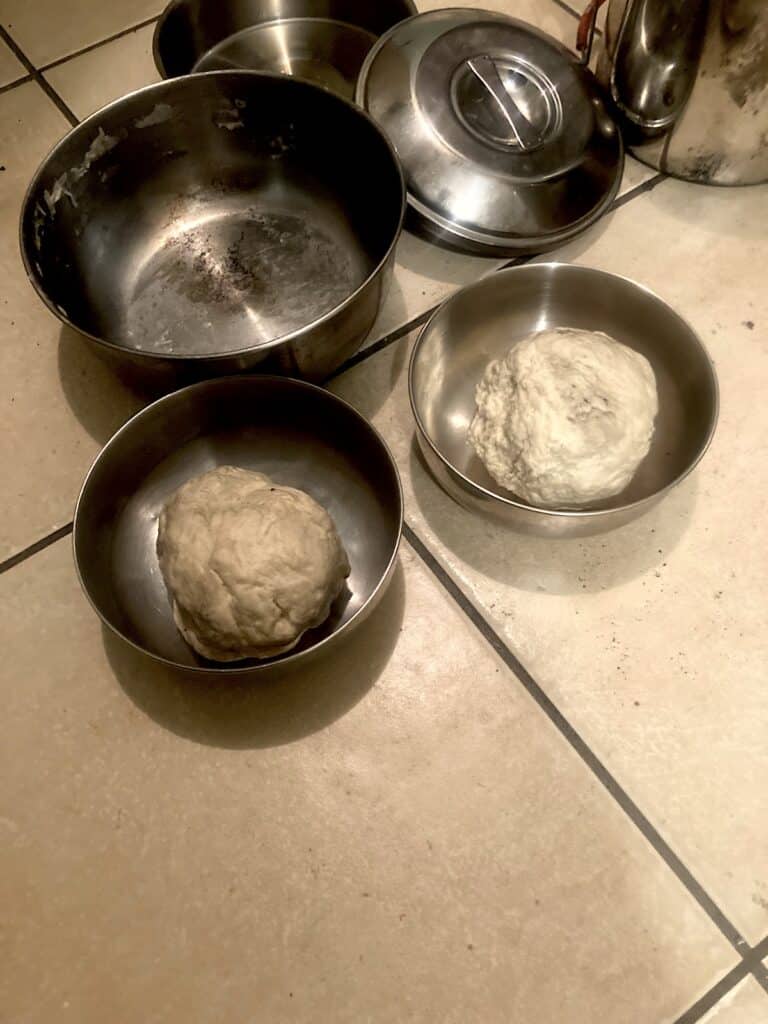
Keep the other cool. Wait for thirty to forty minutes until the dough in the warmer bowl has doubled in volume. Go and do something else. Drink that brew you made earlier. Prep your fire etc.
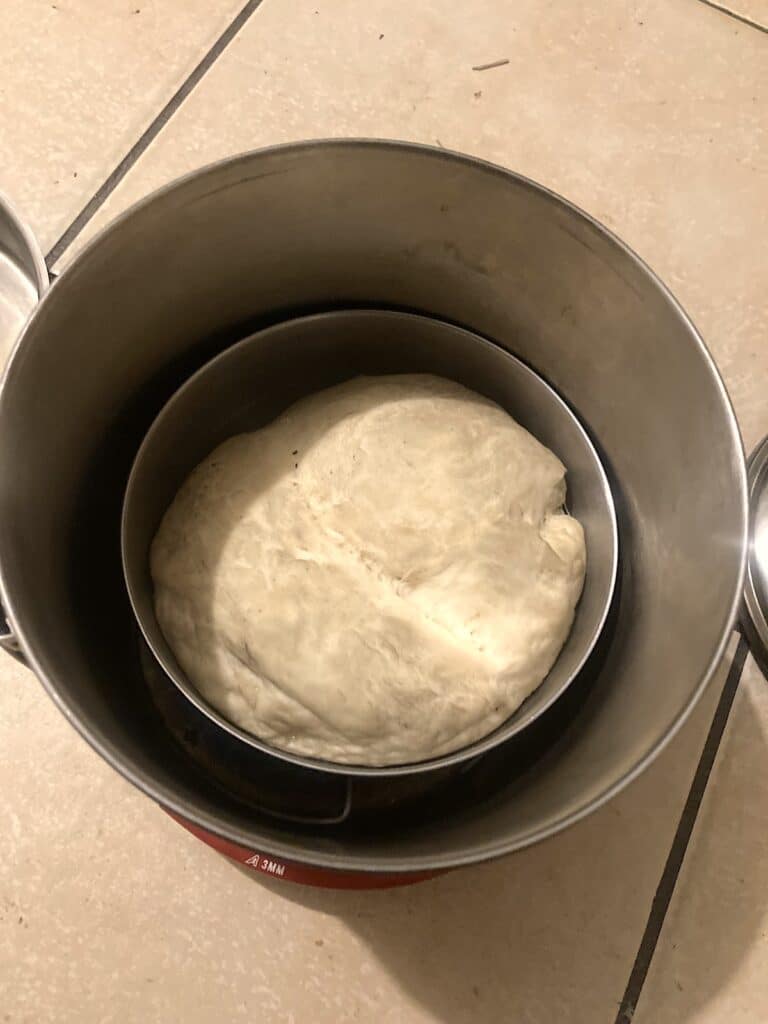
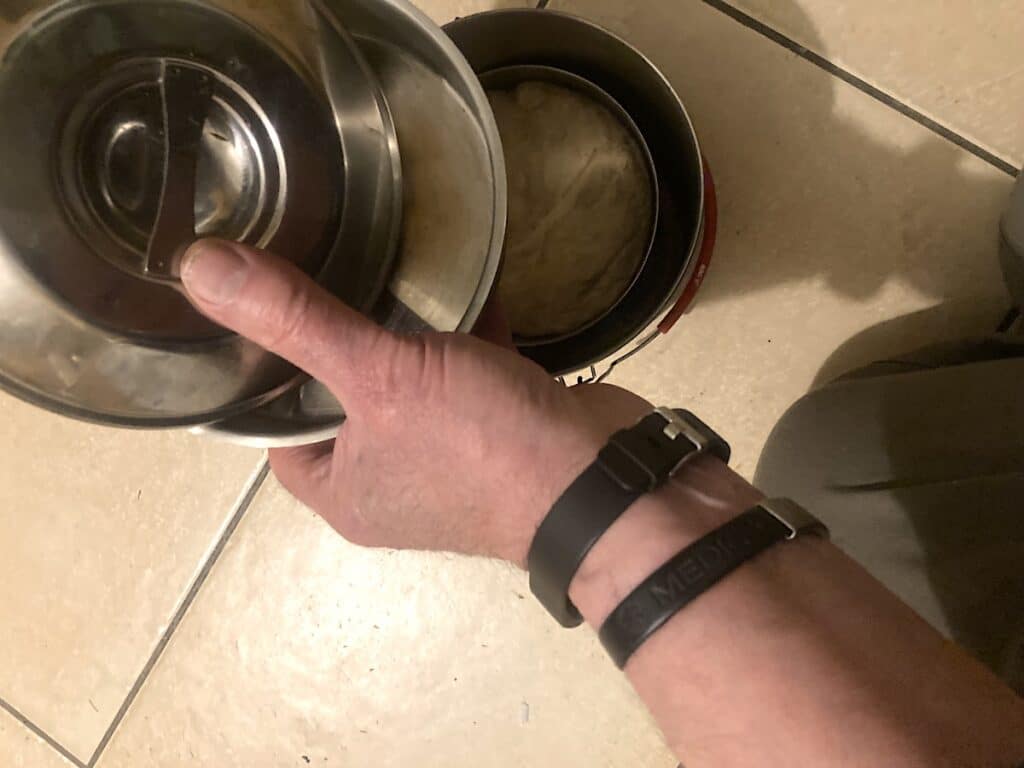
Drop the warmer bowl onto the trivet in the Zebra pot, place the top tray above it for extra insulation and put on the lid.
You can see how the dough has risen to fill the bowl.
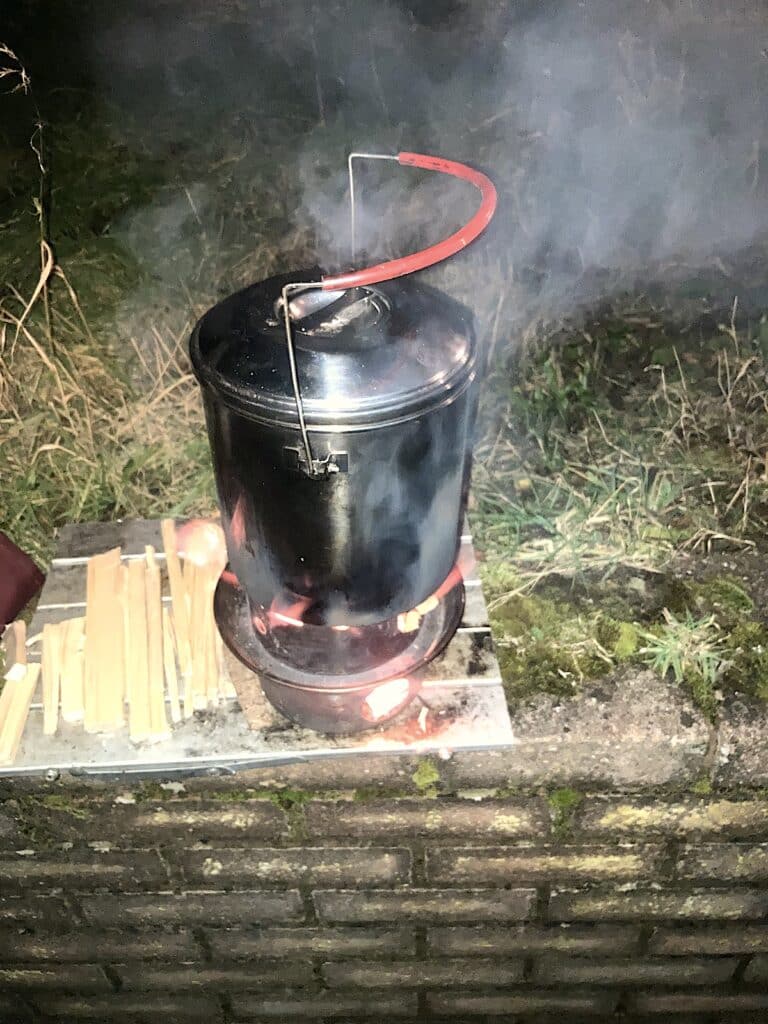
Put the Zebra onto the fire for twenty minutes. I’m using a Kelly Hobo so I’ll be stoking it with twigs for much of that time. I prefer to cook in flame rather than embers.
Move the colder bowl to the warm place.
You should be smelling freshly baked bread after twenty minutes (if your fire isn’t too smoky.).
Now for a bit of Hobo magic:
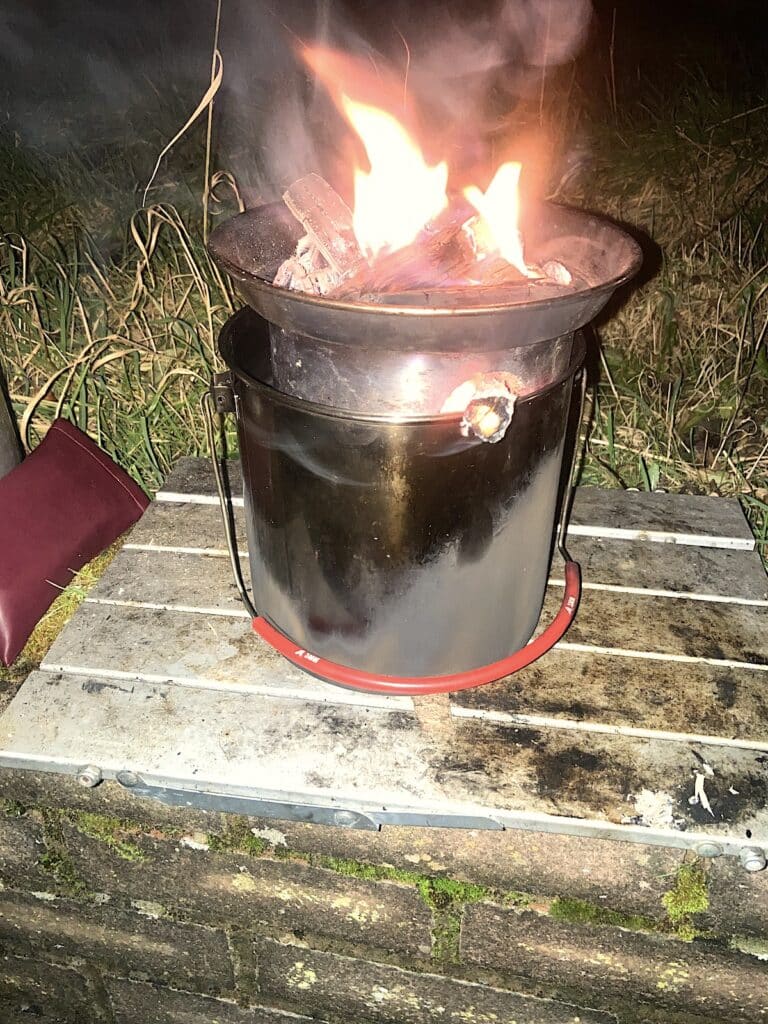
TAKE CARE!
Lift the Zebra off the fire base and remove the lid. Then using a pot gripper remove the Hobo ring and lift the burning fire base onto the Zebra pot tray and keep it going for another ten minutes to brown the top.
The best way of fanning the Hobo system is to boil a Kettle.
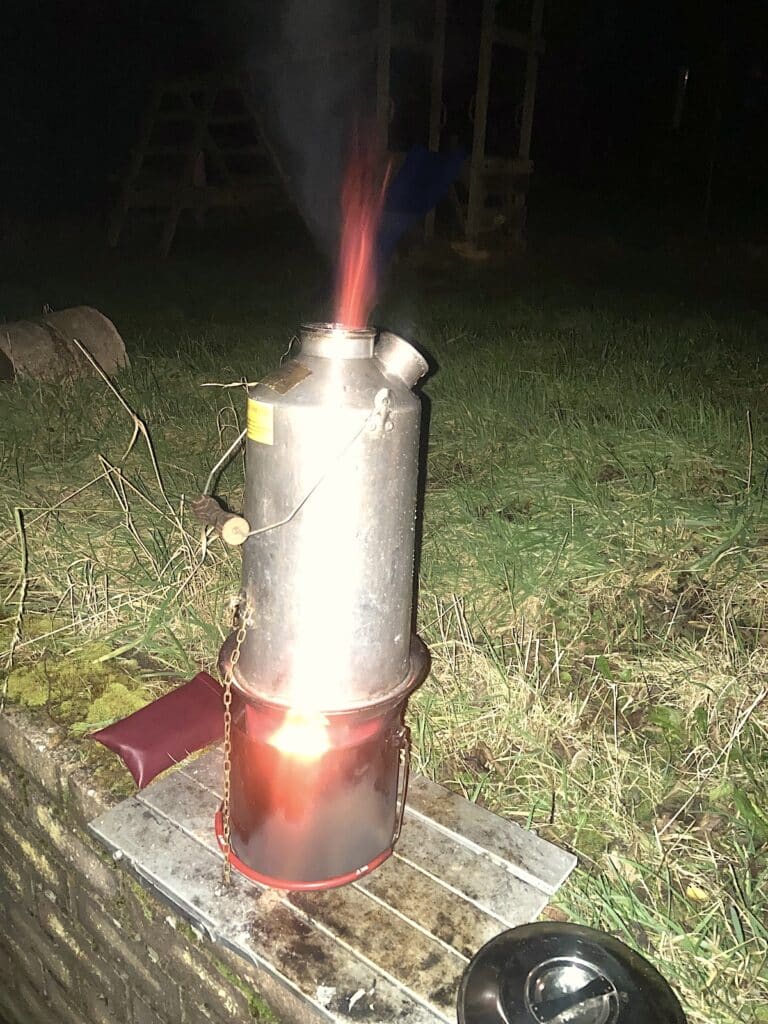
You are looking at a stack: Zebra pot oven, Kelly fire base, Kelly “Base Camp” Kettle! That really gets it going!
BUT
DO NOT do this if there’s any concern about stability!
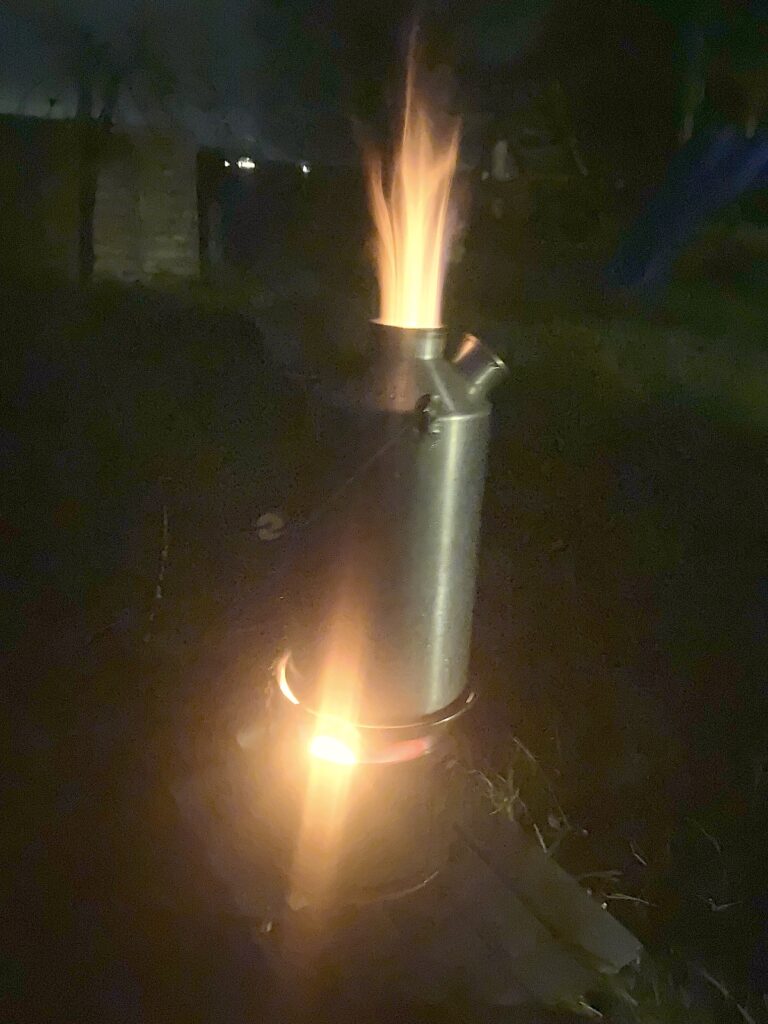
Remember I was doing this outside in the dark. This is what it looked like without the flash.
Open the oven with pot grippers and tip out the loaf and bowl onto a plate. Stoke up your fire and the second bowl should be ready to go into the oven.
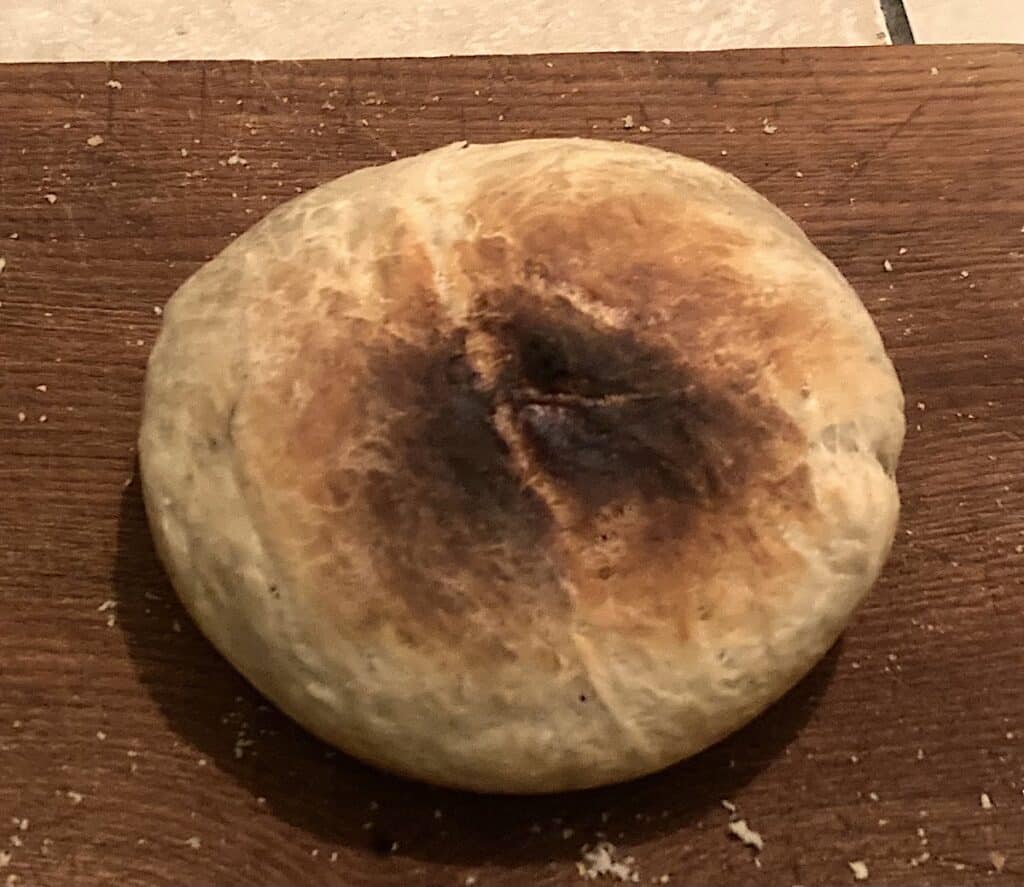
Just a little too warm under the Kettle. I’ve never done that Kelly Kettle boost before! I shall certainly do it in the future.
I’m always tempted to cut open the loaf straight out of the oven and fill it will cheese. I was told that this was the original “butty”, a Cheshire word for soft. In fact the bread hasn’t stopped cooking just because it is out of the oven. Let it cool
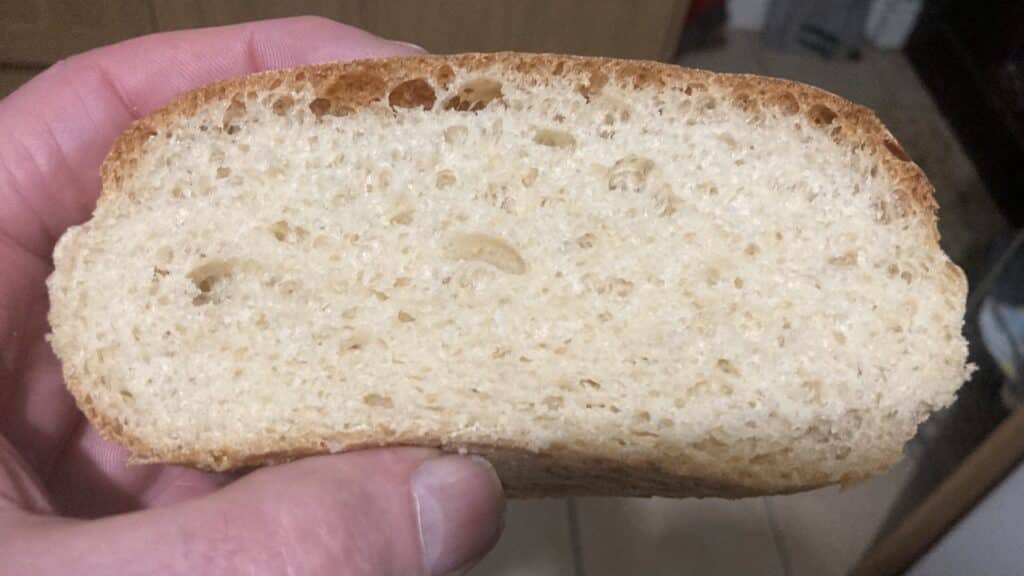
……and enjoy.
Notes:
When kneading: if your dough is a bit sticky try oiling your kneading hand.
If the dough is so wet that you cannot knead it then either:
Add a tiny bit more flour until it’s just dry enough.
or
Fold the sticky dough with a spatula smearing it hard over the top of the mixture. Do this about forty times while you rotate the mixing bowl. This can produce a more open, soft texture but the dough is difficult to handle. It can also spread all over the place as it rises too quickly and overflows the bowl. Do it dryer next time
Baking on an open fire:
Some of the YouTube videos about cooking with a Zebra pot show it sitting on the bottom of the hearth surrounded by embers. I would recommend raising your oven above the fire and burning fuel beneath it so that radiant heat can reach the base of the Zebra.
An advantage of baking on an open fire is that top and bottom can cook at the same time thereby reducing total baking time by ten minutes.
Heap some coals into the Zebra tray right from the start of baking to bake the top but you will need to fan them to keep the heat.
There you go. This is just a kickstart. I sincerely hope that you’ll do it your own way and do it better than I do. Mess about until you find your own way of doing things. Very quickly you won’t need any form of scales, you’ll do it all by sight and feel. Of course it won’t go right every time but you can still eat it!!!!
Before long I’ll get out with the tipi and make a video doing the whole thing out of doors.
Have fun.
Pat.

Pat has been retired for ten years. The times of walking 30 miles a day with full camping kit are long gone. His power to weight ratio has shifted considerably since he last climbed rock.
His first job was with the Forestry commission and later he ran a tree bank for the long gone City of Manchester corporation. He really was one of Tolkien’s tree shepherds.
Each job in his career progression led to training others and eventually to his own management consultancy and world travel.
For the last thirty years trees have been part of his identity and his spirituality. Hardly surprisingly he thinks of himself as a Druid – a teacher, a story teller, an orator and a celebrant. (…and incidentally a sort of flute maker)
Bushcraft? Well he’s never settled to any prescribed description but in retirement he enjoys winter camping and more recently, camping all year round with his grandchildren. As few sites stay open all year, much of the time this means heard wild camping in the crazy quasi tipi. He’s been modifying that tipi for the last sixteen years and hasn’t finished yet. He loves inventing solutions to problems and projects even if they’ve been invented before.
He enjoys the power of ignorance – he doesn’t know things can’t be done.


Leave A Comment
You must be logged in to post a comment.