Inner-tube purse tutorial

Here’s a brief ‘how-to’ to show one way of making a purse from an upcycled motorbike inner tube.
Please note, I made this on an industrial walking foot sewing machine – motorcycle inner tube is pretty thick, and my vintage domestic didn’t cope (it punched the holes fine but wouldn’t make the stitch). It may be by playing with the tensions that you have more success, but you can always hand stitch if you’re feeling brave.
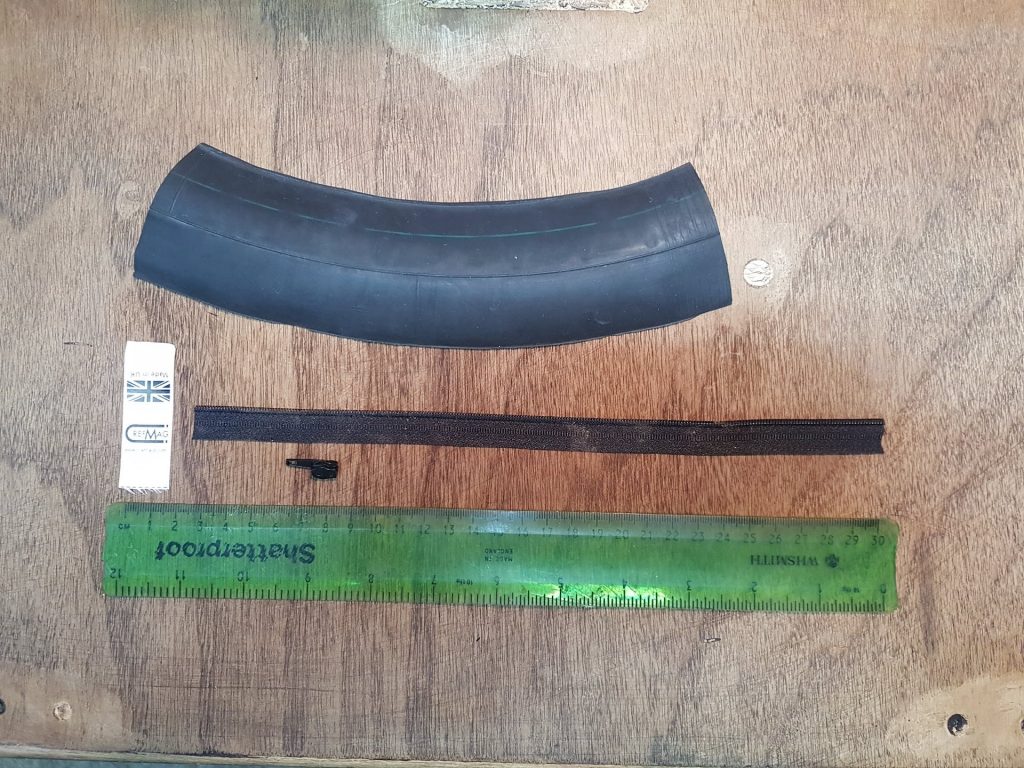
Materials you will need:
- Piece of inner-tube – the bit I cut was about 250mm long by 80mm. Give it a good wash with hot water and soap – the insides are coated with talc, which goes everywhere, and the outsides will turn your fingers black.
- A single side of continuous zip – make sure this is at least 30mm longer than the long side of the inner tube. I use No.3 zip – it’s a pain to get the slider on at the best of times, so you might want to use something bigger
- zip slider
- label (I get mine from www.tagstapesandlabels.com) or other loop – could use a piece of grosgrain, webbing or ribbon)
- cord for zip pull (not pictured)
You can cut the inner tube with scissors or a knife (a rotary knife would be good). The neater you can make the edge, the easier it will be
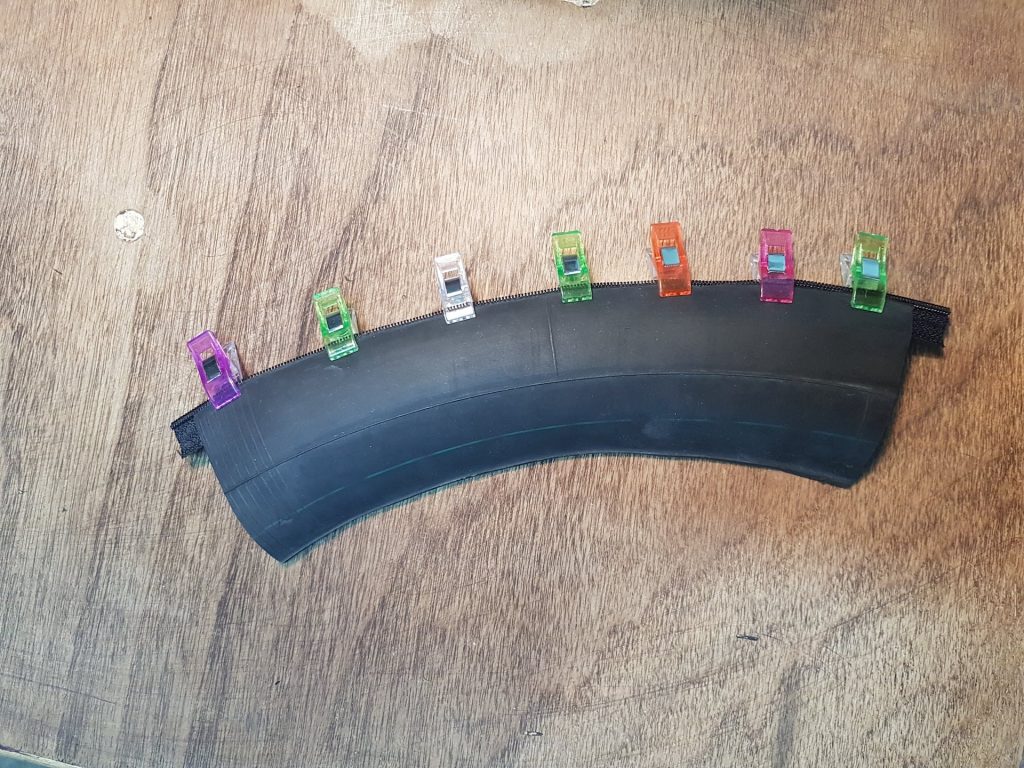
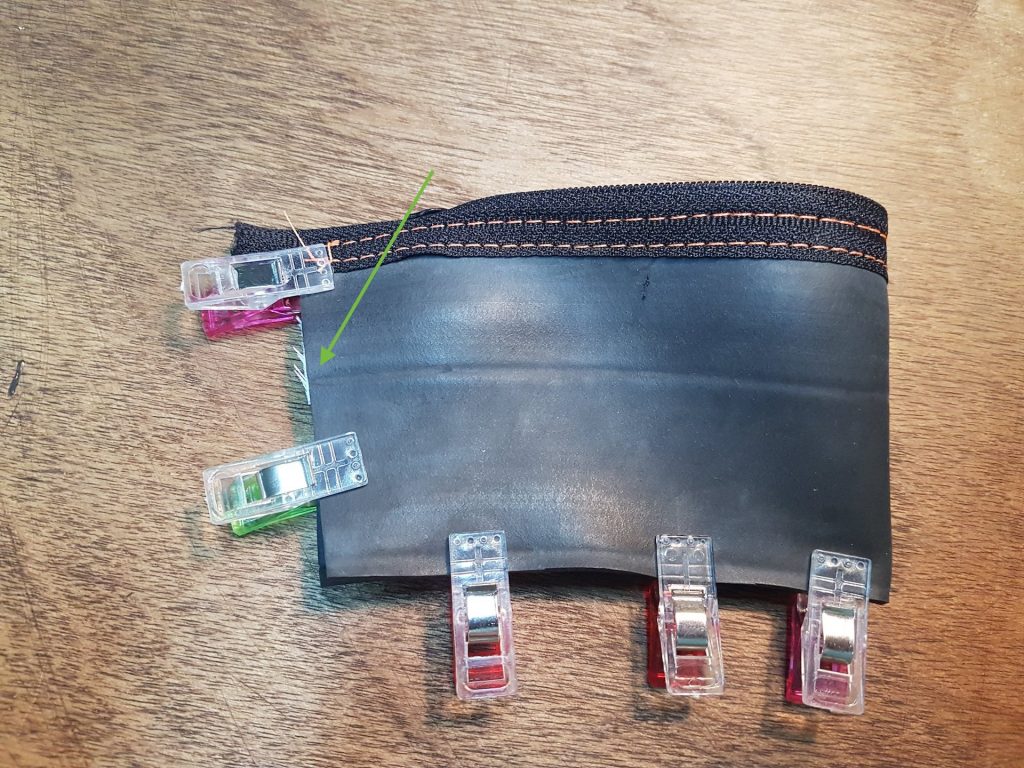
Start by clipping the zip along the edge of the inner tube. Quilting clips are ideal for this and can be purchased cheaply (I paid £3 for 50 from eBay). You can also use binder clips. Pins will leave visible holes, but if along the stitch line, that won’t matter.
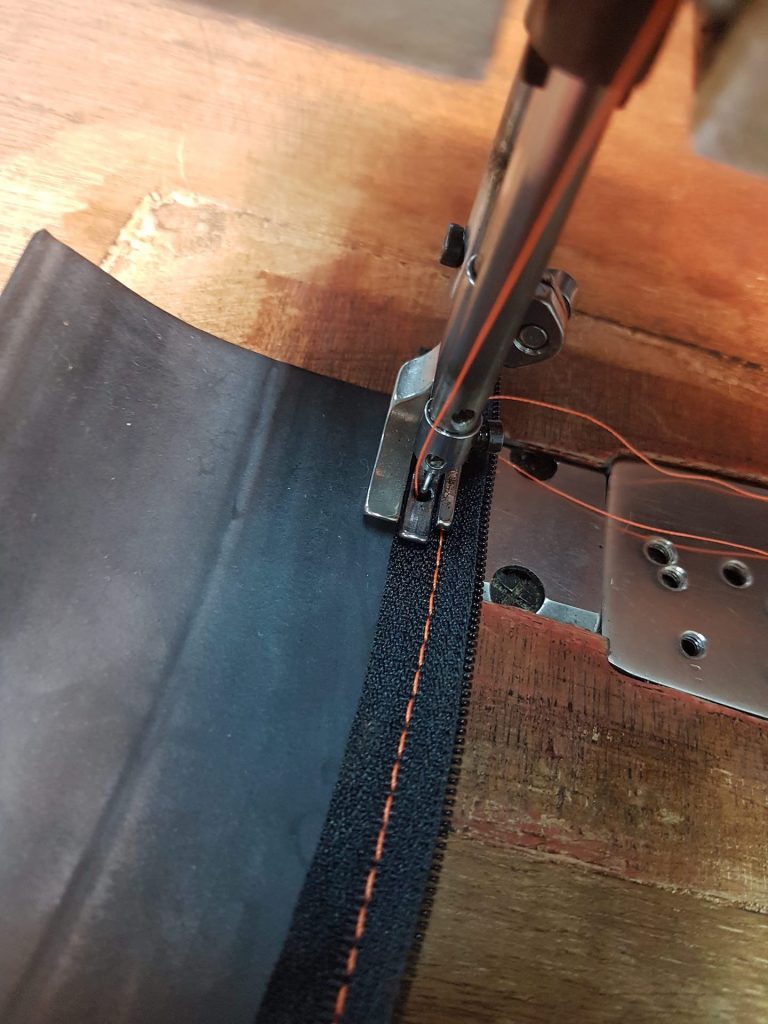
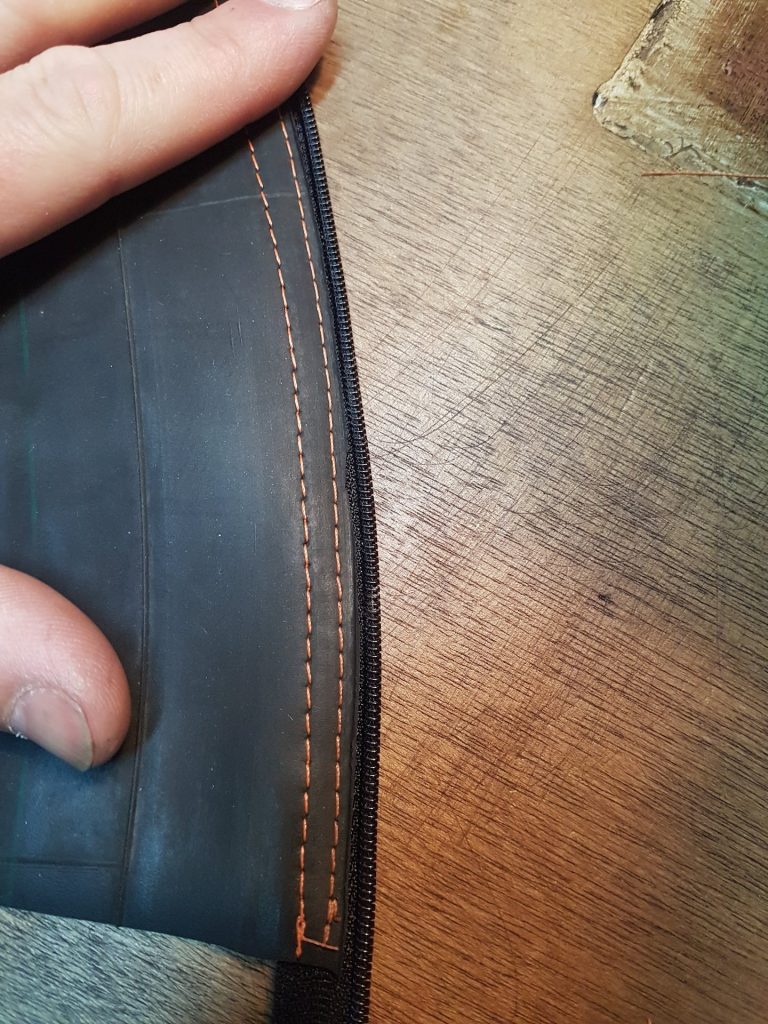
Stitch along the zip – be careful not to stray too close to the edge as it is easy to run off the side. I was having problems with missed stitches, but by lubricating the top of the rubber with hand soap (which also might help it slide under the presser foot), I was able to get consistent results. I’m using 40s/TKT40 bonded Nylon thread. I’ve used contrasting orange throughout, but you could load black into the bobbin to hide the threads on the inside.
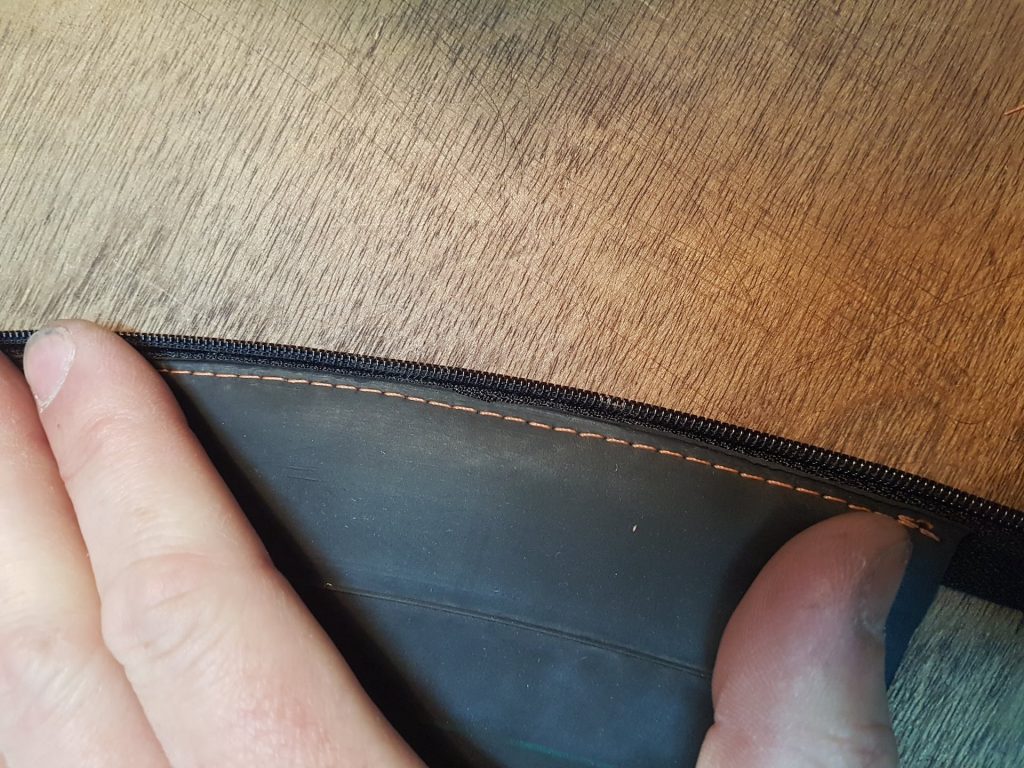
Turn it over and sew a second line of stitches along the zip. Make sure you backstitch at the ends to make sure it doesn’t unravel. You should end up with a neat line of double stitches.
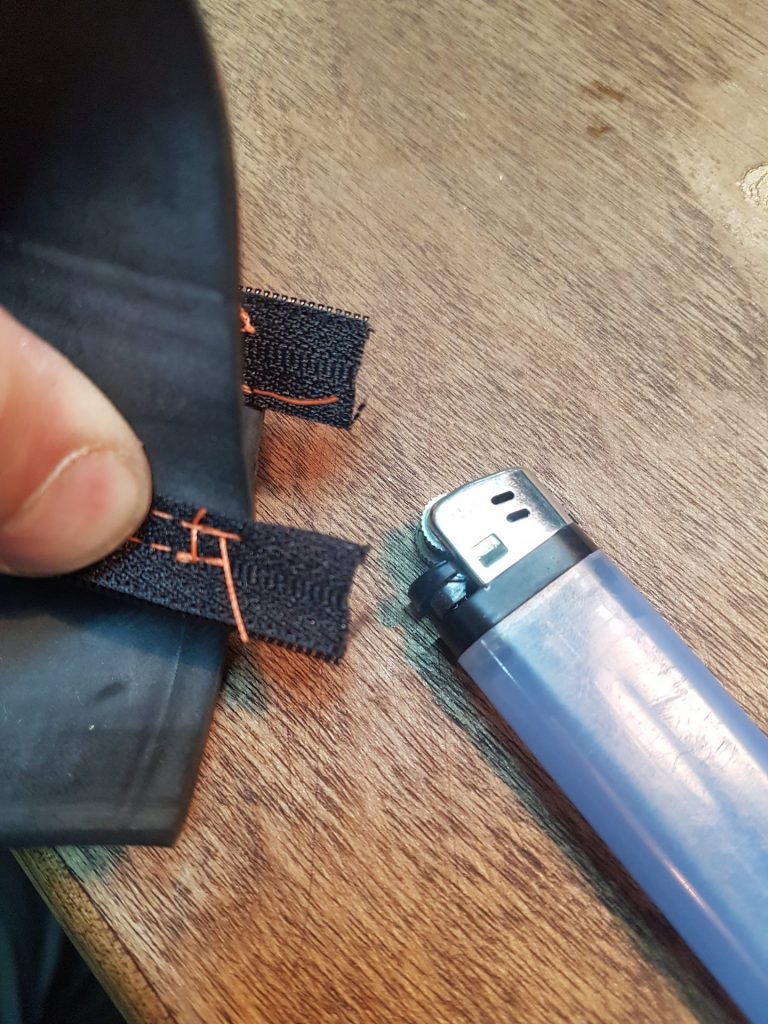
Carefully seal the ends of the zip tape with a lighter. Be careful you don’t set the whole thing alight.
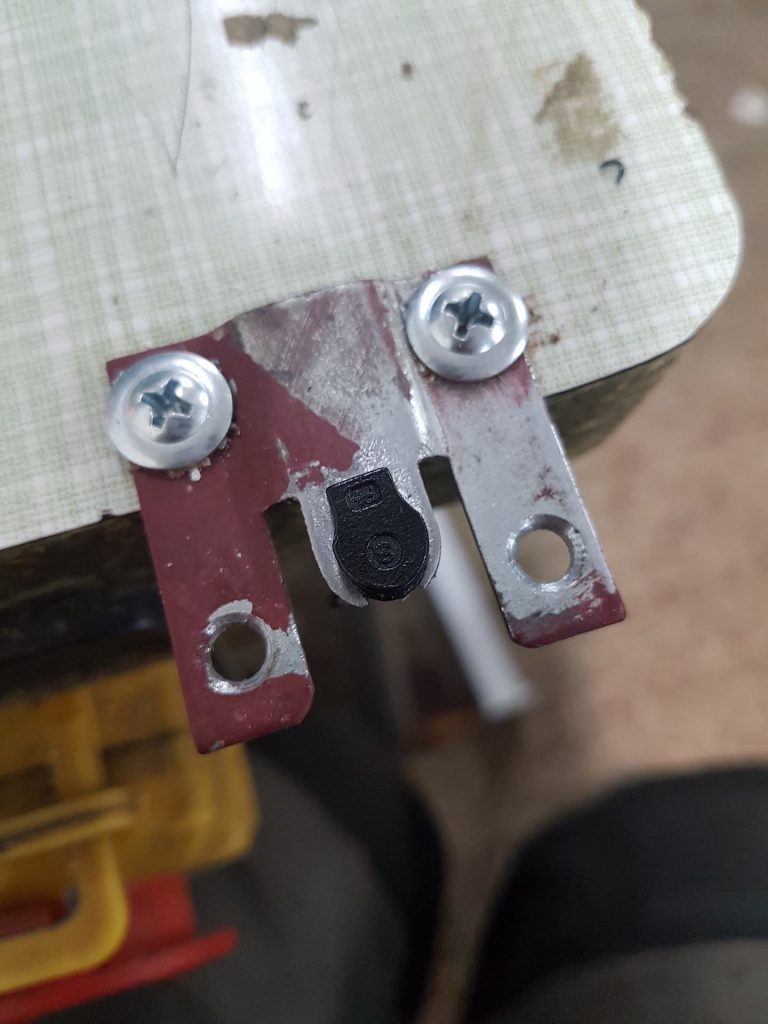
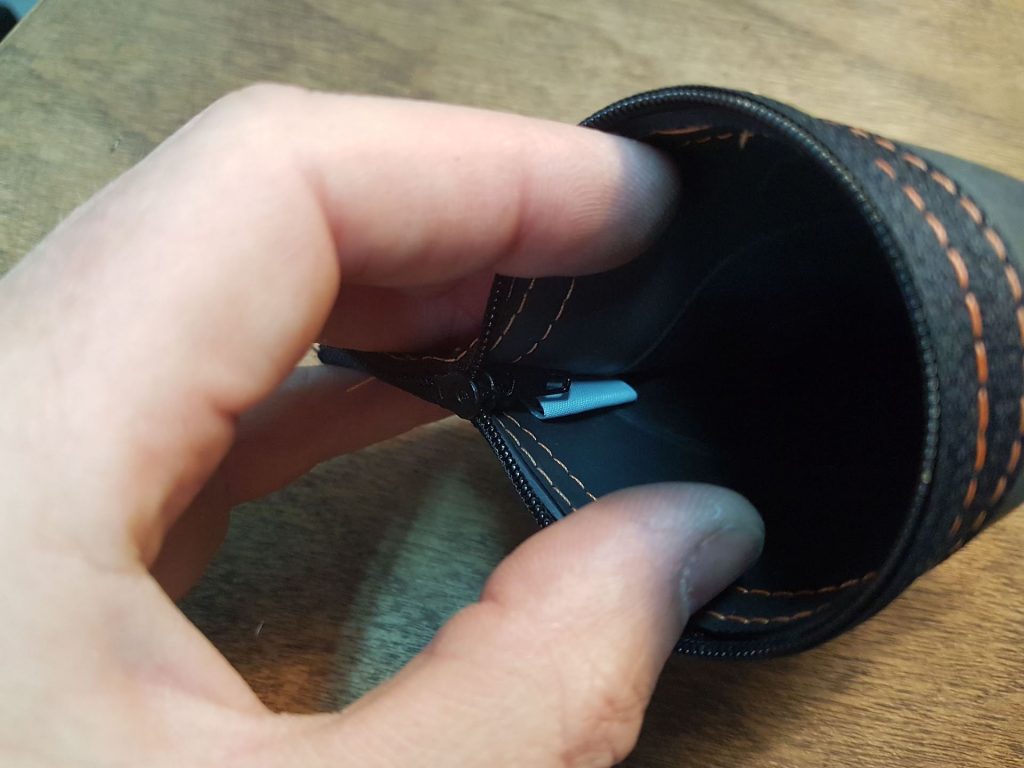
Next, install the zip slider. This is notoriously frustrating, and even with the jig I made (you can buy them for huge money or make one out of a fork), it took longer than I care to admit. Larger zips are easier. I use coil zip, but moulded teeth might be easier.
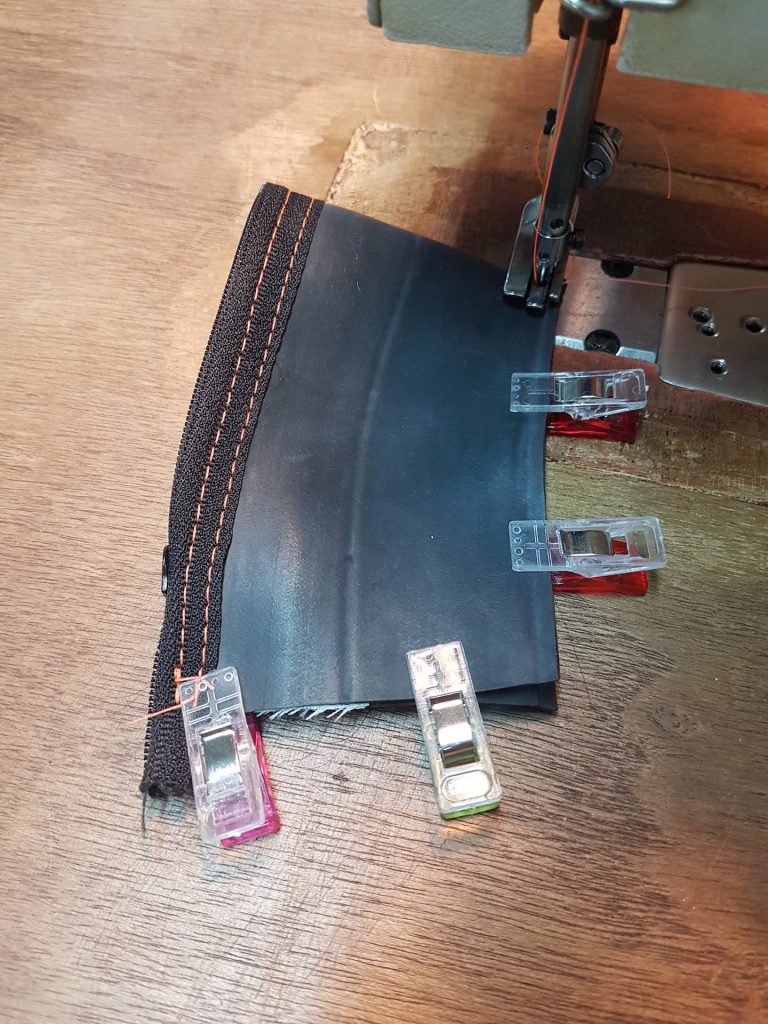
Next, turn it inside out and pin the edges together. Make sure you remember to include your maker label and/or tape on the inside (as it will be turned inside out)
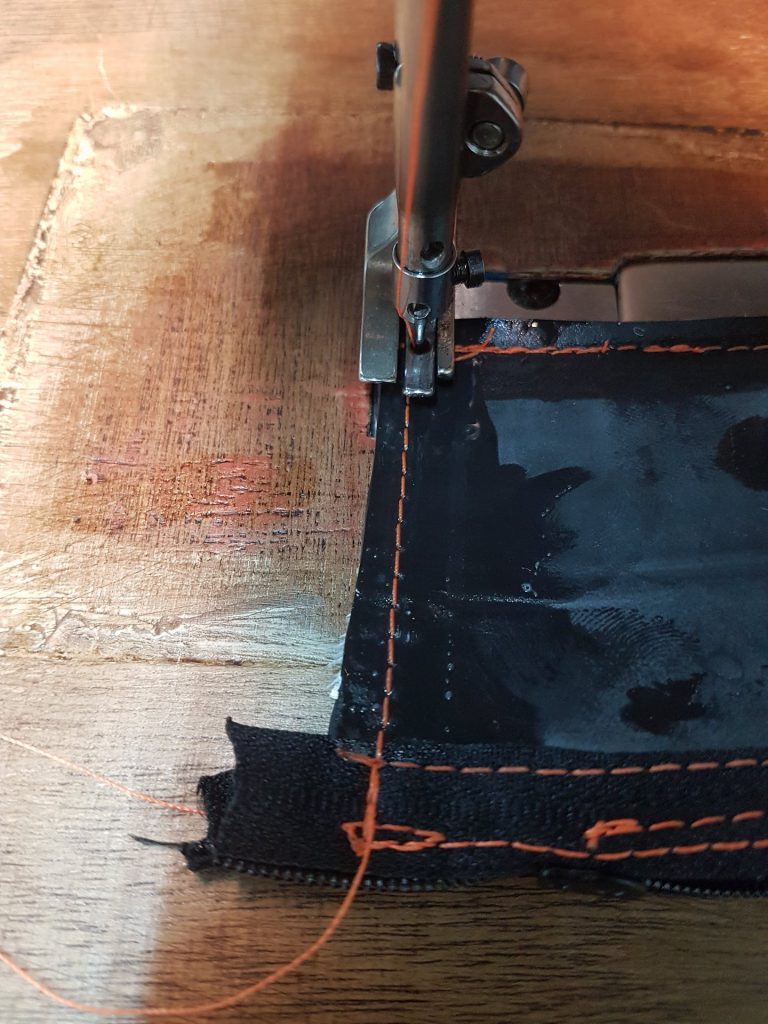
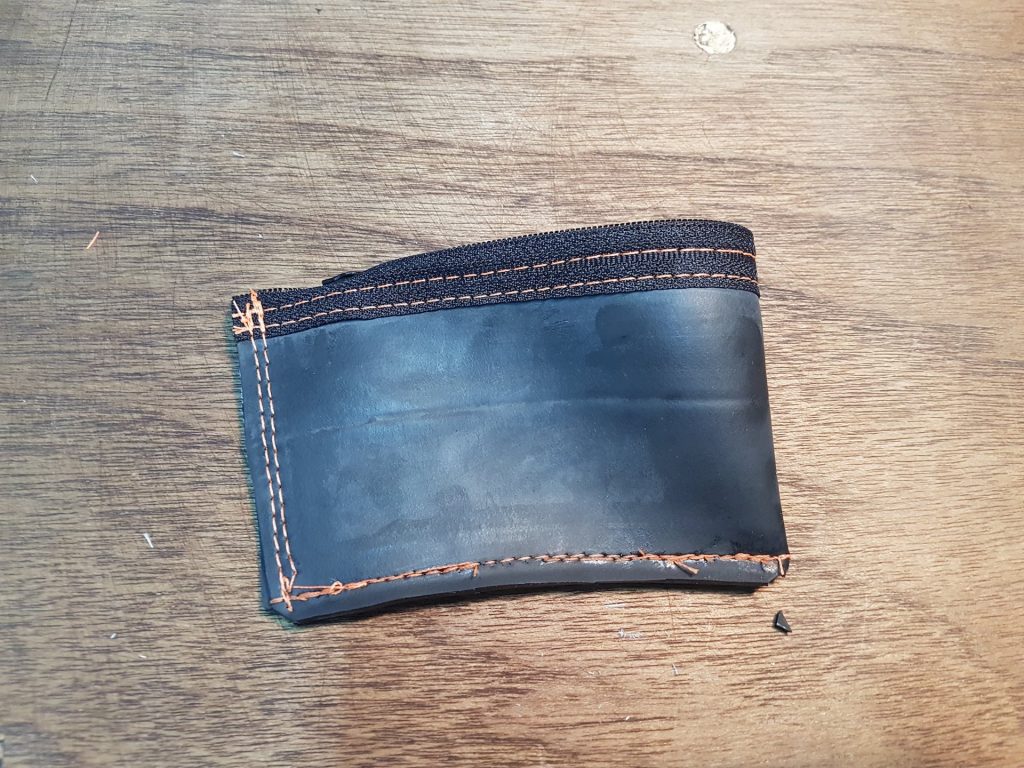
Stitch around the edges – make sure these are decently formed. You can double stitch if you like, although this will make for a bulkier seam and less internal space.
Pay extra attention to the ends of the zip – you don’t want this coming apart. Run several lines of stitches over this area.
Finally, trim the excess zip and clip the corners (make sure not to cut the stitching) – this will make for a better corner, although with thick material like this, it doesn’t make a great deal of difference. If you were doing the same with thinner fabric, it would help.
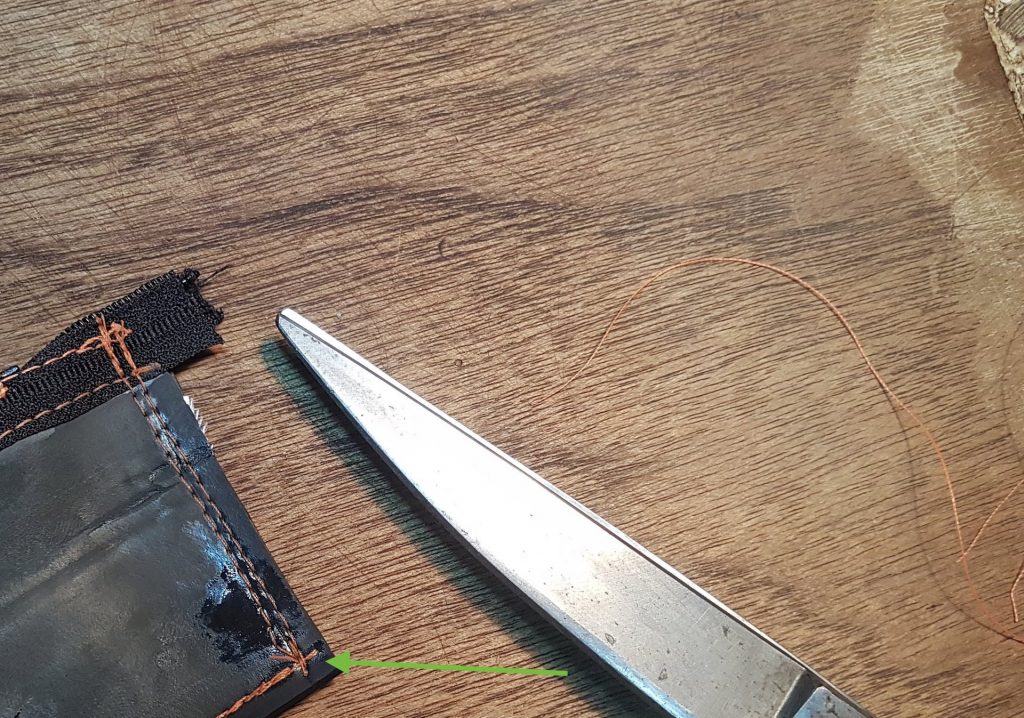
You can snip and/or melt the ends of the threads to neaten things up, again being careful not to set on fire.
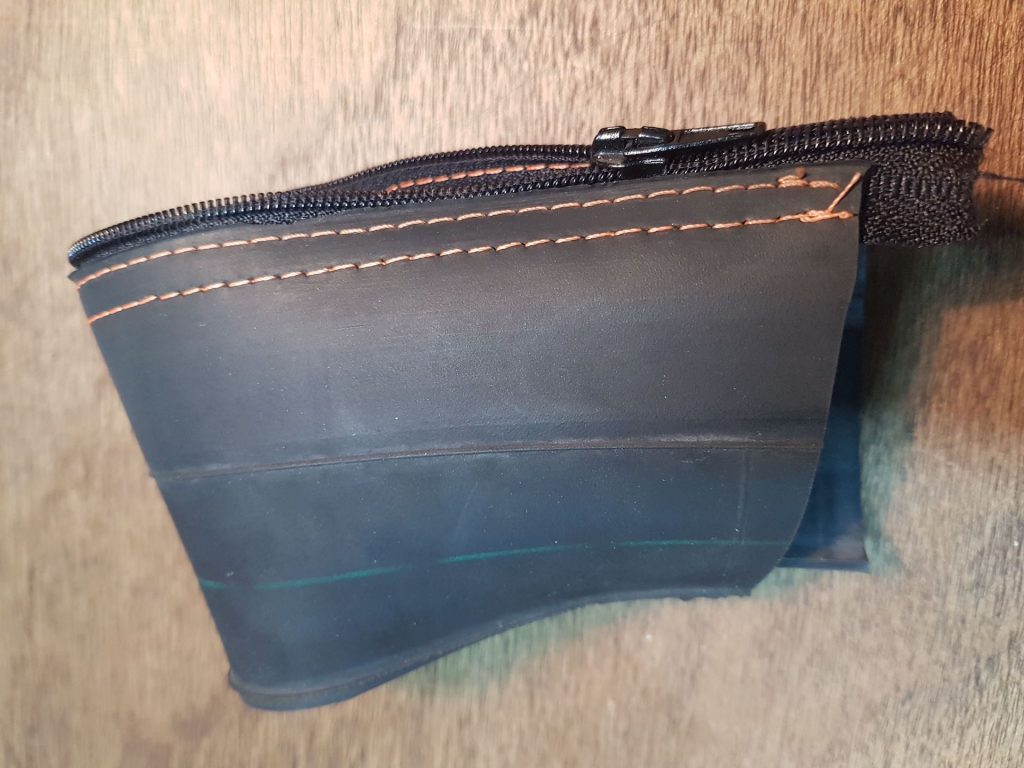
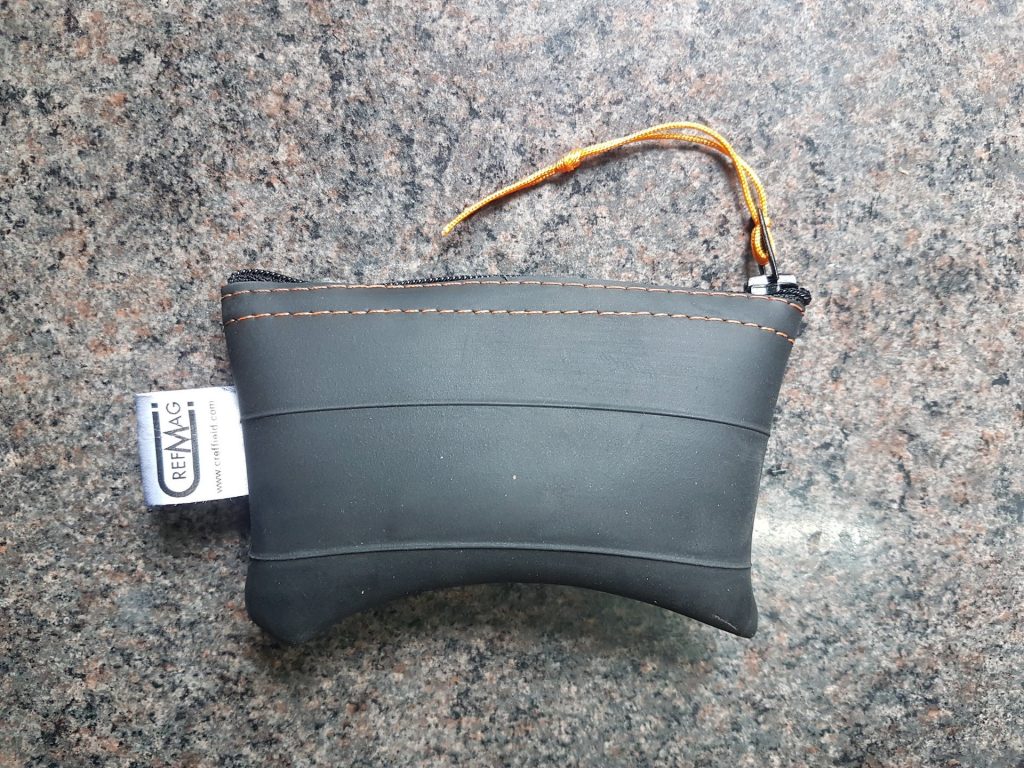
Turn right way out again and finish with a piece of cord through the zip pull.
Robin
Thanks to Spandit for putting this tutorial together and sharing it with us.