Ever since I first saw the cartridge case matchbox in Ray Mears Survival Handbook Ive rather liked the idea. Being a shooter empty 12 bore cartridge cases are very easy to come by, being a by-product of my sport. Over the years I have made many of these matchboxes, keeping one in all my coats and bags. Many have been passed on as gifts and as far as I know are mostly doing sterling service. Here is how I make them.
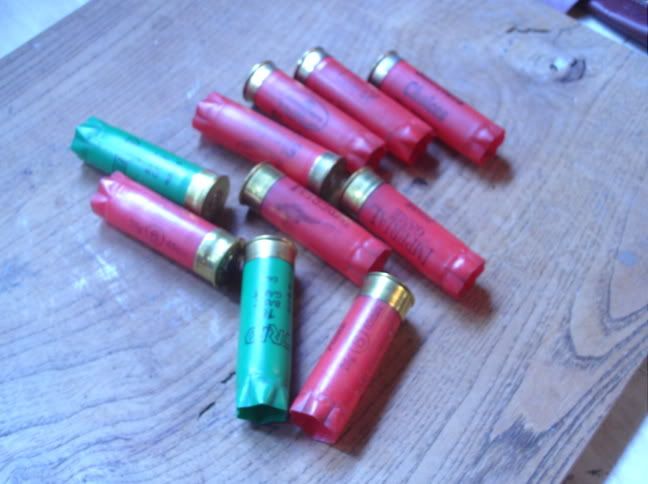
The raw material empty shotgun cartridges come in many varieties and colours, with different depths of case head the metal part that carries the priming cap.
Raw Materials
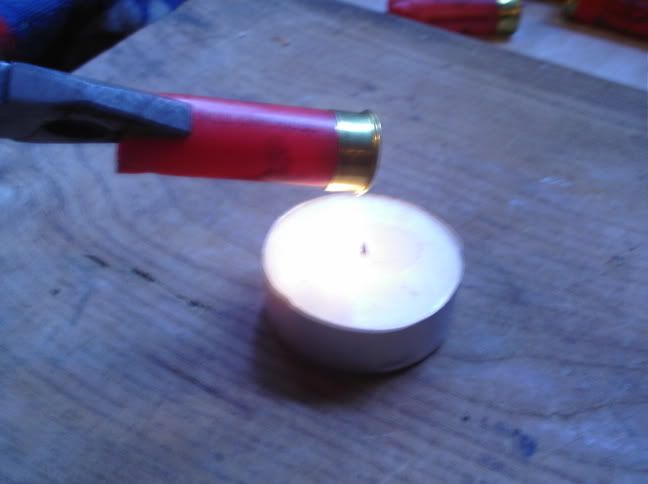
Remove the metal cap from the spent cartridge (WARNING only use cartridge cases that you know have been fired!) by heating it up, I find a candle or tea-light works best, for about a minute, then simply pulling apart using a couple of pairs of pliers. This is easier with some brands of cartridge than others, some just dont seem to want to come apart, Discard the plastic tubes properly and keep the caps. Do a few more than you think youll actually need. Note the metal will be hot for a while, and covered in soot. Ive tried a hot air paint stripper but it didnt seem to work as well as the candle. Wipe the soot from the metal caps when cool.
Heating
The Separated Parts
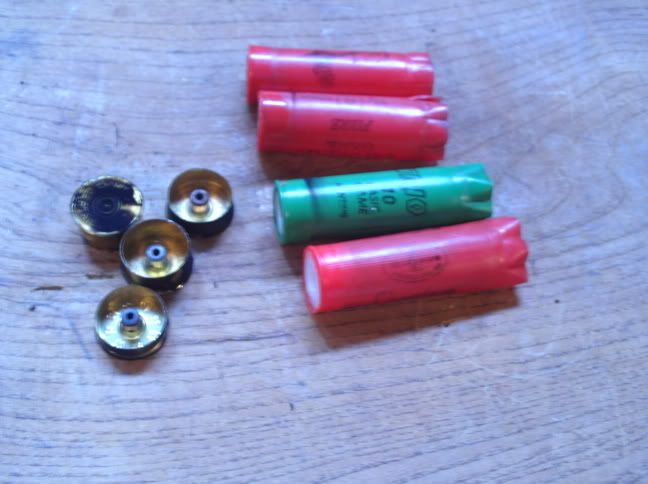
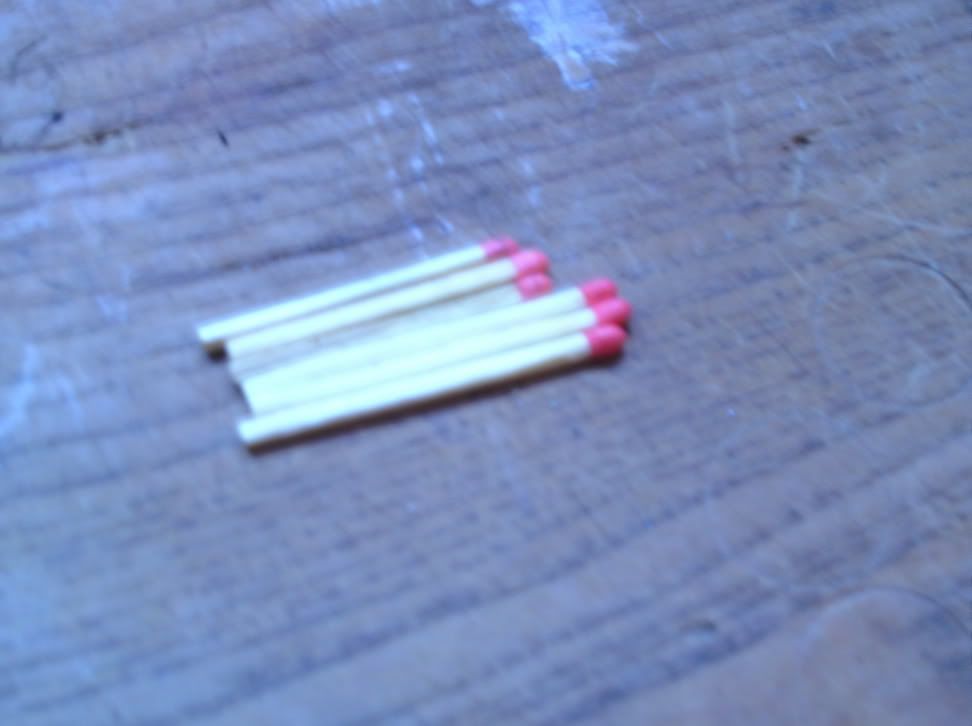
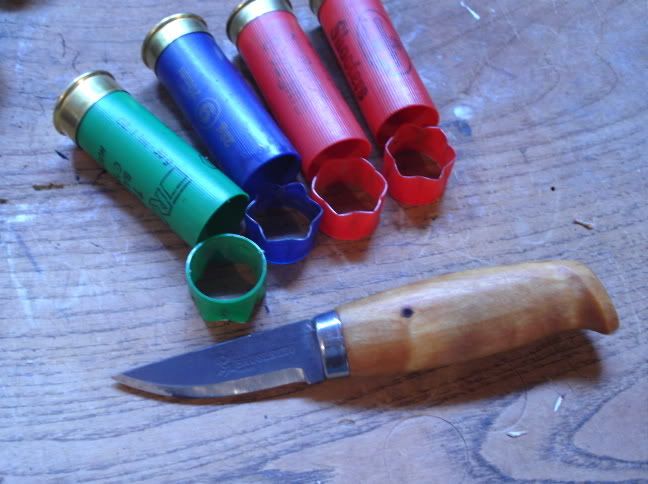
Check the length of matches you will actually be using theyre not all the same and trim some complete cartridge cases down to a length that will comfortably hold them. I find the best way is to put the case over a short piece of twig, held firmly, then rotate the cartridge case while holding a sharp knife against it. I dont have a photo of this as I only have the two hands!
All matches are NOT the same
Trimmed Cases
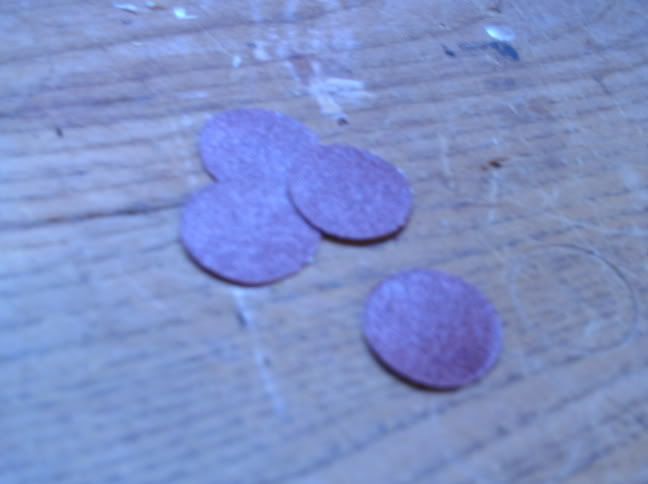
At this point some people cut groves in the end of the trimmed cartridge cases with a hacksaw to form a striking surface, and I have done this successfully in the past, but the metal of the end cap is quite thin and its very easy to actually cut right through it, so I like to use a different method. Use one of the metal caps to cut discs of wet & dry abrasive paper by putting the wet & dry paper on a piece of wood and taping the cap with a mallet, like cutting out pastry. Simply glue these to the ends of the trimmed cases with a waterproof adhesive. Once the glue is dry fill the case with matches and slide one of the metal caps onto it.
Discs ready for glueing
The finished Matchbox
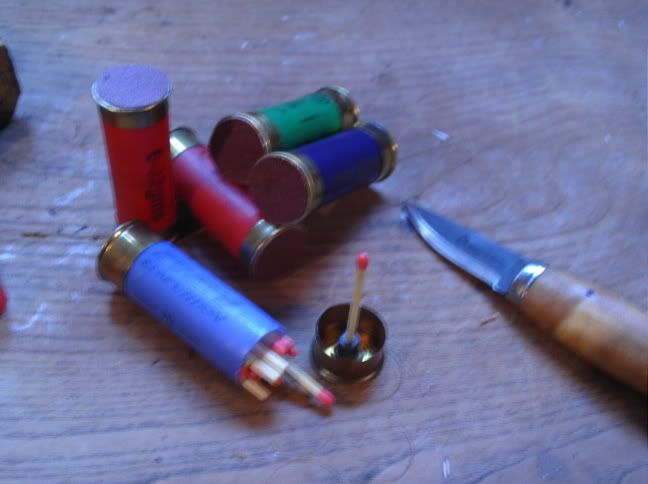
A trick my stepson Michael came up with is to push a match into the hole in the primer of the removable cap. That way you dont need to fumble if your hands are cold.
If found these matchboxes to be pretty reliable, some of mine are coming up on 5 years old now. They are not truly waterproof, but are splash resistant, and much better than the regular cardboard matchboxes. You will find a lot of variation in the depth of the metal cap over different brands of cartridge. I tend to favour those that are a bit deeper for the loose cap.
I probably wouldnt recommend them for foreign travel, as the smell of powder residue in them might attract the attention of sniffer dogs. As said earlier, please make sure that you only attempt to use fired ammunition, as heating a live primer in this way would ruin your whole day.
The raw material empty shotgun cartridges come in many varieties and colours, with different depths of case head the metal part that carries the priming cap.
Raw Materials

Remove the metal cap from the spent cartridge (WARNING only use cartridge cases that you know have been fired!) by heating it up, I find a candle or tea-light works best, for about a minute, then simply pulling apart using a couple of pairs of pliers. This is easier with some brands of cartridge than others, some just dont seem to want to come apart, Discard the plastic tubes properly and keep the caps. Do a few more than you think youll actually need. Note the metal will be hot for a while, and covered in soot. Ive tried a hot air paint stripper but it didnt seem to work as well as the candle. Wipe the soot from the metal caps when cool.
Heating

The Separated Parts

Check the length of matches you will actually be using theyre not all the same and trim some complete cartridge cases down to a length that will comfortably hold them. I find the best way is to put the case over a short piece of twig, held firmly, then rotate the cartridge case while holding a sharp knife against it. I dont have a photo of this as I only have the two hands!
All matches are NOT the same

Trimmed Cases

At this point some people cut groves in the end of the trimmed cartridge cases with a hacksaw to form a striking surface, and I have done this successfully in the past, but the metal of the end cap is quite thin and its very easy to actually cut right through it, so I like to use a different method. Use one of the metal caps to cut discs of wet & dry abrasive paper by putting the wet & dry paper on a piece of wood and taping the cap with a mallet, like cutting out pastry. Simply glue these to the ends of the trimmed cases with a waterproof adhesive. Once the glue is dry fill the case with matches and slide one of the metal caps onto it.
Discs ready for glueing

The finished Matchbox

A trick my stepson Michael came up with is to push a match into the hole in the primer of the removable cap. That way you dont need to fumble if your hands are cold.
If found these matchboxes to be pretty reliable, some of mine are coming up on 5 years old now. They are not truly waterproof, but are splash resistant, and much better than the regular cardboard matchboxes. You will find a lot of variation in the depth of the metal cap over different brands of cartridge. I tend to favour those that are a bit deeper for the loose cap.
I probably wouldnt recommend them for foreign travel, as the smell of powder residue in them might attract the attention of sniffer dogs. As said earlier, please make sure that you only attempt to use fired ammunition, as heating a live primer in this way would ruin your whole day.
