Afernoon all, I've been busy today modifying my Mora Classic #2 today! I got it a little while ago with intentions to change it to my liking as they come with great steel and a good starting point for light/heavy modding.
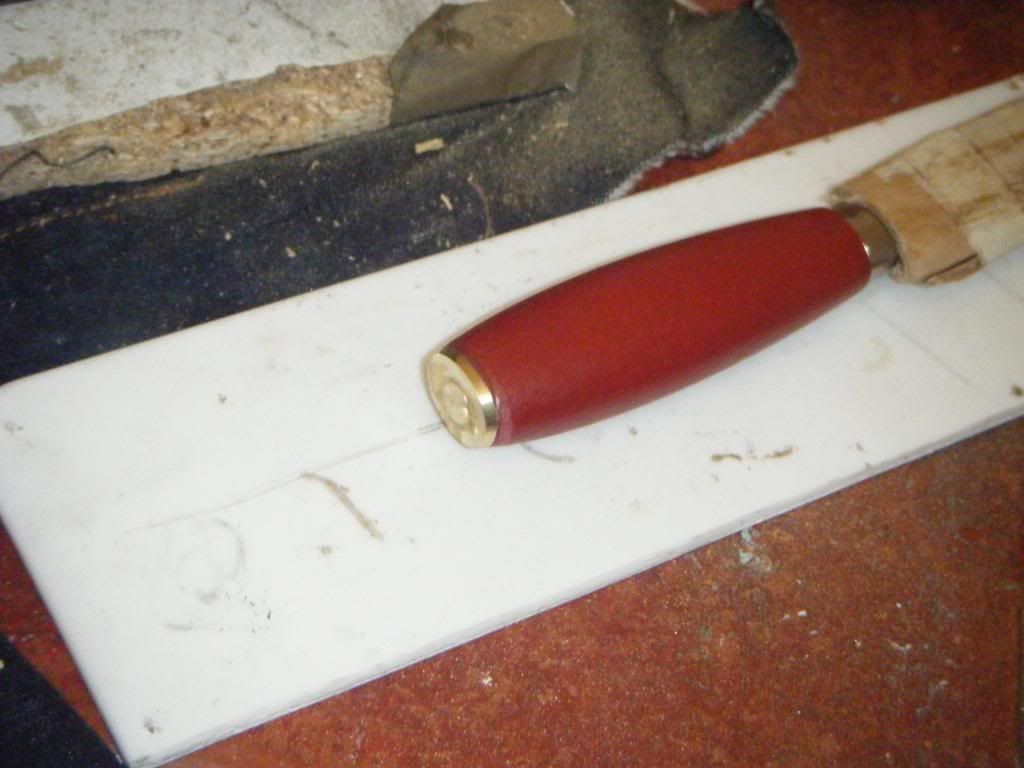
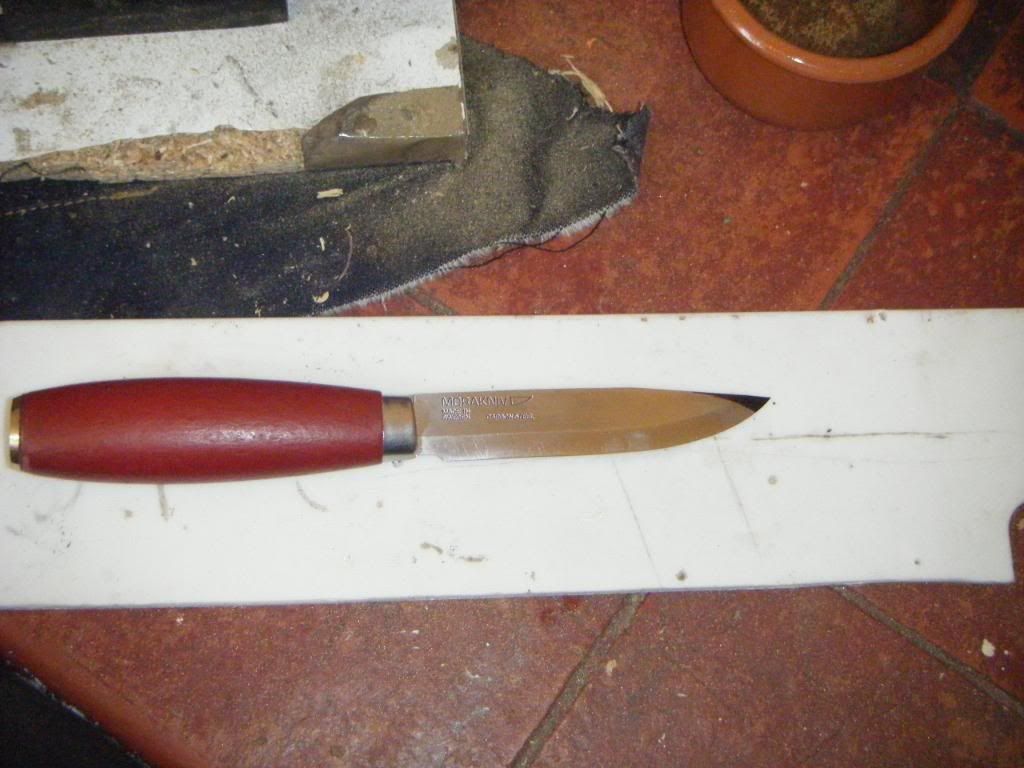
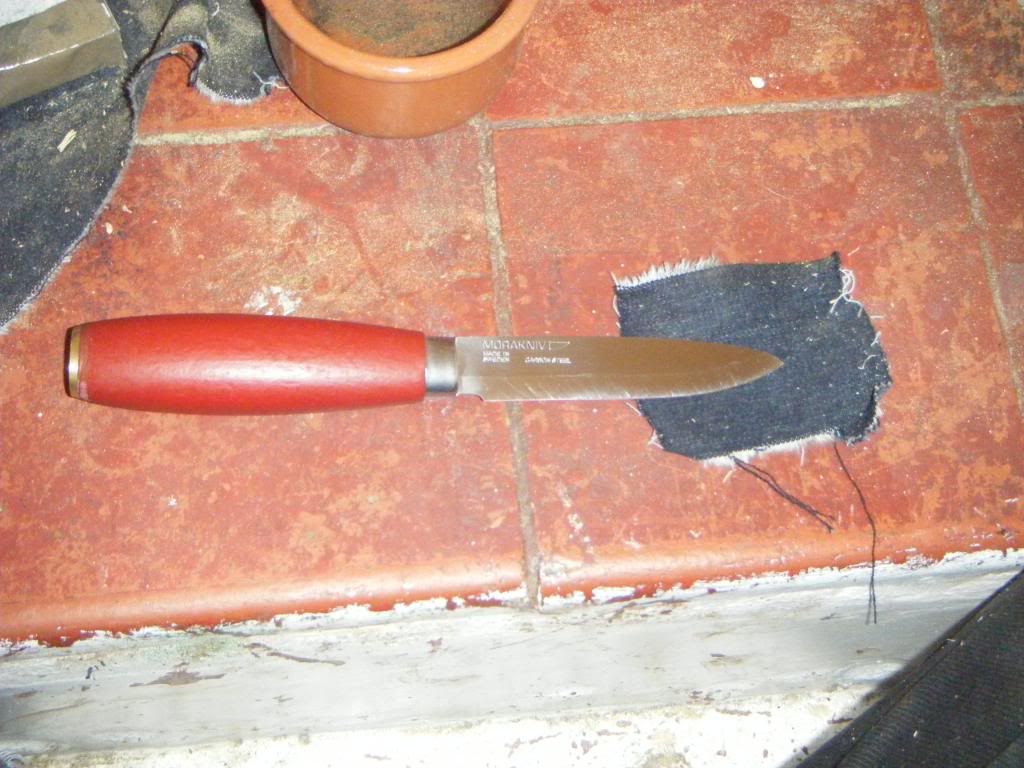
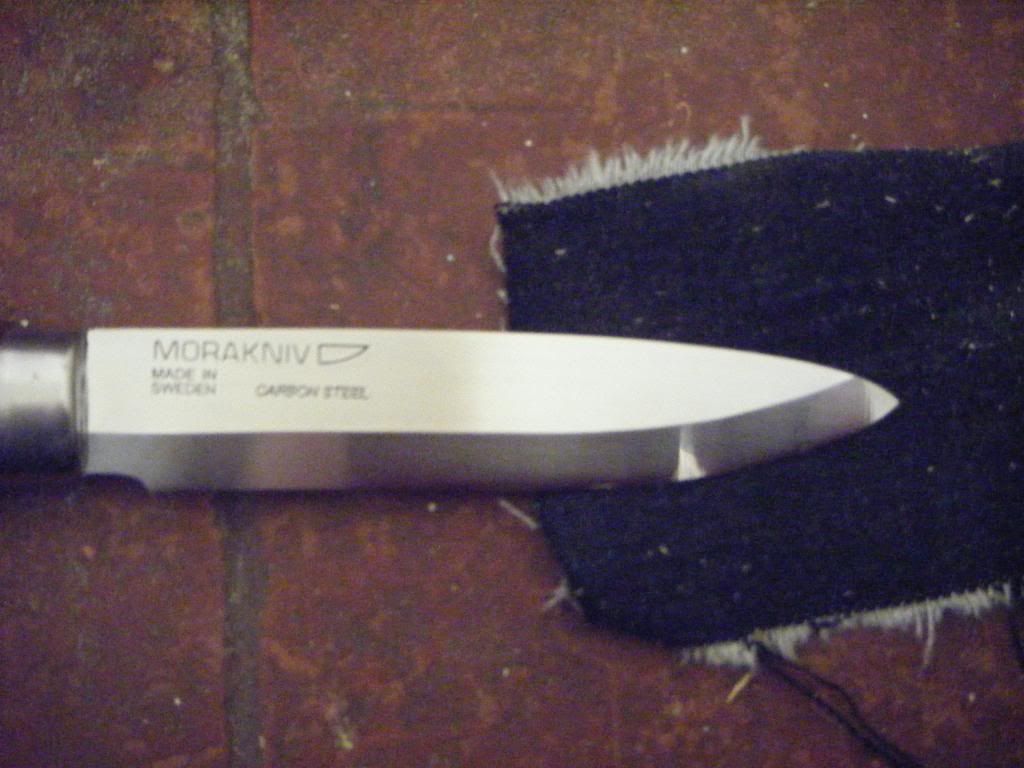
This is how it came..
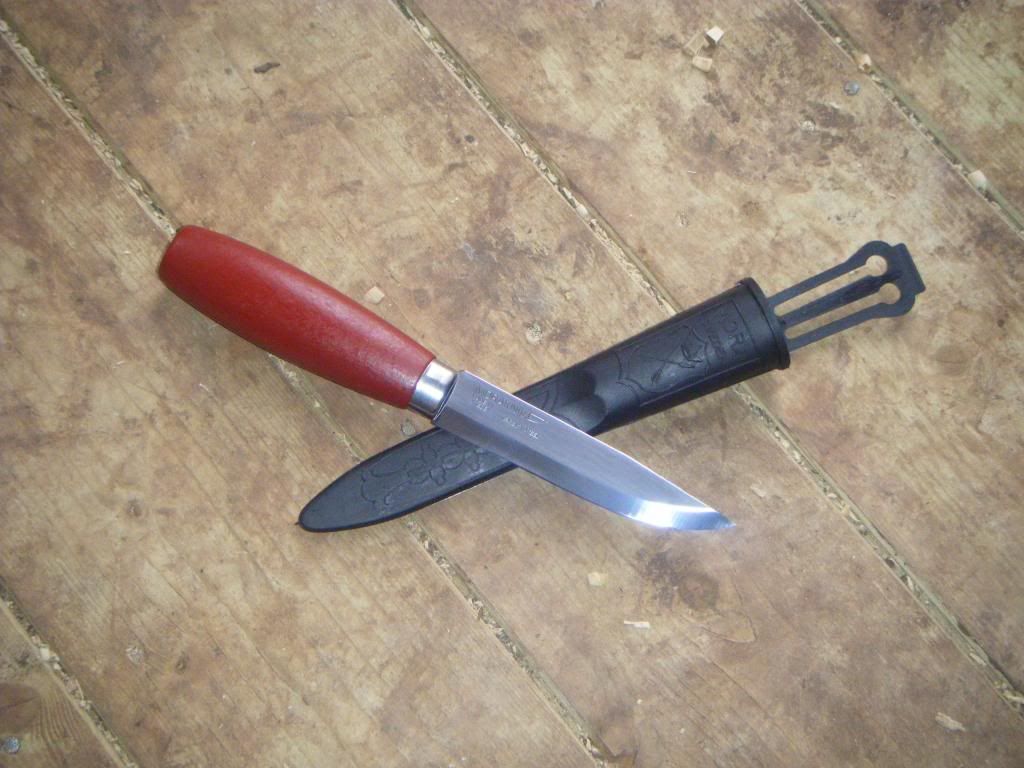
perfectly serviceable and razor sharp out the box! But why stop there?")
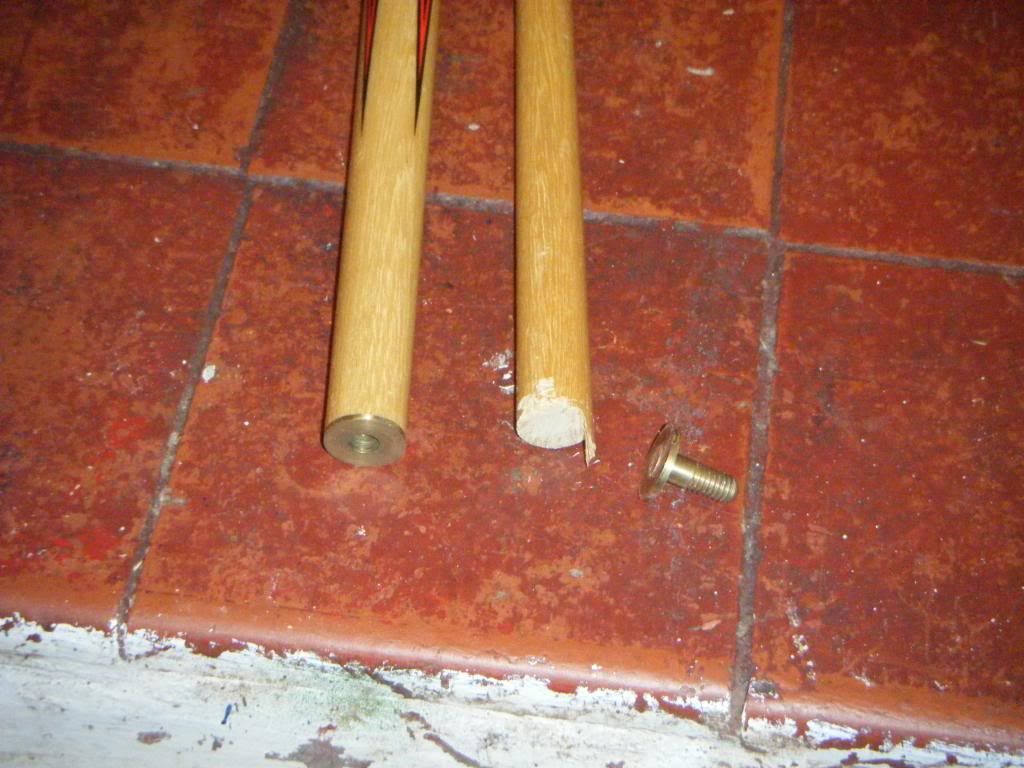
I started my venture yesterday after a trip to town to hunt the second hand shops for treasures and found this pool/snooker cue! Having seen a member use one to make a stick tang knife handle I knew it would co0me in handy for my nexy project, rehandling the stick tang blade of a hultafors heavy duty knife.
When I got it home I had a look at it and noticed the screw together part in the mid section was brass and being a scavanging recylcer I found a decent use for that part! Pommel! a nice fat brass pommel for the bottom of the Mora handle
I cut the brass end bit off and hacksawed the long threaded screw end away leaving just one screw for using to fit in the base of the handle for strength.
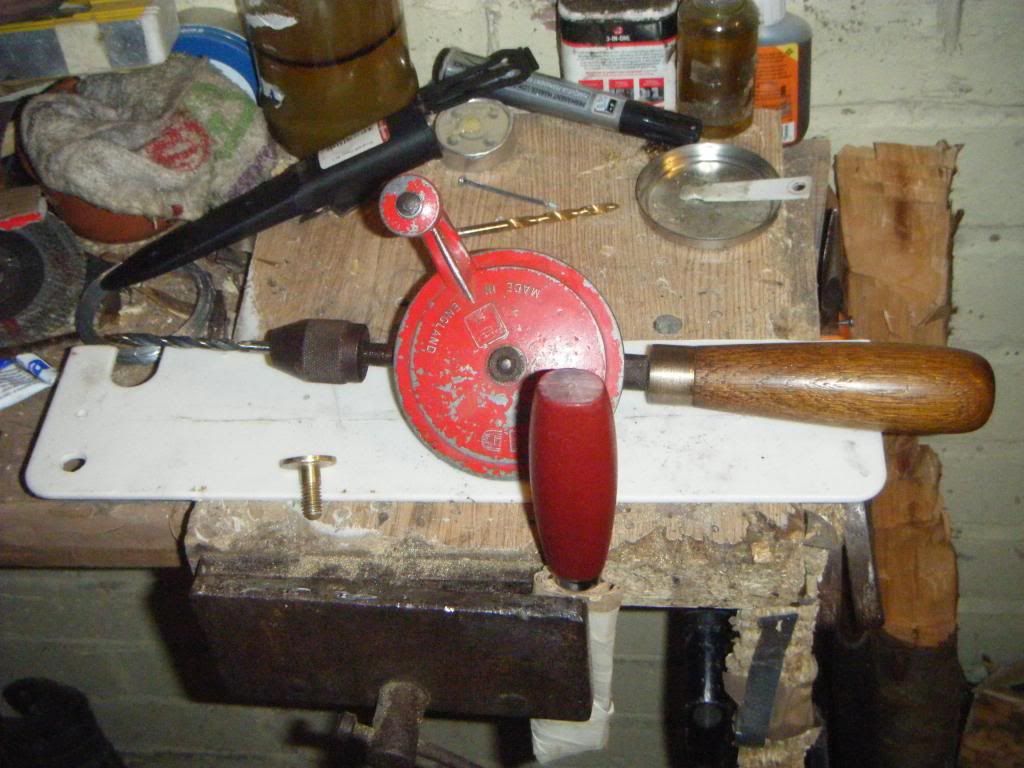
I then sanded and cleaned the base of the handle and began drilling down the length to make room for that remaining screw bit.
and time for some epoxy to keep it all in place! and for an overnight dry while I check my rations and ammo, incase the badgers plan a suprise night time raid!
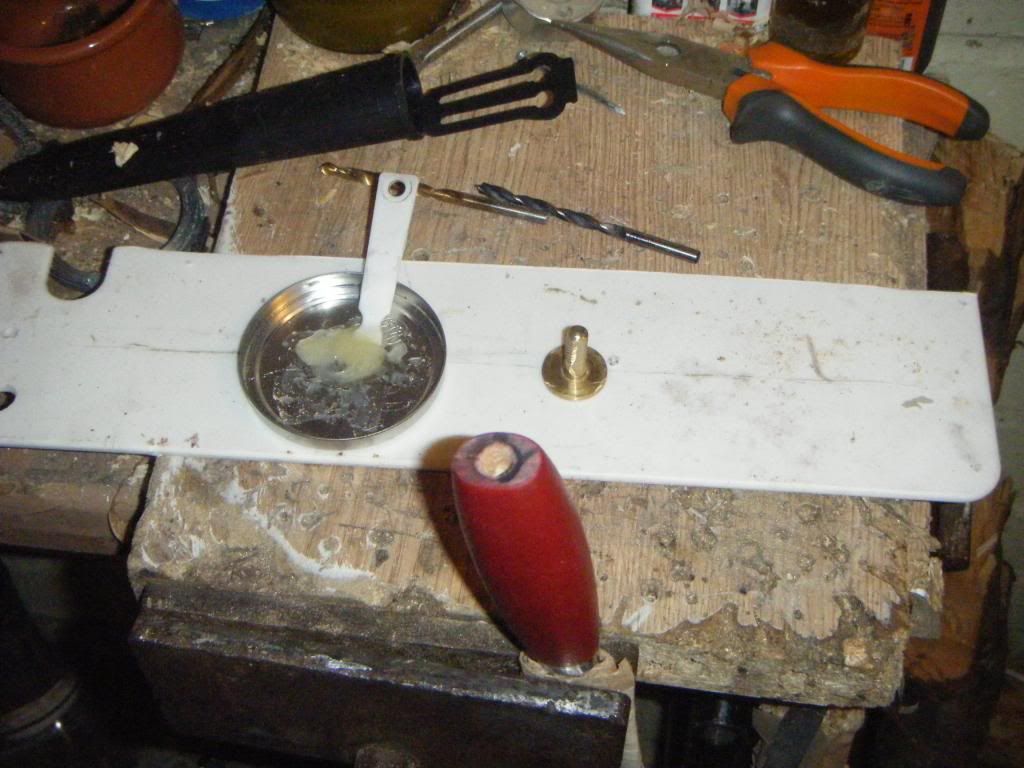
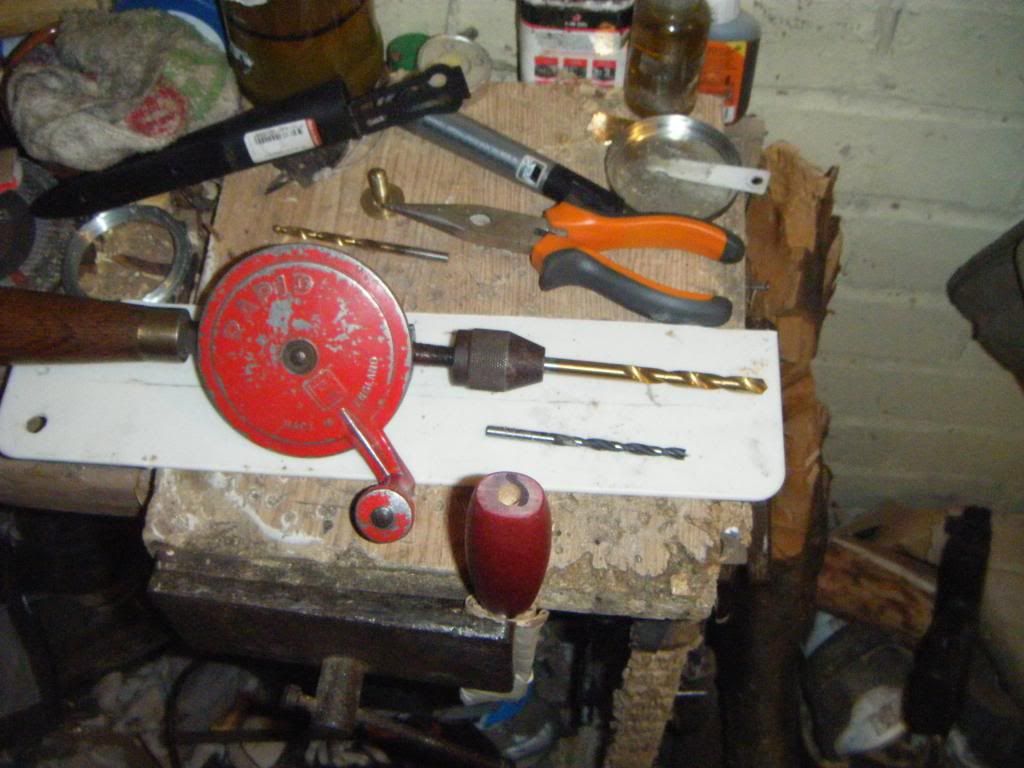
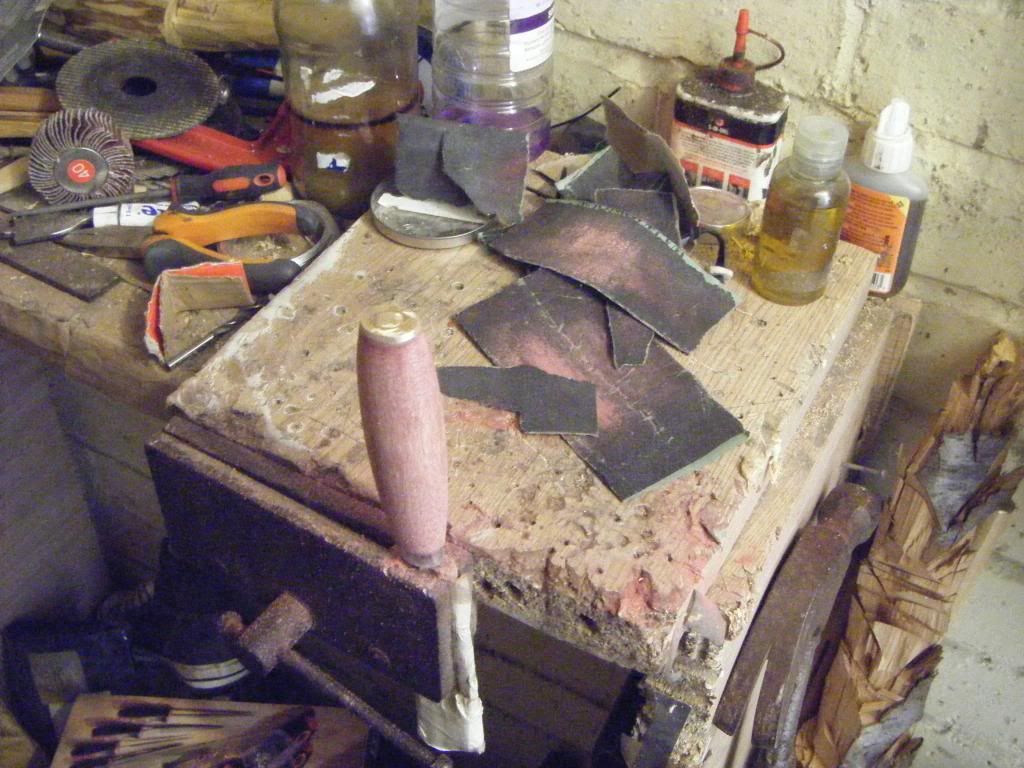
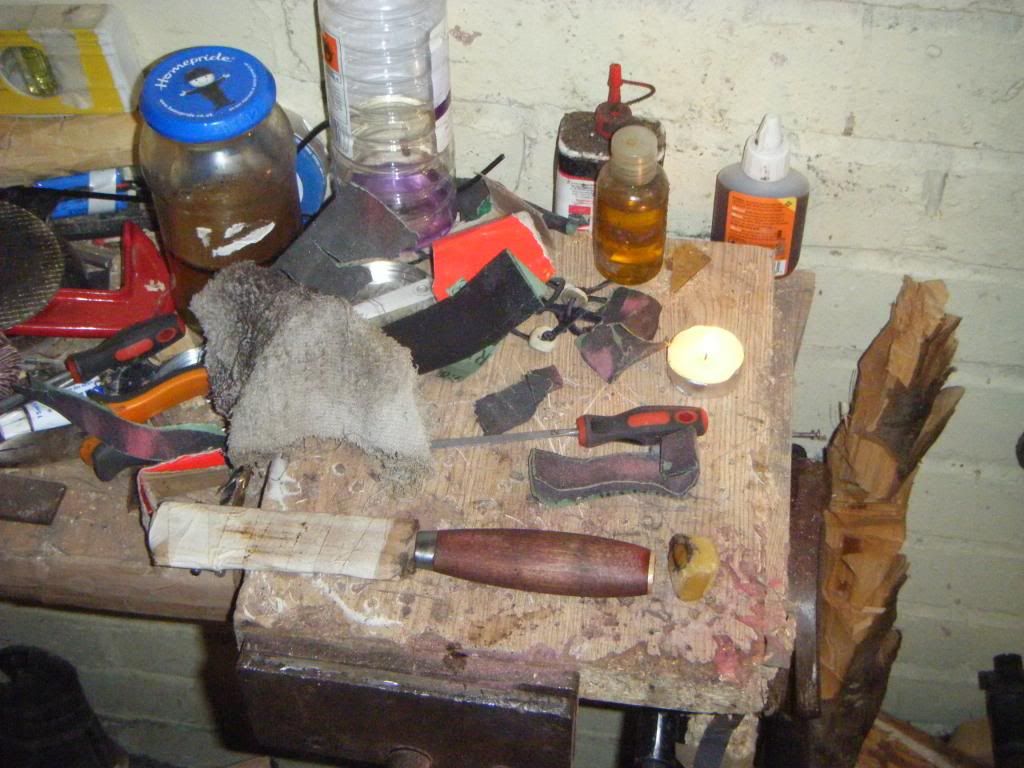
The tools for today and I actually nipped a little of the blade off with the grinder last night to act as a choil/finger protector.
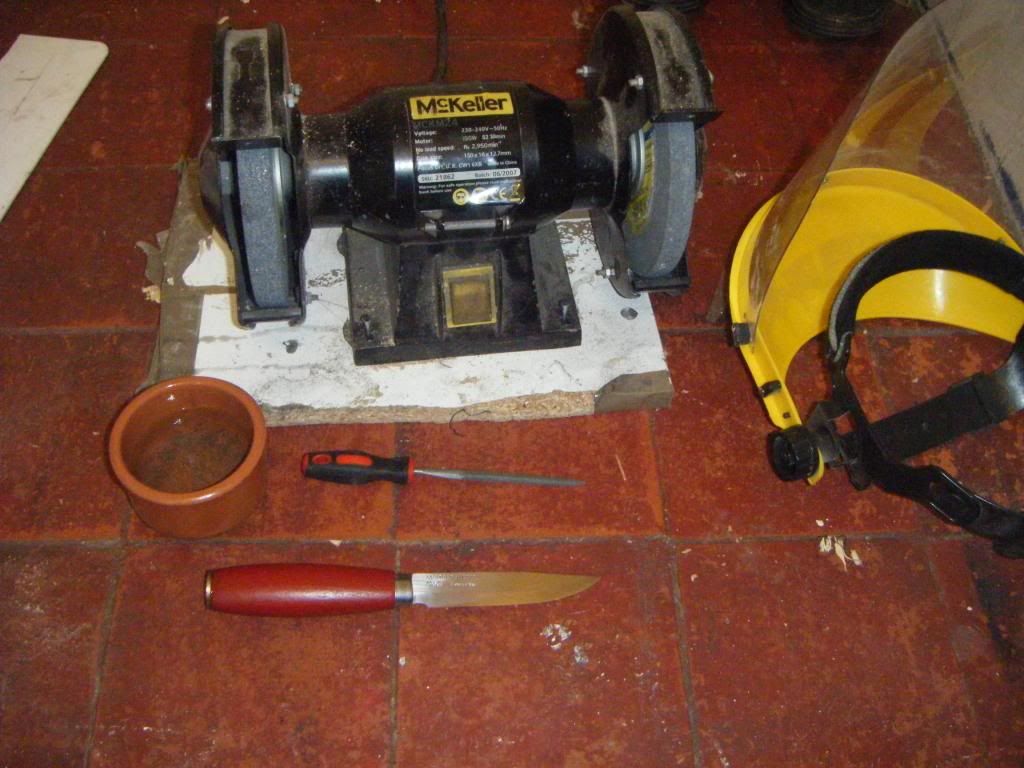
and after the brass end was tidied up ont he grinder..
and some black marker to show what steel I will remove to create the shape blade that will work better for me!
and nearly done, just some cleaning up with sand paper..
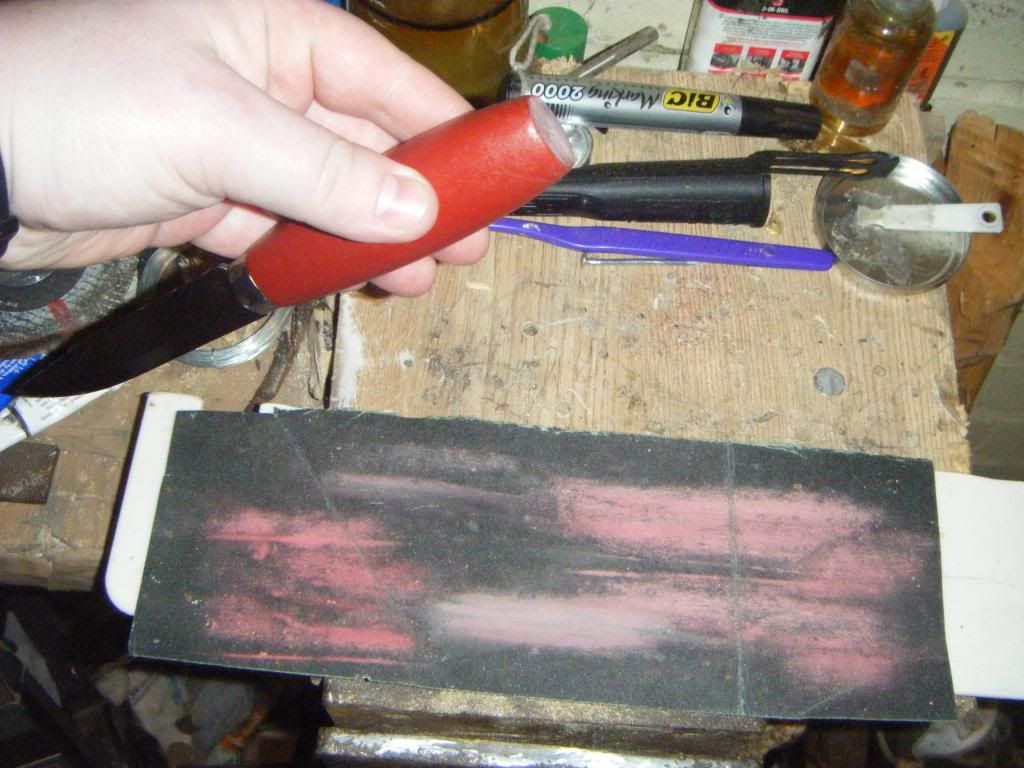
Now some time for that red paint, it's tough stuff and pretty nice looking but I didn't want to stop there.
On with some sanding..
and a little burn..
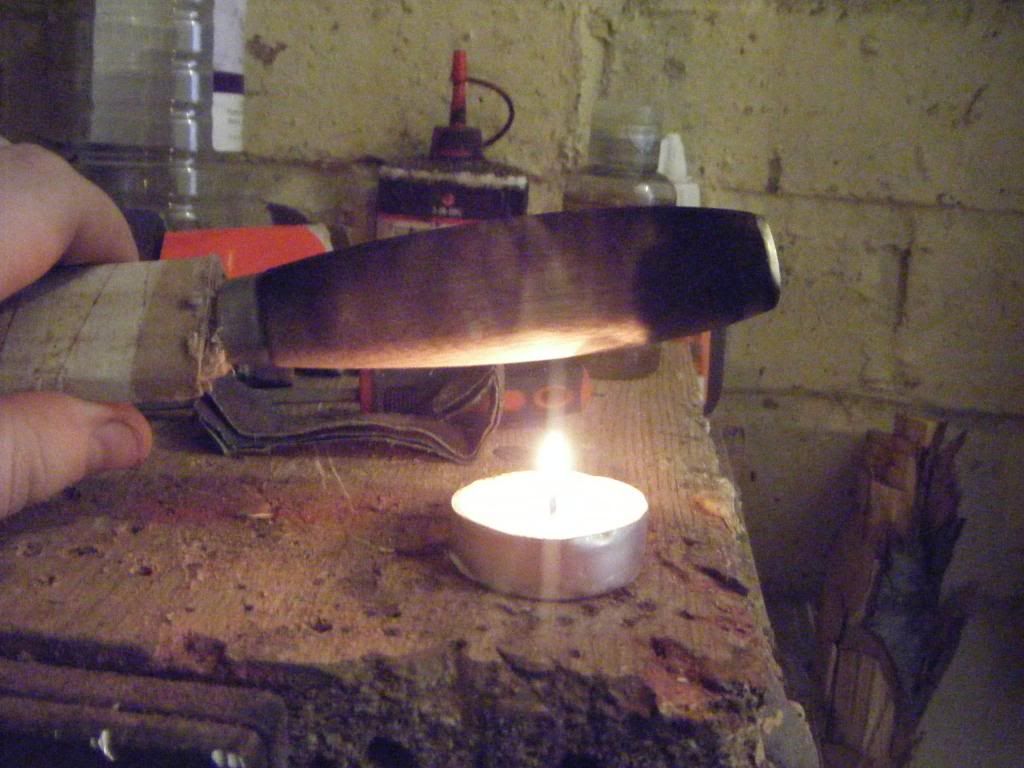
after the first sanding I gave it a little burn to singe off any paint and get the wood warm for an oil coat. I then sanded it down, oiled and then buned it again to sink the oil - along with some hand rubbing to help it get in.
The I sanded and bee's waxed to lock in the oils and black colour form the sand paper and char.
Then a little hand rub and buff with some old cloth to remove the excess surface wax, but still leave a really grippy treated finish!
And a quick sand on the base to clean up the surface, I didn't bother going for shiny because it's gona be used to smash and pound stuff!
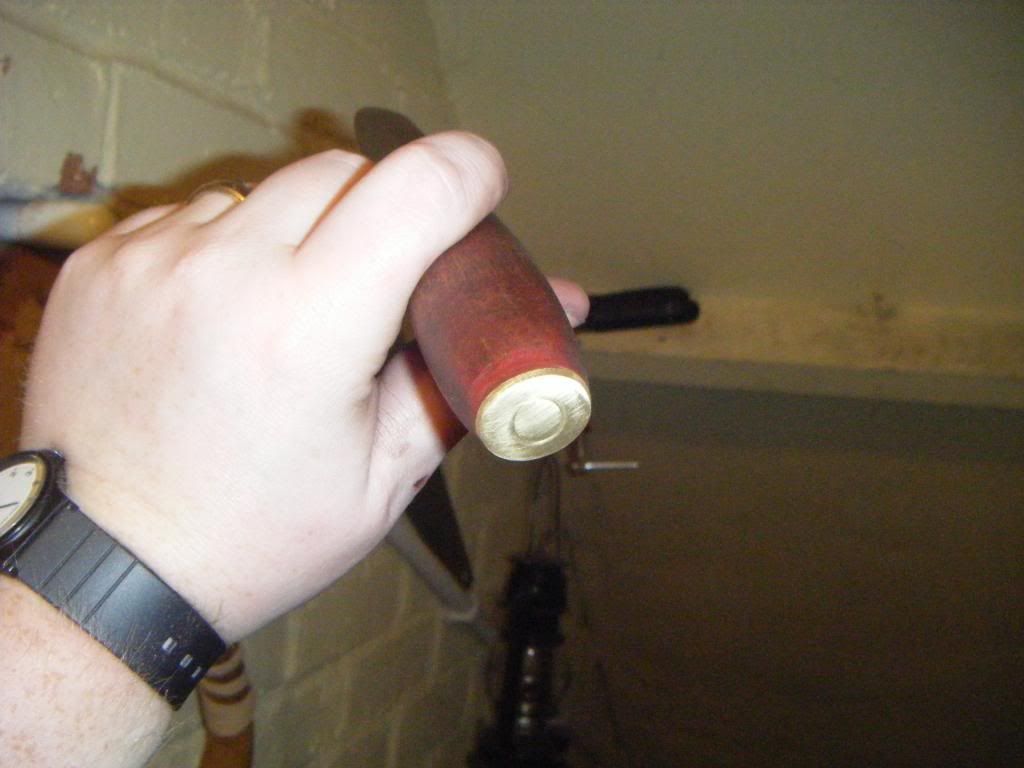
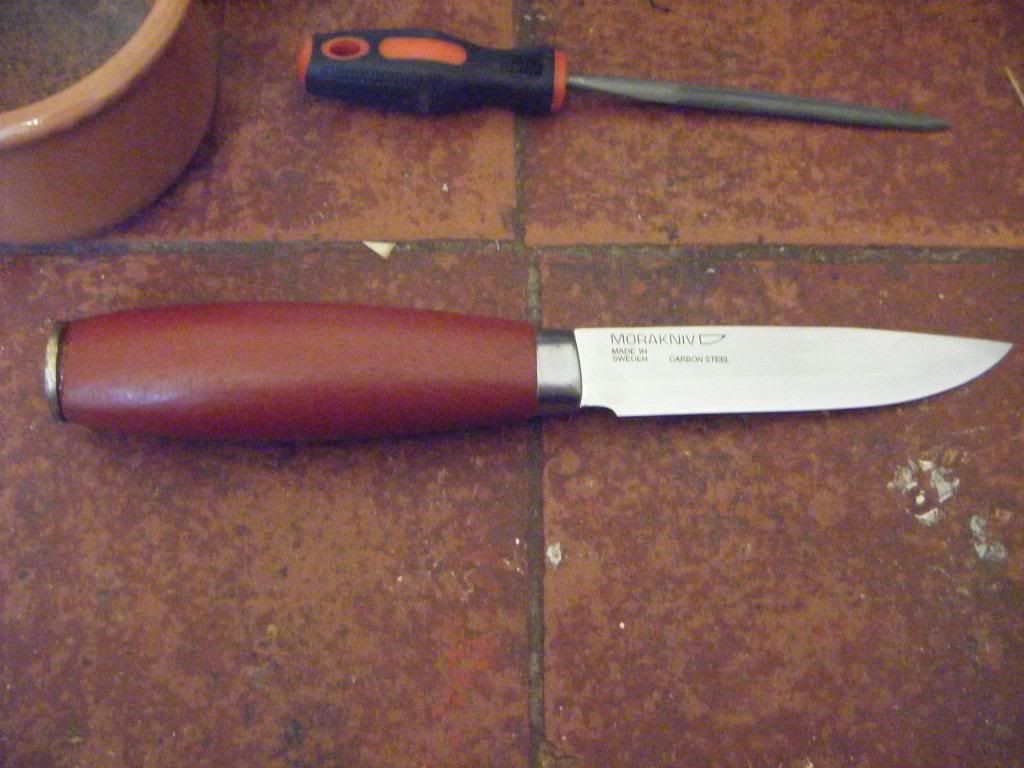
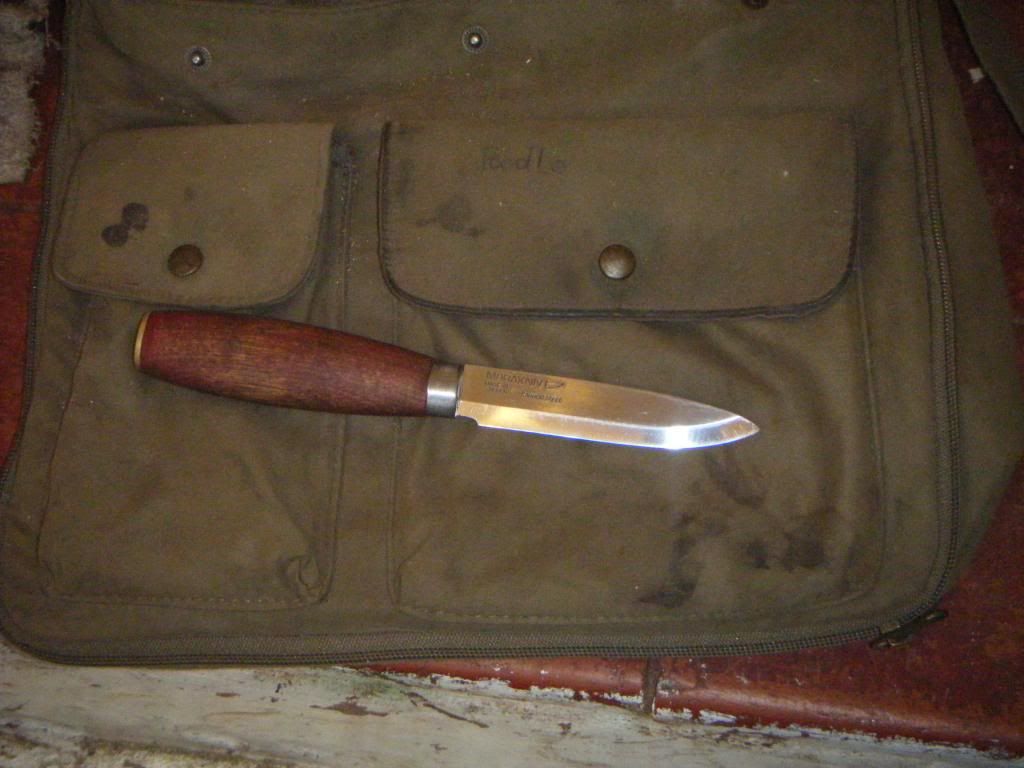
And with a little clean on the jeans and it's all done! looks pretty nice, and goes well with my man bag..
Still have a sheath to do but I need some money for leather first!
I hope you liked the WIP, the whole knife job didn't take long and was nice to have some man time in the cave.
This is how it came..
perfectly serviceable and razor sharp out the box! But why stop there?
I started my venture yesterday after a trip to town to hunt the second hand shops for treasures and found this pool/snooker cue! Having seen a member use one to make a stick tang knife handle I knew it would co0me in handy for my nexy project, rehandling the stick tang blade of a hultafors heavy duty knife.
When I got it home I had a look at it and noticed the screw together part in the mid section was brass and being a scavanging recylcer I found a decent use for that part! Pommel! a nice fat brass pommel for the bottom of the Mora handle
I cut the brass end bit off and hacksawed the long threaded screw end away leaving just one screw for using to fit in the base of the handle for strength.

I then sanded and cleaned the base of the handle and began drilling down the length to make room for that remaining screw bit.


and time for some epoxy to keep it all in place! and for an overnight dry while I check my rations and ammo, incase the badgers plan a suprise night time raid!

The tools for today and I actually nipped a little of the blade off with the grinder last night to act as a choil/finger protector.


and after the brass end was tidied up ont he grinder..

and some black marker to show what steel I will remove to create the shape blade that will work better for me!

and nearly done, just some cleaning up with sand paper..


Now some time for that red paint, it's tough stuff and pretty nice looking but I didn't want to stop there.
On with some sanding..

and a little burn..

after the first sanding I gave it a little burn to singe off any paint and get the wood warm for an oil coat. I then sanded it down, oiled and then buned it again to sink the oil - along with some hand rubbing to help it get in.
The I sanded and bee's waxed to lock in the oils and black colour form the sand paper and char.

Then a little hand rub and buff with some old cloth to remove the excess surface wax, but still leave a really grippy treated finish!
And a quick sand on the base to clean up the surface, I didn't bother going for shiny because it's gona be used to smash and pound stuff!

And with a little clean on the jeans and it's all done! looks pretty nice, and goes well with my man bag..

Still have a sheath to do but I need some money for leather first!
I hope you liked the WIP, the whole knife job didn't take long and was nice to have some man time in the cave.
Last edited:
