I decided recently to render some beeswax. Beeswax is really useful stuff - used in candles, polish, glue, leather treatments and soap to name but a few uses. Sources of beeswax include
Worn out brood comb
Wax capings from supers
Brace comb (comb made outside frames).
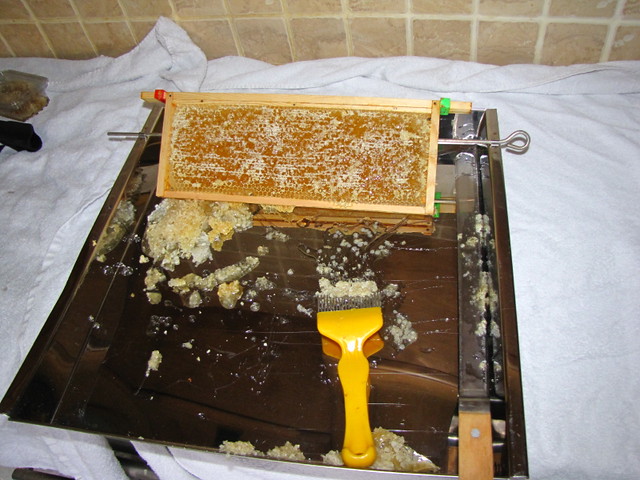
Supers (honeycomb) need to be uncapped for the honey to be extracted. Every time bees clean out brood frame, it is "varnished" inside, so the cells get smaller over time - this leads to smaller bees. It is sensible to have a rolling replacement of brood comb as a result - about one a third each year. As a result of these operations, beekeepers have a small but regular supply of beeswax (or a large supply if they run enough hives)
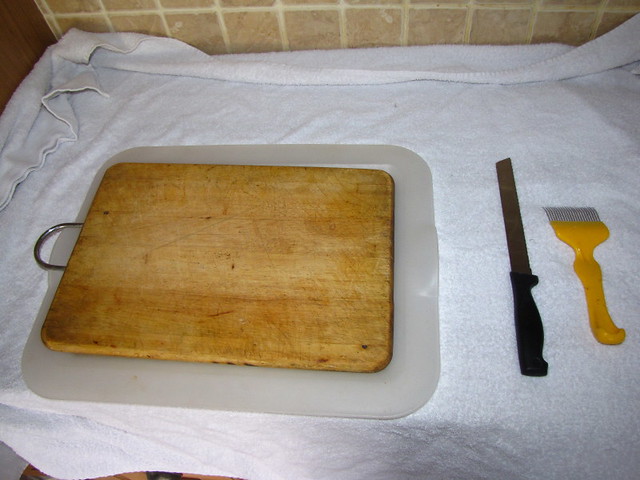
In order to render wax get an old pan, sieve and spoon plus some muslin cloth and buckets. Nothing you use will be suitable for any other purpose in the future - so old is the key (or cheap!).
Put 2" of water in the pan and add your wax.

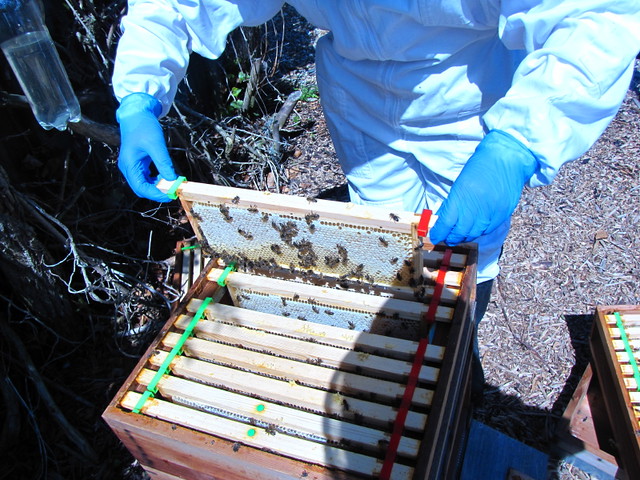
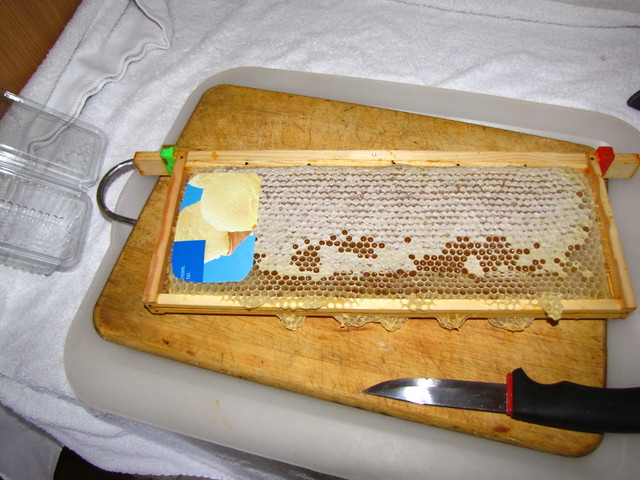
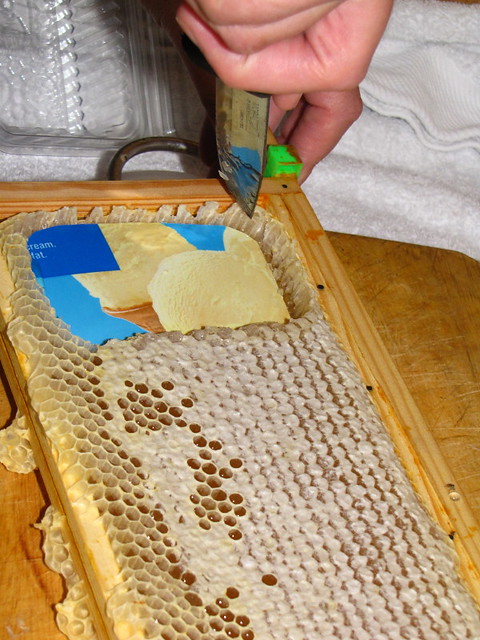
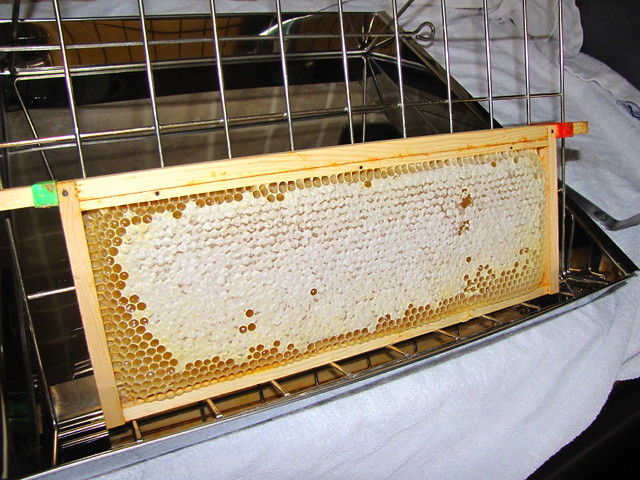
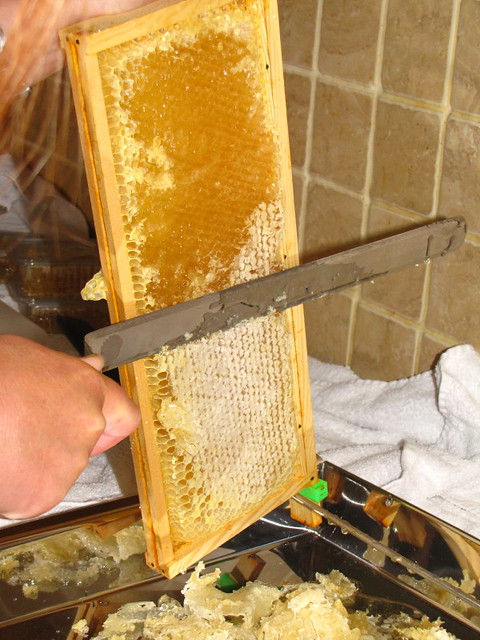
Brood wax by British Red, on Flickr
The dark wax you see is old, the light new "brace comb".
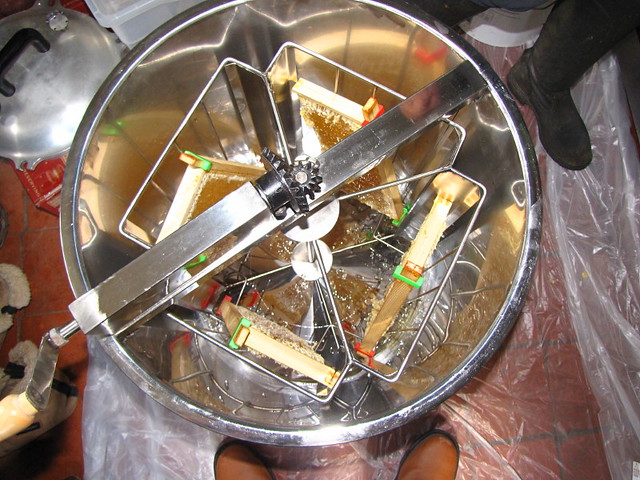
Heat the water gently and the wax will melt and disperse
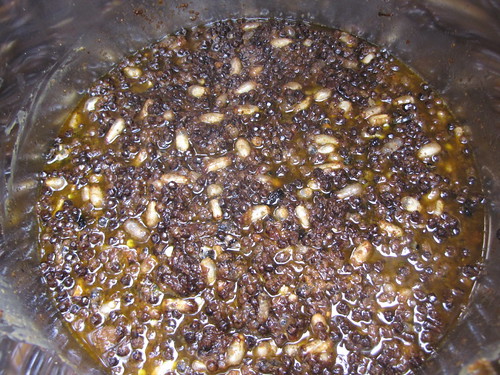
Floating Debris by British Red, on Flickr
In the picture you see, the large white blobs are drone larvae (laid in brace comb). The black lumps are pupal linings. The dark colour in the water is all manner of stuff including pupa excrement.
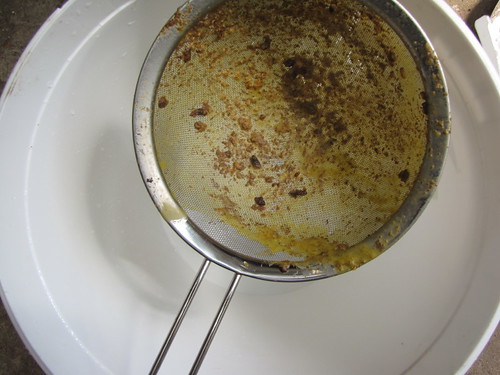
The solid floating matter should be scooped up in a sieve and have the wax / water squeezed out with a wooden spoon
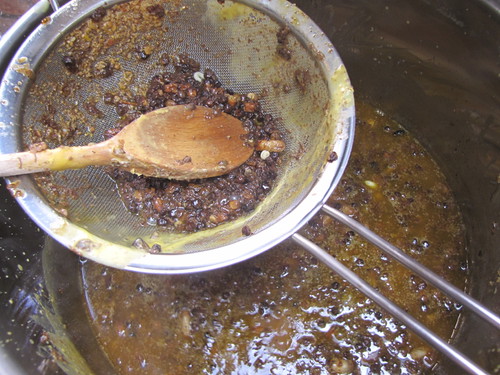
Scoop Debris by British Red, on Flickr
The removed material should be set aside
Slum Gum by British Red, on Flickr
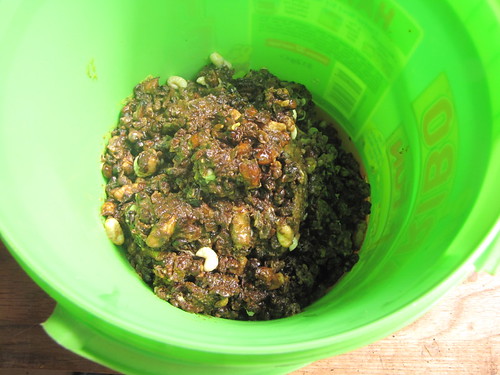
This material is called "slumgum" (a new word - use it three times and its yours forever") ). Its all the above mentioned stuff - but it does have its uses
). Its all the above mentioned stuff - but it does have its uses
If left to dry it makes a good firelighter apparently (being full of wax)
It composts very well
It attracts bees like crazy - very handy if you wish to attract swarms to "bait hives" - just smear a load inside the hive
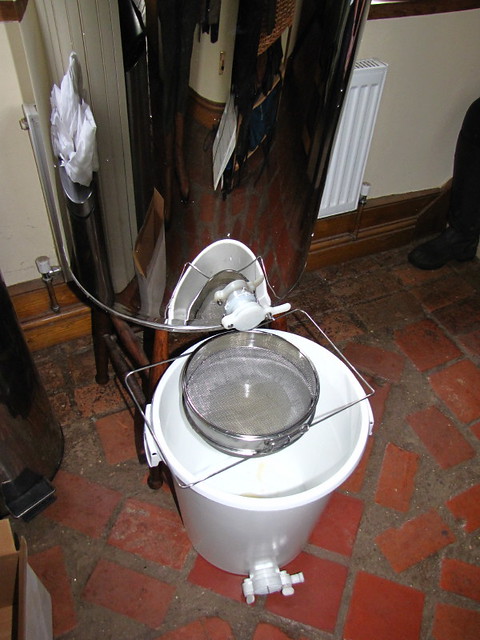
At this stage a lot of debris will have sunk, some will still be floating. Set you sieve over a clean bucket
Ready tocoarse flter by British Red, on Flickr
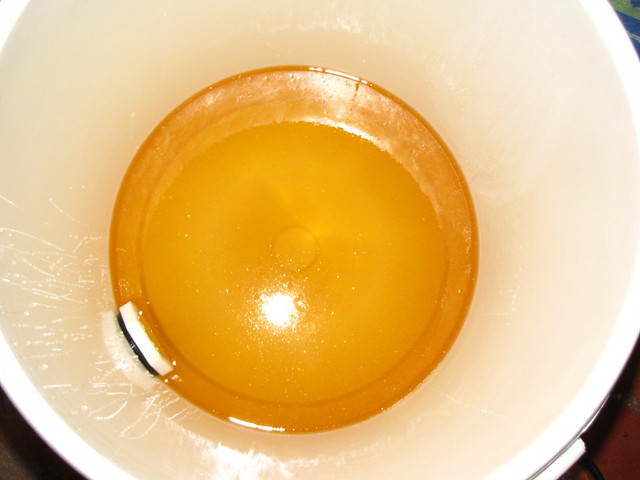
Pour the beeswax and water through the sieve catching all the larger debris in the sieve.
You will end up with a brown liquid wax / water mix. The clouds you can see in it are beeswax setting
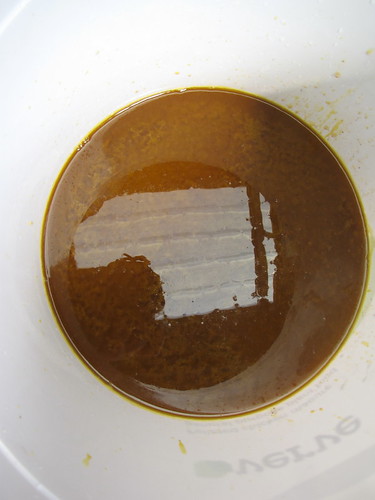
Coarse filtered wax and water by British Red, on Flickr
Now leave your bucket overnight to cool. As the wax cools and sets it floats to the surface.
This is what we see the next morning
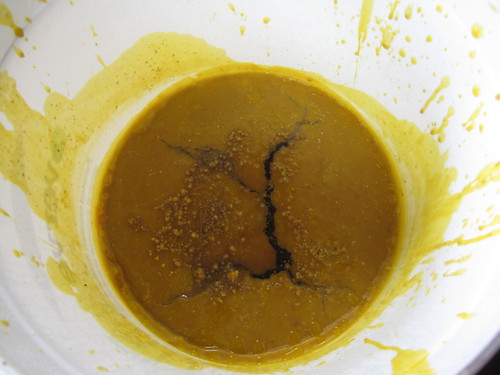
Beeswax from first render by British Red, on Flickr
The solid material is beeswax. Remove this onto some old card to drain leaving the water in the bucket
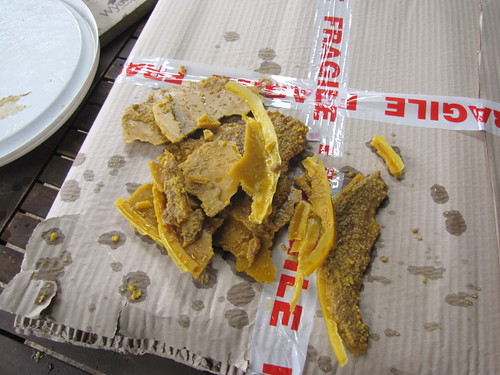
Beeswax removed from first render showing grit by British Red, on Flickr
The water in the bucket is best poured onto your compost. It will all rot down - but also clog your drains!
If you look at the wax, the bottom half is covered in beige "grit" - this is fine debris. To remove this, we render it again. I used a smaller pan, also with 2" of water
The wax was again gently melted (you really don't want a fat fire)
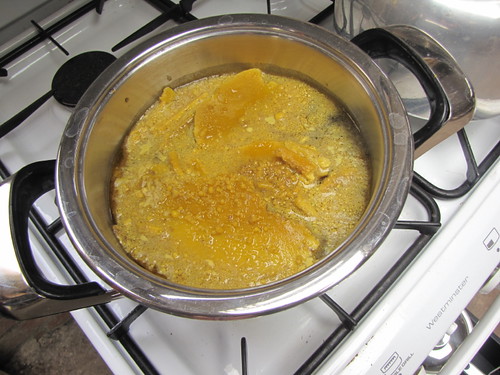
Second render by British Red, on Flickr
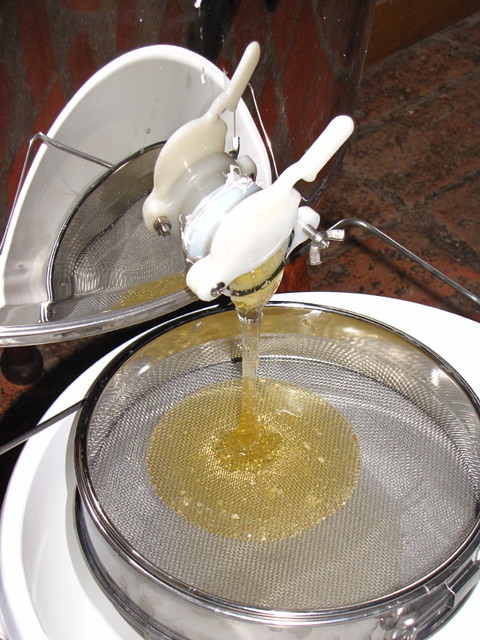
This time two layers of muslin are used to line the sieve and I pored the water and wax into an old tall jug. This makes a narrower cylinder meaning a thicker block of wax
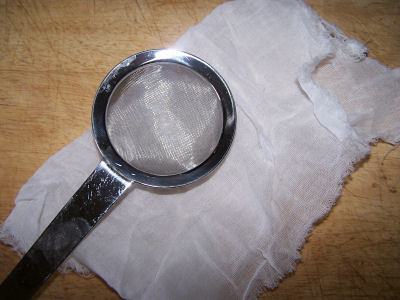
strainer & muslin by British Red, on Flickr

Beeswax cooling by British Red, on Flickr
After cooling you can see clear water and a thick block of wax
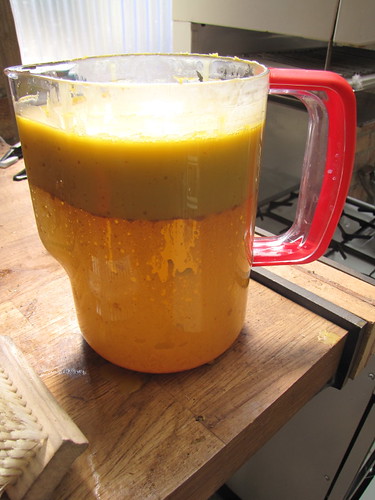
Twice rendered beeswax by British Red, on Flickr
There is still a thin layer of ultra fine debris on the bottom of the wax - but this can simply be scraped off.
There we have it - a block of beeswax. I'll do some posts over the winter on making leather treatment, glue, polish etc. from this wax
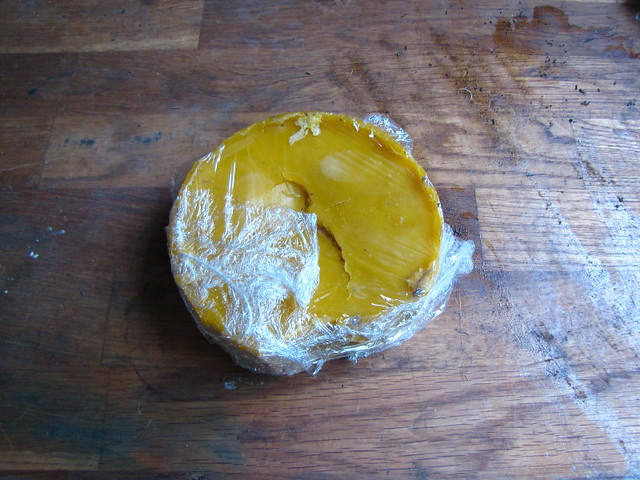
Rendered beeswax by British Red, on Flickr
Red
Worn out brood comb
Wax capings from supers
Brace comb (comb made outside frames).
Supers (honeycomb) need to be uncapped for the honey to be extracted. Every time bees clean out brood frame, it is "varnished" inside, so the cells get smaller over time - this leads to smaller bees. It is sensible to have a rolling replacement of brood comb as a result - about one a third each year. As a result of these operations, beekeepers have a small but regular supply of beeswax (or a large supply if they run enough hives)
In order to render wax get an old pan, sieve and spoon plus some muslin cloth and buckets. Nothing you use will be suitable for any other purpose in the future - so old is the key (or cheap!).
Put 2" of water in the pan and add your wax.
Brood wax by British Red, on Flickr
The dark wax you see is old, the light new "brace comb".
Heat the water gently and the wax will melt and disperse
Floating Debris by British Red, on Flickr
In the picture you see, the large white blobs are drone larvae (laid in brace comb). The black lumps are pupal linings. The dark colour in the water is all manner of stuff including pupa excrement.
The solid floating matter should be scooped up in a sieve and have the wax / water squeezed out with a wooden spoon
Scoop Debris by British Red, on Flickr
The removed material should be set aside
Slum Gum by British Red, on Flickr
This material is called "slumgum" (a new word - use it three times and its yours forever
). Its all the above mentioned stuff - but it does have its usesIf left to dry it makes a good firelighter apparently (being full of wax)
It composts very well
It attracts bees like crazy - very handy if you wish to attract swarms to "bait hives" - just smear a load inside the hive
At this stage a lot of debris will have sunk, some will still be floating. Set you sieve over a clean bucket
Ready tocoarse flter by British Red, on Flickr
Pour the beeswax and water through the sieve catching all the larger debris in the sieve.
You will end up with a brown liquid wax / water mix. The clouds you can see in it are beeswax setting
Coarse filtered wax and water by British Red, on Flickr
Now leave your bucket overnight to cool. As the wax cools and sets it floats to the surface.
This is what we see the next morning
Beeswax from first render by British Red, on Flickr
The solid material is beeswax. Remove this onto some old card to drain leaving the water in the bucket
Beeswax removed from first render showing grit by British Red, on Flickr
The water in the bucket is best poured onto your compost. It will all rot down - but also clog your drains!
If you look at the wax, the bottom half is covered in beige "grit" - this is fine debris. To remove this, we render it again. I used a smaller pan, also with 2" of water
The wax was again gently melted (you really don't want a fat fire)
Second render by British Red, on Flickr
This time two layers of muslin are used to line the sieve and I pored the water and wax into an old tall jug. This makes a narrower cylinder meaning a thicker block of wax
strainer & muslin by British Red, on Flickr
Beeswax cooling by British Red, on Flickr
After cooling you can see clear water and a thick block of wax
Twice rendered beeswax by British Red, on Flickr
There is still a thin layer of ultra fine debris on the bottom of the wax - but this can simply be scraped off.
There we have it - a block of beeswax. I'll do some posts over the winter on making leather treatment, glue, polish etc. from this wax
Rendered beeswax by British Red, on Flickr
Red
Last edited: