Hobo Stove Gallery (Probably picture heavy)

  • Hey Guest, Early bird pricing on the Summer Moot (29th July - 10th August) available until April 6th, we'd love you to come. PLEASE CLICK HERE to early bird price and get more information.

Biker

Bushcrafter (boy, I've got a lot to say!)
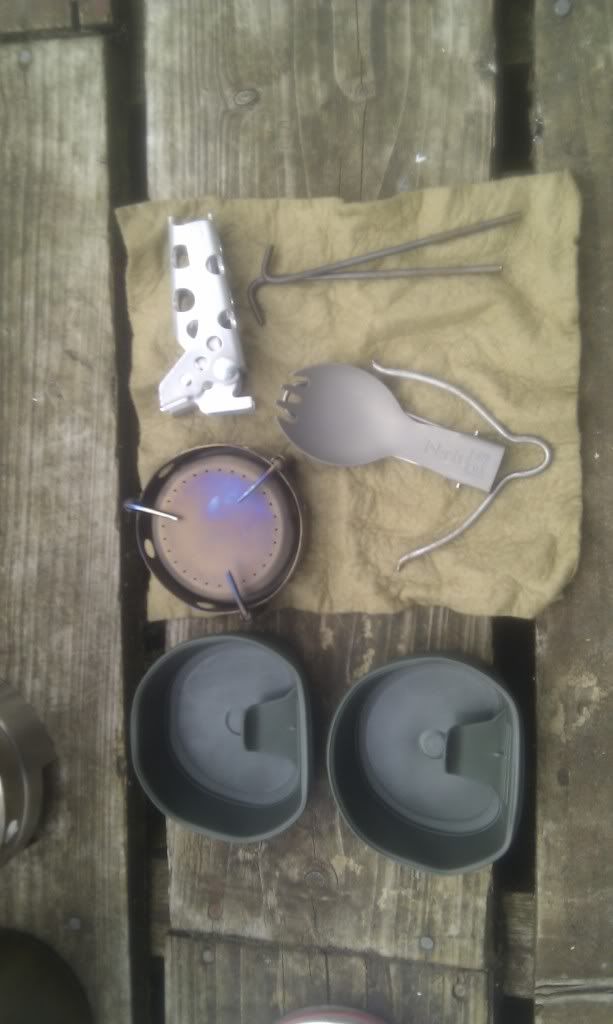
Exactly the sort of solution I've been looking for. Very neat, thanks!
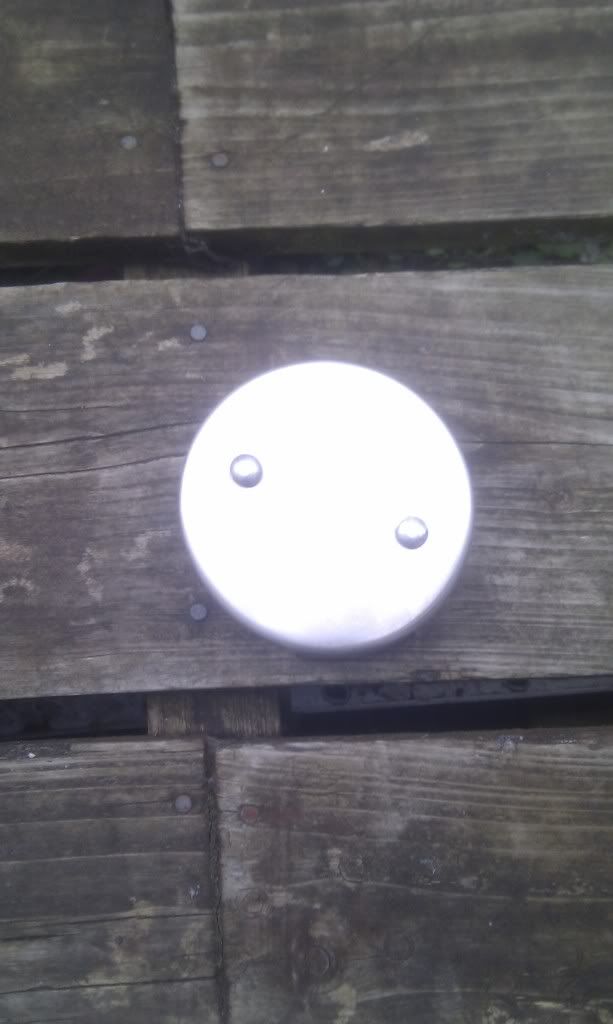
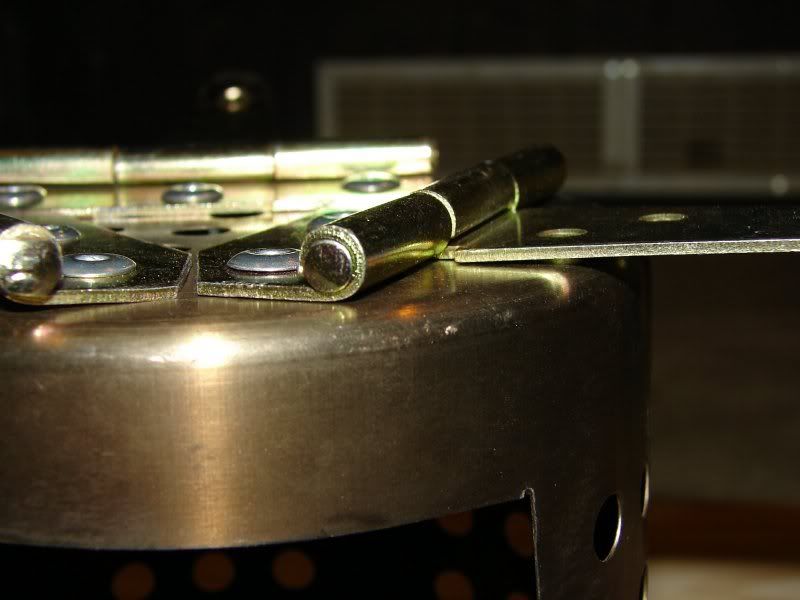
Will the Ali rivets withstand the temps ok?

Thanks for the replies chaps.

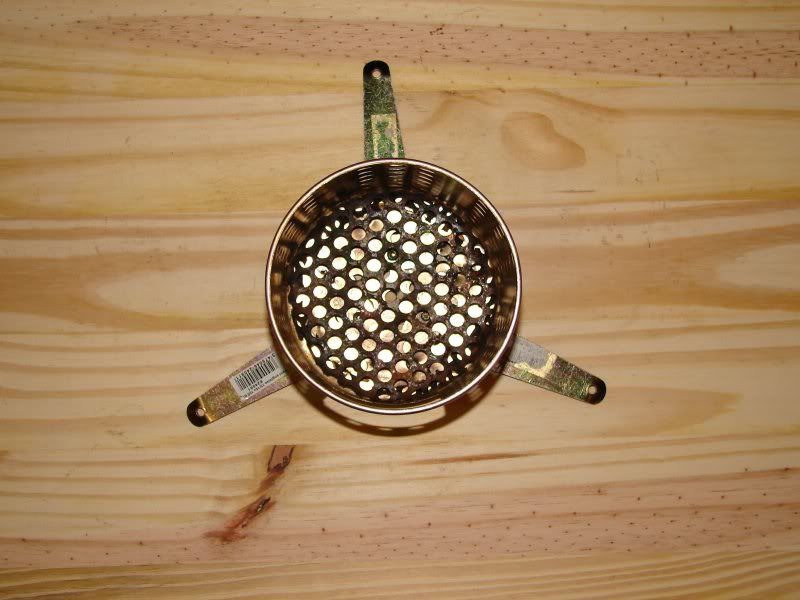
Good question about the rivets. If they don't, or appear to loosen up over time I'll just drill them out and use smaller bolts with spring washers to locks the nuts in place

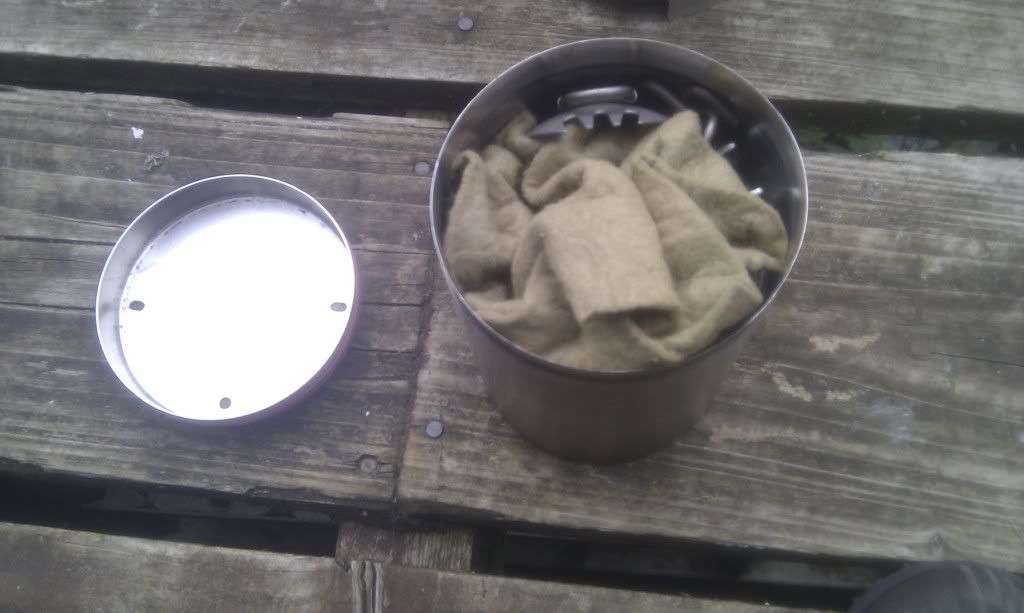
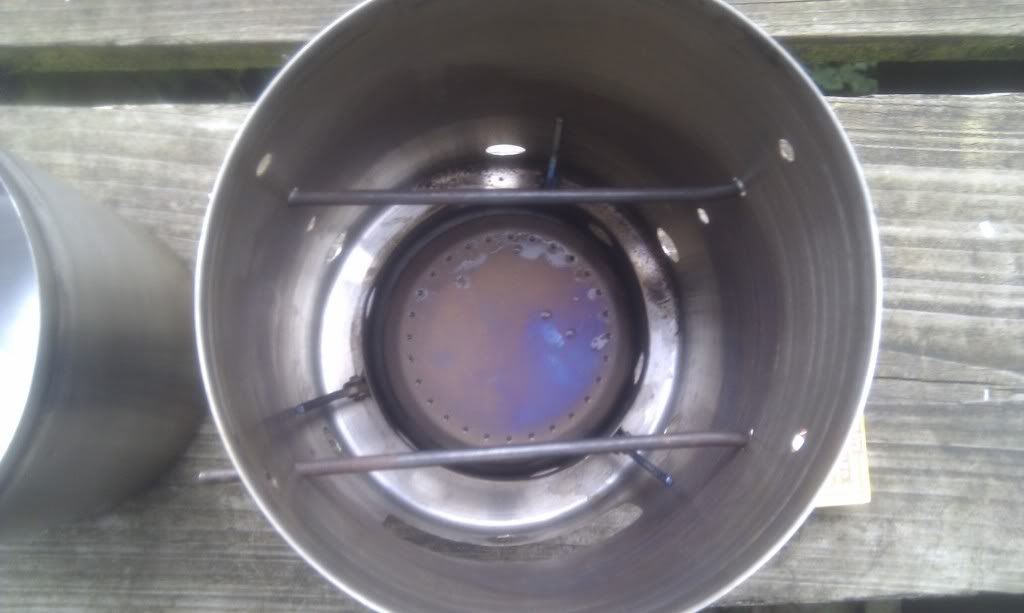
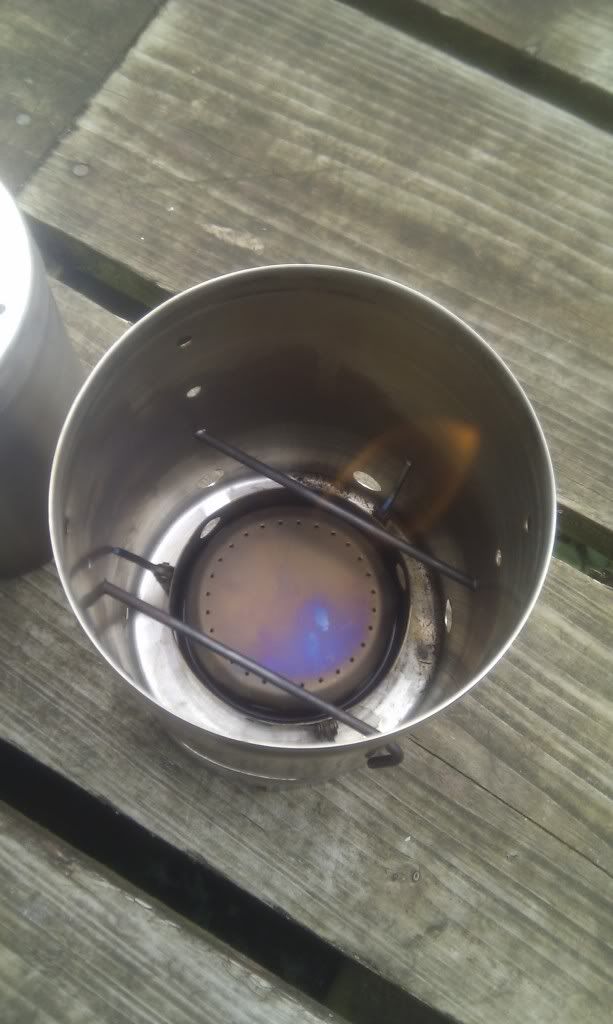
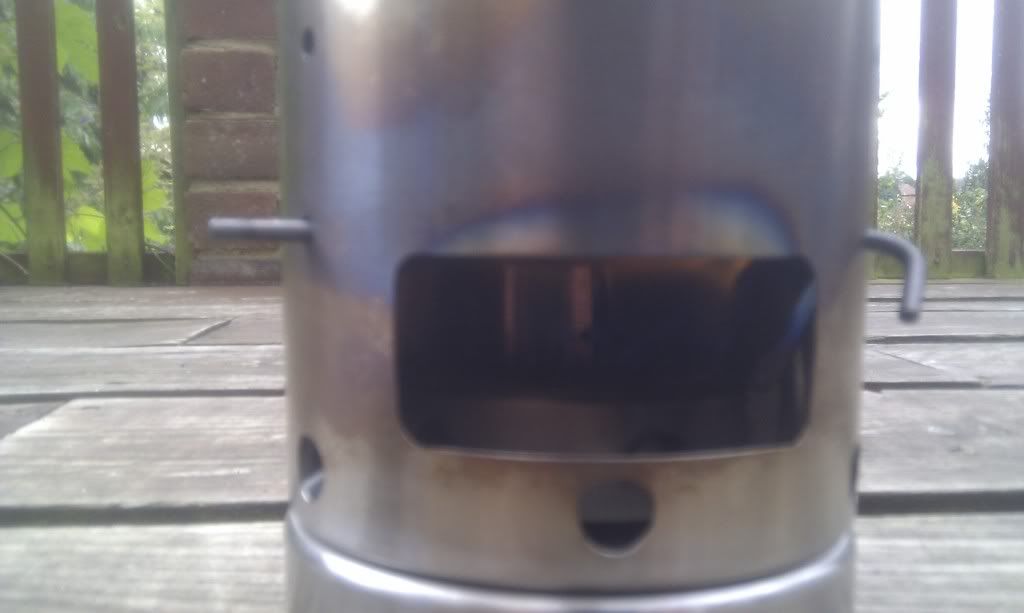
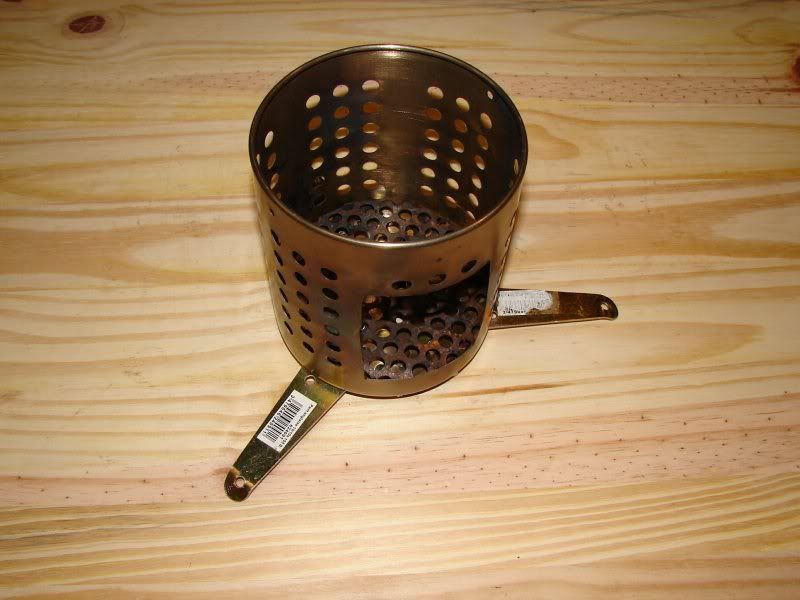
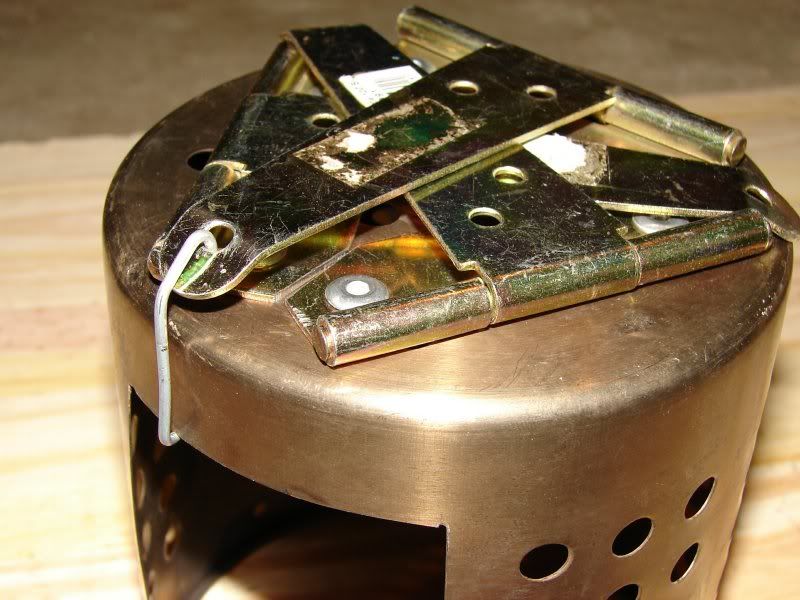
If you look in this picture I've put a ventilated tray inside the stove so the fire inside won't actually be sitting on the rivets directly, though I suppose the heat difference from direct contact to 15mm away would be negligable. But like Tescos says: Every little helps.

Hobo-base-upgrade02.jpg
 

Hugo

Bushcrafter (boy, I've got a lot to say!)
Nov 29, 2009
2,588
1
Lost in the woods
I ditched my first Hobo as I think the large cut out that I put on it was too big, it let far too many flames coming up the side.
I replaced it with an Ikea one and cut out a very small hole so as to light it, then I feed wood in from the top when needed.
Now there is not so much flames coming up the side.
I think I'll put some legs on it so as to draw more air in as some of you guys have, I did make some out of stainless wall ties but keep forgetting to take them with me.
A great thread this.

Hobostove001.jpg
 
Last edited:

GoatBoy666

Tenderfoot
Jul 27, 2005
96
3
53
West London
I made this set up a couple of years ago, never got round to taking pics...so finally here they are.

Made from Wilkinson S/S Tea and sugar caddies

IMAG0295.jpg

IMAG0296.jpg

IMAG0297.jpg

IMAG0298.jpg

IMAG0299.jpg

IMAG0300.jpg

IMAG0301.jpg


The lid interlocks with the main body using 2 Rivets, to provide a three legged base (much more suitable for rough ground)

IMAG0302.jpg

IMAG0303.jpg

IMAG0305.jpg

IMAG0306.jpg


The rest of the set up, showing removable bail arm, and cut down pan lifter.

IMAG0308.jpg


ready to go...

IMAG0309.jpg

IMAG0311.jpg


we have ignition...

IMAG0312.jpg

IMAG0314.jpg


Blooming luverly, Vargo Ti burner working a treat.

IMAG0315.jpg


Brew time... =P

IMAG0316.jpg

IMAG0317.jpg


The whole kit weighs in at about a 1kg fully stocked, so not the lightest but has served me well. Gotta find a someone who manufactures Ti caddies...8D

Have a some large elastic bands which are not shown, which I use to wrap around the smaller tin to keep it from rattling whilst it is packed.

Goat
 

Trunks

Full Member
May 31, 2008
1,716
10
Haworth
Hi Folks,
I was about to resurrect this thread tonight but found someone had already done it for me. Thanks BeernGrills70.

Well, I gave my old hobo stove a base upgrade today after coming up the idea a while ago. This morning I saw the very thing I needed to complete the task. Three T shaped hinges. and got busy working on it.

This is after I had a pan on the boil and the whole thing started toppling over, of course your natural reaction is to grab it, forgetting you're dealing with burn burny stuff. Somehow I managed to stop myself and just let the whole thing tip over.

Obviously setting it on a stable object is the thing to do, but with this upgrade I don't have to be so strict and it allows air to feed in under as well. Total weight increase is three garnet hinges and 6 rivets. I had to drill new holes in the base to take the rivets and I trimmed off some of the corners where the hinges touched each other.

See pictures below, hopefully you won't need me to explain the set up. But if you have questions feel free to ask. Thanks for viewing.


Hobo-base-upgrade01.jpg


Hobo-base-upgrade02.jpg


Hobo-base-upgrade03.jpg


Hobo-base-upgrade04.jpg


Hobo-base-upgrade05.jpg


Hobo-base-upgrade06.jpg


Hobo-base-upgrade07.jpg


Now, that i like :) i'm off down to B&Q
 

shaggystu

Bushcrafter (boy, I've got a lot to say!)
Nov 10, 2003
4,345
33
Derbyshire
I made this set up a couple of years ago, never got round to taking pics...so finally here they are.

Made from Wilkinson S/S Tea and sugar caddies......

that's very similar to my current set up. just thought you might be interested to know that the lids from simpkins travel sweets fit perfectly on top of the wilko's tea/coffe/sugar caddies. i use one as a lighter weight option to the lid that came with the caddy, only a few grams i know but it all adds up

stuart
 

GoatBoy666

Tenderfoot
Jul 27, 2005
96
3
53
West London
Thanks for the heads up shaggystu, that could work well. =)

Ideally I am after a removable tray/plate inside that can be used in situ to steam/fry food or can be removed and used as a plate, as in the zebra billies.
 

cowboy

Banned
May 3, 2010
1,941
0
The shire
This is my new upgraded one from the old ikea hobo! its made from a British gas chimney top. I can fit a billy can fire starting bits and and mug and tea bags..


Globetrotter.uk

Bushcrafter (boy, I've got a lot to say!)
Jan 24, 2008
2,063
5
Norwich UK

Dab-nabbit

New Member
Oct 1, 2011
2
0
Dursley GLOS
Nice one. Be careful using aluminium rivets they have a tendency to come loose or even melt when heated to a hight temperature aspecialy when there attached to steel. Cheers.
 

England Ram

Tenderfoot
Dec 5, 2011
50
0
Derby
This thread has been a great source of inspiration for me. I was goint to buy a hobo from ebay, but saw all your great ideas and now am making it a project with my 3 children to make mine and thier own as well. I am also looking into a woodgas model as some have mentioned, thanks for all your pics, and sharing ideas.
 

England Ram

Tenderfoot
Dec 5, 2011
50
0
Derby
Initial ingredients. Couldn't use the sugar and biscuits tins as none of my drill bits would make a scratch on them! They even blunted 2 metal centre punches.
http://www.facebook.com/photo.php?f...0531541501208.435485.586396207&type=3&theater

Pedal bin was the only thing I could find. SS, but of the thin variety. Lid inverted and beaten down, base holes drilled. 3 layer wire mesh for fire base.
http://www.facebook.com/photo.php?f...0531541501208.435485.586396207&type=3&theater

Fire level holes drilled and back left solid for wind shield. Top holes for different pan heights.http://www.facebook.com/photo.php?f...0531541501208.435485.586396207&type=3&theater

Handfull of twigs after initial lighting. 4 mins for fire to get nice and solid.
http://www.facebook.com/photo.php?f...0531541501208.435485.586396207&type=3&theater

Rolling boil of 2.2 pints of cold water 8 minutes after putting paint kettle on. I am assuming the time will decrease with a better pan and a lid.
http://www.facebook.com/photo.php?f...0531541501208.435485.586396207&type=3&theater
 
Last edited:

lannyman8

Bushcrafter (boy, I've got a lot to say!)
Jan 18, 2009
4,005
3
Dark side of the Moon
Here's my latest Hobo kit set up. I wanted to improve on the raised fire bed method so that the ground didn't get scorched.

100_2806.jpg


By placing the cutlery drainer snugley inside the Stainless pot, it makes a a great windshield and very stable when on flat ground.
100_2807.jpg


100_2808.jpg


Here's a short video too, I filmed it early morning during the dawn chorus.

http://www.youtube.com/watch?v=pyifJkhsCkQ

http://www.youtube.com/watch?v=CMPAZHsx1cY&feature=related

thats an awesome idea, if you had another set of pegs you could turn it into a woodgas stove, just move the vented rack up higher to give the gas time to burn.....
 

monkey boy

Full Member
Jan 13, 2009
1,532
52
41
london
I have 2 hobo stoved set ups that I have made, 1 is small and the other is larger

this is the small one that I use for when I am on my own or for when im camping for one or maximum two nites, this is a real light carry as I can leave my crusader kit and other cooking pots at home & just take a water bottle with me.
5284eab3-b1fd-55a2.jpg
5284e89d-b22d-a2a1.jpg

I used a slightly bigger lid of another coffie can so its easier to take of when its hot, I attached pic frame hoop on the side of my pot to aid my wire bail, and I put a bold in the centre of the lid for easy grabbing.
5284eaf4-b3a8-d01f.jpg

inside the billy is a carrabina cup with two other cooking set ups inside, whitebox clone and a tunna can for gel and solid fuel
5284eab3-b58c-910b.jpg
5284e8de-b67b-1258.jpg

by putting the tuna can on top of the whitebox, I can burn solid fuel and the hobo will act as my pot stand
5284ebbe-b6cf-9109.jpg

by flipping the tuna can I will also be able to burn gel
5284e8de-b7a7-5107.jpg

I use the whitebox but putting it one top of the tuna can
5284e94f-b85f-6c96.jpg

5284e94f-b92e-a6a8.jpg


stove NO:2
5284e8de-ba46-7a48.jpg
is a kitchen strainer and a 12cm zebra bill set up
5284e9e9-baae-7939.jpg
in the top tray is fuel,
5284e9e9-baf7-8439.jpg
inside the billy is a really old alcohol stove given to me by a member on here
5284eab3-bb83-075b.jpg
the lid om top of the alcohol burner can be used for solide or gel fuel
5284e9e9-bc17-98af.jpg
this is the alcohol burner taken appart
5284e8de-bc6b-3a9b.jpg
burner in use
5284e9e9-bcbc-2671.jpg
5284eab3-bd73-a4ee.jpg
hobo set up
5284e94f-bdaa-13c7.jpg
5284e9a8-bdcb-e916.jpg

5284e9e9-beb9-9f2d.jpg

hope you all liked mb
 

UKarmr

Member
Feb 22, 2012
28
0
N Yorks
Just a quick question, I have found a tin that my 12cm Zebra will fit inside, however not sure if it is suitable for use as a hobo stove, its steel ( I presume, advertised as such and a magnet stick) however it says it is enamel as well. Any thoughts on this?

I really dont want to steal the wifes new tin only for it to not be suitable!
 

BCUK Shop

We have a a number of knives, T-Shirts and other items for sale.

SHOP HERE