This is a recipe for traditional sack mead. It is highly honey flavoured and not as dry as some less traditional meads. It can be considered a great drink on its own or as the basis recipe for more complex brews.
I will update this post as we go as proper, chemical free, mead making takes up to a year in fermentation and another year in the bottle (minimum) before drinking.
To make this recipe you will need
Ingredients
3lbs of light honey
1 tsp of acid blend (covered later)
1 tsp of pectic enzyme
1 tsp of wine yeast
1 tsp of yeast nutrient
1/4 tsp of grape tannin
3/4 pint of orange juice
Equipment
(Now)
Large stainless steel pan
Sieve
Sheet of muslin / clean tea towel
2 gallon or larger lidded plastic fermenting vessel
Jam Jar
Plain unscented bleach
(Later)
Demijohn
Bung
Airlock
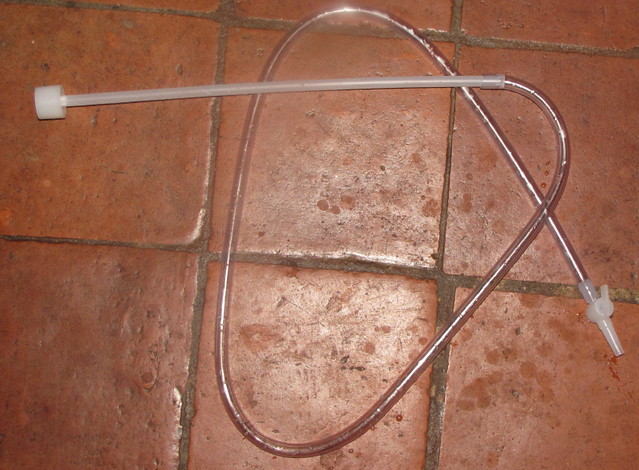
Siphon tube
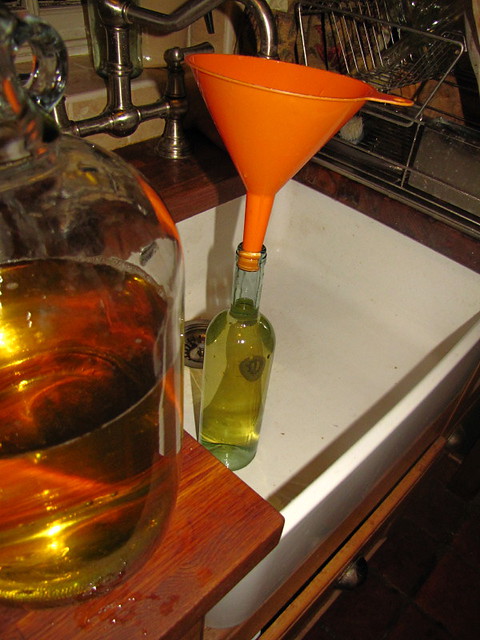
Funnel
(Much Later)
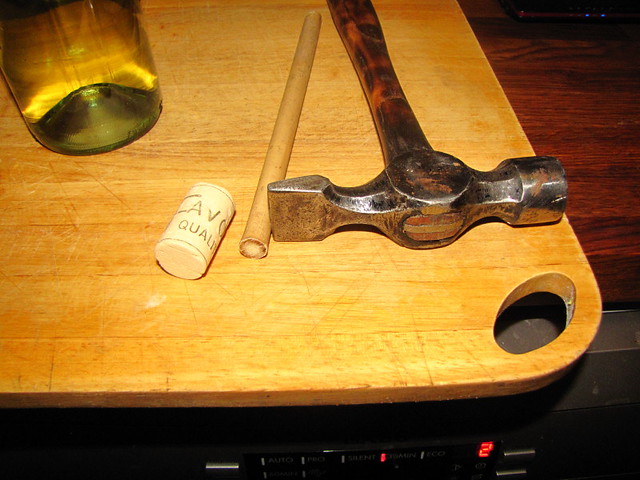
Corking gun or mallet / dowel
Corks
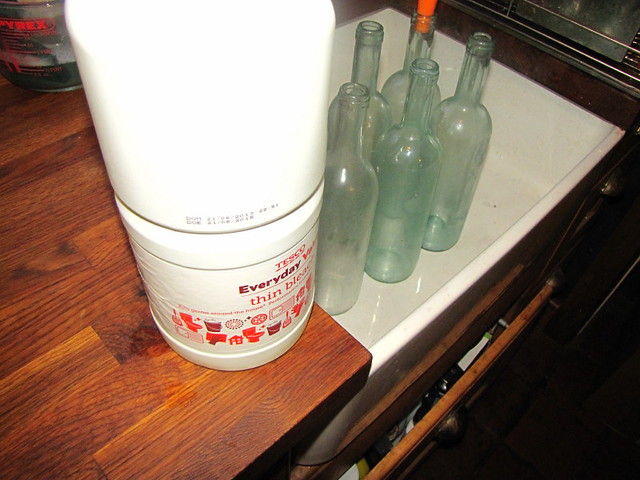
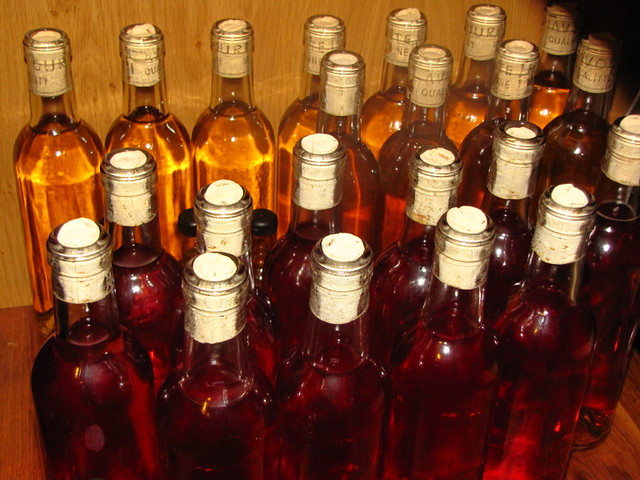
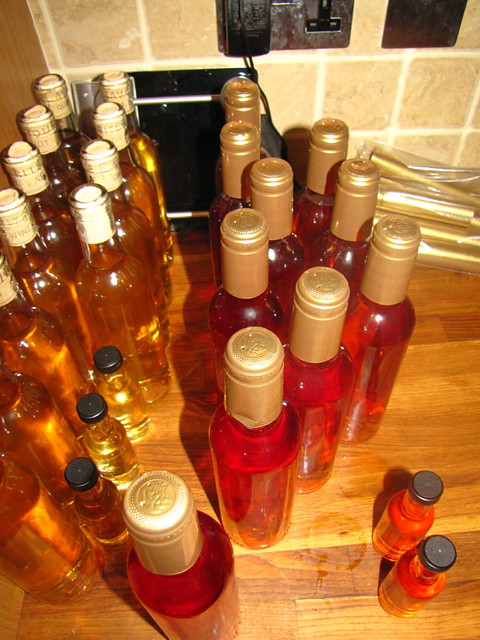
Wine Bottles
Finings
Explanations and substitutes
Yeast nutrient
Honey is a very pure product. Whilst that is good, it means it can lack some things needed for good fermentation. Some trace nutrients yeast needs are simply not present. Yeast nutrient is added to fix this in mead. If yeast nutrient is not available, boil up a teaspoon of bread yeast in a cup of water for a few minutes. This kills the bread yeast. The wine yeast will consume the nutrients it needs from the bread yeast (yeast is cannibalistic).
Acid Blend
Yeast likes a slightly acid environment. Honey and water do not provide this. Brewers use a blend of mallic, citric and tartaric acid to create this. If you don't have this, substitute a tablespoon of lemon juice for each teaspoon of acid blend.
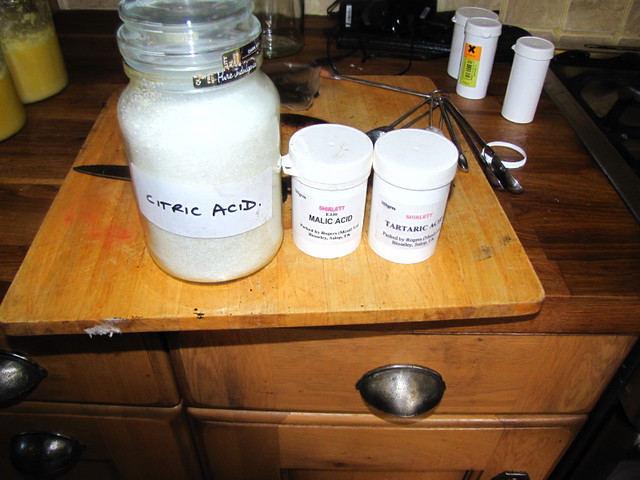
Acid blend ingredients by British Red, on Flickr
Tannin
Tannin just gives mead a little bite. It can be bought in powder form (from grape skins). If you don't have it, add a tablespoon of very strong tea, a handful of raisins - or even some oak leaves.
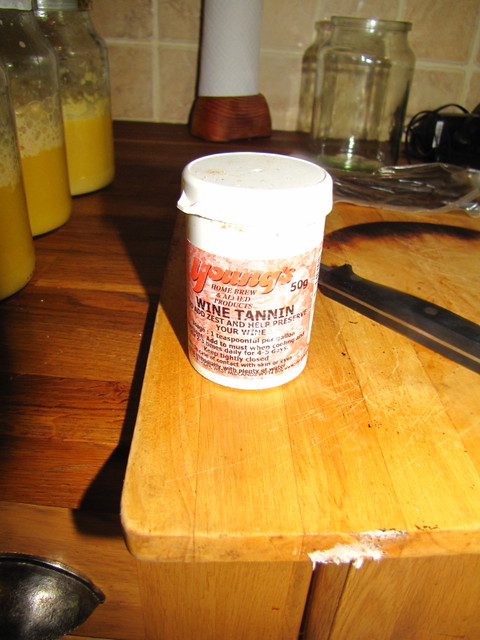
Tannin by British Red, on Flickr
Pectic Enzyme
Pectin is the stuff that make jam set. It is found in nature (particularly in some fruits). Pectin in drinks tends to make them cloudy or hazy. Pectic enzyme breaks the pectin down into sugar and it is simply fermented out. There is no real substitute for pectic enzyme, but leaving it out won't harm the taste of mead - it may be a little cloudy though.
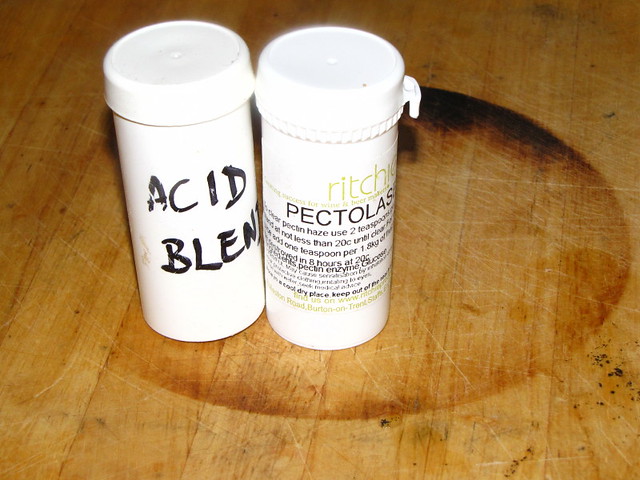
Acid blend and pectolase by British Red, on Flickr
Cleanliness
It is vitally important to clean your brewing and fermenting vessels well and sterilise them thoroughly. One fly carrying aceto bacteria, one mould spore can ruin two years of effort here. Just get stuff clean. There are allsorts of posh cleaners - but none work any better than plain unscented bleach. Scrub your buckets and demijohns clean, then put about an eggcup full of bleach in, fill with water and wait for half an hour. Pour away the bleach and rinse thoroughly.
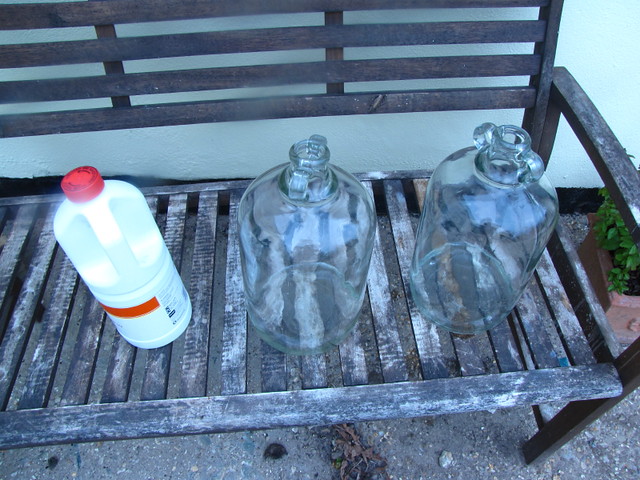
Bleach Demijohn by British Red, on Flickr
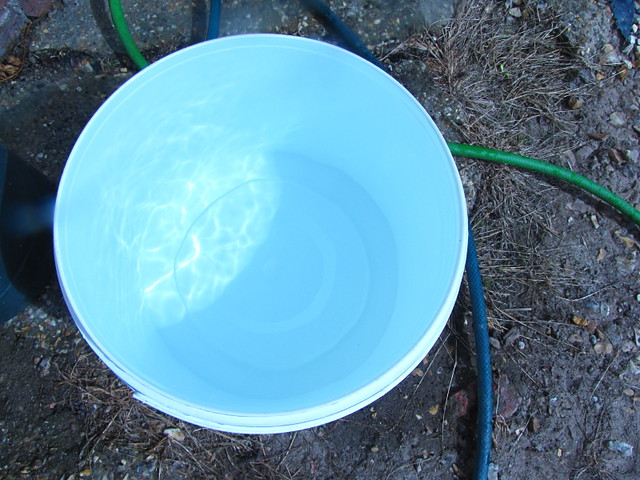
Bleach Brewing Bucket by British Red, on Flickr
Fermenting Bucket
When you are doing your initial fermentation of the mead, its helpful to do it in a large food grade plastic bucket. You can get lidded buckets from home brew shops - but if you ask nicely at your local bakery, they may give you one that had icing sugar in (the bucket needs a close fitting lid or vinegar flies will get in). Heck pelleted chicken manure comes in the perfect sized bucket from garden centres (wash well though") ).
).
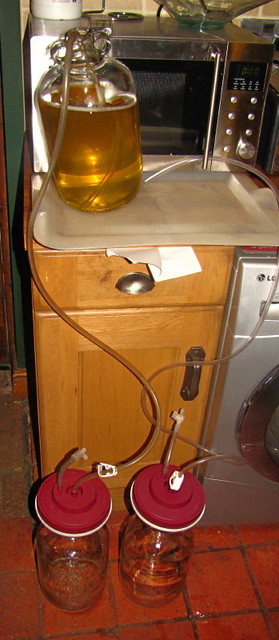
There is a problem though - when the ferment is going on it gives off carbon dioxide. This will pop off the lid when pressure builds up. To avoid this happening you can fit an airlock through a grommet - or just pierce a few tiny holes with a hot pin
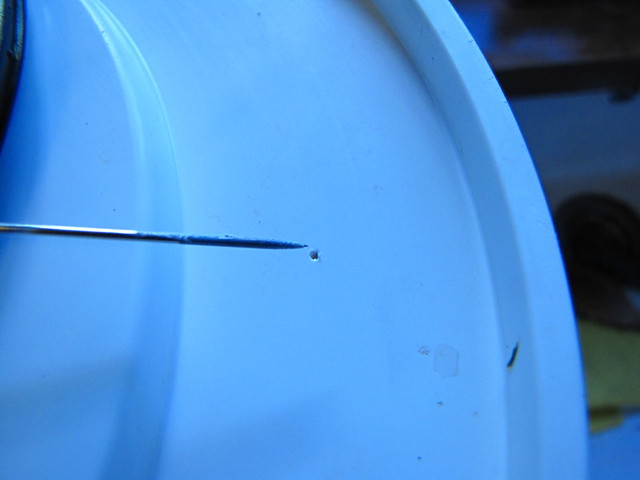
Pierce hole by British Red, on Flickr
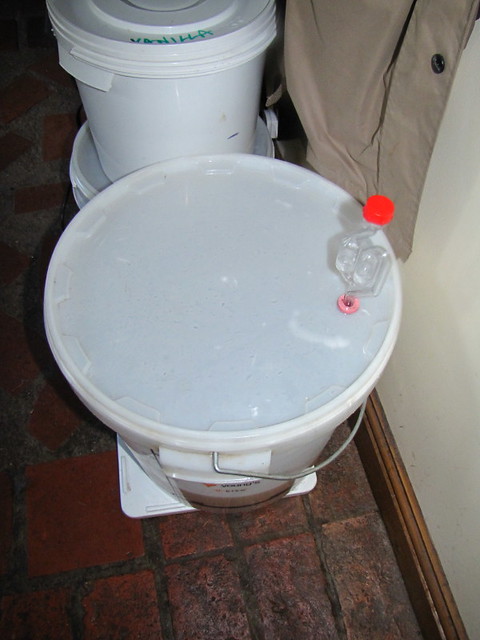
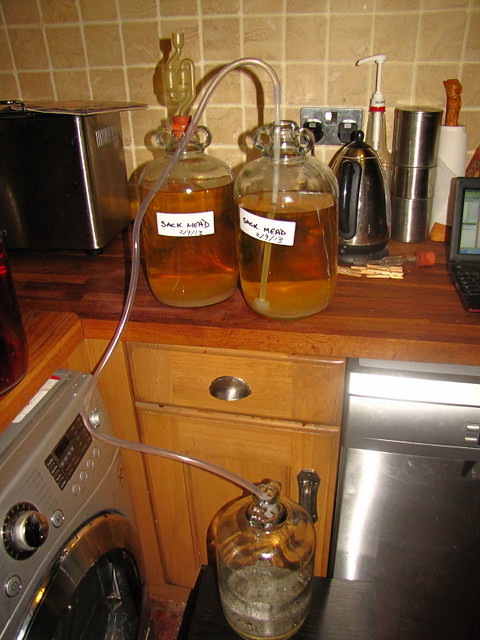
Large fermenter with airlock by British Red, on Flickr
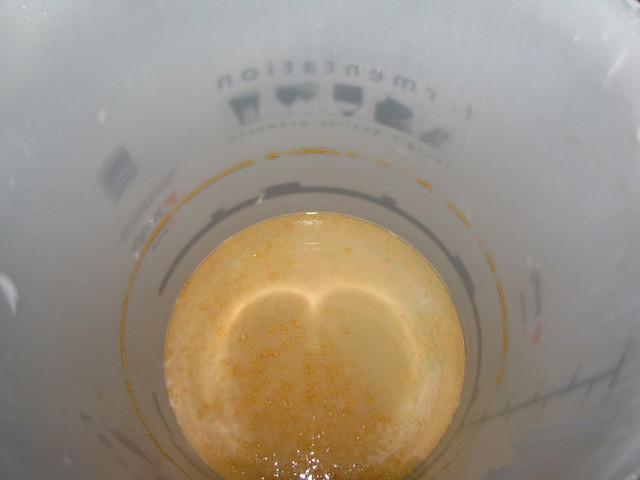
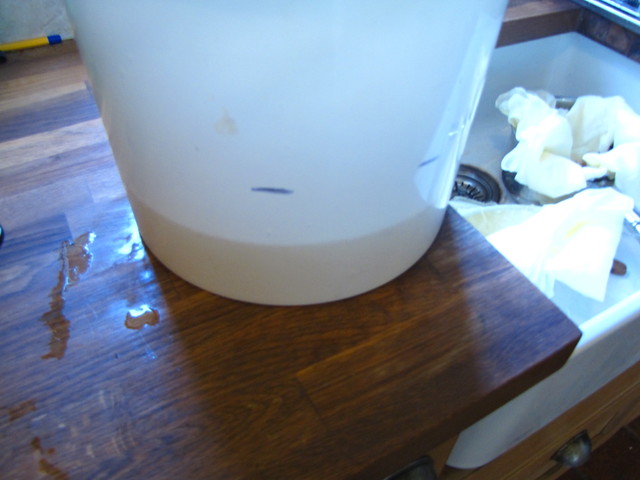
When you have sorted the lid and sterilised the bucket, measure one gallon of water into the bucket. Mark a line on the outside of the bucket where the liquid comes up to. This will help later to ensure you make up the right total quantity of liquid for your mead (posh brewing buckets come with these lines printed)
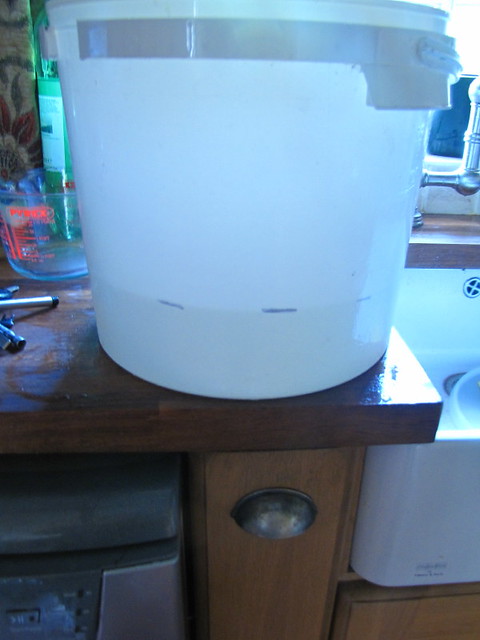
Mark 1 gallon by British Red, on Flickr
Yeast Starter Culture
In order to get your ferment off to a good start, we need to bring the dried yeast back to life. This means re-hydrating it and getting it starting to breed and ferment.
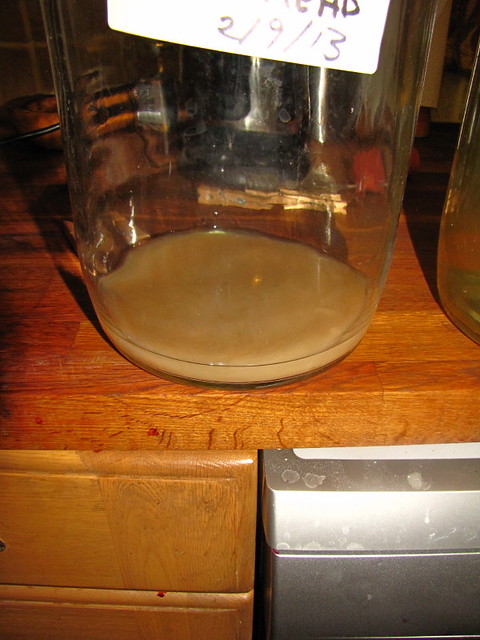
To do this put about three quarters of a pint of orange juice in a large jar and bring it up to room temperature. Add a teaspoon of wine yeast and a teaspoon of yeast nutrient and give it a stir.
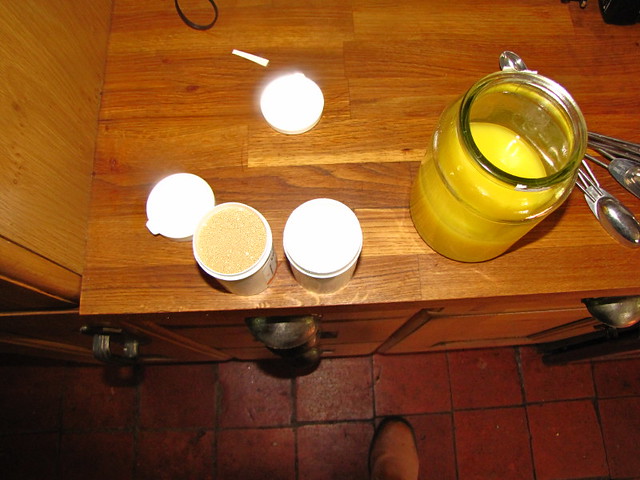
Yeast, nutrient and orange juice starter culture by British Red, on Flickr
Leave this aside for a couple of hours - it should bubble and smell yeasty - this shows your yeast is active
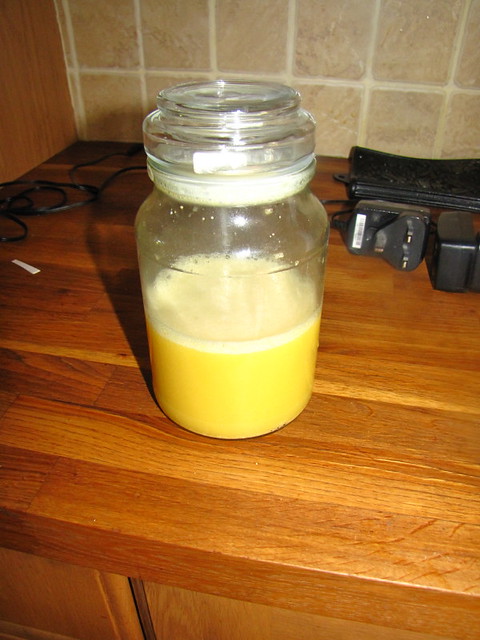
Starter culture by British Red, on Flickr
tend to do this before starting other aspects of brewing as it takes a while to get going.
Preparing the honey
Honey has "stuff" in it. Beeswax, pollen, bee crap, allsorts. That's fine on toast, but not in brewing, so we need to sort that.
First up set a large stainless or enamel pan on your stove, and boil the kettle.
Take three pound jars of honey
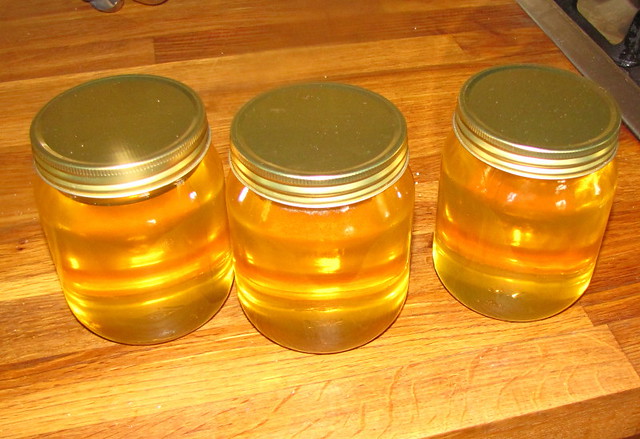
3lbs honey by British Red, on Flickr
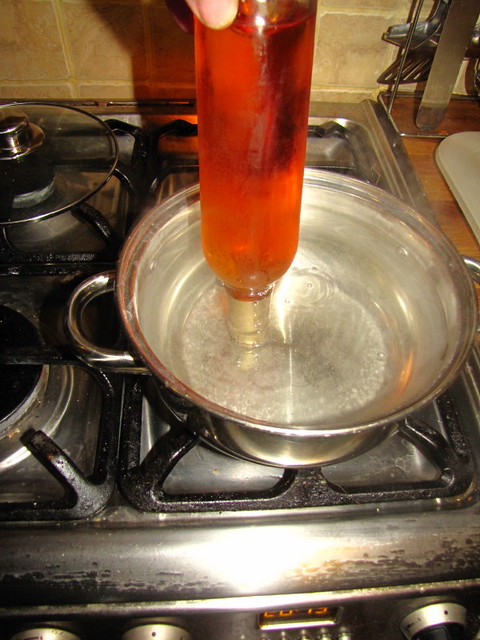
Pour a jar of honey into the pan, then wash the jar out twice with hot water, pouring the water into the pan
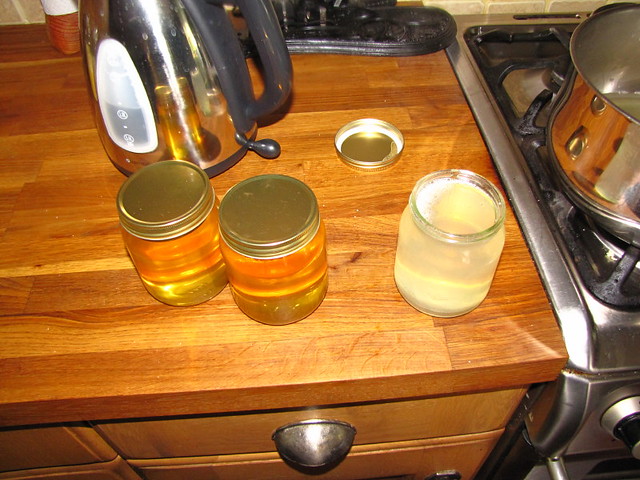
Boiling water by British Red, on Flickr
Stir the honey and water together, light the stove and bring to a simmer.
A "froth" will form as the liquid gently simmers - this is small particles of wax etc. coming to the surface
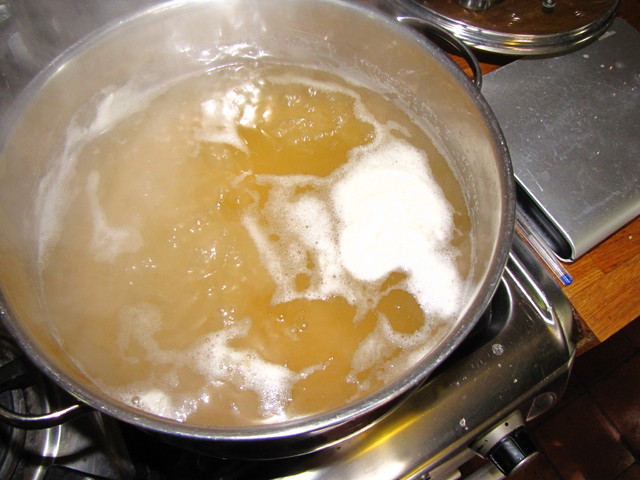
Foam on honey by British Red, on Flickr
Skim off the foam with a metal spoon
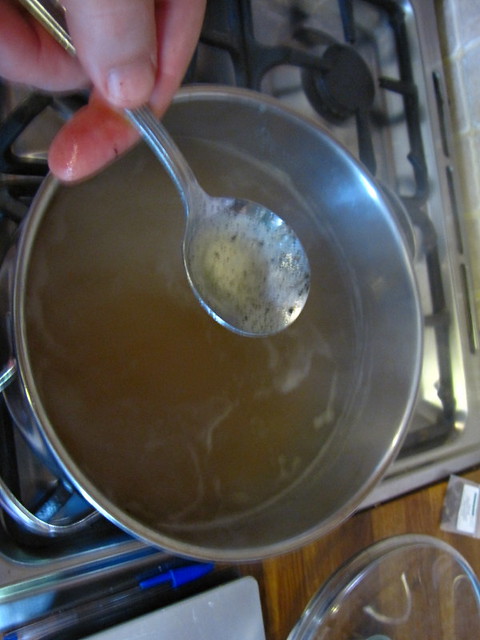
Skim foam by British Red, on Flickr
Simmer the honey for 15 minutes and then leave to cool
Making the must
When the honey and water mix has cooled, line a sieve with a few layers of muslin (or a clean tea towel)
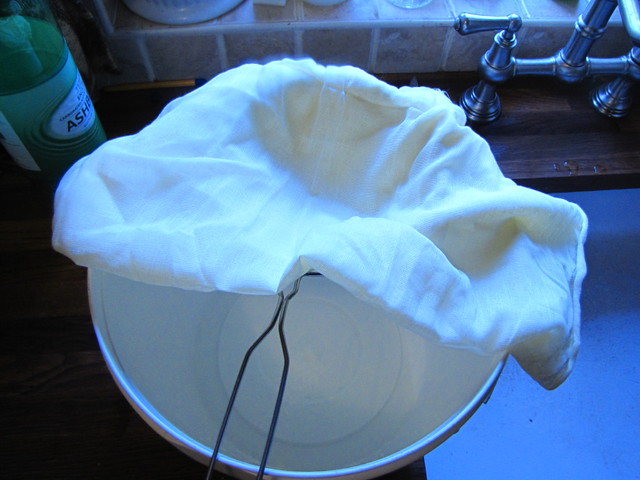
Muslin on sieve by British Red, on Flickr
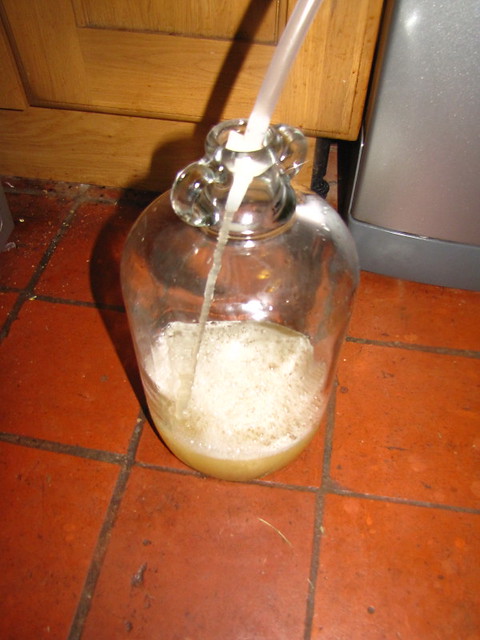
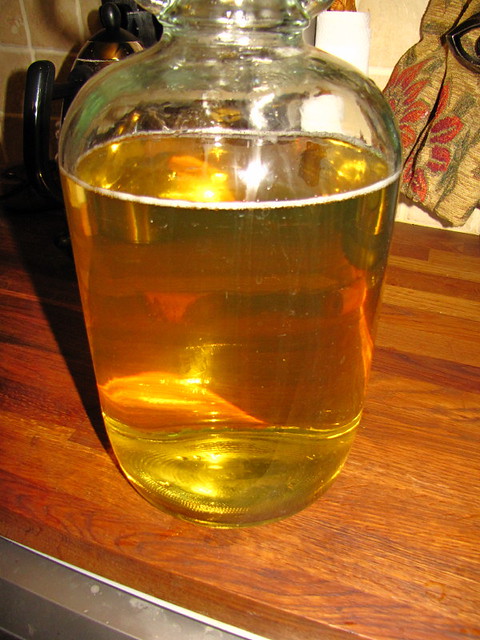
Pour the honey mixture into the fermenting bucket through the cloth. The cloth will catch any little bits of wax etc.
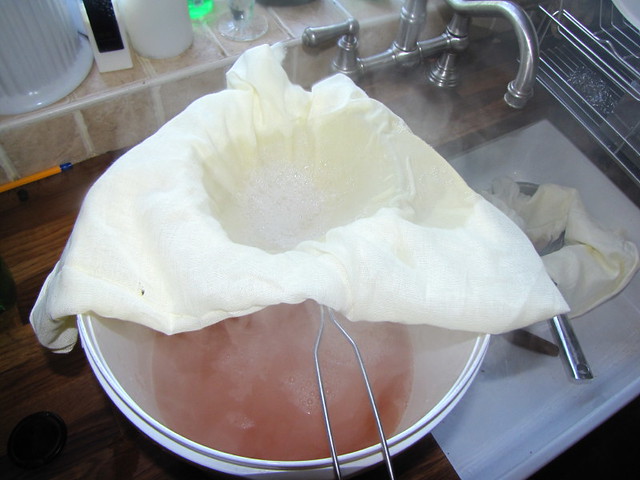
Filtered honey by British Red, on Flickr

Poured honey and water by British Red, on Flickr
Now add 1/4 tsp of tannin, 1tsp of acid blend and 1 tsp of pectic enzyme to the must
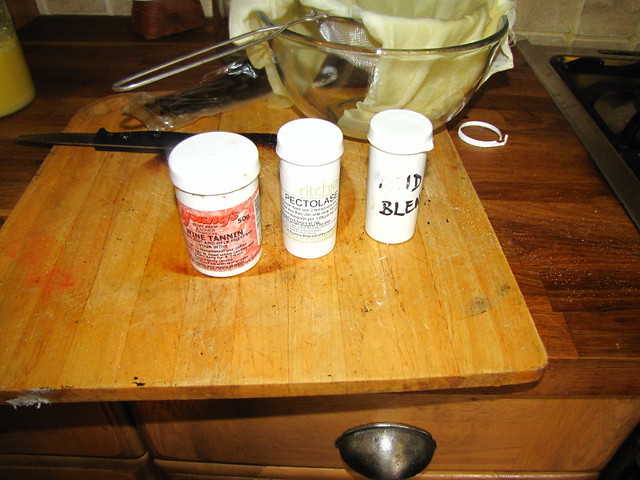
Tannin, acid blend and pectolase by British Red, on Flickr
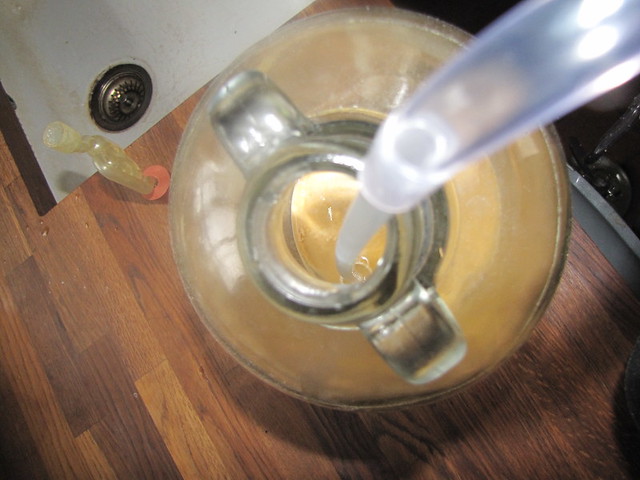
Then stir the yeast starter culture and pour it into the must

Pour starter into mead by British Red, on Flickr
Now check the level of the liquid
1 gallon mark by British Red, on Flickr
Top the liquid up to 1 gallon and put the lid on. Label the lid in wipe clean pen if you are going to make several types
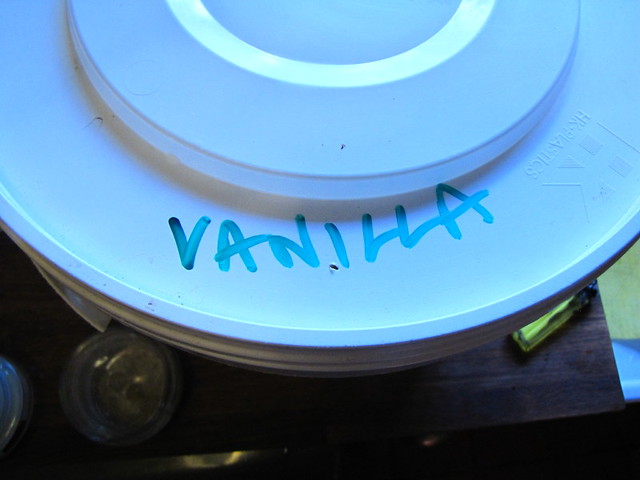
Label Vanilla by British Red, on Flickr
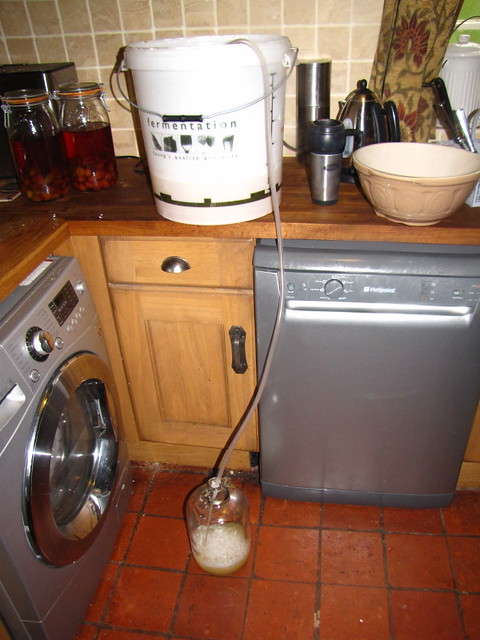
Now put your brewing bucket somewhere warm. Tiled floors can "suck the heat out", so if putting on a tiled floor, stand the bucket on some insulation (cardboard is fine). You want to keep the must warm but not hot. Don't put it in the airing cupboard - just somewhere pleasantly warm.
Brewing enthusiasts use heater pads to stand the bucket on to keep the temperature constant

Heater Pads by British Red, on Flickr
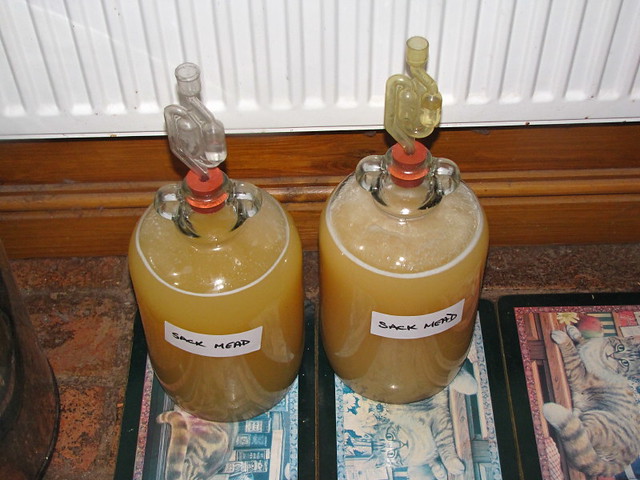
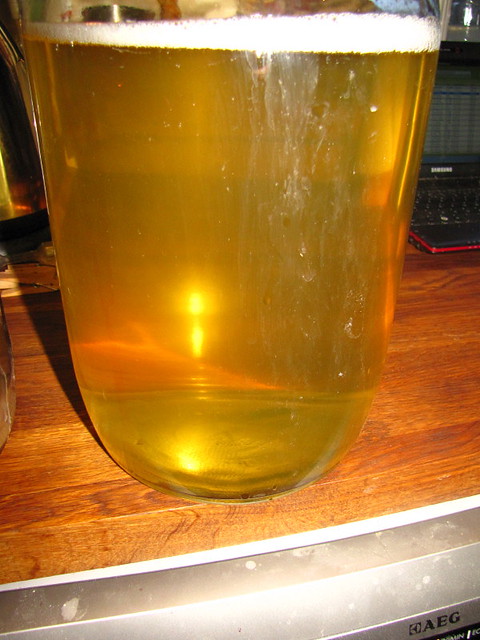
That's it for getting the ferment going - after an hour - certainly by the next morning - there should be a deep head of bubbles forming and a lovely smell
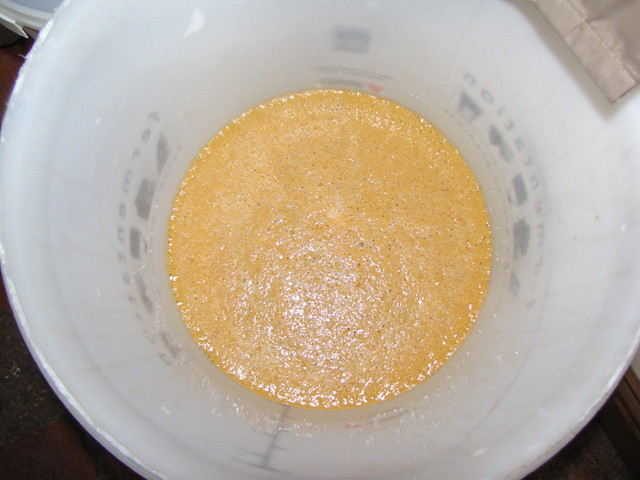
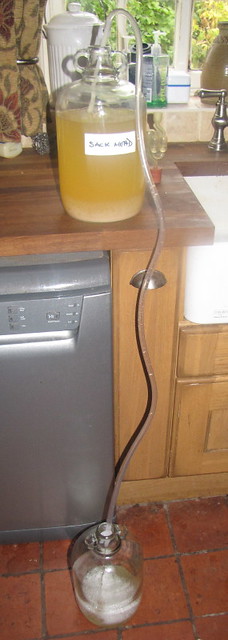
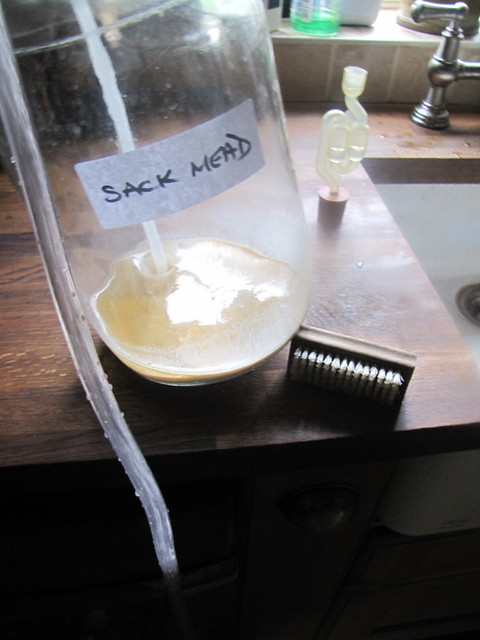
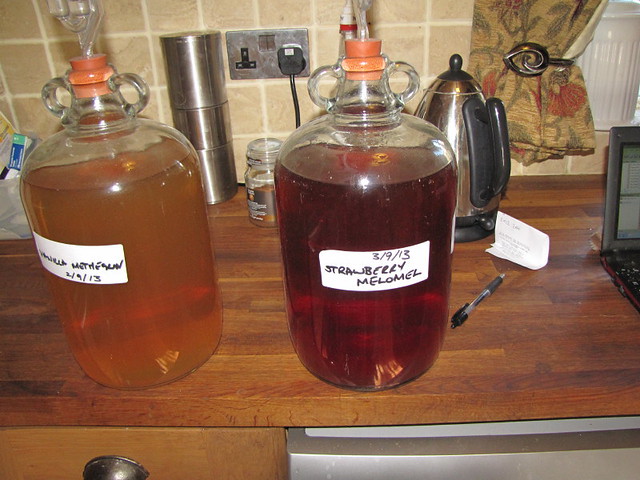
Sack mead fermenting by British Red, on Flickr
....more as we progress
Red
I will update this post as we go as proper, chemical free, mead making takes up to a year in fermentation and another year in the bottle (minimum) before drinking.
To make this recipe you will need
Ingredients
3lbs of light honey
1 tsp of acid blend (covered later)
1 tsp of pectic enzyme
1 tsp of wine yeast
1 tsp of yeast nutrient
1/4 tsp of grape tannin
3/4 pint of orange juice
Equipment
(Now)
Large stainless steel pan
Sieve
Sheet of muslin / clean tea towel
2 gallon or larger lidded plastic fermenting vessel
Jam Jar
Plain unscented bleach
(Later)
Demijohn
Bung
Airlock
Siphon tube
Funnel
(Much Later)
Corking gun or mallet / dowel
Corks
Wine Bottles
Finings
Explanations and substitutes
Yeast nutrient
Honey is a very pure product. Whilst that is good, it means it can lack some things needed for good fermentation. Some trace nutrients yeast needs are simply not present. Yeast nutrient is added to fix this in mead. If yeast nutrient is not available, boil up a teaspoon of bread yeast in a cup of water for a few minutes. This kills the bread yeast. The wine yeast will consume the nutrients it needs from the bread yeast (yeast is cannibalistic).
Acid Blend
Yeast likes a slightly acid environment. Honey and water do not provide this. Brewers use a blend of mallic, citric and tartaric acid to create this. If you don't have this, substitute a tablespoon of lemon juice for each teaspoon of acid blend.
Acid blend ingredients by British Red, on Flickr
Tannin
Tannin just gives mead a little bite. It can be bought in powder form (from grape skins). If you don't have it, add a tablespoon of very strong tea, a handful of raisins - or even some oak leaves.
Tannin by British Red, on Flickr
Pectic Enzyme
Pectin is the stuff that make jam set. It is found in nature (particularly in some fruits). Pectin in drinks tends to make them cloudy or hazy. Pectic enzyme breaks the pectin down into sugar and it is simply fermented out. There is no real substitute for pectic enzyme, but leaving it out won't harm the taste of mead - it may be a little cloudy though.
Acid blend and pectolase by British Red, on Flickr
Cleanliness
It is vitally important to clean your brewing and fermenting vessels well and sterilise them thoroughly. One fly carrying aceto bacteria, one mould spore can ruin two years of effort here. Just get stuff clean. There are allsorts of posh cleaners - but none work any better than plain unscented bleach. Scrub your buckets and demijohns clean, then put about an eggcup full of bleach in, fill with water and wait for half an hour. Pour away the bleach and rinse thoroughly.
Bleach Demijohn by British Red, on Flickr
Bleach Brewing Bucket by British Red, on Flickr
Fermenting Bucket
When you are doing your initial fermentation of the mead, its helpful to do it in a large food grade plastic bucket. You can get lidded buckets from home brew shops - but if you ask nicely at your local bakery, they may give you one that had icing sugar in (the bucket needs a close fitting lid or vinegar flies will get in). Heck pelleted chicken manure comes in the perfect sized bucket from garden centres (wash well though
).There is a problem though - when the ferment is going on it gives off carbon dioxide. This will pop off the lid when pressure builds up. To avoid this happening you can fit an airlock through a grommet - or just pierce a few tiny holes with a hot pin
Pierce hole by British Red, on Flickr
Large fermenter with airlock by British Red, on Flickr
When you have sorted the lid and sterilised the bucket, measure one gallon of water into the bucket. Mark a line on the outside of the bucket where the liquid comes up to. This will help later to ensure you make up the right total quantity of liquid for your mead (posh brewing buckets come with these lines printed)
Mark 1 gallon by British Red, on Flickr
Yeast Starter Culture
In order to get your ferment off to a good start, we need to bring the dried yeast back to life. This means re-hydrating it and getting it starting to breed and ferment.
To do this put about three quarters of a pint of orange juice in a large jar and bring it up to room temperature. Add a teaspoon of wine yeast and a teaspoon of yeast nutrient and give it a stir.
Yeast, nutrient and orange juice starter culture by British Red, on Flickr
Leave this aside for a couple of hours - it should bubble and smell yeasty - this shows your yeast is active
Starter culture by British Red, on Flickr
tend to do this before starting other aspects of brewing as it takes a while to get going.
Preparing the honey
Honey has "stuff" in it. Beeswax, pollen, bee crap, allsorts. That's fine on toast, but not in brewing, so we need to sort that.
First up set a large stainless or enamel pan on your stove, and boil the kettle.
Take three pound jars of honey
3lbs honey by British Red, on Flickr
Pour a jar of honey into the pan, then wash the jar out twice with hot water, pouring the water into the pan
Boiling water by British Red, on Flickr
Stir the honey and water together, light the stove and bring to a simmer.
A "froth" will form as the liquid gently simmers - this is small particles of wax etc. coming to the surface
Foam on honey by British Red, on Flickr
Skim off the foam with a metal spoon
Skim foam by British Red, on Flickr
Simmer the honey for 15 minutes and then leave to cool
Making the must
When the honey and water mix has cooled, line a sieve with a few layers of muslin (or a clean tea towel)
Muslin on sieve by British Red, on Flickr
Pour the honey mixture into the fermenting bucket through the cloth. The cloth will catch any little bits of wax etc.
Filtered honey by British Red, on Flickr
Poured honey and water by British Red, on Flickr
Now add 1/4 tsp of tannin, 1tsp of acid blend and 1 tsp of pectic enzyme to the must
Tannin, acid blend and pectolase by British Red, on Flickr
Then stir the yeast starter culture and pour it into the must
Pour starter into mead by British Red, on Flickr
Now check the level of the liquid
1 gallon mark by British Red, on Flickr
Top the liquid up to 1 gallon and put the lid on. Label the lid in wipe clean pen if you are going to make several types
Label Vanilla by British Red, on Flickr
Now put your brewing bucket somewhere warm. Tiled floors can "suck the heat out", so if putting on a tiled floor, stand the bucket on some insulation (cardboard is fine). You want to keep the must warm but not hot. Don't put it in the airing cupboard - just somewhere pleasantly warm.
Brewing enthusiasts use heater pads to stand the bucket on to keep the temperature constant
Heater Pads by British Red, on Flickr
That's it for getting the ferment going - after an hour - certainly by the next morning - there should be a deep head of bubbles forming and a lovely smell
Sack mead fermenting by British Red, on Flickr
....more as we progress
Red